


A coolant leak often announces itself before your temperature gauge does: a sweet smell after shutdown, a damp spot where you park, or a colored puddle that doesn’t match plain water. The fastest way to act is to treat smell + puddle color + location as a single set of clues and follow them in order.
Next, you’ll learn how to interpret that “maple syrup” or sweet odor correctly, including when it’s not coolant and why relying on smell alone leads to wrong diagnoses (and wasted parts).
Then, you’ll use puddle appearance, feel, and residue—not just color—to separate coolant from oil, transmission fluid, washer fluid, and normal A/C condensation, so you can stop guessing and start confirming.
Introduce a new idea: once you can read the clues, you can safely verify the leak path at home (without burns or over-pressurizing anything) and decide whether you’re in “top it up and monitor” territory—or “stop driving and book a coolant leak repair” territory.
Is a sweet or “maple syrup” smell always a sign of a coolant (antifreeze) leak?
No— a sweet or “maple syrup” smell is not always a coolant leak, because (1) other automotive fluids and residues can smell sweetish when hot, (2) a small coolant seep can smell strongly without leaving a puddle, and (3) odors can be carried by airflow and drip patterns that mislead you away from the true source.
In addition, the most reliable approach is to treat smell as a starting flag, then confirm with fluid behavior and location.

Why coolant smells sweet (and when it doesn’t)
Coolant smells sweet primarily because most engine coolants use glycol-based chemistry (commonly ethylene glycol or propylene glycol), and when tiny amounts vaporize on warm metal they produce a distinctive sugary odor that lingers.
However, coolant does not always smell sweet in real life because age and contamination change it.
A few situations where coolant smell becomes less “sweet” and more confusing:
- Old coolant + corrosion byproducts: As additives deplete and corrosion products build, the smell can shift toward “stale,” “chemical,” or even slightly burnt.
- Leak hitting very hot parts: A drip onto an exhaust manifold or hot shield can smell like hot metal + faint sweetness, which many people describe as “burnt sugar” rather than clearly sweet.
- Mixed fluids: A coolant seep near an oil leak can create a blended odor that points you the wrong way.
- Cabin heater-core seep: Inside the cabin, warm air disperses the smell differently; you may notice “sweet windshield fog” more than the engine-bay odor.
A practical confirmation trick is context timing: coolant smell is commonly strongest right after shutdown (heat soak) because temperature rises locally while airflow stops, allowing vapors to accumulate.
Other smells that mimic coolant and how to rule them out
Smell confusion is common because several “hot” car odors overlap.
Meanwhile, you can rule most of them out by pairing smell with a quick visual/texture check:
- Washer fluid: Often has an alcohol-like smell (sometimes sweet-ish), but it’s thin like water and usually appears near the washer reservoir area or under the front corner.
- Fuel vapor: Can smell sweet or solvent-like, but it’s usually sharper and evaporates quickly; it doesn’t leave a sticky film.
- Power steering fluid / ATF: Can smell slightly sweet when warm, but it’s oily, slick, and leaves a persistent greasy stain.
- Oil on exhaust: Smells acrid/burnt; residue looks dark brown/black and feels slippery, not tacky.
- Road contaminants: Sap, spilled drinks, or driveway chemicals can mimic sweetness; the giveaway is that the smell persists even when the engine is cold and the car hasn’t run.
If you can’t confidently separate odors, treat smell as “probable,” not “proven,” and move to puddle clues.
What does a coolant puddle look like and feel like on the ground?
A coolant puddle is typically a colored, water-thin liquid that looks glossy when wet and often dries into a slightly sticky or crusty residue, especially around the edges.
Specifically, you confirm coolant by combining color + thickness + residue + location, not by color alone.
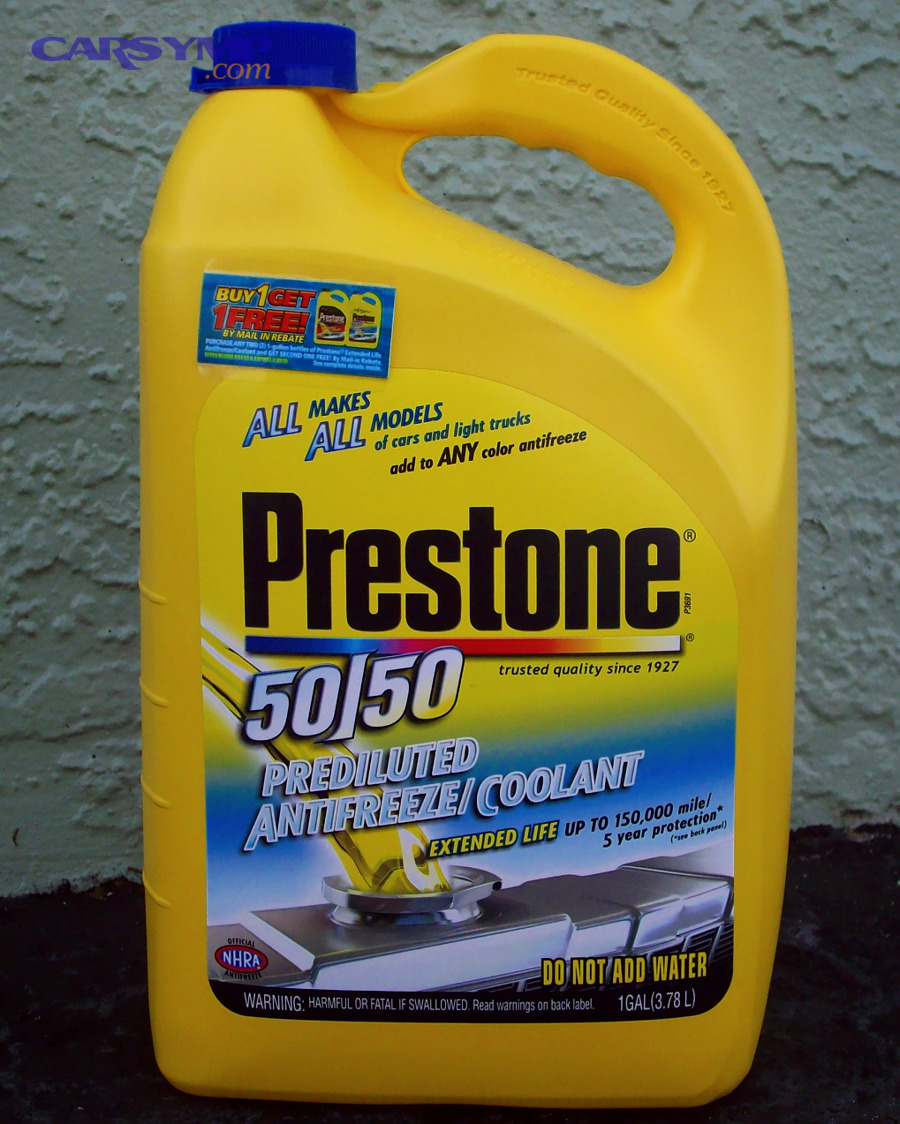
Typical coolant colors and why they vary
Coolant can appear green, orange, pink, red, blue, purple, or yellow, depending on brand, chemistry family, and dye—not necessarily because one color equals one “type.”
The practical takeaway is that color is a clue for “this might be coolant,” not a definitive label.
Why you see variation:
- Dyes differ by manufacturer (and can change across product lines).
- Age changes appearance: Fresh coolant is bright; old coolant can look dull, brownish, or rusty-tinted.
- Mixing changes color: Even “compatible” mixes can turn muddy or brown, making puddle color less helpful.
- Lighting and surface matter: Concrete, asphalt, or snow will shift how the color reads.
When color is ambiguous, the next best signal is what coolant does as it dries.
Texture and residue: what coolant leaves behind
Coolant is often described as “watery,” but it’s not plain water.
However, it tends to leave a telltale residue pattern:
- Slight tackiness: Rub a small drop between gloved fingers—coolant can feel a bit “slick but not oily,” and sometimes faintly sticky as it dries.
- Crusty edge line: After evaporation, coolant frequently leaves a light-colored crust or chalky ring, especially if it’s leaking slowly and repeatedly.
- Shiny film: On smooth surfaces, you may see a thin reflective layer.
Safety note: do not taste-test any fluid. Coolant can be toxic; rely on sight/feel (with gloves) and follow-up confirmation instead.
Which car fluids are most commonly confused with coolant based on puddle color?
There are 5 main fluid groups most often confused with coolant—engine oil, transmission fluid, power steering fluid, washer fluid, and A/C condensation—based on shared “wet spot” behavior and overlapping colors.
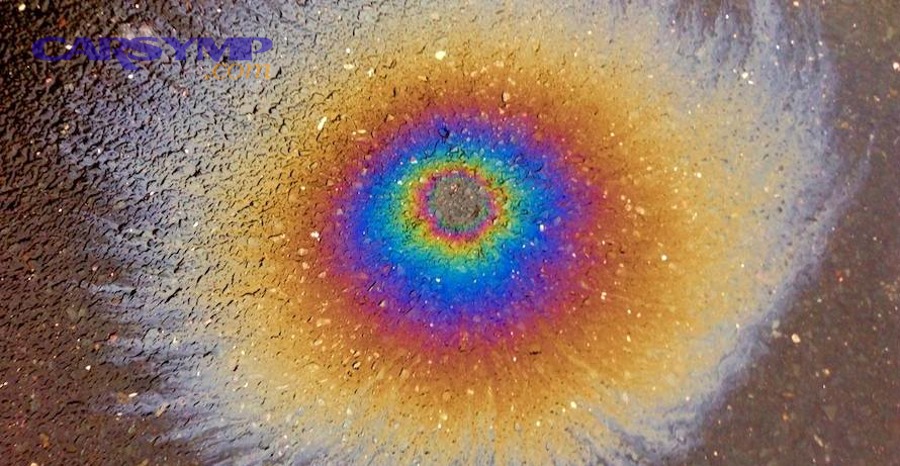
To better understand what you’re seeing, compare both appearance and feel, because color alone fails when fluids are dirty or diluted.
Before the quick comparisons, here’s a simple context table to help you interpret what you see on the ground.
Table context: The table below compares common driveway puddles by color, feel, and drying pattern so you can narrow down whether you’re likely dealing with coolant or a lookalike.
| Fluid | Common puddle color | Feel between fingers (with gloves) | Drying pattern / residue |
|---|---|---|---|
| Coolant | Green/orange/pink/red/blue/purple/yellow | Watery, slightly slick, sometimes tacky | Can dry crusty/tacky ring |
| Engine oil | Amber to dark brown/black | Oily, slippery | Greasy stain, slow to evaporate |
| ATF / power steering | Red/pink (can turn brown) | Oily, slick | Oily stain, may spread thin |
| Washer fluid | Blue/green (often very light) | Very watery | Evaporates clean, little residue |
| A/C condensation | Clear | Pure water feel | Evaporates clean, no odor/residue |
Coolant vs oil vs transmission fluid: color and feel differences
Coolant, oil, and ATF/power steering are commonly confused because dirty coolant can darken and old ATF can brown.
On the other hand, your fingers (with gloves) can usually separate them quickly:
- Engine oil: Thickest and slickest. It smears and leaves a greasy halo that doesn’t dry crusty.
- ATF/power steering fluid: Oily like engine oil but often thinner; may look red/pink early, then brown with age. Leaves a persistent oily sheen.
- Coolant: More water-like than oil. It spreads like water but can leave a slightly tacky residue and a light crust at the edges after evaporation.
A useful “paper test” is to dab the puddle with a white paper towel:
- Oil/ATF tends to create a greasy translucent stain that stays.
- Coolant tends to wet the paper more evenly and may leave colored tint + faint residue after drying.
Coolant vs washer fluid vs A/C water: quick at-home tests
These three get mixed up because they can all be watery and sometimes brightly colored.
Moreover, their where and when patterns are usually more diagnostic than the fluid itself:
- A/C condensation: Clear water that drips after you’ve been running the A/C (especially humid days). It usually appears near the passenger-side firewall area and leaves no residue or smell.
- Washer fluid: Often lightly colored and strongly “cleaner/alcohol” smelling. It typically shows up near the front corner or under the washer reservoir area, and it evaporates cleanly.
- Coolant: Often has a sweet odor and leaves residue/crust, and it’s more likely to correlate with a dropping coolant level.
If you suspect coolant but the puddle is clear like water, don’t dismiss it—some leaks are small and the dye can be too diluted to see. Confirm using level checks and inspection steps later.
Where is the puddle located, and what does that location imply about the leak source?
Puddle location implies leak source because gravity, airflow, and splash paths determine where coolant finally lands—often far from the actual failure point.
Especially for slow leaks, your job is to read location as a starting zone, then trace upward for wetness, residue, or staining.
Front of engine bay puddles: radiator, hoses, water pump, thermostat housing
Front-of-car puddles commonly point to components that live at the nose of the vehicle or the front of the engine.
For example, a puddle directly under the radiator area often narrows the list fast:
- Radiator core/tanks: Leaks may appear as wet fins, green/orange crust, or dampness at plastic tank seams.
- Upper/lower radiator hoses and clamps: Coolant may weep at clamp edges, then run down the hose and drip off a low point—making the puddle look “centered” even if the leak is higher.
- Thermostat housing: A small gasket seep can create repeated crusty buildup around the housing and nearby bolts.
- Water pump: Many pumps leak from a seal and may show residue near the pulley area or drip down the front of the engine.
A quick “Coolant leak locations and quick identification” sweep in this area should follow a consistent pattern:
- look for crusty residue,
- look for wet tracks,
- check clamp edges,
- scan for splatter marks from belts/fans.
If you find wetness around the pump or housing, plan a coolant leak repair sooner rather than later because these leaks can suddenly worsen.
Cabin-side leaks: heater core, HVAC drain, and carpet clues
If the puddle seems closer to the middle of the car or you notice symptoms inside, think “cabin-side” components.
Besides, interior clues can be more obvious than the puddle:
- Heater core leak: Sweet smell inside the cabin, fogging on the windshield, damp passenger floor, or oily-feeling film on the inside glass.
- Heater hoses at firewall: Coolant can leak where hoses connect at the firewall, then drip down and appear under the passenger side.
- HVAC drain (normal A/C water): Clear water dripping near the passenger-side firewall area after using A/C—no sweet smell, no residue, and no coolant level drop.
A heater core seep can be small but persistent. If you’re topping off coolant and noticing cabin fogging or damp carpet, treat it as urgent: coolant vapor inside the cabin is not something to ignore.
How can drivers confirm a suspected coolant leak safely at home?
You can confirm a suspected coolant leak safely using one main method—systematic inspection—plus 6 practical steps that reveal the leak path without burns, and the expected outcome is identifying whether the leak is external, internal, or only pressure/heat-related.
Let’s explore the safest sequence first, then the stronger confirmation tools (UV dye and a pressure tester).
How to check coolant level and inspect the cooling system safely
Start with safety and repeatability.
To begin, do your checks when the engine is fully cool unless your owner’s manual explicitly allows warm checks.
Step-by-step (safe inspection method):
- Let the engine cool completely. Never remove a hot radiator cap.
- Check the coolant reservoir level against the “COLD” marking and note the level (take a photo).
- Inspect the reservoir and cap area for wetness, staining, or dried crust.
- Follow the main hoses (upper and lower radiator hoses) and look for damp clamp edges, swelling, cracks, or crust.
- Scan the radiator face and side tanks for wet fins or staining; check the bottom edge for drips.
- Look for drip trails on the engine block, splash shield, and undertray; use a flashlight and mirror.
Key cautions:
- Do not overfill; too much coolant can vent out and create a false “leak.”
- If you see repeated crust but no wetness, the leak may only happen under pressure or when hot.
If you need to keep driving short distances while diagnosing, the smart move is to monitor level changes daily. A dropping level confirms an active issue and makes a Coolant leak repair cost estimate conversation much more accurate because you’ll know whether it’s a slow seep or a fast loss.
How to use UV dye or a pressure tester to confirm the leak path
If a visual inspection doesn’t show the source, you have two powerful confirmation options: UV dye and pressure testing.
More importantly, these methods help catch leaks that only occur under pressure.
Option A: UV dye
- Add coolant-compatible UV dye to the system (follow the dye instructions).
- Drive briefly to circulate (only if the car isn’t overheating).
- Use a UV flashlight to trace glowing residue at the leak point.
Option B: Cooling system pressure tester
This is the most direct way to reproduce a leak without driving. The safest best practice is: pressurize only to the cap/system rating and never exceed it. This is exactly the logic behind “How to pressure test the cooling system” correctly—reproducing operating pressure without heat.
Here is one practical demonstration video:
Pressure test basics (what you’re trying to see):
- The system builds pressure, and you watch for new drips or wet tracks.
- If pressure drops but you don’t see an external leak, you may be dealing with an internal leak (which requires professional diagnosis).
Evidence tie-in (why coolant performance matters): a university study illustrates that coolant and system integrity directly affect cooling capability—meaning leaks are not just “messy,” they are performance loss. According to a study by Sakarya University from the Department of Mechanical Engineering, in 2021, adding 0.5% Al₂O₃ nanoparticles to a 50/50 ethylene glycol–water base coolant increased radiator cooling power up to 17.46%, showing how strongly coolant condition and composition influence heat rejection. (thermalscience.rs)
If you confirm a leak path and it’s coming from a component like a radiator tank seam, water pump, or heater core, it’s usually more cost-effective to plan the fix promptly rather than repeatedly topping off and risking overheating.
What does coolant color mean, and why can “coolant vs antifreeze” labels be confusing?
Coolant color is primarily a dye choice and not a reliable indicator of chemical family, while “coolant” and “antifreeze” labels can refer to the same glycol-based product in different dilution states.
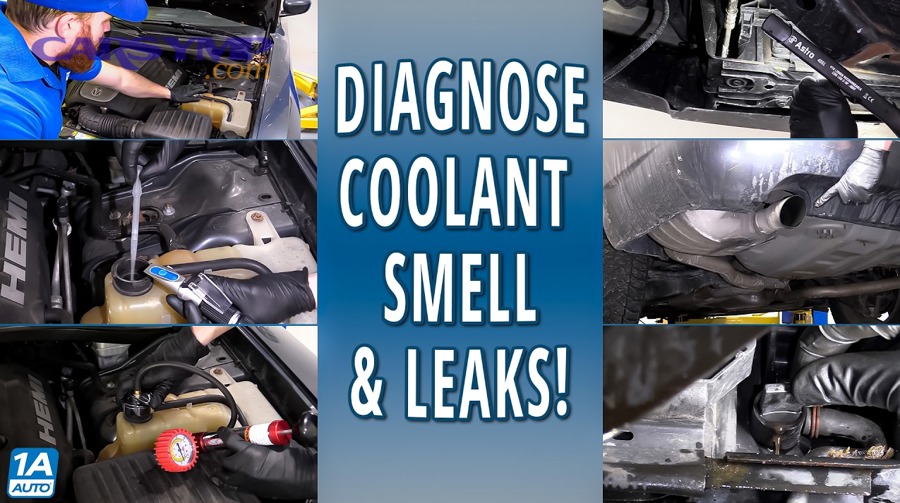
Then, the key is to follow your vehicle specification (owner’s manual/service spec) rather than matching colors in the driveway.
Does coolant color indicate type (IAT, OAT, HOAT)?
No—coolant color does not reliably indicate IAT vs OAT vs HOAT, because (1) manufacturers can dye the same chemistry different colors, (2) different chemistries can share similar colors, and (3) mixed or aged coolant changes color over time, breaking any “color = type” shortcut.
What’s more useful than color:
- The specification or approval listed for your vehicle
- The coolant label’s compatibility claims (and their fine print)
- Whether your system is filled with premix or concentrate
Can you mix coolants if the colors look the same?
No—you should not mix coolants just because the colors look the same, because (1) dye matching doesn’t guarantee chemistry compatibility, (2) additive packages can react and reduce corrosion protection, and (3) mixing can shorten service life and increase deposit risk.
If you must top off in an emergency:
- Use the coolant type specified for your vehicle when possible.
- If you can’t, top off with distilled water temporarily (short-term only), then correct the mixture after the leak is fixed.
Why “universal” antifreeze can still cause problems
“Universal” often means “broadly usable,” not “optimal for every system.”
For example, some universal products rely on compromise additive packages, and while they may work short-term, they can be a poor match for certain materials, long-life intervals, or specific OEM requirements.
Common ways “universal” causes headaches:
- Deposit formation when mixed with unknown existing coolant
- Reduced corrosion protection if the additive systems conflict
- Shortened interval even if the bottle claims long life
If you’re already chasing a leak, don’t add uncertainty. Fix the leak first, then refill with the correct spec coolant.
When to stop driving and book a professional diagnosis
Yes—you should stop driving and get professional help when coolant leak clues cross safety thresholds, because (1) overheating can rapidly damage engines, (2) leaks can suddenly accelerate, and (3) some leak sources require special tests to confirm safely.
Stop driving and book service if:
- The temperature gauge rises above normal or you see an overheating warning
- Coolant level drops rapidly (needing frequent top-ups)
- You see steam, smell strong coolant odor continuously, or find coolant in the cabin
- You suspect an internal leak (pressure loss without external drip)
At that point, you’re no longer in “identify” mode—you’re in “prevent damage” mode, and a structured diagnosis plus a clear coolant leak repair cost estimate becomes the most cost-effective path forward.