


Primary topic: ABS wheel speed sensor replacement (front/rear, hub-mounted or knuckle-mounted) with diagnosis, safe removal, installation, and post-repair verification.
ABS wheel speed sensor replacement is a practical fix when your ABS/traction/stability lights turn on, scan data shows one wheel reading wrong, or braking feels normal but driver-assist systems become unavailable. The goal is simple: restore accurate wheel-speed feedback so the ABS module can modulate brake pressure correctly.
To go beyond “swap the part,” this guide also covers how to confirm the sensor is truly the fault (not wiring, tone ring, bearing, or rust), how to remove stuck sensors without damaging the knuckle, and how to verify a clean signal after installation.
You’ll also learn where replacements commonly go wrong—incorrect air gap, damaged harness routing, wrong sensor type (active vs passive), and leaving corrosion in the mounting bore—so you don’t replace a sensor and still have warning lights.
To introduce a new idea, we’ll treat the repair like a workflow: identify the failure mode, match the correct sensor design, replace safely, and prove the fix with scan-tool data and a controlled road test.
What is an ABS wheel speed sensor, and what does it actually measure?
An ABS wheel speed sensor is a wheel-mounted speed transducer that reads a rotating target (tone ring/encoder) and converts wheel rotation into an electrical signal the ABS module interprets as wheel speed.
Next, that definition matters because “wheel speed sensor” can mean different designs that behave differently during testing and replacement.
Active vs passive sensors: why the difference affects your diagnostics
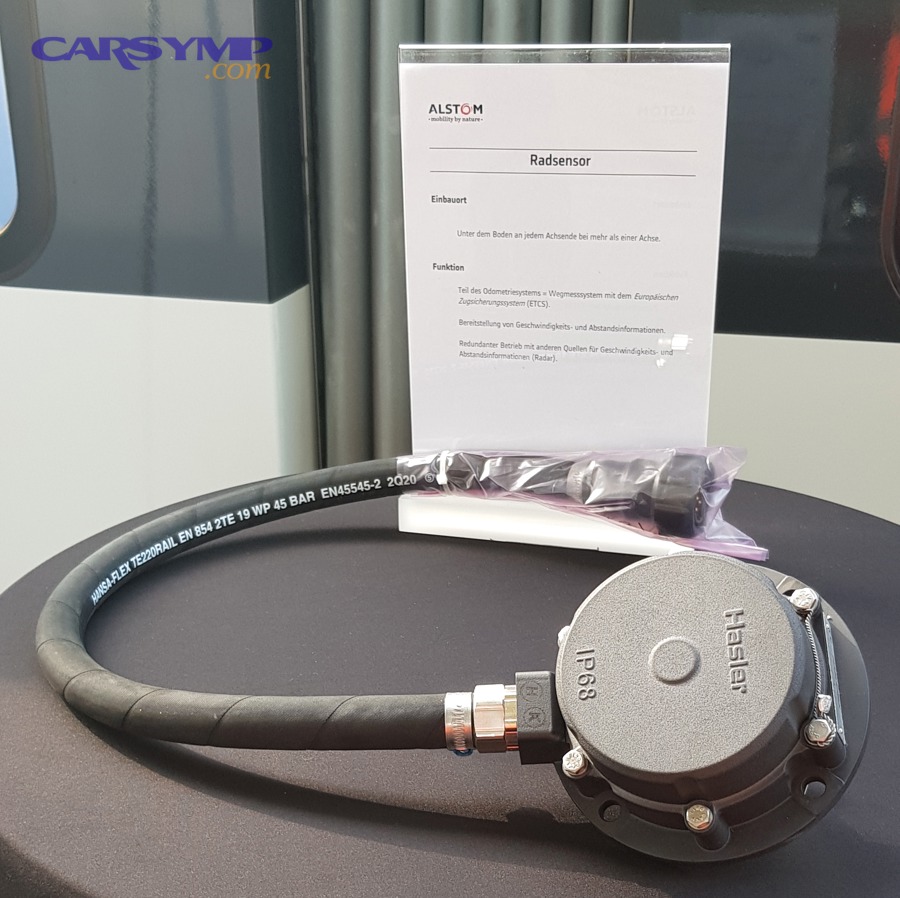
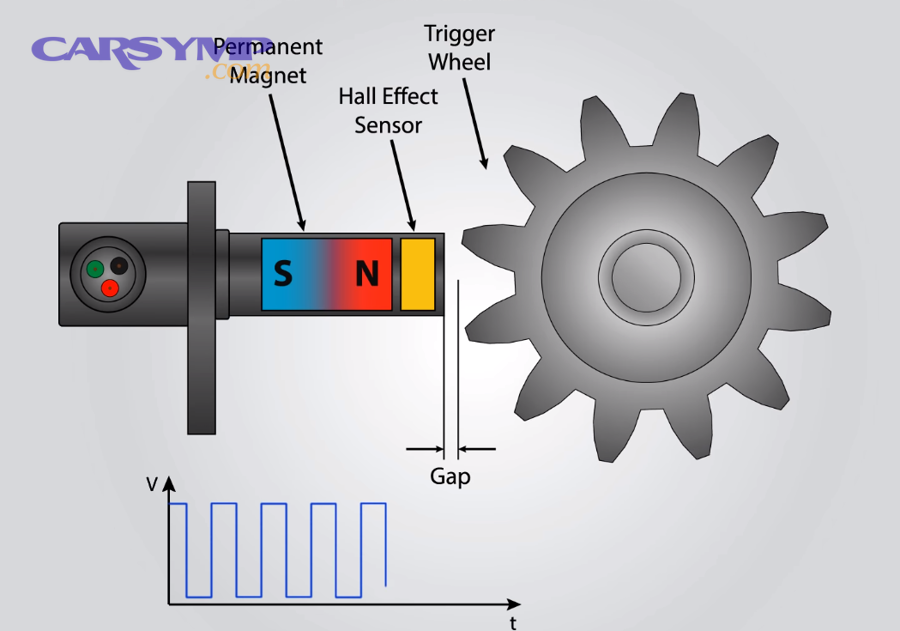
Passive sensors generate AC voltage as the wheel turns, while active sensors are powered and output a digital/square-wave style signal; mixing them up can cause no-signal faults, wrong readings, or intermittent dropouts.
To explain further, passive sensors often test well with resistance/AC-voltage checks, but active sensors usually need power/ground verification and preferably scan-tool live data or an oscilloscope to confirm signal quality.
In real-world service, many late-model vehicles use active sensors integrated into the hub/bearing or paired with a magnetic encoder ring, which is why a “simple ohms test” can mislead you.
Where the sensor sits: knuckle-mounted, hub-integrated, or axle-mounted
Most sensors mount near the wheel bearing or CV axle so they can “see” the tone ring or encoder; the exact location drives the tool access, rust risk, and replacement time.
After that, you can predict difficulty: a sensor pressed into an aluminum knuckle in a salty climate often seizes, while a hub-integrated sensor may be easier to unbolt but more expensive to replace.
What the ABS module does with wheel speed data
The ABS module compares wheel speeds to detect impending lockup and modulates brake pressure; the same data often feeds traction control and electronic stability control, which is why one failed sensor can disable multiple systems.
In other words, the repair isn’t only about braking distance—it’s about restoring reliable feedback for safety systems that depend on accurate wheel-speed comparison during braking, acceleration, and cornering.
Do you need to replace the sensor, or can you fix the real root cause?
Yes, you should replace the sensor when live data shows one wheel reading implausible (dropouts, spikes, or zero) and wiring/target checks confirm the signal source is the sensor itself.
However, the most efficient path is to confirm the failure mode first, because corrosion, broken wiring, or a damaged tone ring can mimic a bad sensor and waste time and money.
Quick symptoms that point toward wheel speed signal problems
Common symptoms include an ABS light, traction control light, stability control warnings, intermittent warning lights after bumps, and live data showing one wheel speed lagging or dropping to zero at low speeds.
To illustrate, many vehicles set faults during the first few feet of movement because the module expects a clean, consistent signal immediately—especially at low speed where rust or a cracked ring can cause irregular pulses.
The fastest confirmation: live data during a slow roll test
The fastest confirmation is to view live wheel-speed data while slowly rolling the vehicle and compare each wheel; the faulty corner typically shows dropouts, jitter, or a stuck value.
Next, repeat the same test while gently wiggling the harness near the knuckle: if the signal cuts in and out, you may have a broken wire inside the insulation rather than a sensor failure.
Research-based context: why ABS accuracy matters even when the car “stops fine”
According to research by the National Highway Traffic Safety Administration from the Evaluation Division, Office of Strategic Planning and Evaluation, in December 1994, ABS-equipped passenger cars showed a 24% reduction in fatal multi-vehicle wet-road crashes and a 27% reduction in fatal pedestrian/bicyclist collisions, while also showing a statistically significant increase in some run-off-road crash outcomes—highlighting how driver-control benefits depend on correct system behavior and conditions.
To connect that to this repair, a weak or erratic wheel speed signal can cause the ABS module to misjudge slip, disable functions, or apply incorrect modulation—so restoring accurate sensing is foundational to proper ABS operation.
What tools and supplies do you need for ABS wheel speed sensor replacement?
You need safe lifting gear, basic hand tools, a way to read ABS codes/live data, and cleaning supplies for corrosion; the exact list depends on whether the sensor is bolted on, pressed into a bore, or integrated into a hub.
Next, having the right supplies is what prevents the most common DIY failure: breaking a seized sensor off in the knuckle and turning a 45-minute job into drilling, extraction, and possible knuckle replacement.
Core tools
- Jack and jack stands (or a lift), wheel chocks, and a torque wrench
- Socket set, ratchet, extensions, breaker bar, and appropriate hex/torx bits
- Trim tool or small screwdriver for harness clips and retainers
- Penetrating oil and a non-marring pry tool
Diagnostics essentials
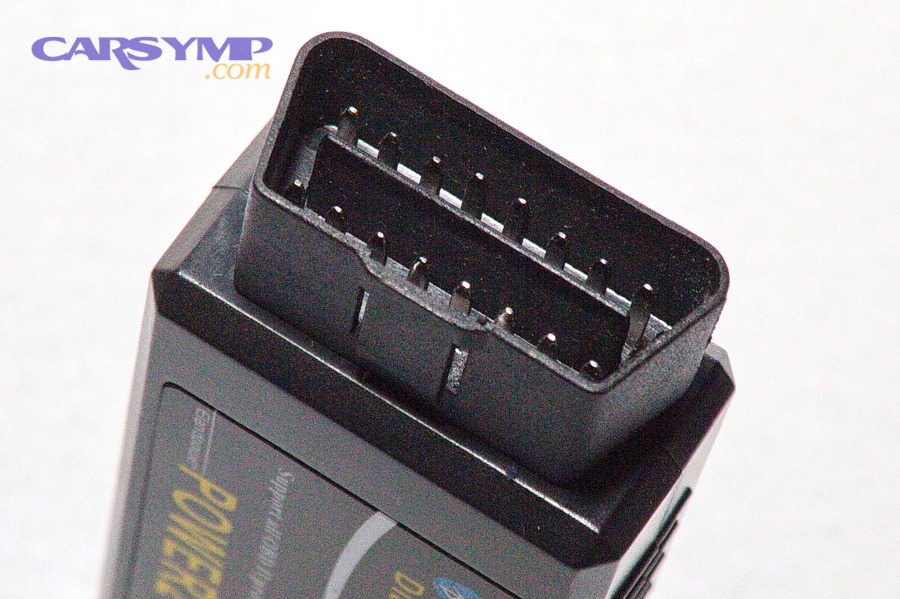
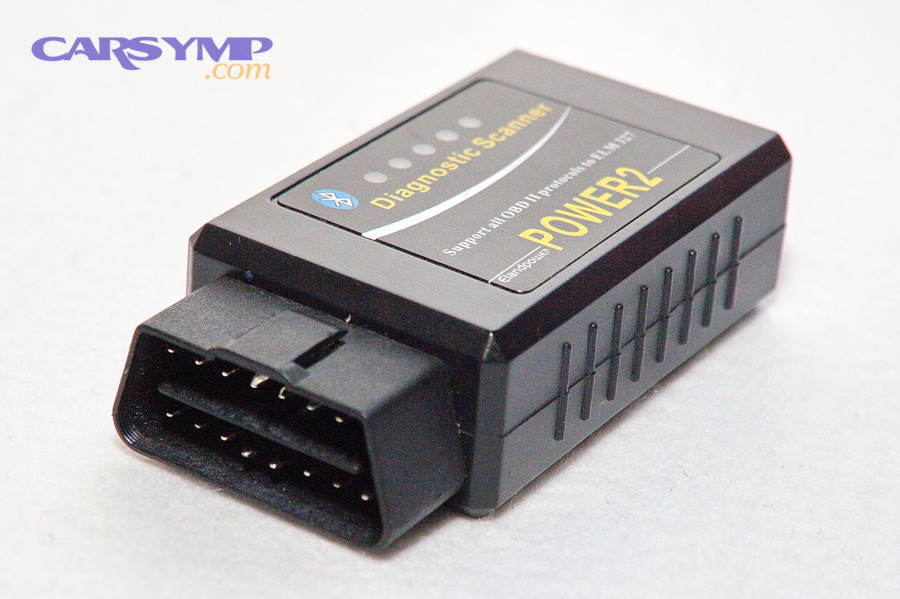
- Scan tool that can read ABS codes and show live wheel-speed data (basic OBD readers may not access ABS modules)
- Multimeter for power/ground checks and continuity tests (especially helpful for wiring faults)
Consumables that prevent comebacks
- Wire brush, fine emery cloth, and brake cleaner for cleaning the mounting bore and nearby target area
- Dielectric grease for the connector seal (light use) and corrosion protection where appropriate
- Anti-seize (sparingly, only where the manufacturer allows—never on the sensing face)
How do you diagnose the correct wheel and confirm the sensor is the issue?
The most reliable method is a scan-tool workflow: read ABS codes, identify the affected wheel, validate with live data, then isolate sensor vs wiring vs target ring with focused checks.
After that, you can replace the part with confidence and avoid chasing the same warning light after the install.
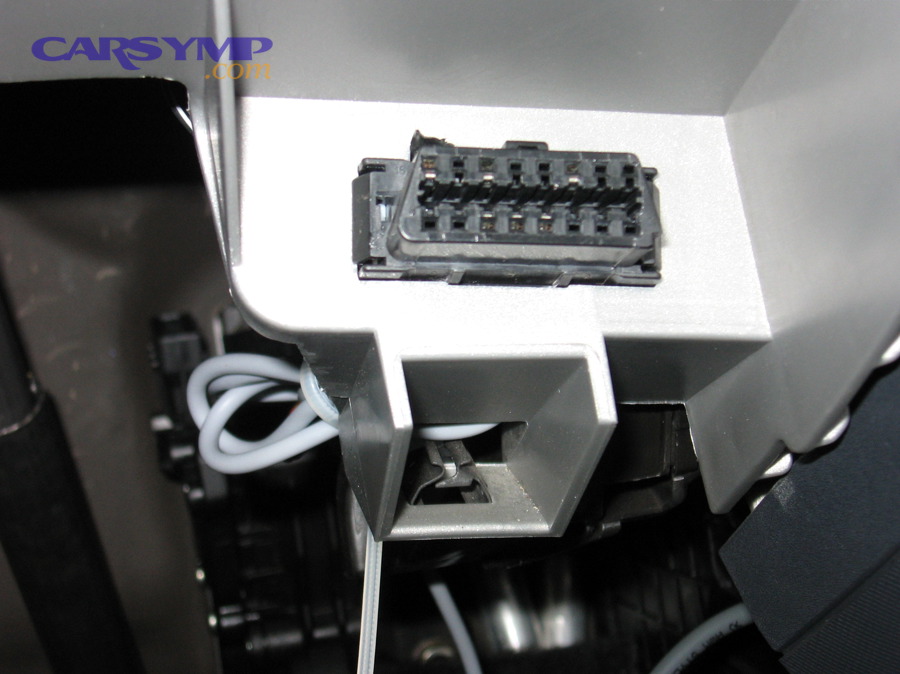
Step 1: Pull ABS codes and freeze-frame-like context
Start by reading ABS module codes (not just engine codes). Many systems store information such as “circuit open,” “signal implausible,” or “mechanical fault,” which immediately narrows the likely root cause.
Next, treat the code wording as a clue: a “circuit” fault often points to wiring/connector issues, while “implausible” or “erratic” can point to the sensor, the encoder, or wheel bearing play affecting the air gap.
Step 2: Compare live wheel speeds at 1–10 mph
At very low speed, a failing sensor or damaged ring often reveals itself with dropouts or sudden spikes that don’t match the other wheels.
To be specific, turn the wheel by hand (if safe and appropriate) or roll the vehicle slowly and watch for a wheel that reads intermittently, lags, or reads zero while the others track smoothly.
Step 3: Isolate wiring vs sensor with a targeted harness check
If live data changes when you flex the harness near the knuckle, you likely have a broken conductor inside the insulation, a chafed wire, or a loose connector pin.
Next, inspect routing: the harness must be clipped properly and kept away from the tire, axle, and suspension travel—many repeat failures are simply rubbing or stretching damage.
Step 4: Inspect the target: tone ring/encoder and bearing condition
A cracked tone ring, heavy rust buildup, metallic debris, or a failing wheel bearing can distort the signal even if the sensor is good.
In practice, if the ring looks damaged or the bearing has play/noise, replacing only the sensor may not solve the problem; you must correct the mechanical issue that corrupts the reading.
How do you replace an ABS wheel speed sensor safely, step by step?
The standard method is: secure the vehicle, remove the wheel, access the sensor, detach the harness, remove the sensor fastener, extract the sensor without damaging the bore, install the new sensor cleanly, and route the harness exactly as original.
Next, we’ll break the process into the steps that prevent the two biggest problems: broken sensors in the knuckle and recurring codes from poor seating or harness routing.
Step 1: Prepare the vehicle and protect yourself
Park on level ground, set the parking brake, chock the wheels, loosen lug nuts slightly, then lift the vehicle and support it securely on jack stands at approved lift points.
After that, remove the wheel and keep hardware organized; a controlled setup reduces the chance of damaging the new sensor during reassembly.
Step 2: Find the sensor connector and free the harness first
Before unbolting the sensor, locate the connector (often in the wheel well, behind a splash shield, or on the strut/frame) and release clips so the harness has slack.
Next, disconnect carefully: do not yank the wires; release the lock tab and pull on the connector body to avoid terminal damage.
Step 3: Remove the retaining bolt and extract the sensor the right way
Most sensors are held by a small bolt; remove it, soak the sensor base with penetrating oil, then gently rotate the sensor body to break corrosion before pulling upward.
To introduce a crucial technique, use slow twisting and upward pressure rather than prying hard—aggressive prying can snap the sensor, leaving the sleeve stuck in the knuckle.
Step 4: If the sensor is seized, de-risk the extraction
If the sensor won’t move, stop and reassess: apply penetrating oil, use gentle heat if safe, and work the sensor back-and-forth to free it without breaking.
Next, if it breaks, you may need careful drilling and extraction—this is where patience saves the knuckle, the wheel bearing seat, and your budget.
Step 5: Clean the mounting bore and ensure full seating
Clean corrosion from the sensor bore with a wire brush/emery cloth, then wipe it clean so the new sensor seats fully and maintains the correct air gap.
After that, confirm the sensor sits flush; even a small lift from rust scale can create a weak or erratic signal and keep the warning light on.
Step 6: Install the new sensor and route the harness exactly
Install the sensor straight and fully seated, torque the retaining bolt to the manufacturer specification, reconnect the harness, and re-clip it to all factory retainers.
Next, verify clearance through full steering lock (front) and suspension travel risk points: the harness must not rub the tire, axle, or control arm.
Step 7: Reinstall the wheel and torque lug nuts properly
Reinstall the wheel, lower the vehicle, and torque lug nuts in a star pattern to the specified value.
To close the loop, correct torque matters because hub and bearing assemblies can be sensitive to uneven clamping, which can affect encoder alignment on some designs.
Which mistakes cause repeat ABS codes after replacing the wheel speed sensor?
The most common repeat-code causes are improper seating (rust under the sensor), damaged or misrouted wiring, wrong sensor type/part number, and ignoring a damaged encoder ring or failing wheel bearing.
Next, treat these as a checklist before you clear codes—because a “new sensor” doesn’t guarantee a “good signal.”
Mistake 1: Leaving corrosion in the bore (sensor sits high)
If rust or debris prevents full seating, the air gap increases and the signal can weaken or become noisy, especially at low speeds where the module is most sensitive to irregular pulses.
Therefore, cleaning the bore is not optional—it’s part of creating a stable signal, not just installing a part.
Mistake 2: Harness routing that allows rubbing, stretching, or pinching
A harness that rubs the tire or axle can fail within days; a harness stretched during steering or suspension travel can break internally and cause intermittent faults.
Next, re-check every clip: the original routing exists to protect the wire in a harsh environment.
Mistake 3: Wrong sensor family (active vs passive) or wrong side
Some vehicles use different sensors front vs rear, left vs right, or different connector keys; installing a similar-looking part can produce implausible readings or immediate circuit codes.
To avoid this, match the part number to the VIN/service catalog and compare connector indexing and harness length before installation.
Mistake 4: Ignoring the target ring/encoder condition
A cracked or rust-swollen tone ring can read fine at speed but fail at low-speed thresholds, causing the ABS to trigger or disable intermittently.
In addition, if the wheel bearing has play, the sensor-to-target gap can vary while driving, producing jitter the module flags as implausible.
What does a good wheel speed signal look like on a scan tool, and how do you verify the fix?
A good wheel speed signal produces stable, matching wheel-speed readings across all wheels during a straight, steady roll, with no sudden dropouts, spikes, or one wheel “lagging” behind the others.
Next, verification is how you turn “installed” into “repaired,” especially for intermittent faults that only appear during low-speed turns or bumpy roads.
Verification checklist: before clearing codes
- Connector fully seated with lock tab engaged
- Harness clipped in all factory locations, no tension at full steering lock
- Sensor seated flush and fastener torqued
- No debris on sensor face or near the encoder/tone ring
Road test method: reproduce the conditions that originally set the code
Clear codes only after you confirm live wheel-speed readings are stable while rolling; then perform a controlled road test: straight acceleration to 20–30 mph, gentle braking, then slow-speed turns (parking-lot figure-eights) while monitoring live data.
To make the test meaningful, repeat the scenario that caused the light—bumps, turns, wet roads, or low-speed stop-and-go—because many failures only show up under harness movement or low-speed pulse sensitivity.
Research-based note on driver control and steering during braking
According to research by the National Highway Traffic Safety Administration and the University of Iowa from the Human Factors Research Program/Public Policy Center, in August 2000, drivers using ABS showed significantly increased stability and control relative to conventional brakes in a crash-imminent simulator study, reinforcing why correct wheel-speed sensing is central to consistent system behavior during braking and steering.
Next, your post-repair road test is essentially a practical proof that the system can again interpret wheel behavior accurately enough to help maintain control when braking and steering overlap.
How much does ABS wheel speed sensor replacement cost, and when is DIY worth it?
Cost depends on sensor design and access: a simple bolt-on sensor is often cheaper and quicker, while hub-integrated sensors and seized hardware can raise both parts and labor costs.
Next, the decision becomes a comparison of time, risk, and required tools—especially if you live in a rust-prone area where extraction difficulty is the main wildcard.
DIY is usually worth it when access is straightforward
If the sensor is bolt-on and the bore isn’t heavily corroded, DIY can be efficient: you pay mainly for the sensor and spend time on careful cleaning and routing.
However, if the sensor is seized or the vehicle uses a hub/bearing assembly with an integrated encoder, the job can expand into bearing/hub replacement, requiring more tools and sometimes press work.
Shop repair may be smarter when corrosion or bearing work is likely
If the sensor is stuck and you don’t have extraction tools or experience, a shop may reduce the risk of damaging the knuckle, bearing seat, or wiring—damage that can exceed the cost of professional labor.
To keep the choice grounded, decide based on the most difficult step, not the easiest: extraction and bore restoration are often the true “cost drivers.”
Table: What the warning signs usually mean and what to check first
This table summarizes common ABS-related symptoms, the most likely causes, and the first confirmation check that saves time. Use it as a quick triage guide before buying parts.
| Symptom | Most likely cause | First check |
|---|---|---|
| ABS + traction lights, one wheel reads 0 mph intermittently | Sensor signal dropout or broken harness | Live data at 1–10 mph + harness wiggle test |
| ABS light after rain/snow, then clears | Connector moisture/corrosion, poor seal | Inspect connector pins, seal, and routing |
| ABS activates at low speed (near stop) with no slip | Rusty/cracked tone ring or debris on encoder | Inspect ring/encoder; compare low-speed wheel data |
| Repeated “implausible signal” after sensor replacement | Sensor not seated flush or wrong sensor type | Check seating, bore rust, part number, connector key |
| Growling noise + ABS signal issues | Wheel bearing play affecting air gap/encoder | Check bearing play/noise; inspect hub/encoder |
Where the job connects to broader ABS problems and future repairs
This repair often intersects with bigger ABS system decisions: sometimes a wheel speed issue is the start, and other times it’s a symptom of deeper mechanical or hydraulic faults that require a different strategy.
Next, we’ll place a contextual border: once the wheel speed signal is proven stable, you can widen the lens to system-wide ABS troubleshooting without getting lost in unrelated causes.
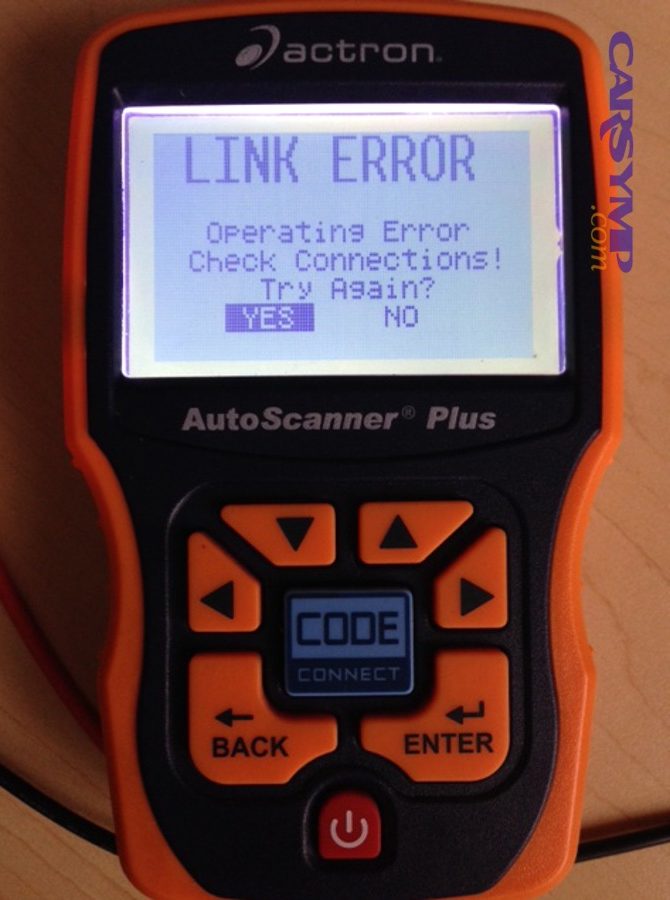
Supplementary: How wheel speed sensors relate to wider ABS system failures
Wheel speed sensing is the “front door” of ABS logic; once that data is trustworthy, you can interpret other faults more accurately and avoid replacing major components unnecessarily.
In the broader world of ABS repair, technicians often start with wheel speed integrity because it influences nearly every control decision the module makes, especially when traction control and stability control share the same data backbone.
How vehicle brand patterns can guide your inspection
When owners search for Common ABS failure causes by make/model, the useful takeaway is not stereotypes—it’s inspection efficiency: some platforms are known for harness chafing near steering knuckles, others for rusted tone rings, and others for hub/encoder failures that mimic sensor faults.
Next, use that idea wisely: if your model family is known for tone-ring corrosion, prioritize encoder inspection before you assume the new sensor is defective.
Why a wheel speed sensor fault can appear during unrelated suspension work
After suspension work, it’s common to see new ABS warnings because the harness was stretched, a clip was left off, or the sensor wire now rubs the tire—meaning a “new code” can be a routing mistake, not a bad part.
In addition, any change in hub/bearing alignment or knuckle corrosion cleanup can alter the sensor seating and gap, so re-check flush fit and clip placement after any front-end service.
When the issue isn’t at the wheel: a high-level hydraulic warning
If all wheel speeds read correctly and consistently, but you still have ABS warnings related to pump/motor or pressure control, you may be moving toward an ABS pump replacement overview problem set—where diagnosis shifts from wheel-end signal integrity to hydraulic unit performance and module-controlled pressure modulation.
Next, the key is sequence: prove wheel signals first, then interpret pump/valve codes with confidence, because a bad speed input can cascade into misleading system behavior.
How to prevent repeat failures: environment-proofing and maintenance habits
To reduce repeat failures, keep wheel wells clean in winter climates, repair torn splash shields, and ensure harness clips are intact so the wire isn’t constantly flexed or exposed to salt spray.
Finally, if the sensor failed due to corrosion in the bore, consider gentle corrosion protection practices permitted by the manufacturer and inspect the opposite side—because environmental failures often occur in pairs over time.
FAQ
Can I drive with a bad wheel speed sensor?
Yes, most vehicles remain driveable, but ABS/traction/stability functions may be disabled, and the vehicle may behave differently on slippery surfaces or during emergency braking; that’s why replacing the sensor promptly is the safer choice.
Do I need to disconnect the battery to replace an ABS sensor?
Usually no, but you should follow your vehicle’s service guidance; in many cases you can replace the sensor with the battery connected as long as you avoid damaging wiring and you clear/verify codes afterward with a scan tool.
Will the ABS light turn off by itself after replacement?
Sometimes it will after a successful drive cycle, but many vehicles require code clearing; more importantly, the light should only stay off if live wheel-speed data is stable and the module sees a valid signal under road-test conditions.
Do I need an alignment after replacing a wheel speed sensor?
Replacing only the sensor typically does not require alignment, but if you removed major suspension components, altered the knuckle position, or replaced a hub/bearing assembly, an alignment check can be wise.
What if I replaced the sensor and the code came back immediately?
If the code returns immediately, suspect the wrong part (active/passive mismatch), a connector/pin issue, a broken harness, or a seating problem from corrosion; verify power/ground (for active sensors), continuity, and confirm flush mounting before buying another sensor.