


Rusted rotors and stuck screws tips come down to one core move: break corrosion without breaking hardware, bearings, or your patience. The goal is controlled force—heat, shock, leverage, and cleaning—applied in the right order so parts separate cleanly.
You’ll also learn how to avoid the two most common DIY failures: rounding small retaining screws and “rust-welding” the rotor to the hub. The right prep (penetrant timing, correct bits, and strike technique) can turn a “won’t budge” job into a predictable sequence.
Because corrosion can hide other brake issues, you’ll get quick checks for uneven pad wear, caliper slide problems, and hub face buildup that can cause pedal feel changes later if you reinstall on a dirty surface.
To introduce a new idea, you’ll finish with prevention—so the next service isn’t a repeat—plus a few special-case tricks for salt-belt cars and stubborn rotor set screws that seem impossible until you treat them like a fastener removal project, not a brake project.
Why do rotors rust-bond and screws seize in the first place?
They seize because iron oxide expands and “locks” mating surfaces, while heat cycles and moisture turn threads into a corrosion glue. To start, think of the rotor-hub joint and the screw threads as two separate problems that need different tactics.
Next, here’s what’s happening mechanically: rust grows in the microscopic gaps between the rotor hat and hub face, increasing friction and surface contact until the rotor behaves like it’s fused. Meanwhile, small retaining screws (often soft, shallow-headed, and over-torqued) trap water in the countersink and corrode from the outside in.

What conditions accelerate rotor-to-hub corrosion?
Salt, wet roads, and long periods of sitting accelerate corrosion because electrolytes speed oxidation and keep surfaces damp. After that, frequent short trips add heat and moisture cycles that bake corrosion into a hard crust.
More specifically, the rotor “hat” area is a moisture trap: road spray enters, then the assembly heats up and cools down, pulling in humid air. If your wheels rarely come off, the corrosion layer can grow undisturbed for years.
Why are retaining screws so easy to strip?
They strip because their heads are shallow and easily cam-out when the bit doesn’t fully seat. In addition, many are installed with threadlocker or corrosion on the threads, so the torque required to break them free exceeds the head’s ability to transmit force.
To illustrate, a Phillips-looking screw may actually be JIS, Pozidriv, or a Torx/hex that’s slightly rounded from prior attempts—each mismatch increases cam-out and ruins the head fast.
Does rotor rust always mean the rotor is “bad”?
No—surface rust can be normal, while deep pitting on the friction surface or heavy flaking on the hat can be a real problem. However, the key is where the rust is and whether it changes thickness, contact, or balance.
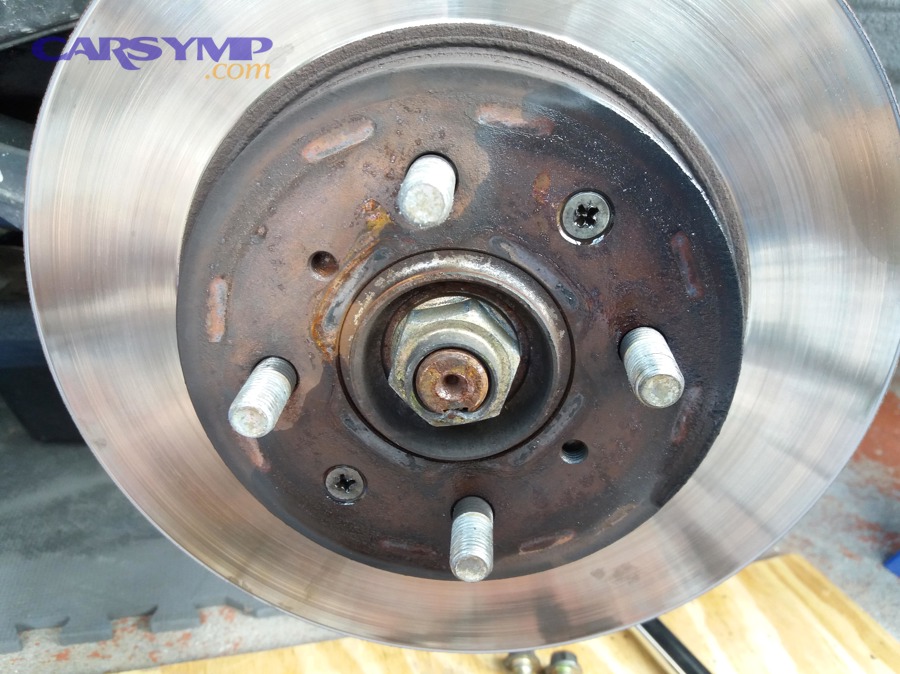
Surface rust on a parked vehicle often wipes off after a few stops, but heavy scale at the hub interface can cause the rotor to sit crooked, setting you up for runout and vibration later even if the braking surface looks fine.
Is it safe to keep driving when a rotor is rust-stuck or a screw is damaged?
Sometimes yes, sometimes no: light rust and an intact brake system can be safe short-term, but damaged fasteners, abnormal pedal feel, or grinding noises mean you should stop and inspect. To begin, treat safety as a checklist, not a guess.
Next, separate “stuck during service” from “unsafe on the road.” A rotor that’s bonded to the hub is mainly a service difficulty, but the underlying corrosion can hide uneven seating or hardware damage that affects braking consistency once parts are disturbed.
What warning signs mean you should not drive?
Don’t drive if you have a sinking pedal, a hard pedal with poor stopping, fluid leaks, metal-on-metal grinding, or a wheel that’s unusually hot after a short drive. After that, if the vehicle pulls hard under braking, you may have a caliper or hose issue that needs immediate attention.
Also avoid driving if lug nuts were removed and reinstalled without a torque wrench—incorrect torque can distort mounting and complicate diagnosis later.
What problems can appear after you “force it” apart?
Problems show up when uncontrolled prying bends a dust shield, damages wheel studs, cracks a rotor hat, or chips the hub face. In other words, the corrosion may be annoying, but the damage you create can be expensive.
In particular, aggressive hammering on the wrong spot can transfer shock into bearings, and prying between rotor and backing plate can distort thin metal that later rubs and creates noise.
What tools and supplies make removal faster and prevent damage?
The best setup is a short list: correct bits, penetrant, impact/shock tools, heat control, and cleaning tools that let you work methodically. To start, match the tool to the failure mode—threads, head stripping, or rust-bonded faces.
Next, plan for two categories: (1) breaking the screw free without cam-out and (2) separating the rotor from the hub without bending parts. Having the right items on hand is what keeps you from improvising with pry bars in the wrong places.
Which bits actually help with stuck rotor screws?
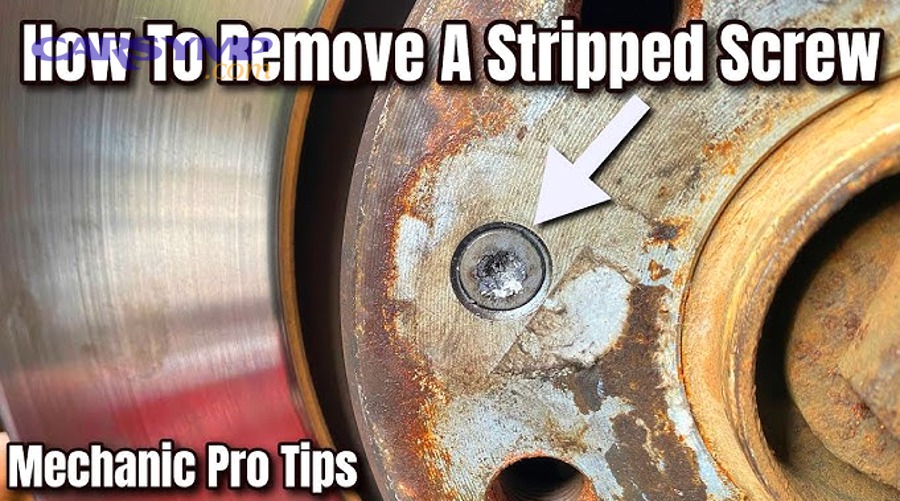
Use high-quality, sharp bits that fit tightly—often a properly sized Torx or an impact-rated Phillips/JIS-style bit depending on the fastener. After that, seat the bit fully by cleaning the head pocket and tapping the bit in with a hammer before turning.
As a rule, avoid “almost fits” bits. A slightly loose fit guarantees cam-out when you apply the high breakaway torque that seized screws demand.
What penetrants and lubricants are worth using?
A true penetrating oil works best when given time to creep into threads, especially if you spray, tap the area to vibrate it in, and reapply. Next, use brake-safe cleaners for final prep, and save anti-seize for mating faces or specific threads where appropriate.
Be careful: keep oils off pad friction material and rotor braking surfaces. Contamination can cause uneven friction and long-term braking issues.
Do you need heat, and if so, what kind?
Heat helps because it expands the surrounding metal and breaks the corrosion bond. To begin, controlled heat on the rotor hat around the screw or hub interface is safer than overheating bearings or rubber components.
Use a torch only if you can keep heat localized and away from ABS wiring, seals, and brake hoses. If you’re unsure, skip heat and lean harder on shock and proper extraction techniques.
How do you break a rust-bonded rotor free without warping parts?
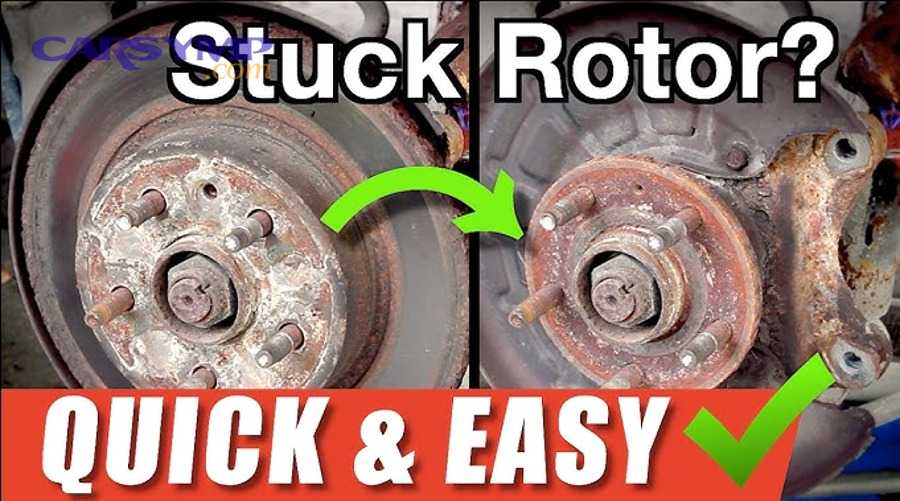
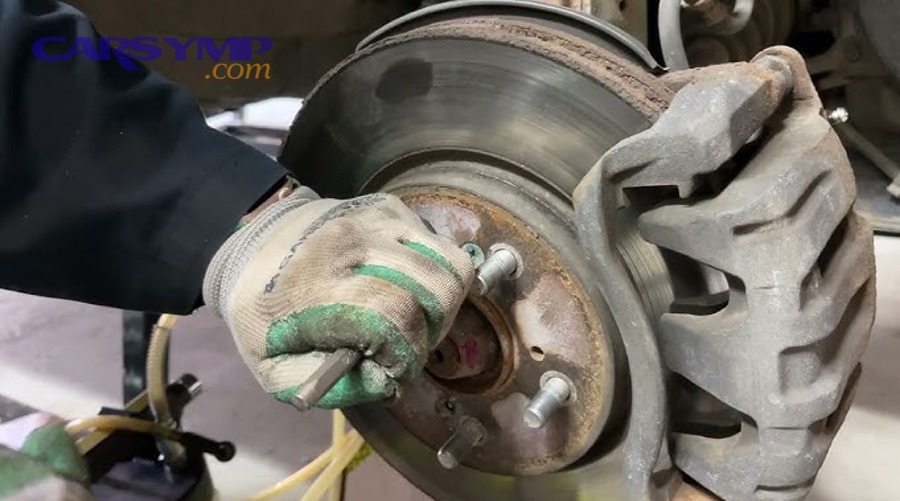
Use controlled shock and even force: loosen the bond with strikes to the rotor hat and/or use the built-in push-off holes, then rotate and repeat. To start, never pry against the backing plate or caliper bracket as your first move.
Next, think “even separation.” Corrosion grips in patches; if you only pull one side, you cock the rotor and make it tighter. Your job is to disrupt the corrosion layer all the way around.
Where should you strike, and where should you avoid striking?
Strike the rotor hat (the thick center “drum” area), not the friction surface where pads contact. After that, avoid hitting wheel studs, ABS tone rings, or the thin outer edge that can chip or distort.
Use a dead-blow or a solid hammer with controlled swings. The point is repeated shock, not maximum violence in one hit.
How do push-off bolt holes work, and why do they help?
Some rotors have threaded holes that accept bolts; tightening them pushes the rotor away from the hub evenly. Next, alternate between holes in small increments so you “walk” the rotor off without tilting.
If the holes are dirty, chase them gently with a suitable tap or thread chaser, then use bolts of the correct thread and length to avoid stripping the rotor hat.
What if the rotor still won’t move?
If it won’t move, increase the “penetrant + shock + rotate” cycle: spray the hub interface, tap around the hat, rotate the rotor slightly, and repeat. After that, try tightening push-off bolts a quarter-turn at a time, then shock the hat again.
In stubborn cases, a wire brush and pick can remove rust ridges at the outer hub ring, giving penetrant a path inward and reducing the “lip” that locks the rotor in place.
How do you remove stuck rotor retaining screws step-by-step?
The most reliable method is: clean the head, seat the correct bit, apply downward force, then use impact-style shock to break the threads free. To begin, treat the head as a precision interface—if the bit isn’t fully seated, you’re already losing.
Next, the secret is combining axial force (pushing into the screw) with torsional shock (short, sharp turns). This breaks corrosion bonds better than a long steady pull that just cams the bit out.
Step 1: Prep the screw head for maximum bite
Start by scraping and brushing debris out of the head so the bit bottoms out. After that, spray penetrant around the screw and let it soak—then tap the screw head lightly to vibrate oil into the threads.
If the head is packed with rust, a pick and a blast of brake-safe cleaner can expose crisp edges that dramatically reduce cam-out.
Step 2: Seat the bit and “lock” it in place
Choose the tightest-fitting bit and hammer it in gently to seat it fully. Next, keep the tool aligned straight with the screw axis; even a small angle increases the chance of stripping.
Use two hands: one to maintain strong inward pressure, the other to control turning force.
Step 3: Use shock to break the threads free
An impact driver (manual or powered) is ideal because it converts a hammer strike into a twisting shock. After that, make your first movement a “breakaway” attempt—short, sharp, controlled—rather than a long pull.
Once it moves, work it back and forth: tighten a hair, loosen a hair, add penetrant, and repeat. This clears corrosion from threads instead of galling them.
What if the screw head strips, rounds, or the screw snaps?
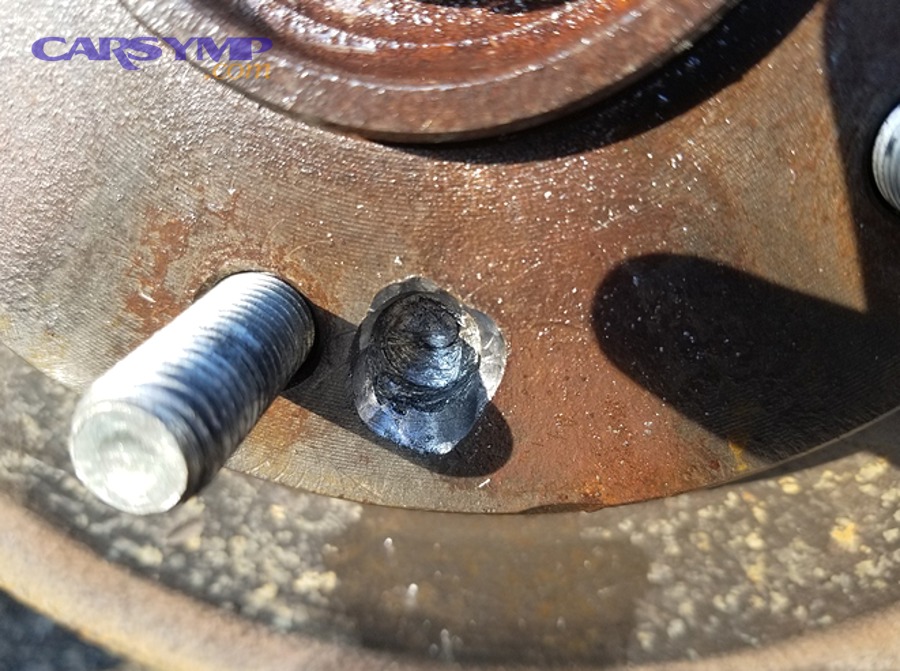
You still have options: cut a new drive slot, use extractor techniques, or drill strategically—while remembering that the screw usually isn’t structurally required once the wheel clamps the rotor. To start, don’t panic; panic is how you drill off-center.
Next, your goal is either to (1) regain a drive surface or (2) remove the head so the rotor can come off and the remaining shank can be handled with better access.
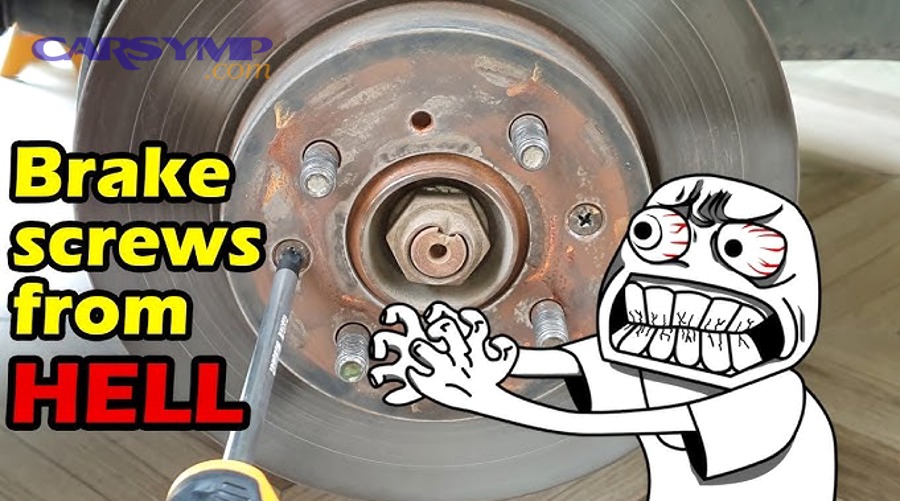
Option A: Cut a new slot and use a large flat bit
If there’s enough head material, cut a straight slot across the head using a cutting wheel, then use a large flat bit with strong downward force. After that, add shock—tap the screwdriver handle while turning to mimic impact.
This works best when the head is damaged but still present and the screw is not deeply fused in the threads.
Option B: Use a left-hand drill bit to back it out
A left-hand drill bit can sometimes grab and spin the screw out as you drill. Next, start with a small pilot and stay centered; the moment it bites and rotates, stop drilling and let it unwind.
Even if it doesn’t back out, drilling can relieve tension and heat the fastener slightly, which may help later removal attempts.
Option C: Drill the head off, then remove the shank later
Drilling the head off is often the fastest “get the rotor off” move. After that, once the rotor is removed, the remaining shank may protrude enough to grip with locking pliers, apply penetrant, and twist out with better leverage.
Go slowly and use the correct drill size so you remove the head without damaging the countersink seat in the hub.
Option D: Extractors—use with caution
Extractors can work, but they also snap if over-torqued, and a snapped extractor is very hard to drill. To begin, only try an extractor after you’ve created a clean, centered pilot hole and you can keep the tool straight.
If the extractor doesn’t budge with moderate force, stop and switch to drilling the head or seeking professional help.
How do you clean and prep surfaces so the rotor seats flat on reassembly?
Clean the hub face until it’s smooth, flat, and free of rust scale, then protect it lightly so the next removal is easier. To start, the hub-to-rotor interface matters as much as the rotor itself.
Next, even a thin rust ridge can hold the rotor slightly off-center, which can amplify runout and cause a pedal pulsation that feels like rotor problems even when the friction surface is new.
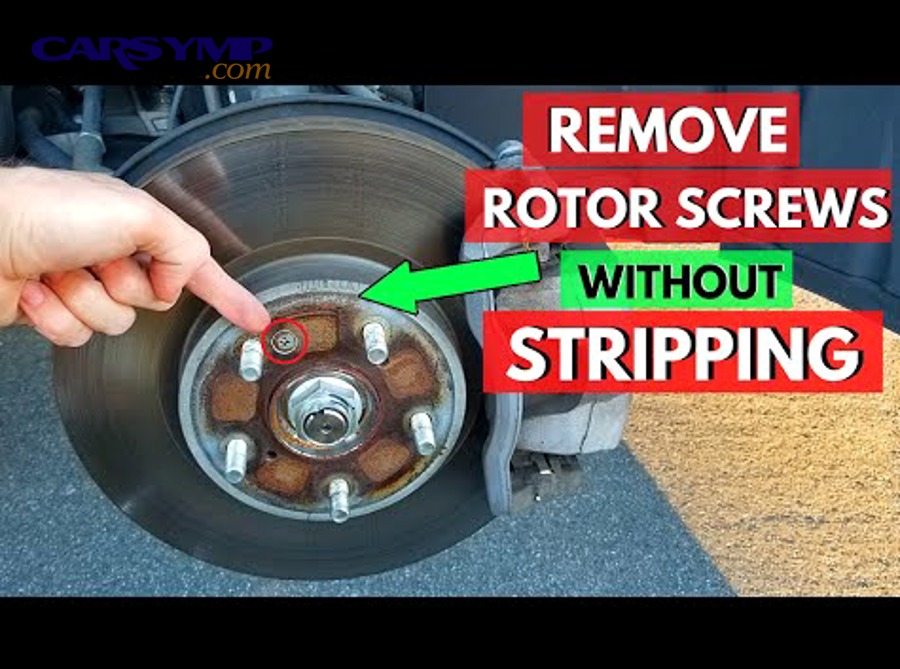
What’s the best way to clean the hub face?
Use a wire brush, abrasive pad, or a hub cleaning tool to remove rust and debris, then wipe clean. After that, focus on the center ring (hub pilot) where the rotor centers—corrosion there can “hang” the rotor.
Be careful not to gouge the hub face; you want smooth and flat, not carved.
Should you use anti-seize, and where?
Use a thin, controlled film on the hub pilot ring and sometimes the hub face—never on friction surfaces. Next, keep the layer minimal; too much can fling outward and contaminate pads.
If your environment is very wet or salty, the prevention payoff is big, but cleanliness and restraint are essential.
How do you verify the rotor is seated correctly?
Temporarily hold the rotor flush with a couple of lug nuts and washers, then spin and check for wobble or a “standoff” gap. After that, if you feel uneven contact, remove and re-clean until it sits perfectly flat.
This is also the moment to ensure no debris is trapped behind the rotor hat—one small flake can undo all your work.
How do you prevent future stuck rotors and seized screws?
Prevention is simple: reduce corrosion pathways and reduce the chance of fastener damage during the next service. To start, assume the vehicle will face water again—so build in protection now.
Next, focus on three habits: cleaning mating faces, using correct torque and technique, and limiting exposure of small fasteners to trapped moisture.
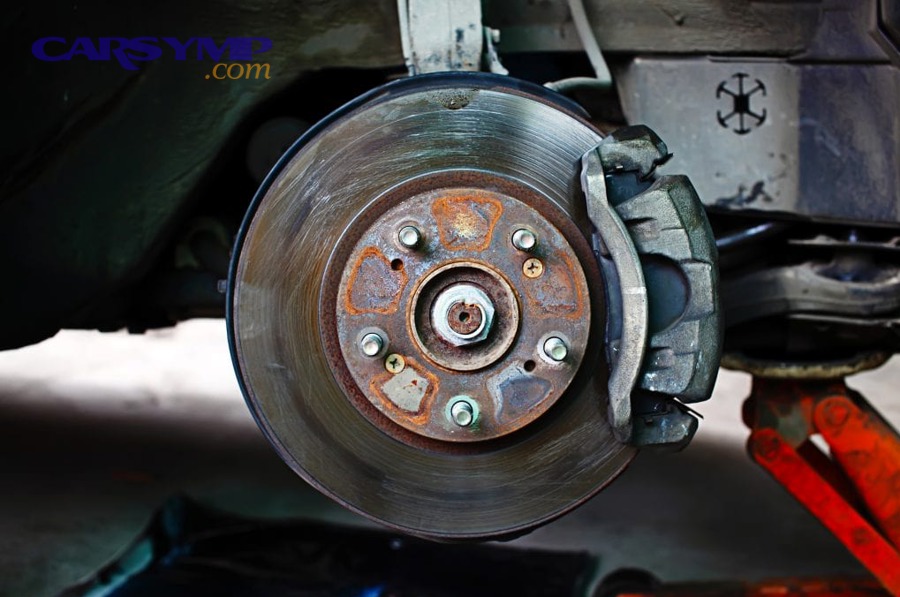
Do you need to reinstall the retaining screws at all?
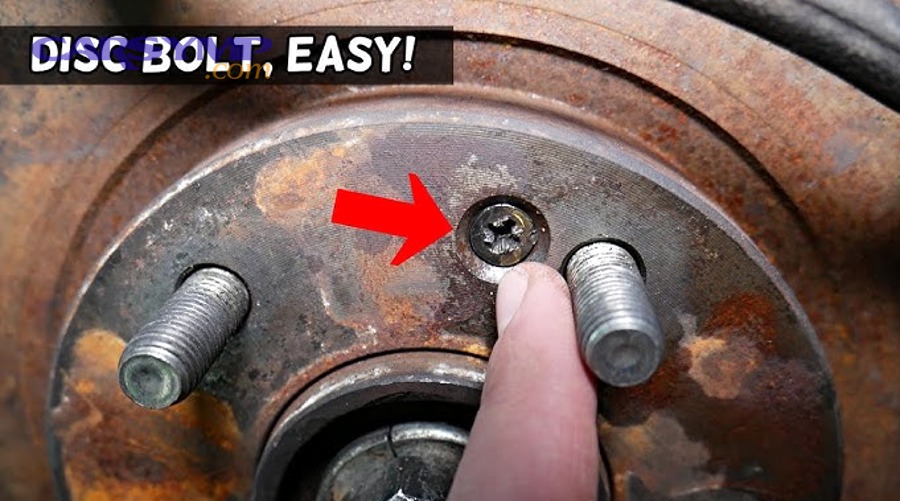
Often you don’t: the wheel and lug nuts clamp the rotor securely in normal operation. After that, if you choose to reinstall them, use the correct driver bit, gentle torque, and consider a light corrosion inhibitor on the threads.
Many technicians omit them entirely after removal to avoid repeating the same seizure problem on the next job.
What assembly practices reduce rust-bonding?
Clean hub faces, lightly protect the pilot ring, and avoid leaving bare rust-prone surfaces unaddressed. Next, ensure lug nuts are torqued evenly in the correct pattern; uneven clamping can worsen seating issues and complicate future removals.
Also, if the vehicle sits for long periods, an occasional short drive that warms and dries components can reduce long-term moisture retention.
What should you do after the job to confirm everything is right?
Do a controlled test drive: gentle stops first, then moderate, paying attention to feel and sound. After that, recheck lug torque after a short distance if your vehicle’s guidance or your shop practice recommends it.
In the middle of this process, keep an eye out for signs that relate to brake rotor replacement scenarios: any new vibration, pulling, or unexpected pedal changes should trigger a re-check of rotor seating and hardware.
When should you stop DIY and call a professional?
Stop when the risk of collateral damage outweighs the savings—especially if you’re drilling near hubs, heating near bearings, or dealing with repeated fastener failures. To start, the “right time” is before you break something expensive.
Next, recognize the escalation points: a stripped head that needs precision drilling, an extractor that’s close to snapping, a rotor that won’t separate even with push-off bolts, or any sign of brake system faults beyond corrosion.
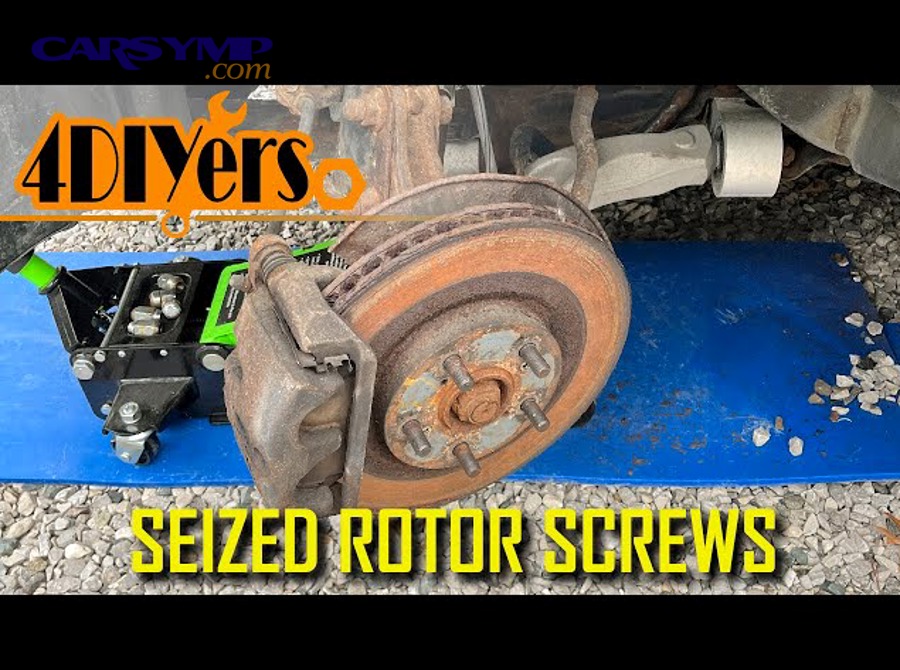
Which situations usually require shop equipment?
Shops help when you need pneumatic impact tools, induction heaters, lift access, or precision drilling setups. After that, if a hub face is damaged or studs are compromised, professional repair prevents repeat failures and ensures safe clamping.
They can also measure runout and correct seating issues that might otherwise lead to repeat symptoms after reassembly.
What information should you bring to a shop to save time?
Bring photos of the stuck fastener, note what tools and penetrants you used, and mention whether the rotor has push-off holes. Next, describe any symptoms you noticed before disassembly so they can check for related issues rather than assuming corrosion is the only problem.
That context can shorten diagnosis and reduce the chance of paying twice for the same labor.
Contextual Border: The sections above focus on core removal tactics and safe reassembly. Next, the content below expands into edge cases and prevention shortcuts that depend on vehicle design, environment, and fastener style.
Advanced edge cases and smart shortcuts for stubborn hardware
These tactics help when corrosion is extreme, hardware is atypical, or the vehicle design adds constraints. To begin, the goal is the same: separate parts with minimal damage, but the path changes based on what’s blocking access or magnifying seizure.
Salt-belt vehicles: how to reduce “repeat seizure” cycles
In heavy-salt regions, corrosion returns quickly unless you treat the root cause: exposed interfaces and trapped moisture. Next, prioritize cleaning the hub pilot ring thoroughly and applying a very thin protective film where appropriate—then plan to inspect sooner rather than later.
Also consider swapping small retaining screws for new ones if you insist on reinstalling them, because reused corroded screws are more likely to seize again even if they come out today.
Aluminum hubs and mixed metals: why technique matters more
Mixed metals can promote galvanic corrosion, which makes interfaces seize aggressively over time. After that, avoid aggressive prying that can gouge softer aluminum, and use even push-off force when possible to prevent distortion of mating surfaces.
If you must use heat, keep it localized and short; aluminum moves heat differently and can change the way parts expand, which can help—if controlled—or harm—if overheated.
Rotor designs with drum-in-hat parking brakes
Some rotors house a small drum parking brake inside the hat, and corrosion or adjustment can make removal harder. Next, if the rotor won’t come off even after the hub bond is broken, consider that the parking brake shoes may be hanging up on a ridge inside the drum surface.
In those cases, backing off the adjuster (when accessible) can be the difference between “stuck forever” and “slides off smoothly.”
Post-job noises: separating normal from problems
Some sounds after service are harmless (light brushing as parts settle), but scraping, clunking, or persistent squeal often means something is contacting or misaligned. After that, pay close attention to dust shield clearance, pad hardware seating, and whether the rotor is flush against the hub.
Also keep in mind that Common rotor noise after installation can be caused by a slightly bent backing plate, missing anti-rattle hardware, or debris trapped behind the rotor—issues that are easy to fix if caught early.
FAQ
Can you skip retaining screws permanently?
Yes in many cases, because the wheel clamping force holds the rotor; the screw is mostly an assembly aid. Next, if your vehicle uses them for alignment during manufacturing, you can still omit them during service as long as you keep the rotor secured while installing the wheel.
What if the rotor is stuck but the screw is already removed?
That points to hub-face corrosion, not threads. After that, focus on push-off holes (if available), penetrant at the hub ring, and controlled shock to the hat—then clean the hub face thoroughly before reassembly.
How do you decide whether to replace pads at the same time?
It depends on pad thickness, wear pattern, and heat history; uneven or tapered wear often means you should correct slides and hardware and consider replacing pads together with rotors. Next, When to replace pads with rotors usually comes down to protecting your new friction surfaces from old, glazed, or contaminated pads.
What costs more: fighting seized hardware or replacing extra parts?
Sometimes new screws, fresh hardware, or even a replacement rotor is cheaper than hours of drilling and extraction—especially if your tools are limited. After that, a Rotor replacement cost estimate can swing widely based on labor time, corrosion severity, and whether collateral parts (studs, hubs, sensors) get damaged during removal.
What’s the single best tip to avoid stripped screw heads?
Use the exact correct bit, fully seated in a clean head, with strong inward pressure and impact-style shock—not a long steady twist. Next, if the bit feels even slightly loose, stop and re-evaluate before you commit to a stripping attempt.
Finally, if your project escalates beyond simple corrosion—like repeated fastener failure, uncertain rotor seating, or braking symptoms you can’t confidently explain—treat it as a system check, not just a stuck-part problem. With the right sequence and prevention steps, rusted rotors and stuck screws become a predictable, repeatable job instead of a weekend-stopper.