


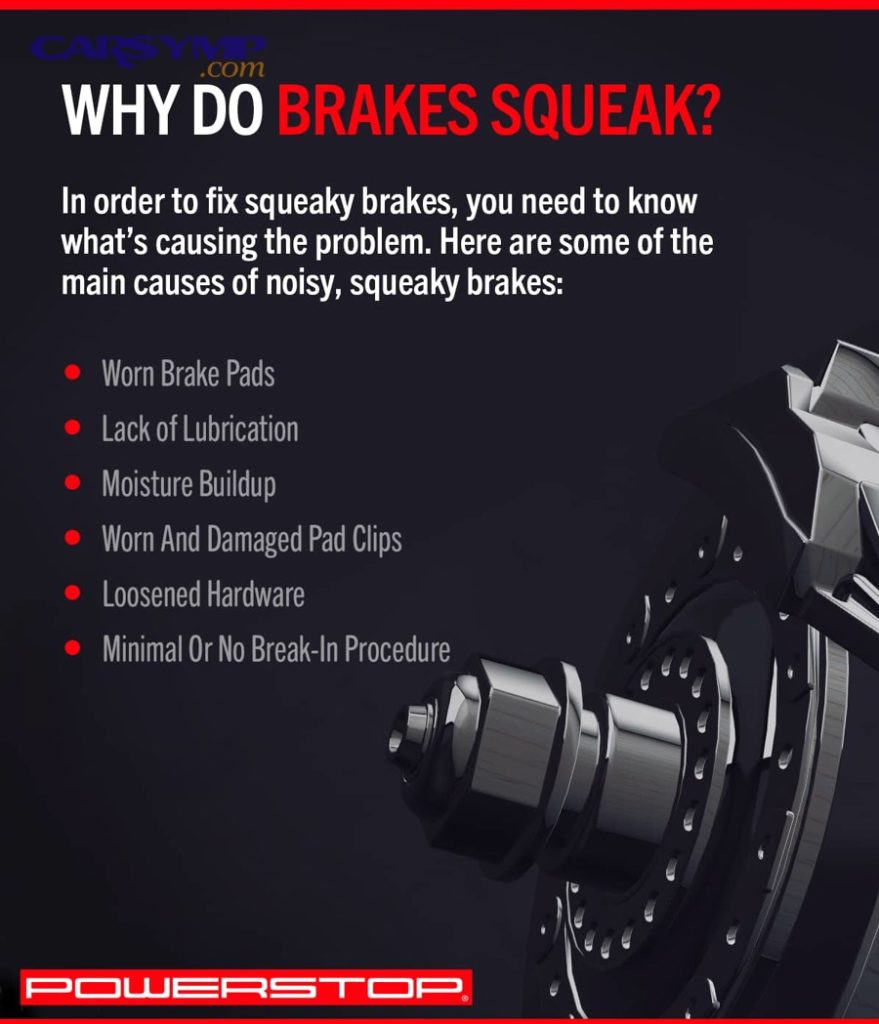
Brake squeal after new pads is usually caused by vibration: the pad, caliper, and rotor act like a tiny speaker when a surface, fitment, or hardware detail lets them resonate instead of staying damped.
Most cases trace back to installation details you can verify at home—pad bedding, clip fit, slide-pin movement, rotor cleanliness, and correct pad type—before you assume the new pads are “bad.”
Just as important, squeal can also be a clue that something else was already near its limit (rotor finish, caliper retracting unevenly, hub rust, or a bent dust shield) and the pad swap simply revealed it.
To start, use a simple cause-first checklist: confirm where the noise happens, then match it to the most likely mechanical reason—Giới thiệu ý mới: the sections below walk you through each cause in the order that saves the most time.
Is brake squeal after pad replacement “normal,” and when is it not?
Yes—some light squeal can be normal for a short time after pad replacement, but persistent or sharp squeal usually means a vibration-control detail (hardware, lubrication, rotor surface, or bedding) is missing or incorrect.
To begin, separate “brief settling noise” from “repeatable symptom” so you don’t chase the wrong fix.

Normal (usually temporary) often shows up as a faint chirp at very light pedal pressure, especially during the first few heat cycles. New friction material needs to establish a stable transfer layer on the rotor, and the pad edges may still be “sharp.”
Not normal (needs checking) is a squeal that is loud, consistent, and easy to reproduce—especially if it happens at every stop, changes with steering, comes with vibration, or gets worse quickly.
Safety red flags include scraping/grinding, a pulsating pedal, pulling to one side, a burning smell after normal driving, smoke, or a wheel that’s much hotter than the others. In those cases, reduce speed, avoid hard braking, and inspect immediately because a sticking caliper or metal-to-metal contact can escalate fast.
What are the most common causes right after new pads are installed?
There are 6 main causes of squeal right after pad replacement: missing/incorrect hardware, wrong lubrication placement, unprepared rotor surface, improper bedding, caliper slide issues, and pad/rotor mismatch in compound or finish.
Next, treat these as a checklist: fix the easiest verification items first, then move toward deeper mechanical checks.
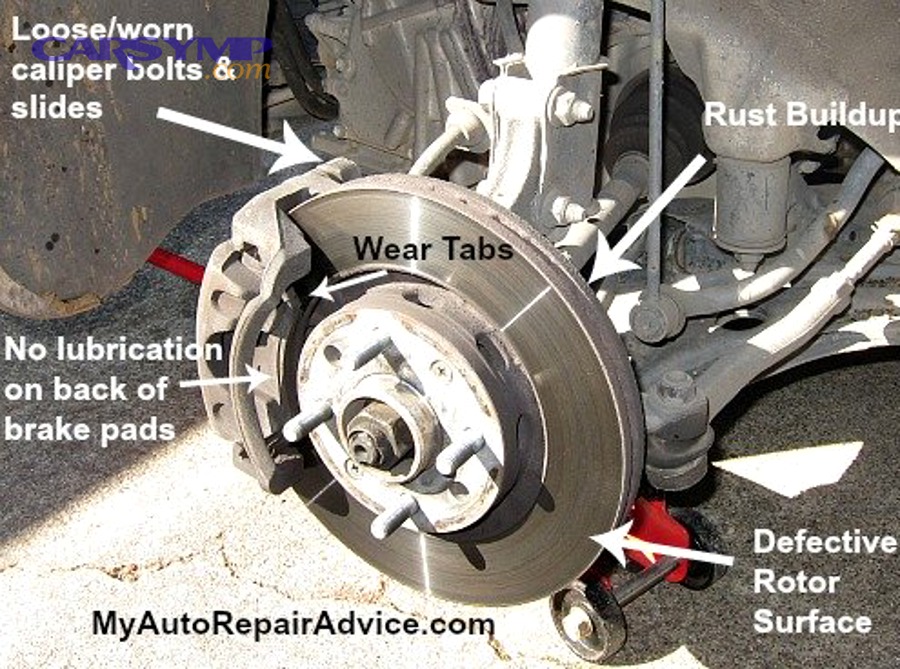
1) Hardware fit or reuse problems are the #1 “new pads but still squeal” scenario. If anti-rattle clips are bent, missing, swapped left-to-right, or not fully seated, the pad can chatter.
2) Lubrication mistakes cause noise two ways: too little grease on contact points lets metal-on-metal chatter; too much or wrong type on friction surfaces contaminates pads and creates uneven bite that squeals.
3) Rotor surface not reset (glaze, grooves, rust ridges, or uneven old material transfer) makes the new pad skid microscopically instead of gripping smoothly.
4) Bedding not done leaves the transfer layer unstable, so the pad alternates between stick and slip under light braking—classic squeal conditions.
5) Slide pin or abutment binding prevents even pad contact and retraction. One pad drags, heats, and squeals.
6) Pad compound mismatch can be totally “working” but noisier by nature. Some semi-metallic pads squeal more at low speed; some aggressive pads need higher temperature to quiet down.
How do missing or misinstalled pad hardware create squeal?
Missing or misinstalled hardware causes squeal because it removes damping and preload: the pad vibrates against the bracket and caliper instead of being held firmly by properly seated clips, shims, and springs.
After that, inspect “touch points” where the pad backing plate meets metal, because those are where vibration starts.
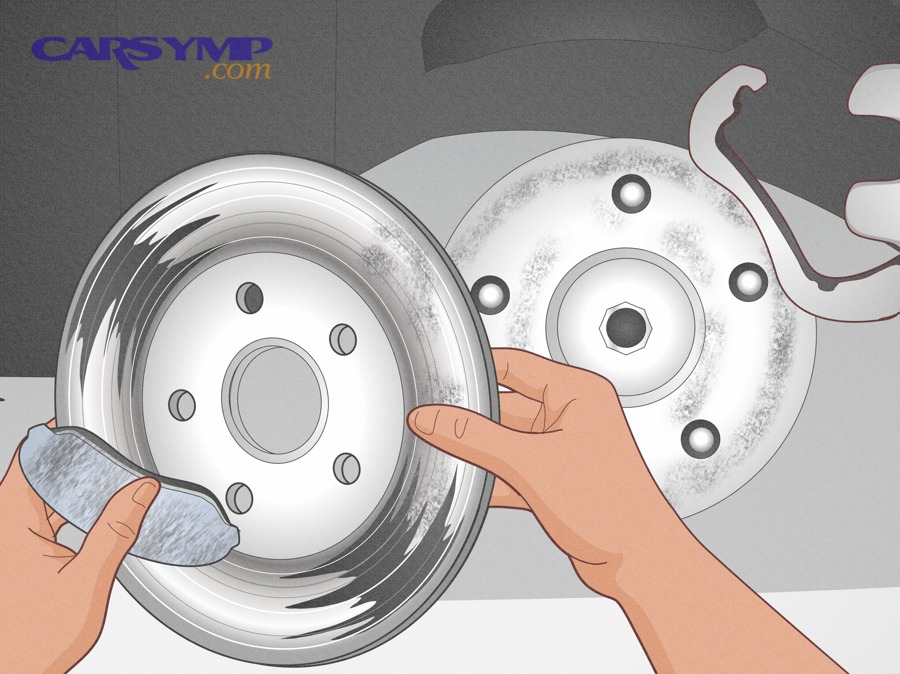
Start with the abutment clips. They must be fully snapped into the bracket lands, not perched on rust or paint. If a clip sits crooked, the pad ear rocks under braking and squeals.
Check pad ear movement. With the caliper removed, the pad should slide in the bracket smoothly by hand. If you need to hammer it in, it will bind, drag, and squeal.
Confirm correct hardware set. Many kits look similar but have different spring tension or geometry. Wrong clip tension can let the pad “float,” creating a chirp.
Don’t ignore backing plate shims. Some pads come with integrated shims; others reuse OE-style shims. If the design expects a shim and it’s omitted, the pad-to-piston interface transmits vibration more easily.
Rust on bracket lands is a silent cause. Even a thin rust scale under clips changes pad alignment. Wire-brush the lands to bare metal, then apply a thin film of appropriate brake lubricant where the clip contacts the bracket—never on the rotor face.
Móc xích: Once hardware fit is confirmed, the next most common problem is where and how lubrication is applied, because lubrication controls micro-vibration at the same contact points.
Where should brake lubricant go, and where should it never go?
Brake lubricant should go only on metal-to-metal contact points (pad ears, clip contact faces, caliper slides, and piston-to-backing-plate interfaces), and it should never go on the pad friction surface or the rotor braking surface.
To start, think of lubricant as a vibration damper—not a “fix-all”—so placement matters more than quantity.
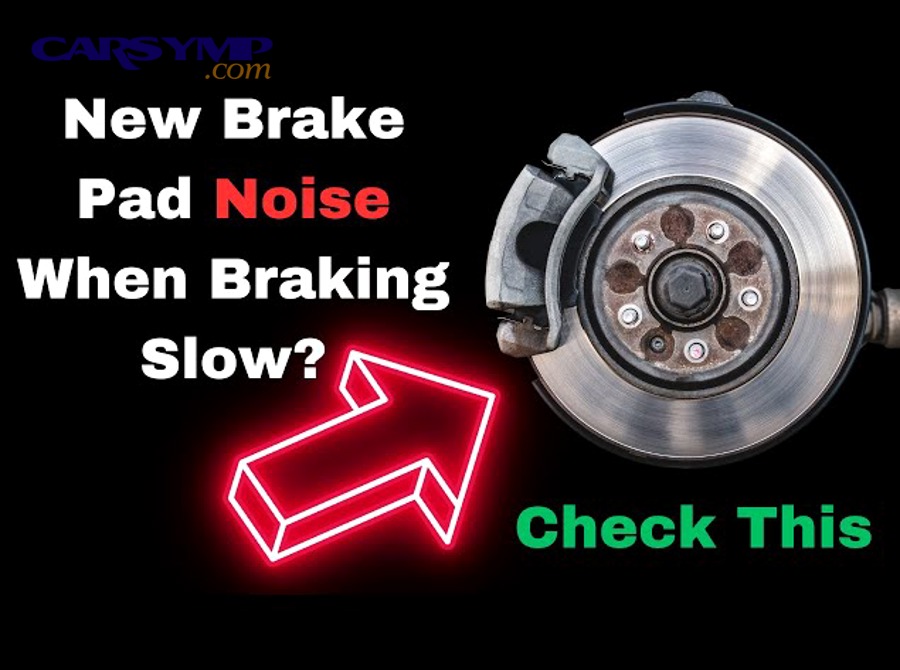
Correct placement includes:
- Pad ears/abutment points: a very thin layer where pad ears slide against clips.
- Backing plate contact patches: small dabs where the piston and caliper fingers touch the backing plate.
- Slide pins: the right grease for the pin’s boot material, applied evenly so the pin glides without swelling the boot.
Never apply grease to:
- Rotor face: contamination creates uneven friction and can permanently embed into the pad.
- Pad friction material: even a fingerprint of oil can change friction behavior and trigger squeal.
- Rubber boots (unless specified): petroleum-based products can degrade rubber and create future sticking.
Common “too much” mistake: packing grease behind clips or smearing thick layers everywhere. Excess grease can migrate with heat, collecting dust and turning into abrasive paste—exactly the opposite of what you want.
Móc xích: If lubrication is correct but squeal persists, the next check is the friction interface itself—because a rotor that isn’t clean, flat, and properly finished can make even perfectly installed pads squeal.
Can rotor surface condition cause squeal even if the pads are brand new?
Yes—rotor surface condition can cause squeal after new pads because the pad must build a stable transfer layer; if the rotor is glazed, grooved, rusty, or unevenly coated, the pad alternates between gripping and slipping.
Next, verify the rotor like a “landing surface” for new friction material, not just a metal disc that looks shiny.
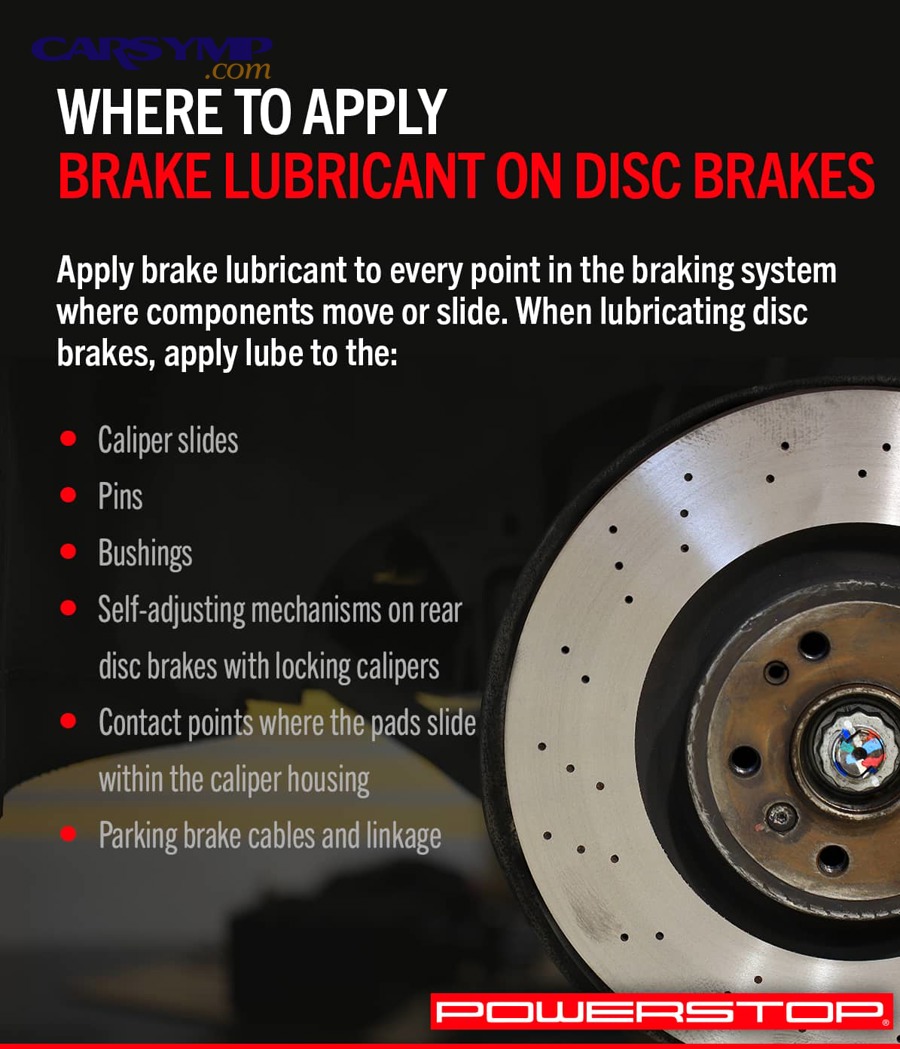
Glaze and mirror-like shine often means the old pads ran hot and polished the rotor. New pads can squeal on this surface until the glaze is broken or the rotor is resurfaced/replaced.
Grooves and lips at the rotor edge create intermittent contact. Under light braking, the pad “skips” across unevenness and squeals more than it would under heavier pedal pressure.
Rust ridges are common if the vehicle sat. The pad rides over the ridge like a speed bump, creating vibration and noise until the ridge wears down—or until you service the rotor properly.
Old material transfer patches are sneaky: you may not see them easily, but you can feel slight changes with a fingernail. These patches create alternating friction zones that produce squeal and sometimes a mild pulsation.
What to do: If rotors are within spec and otherwise healthy, a proper surface reset (resurface or replace) plus correct bedding is the cleanest fix. If rotors are thin, cracked, heavily rusted, or have heat spots, replacement is usually more reliable.
Did improper bedding-in cause the squeal, and how can you correct it?
Yes—improper bedding can cause squeal because the pad’s transfer layer is uneven or unstable; the fix is a controlled re-bedding process that heats the pads evenly and lays down a consistent film on the rotor.
To begin, treat bedding like “calibrating” the friction pair so it stops vibrating and starts braking smoothly.
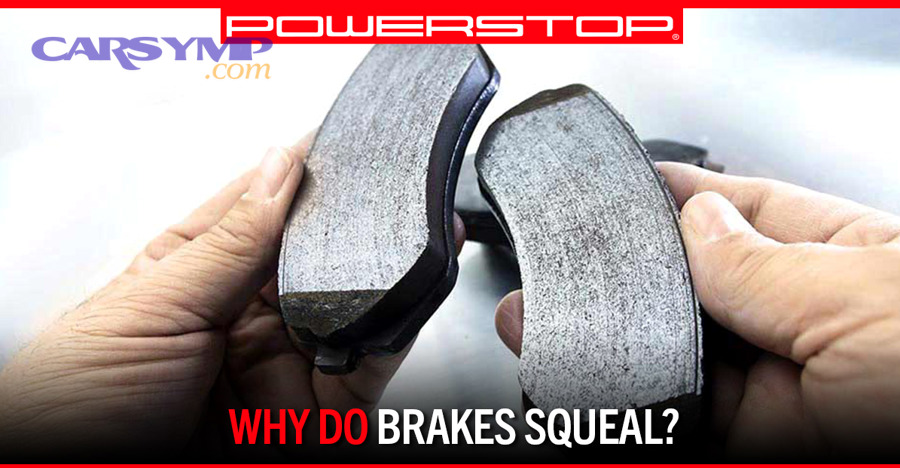
Why bedding matters: New pads aren’t meant to run against bare iron forever. They’re designed to deposit a thin, even layer of material onto the rotor. If you baby the brakes for days with very light pressure only, the layer can become patchy and noisy.
Basic re-bedding (generic approach):
- Find a safe, straight road with little traffic.
- Do 6–10 medium stops from moderate speed down to near walking speed (do not come to a complete stop if possible).
- Drive several minutes to cool the brakes with minimal pedal use.
Key caution: Don’t hold the brake pedal firmly while stopped right after hard stops—hot pads can imprint material in one spot, creating a new uneven transfer patch and restarting the noise.
When re-bedding won’t help: If the squeal is caused by binding hardware, contaminated pads, or a sticking caliper, bedding may reduce noise briefly but it won’t solve the root cause.
Móc xích: If re-bedding helps only slightly or the noise returns quickly, shift focus to caliper motion—because uneven retraction and dragging heat amplify squeal dramatically.
Could a sticking caliper or slide pins be the hidden cause after pad replacement?
Yes—a sticking caliper or seized slide pins can cause squeal after pad replacement because one pad drags, overheats, and vibrates; the assembly never fully releases, so noise appears during light braking and even while coasting.
Next, check movement and symmetry, because “one side doing all the work” is a classic squeal trigger.
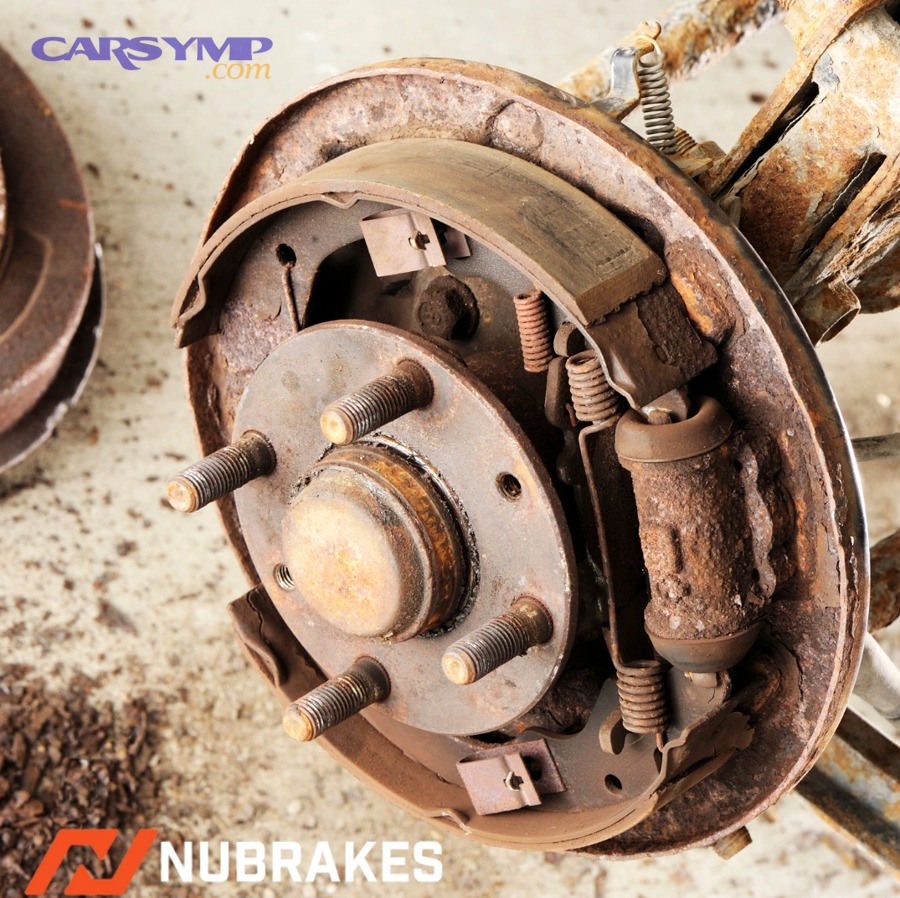
Slide pin test: With the caliper off, each pin should move smoothly with steady resistance. If one pin is dry, rusty, or pitted, the caliper can’t center itself and the pads contact unevenly.
Boot condition: Torn boots let water in; swollen boots can clamp the pin. Either condition leads to binding that gets worse with time.
Caliper piston retraction: A piston that doesn’t retract cleanly keeps the inner pad pressed into the rotor. This creates heat, glazing, and a squeal that often gets worse after a short drive.
Quick driveway clues:
- One wheel is noticeably hotter than the other after a short, normal drive.
- The vehicle pulls slightly during braking.
- Fuel economy drops or the car feels “held back.”
Fix direction: Clean and lubricate slides properly, replace damaged boots/pins, and address piston issues (rebuild or replace caliper) if the piston is binding. If you ignore this, you can ruin new pads and rotors quickly.
Can pad compound choice or pad design make new brakes squeal?
Yes—pad compound and design can make new brakes squeal because different materials damp vibration differently; some compounds are quieter at low temperature while others are optimized for bite and fade resistance, which can be noisier in light-braking conditions.
After that, match expectations to the pad type, because “working well” and “quiet” are not always the same goal.
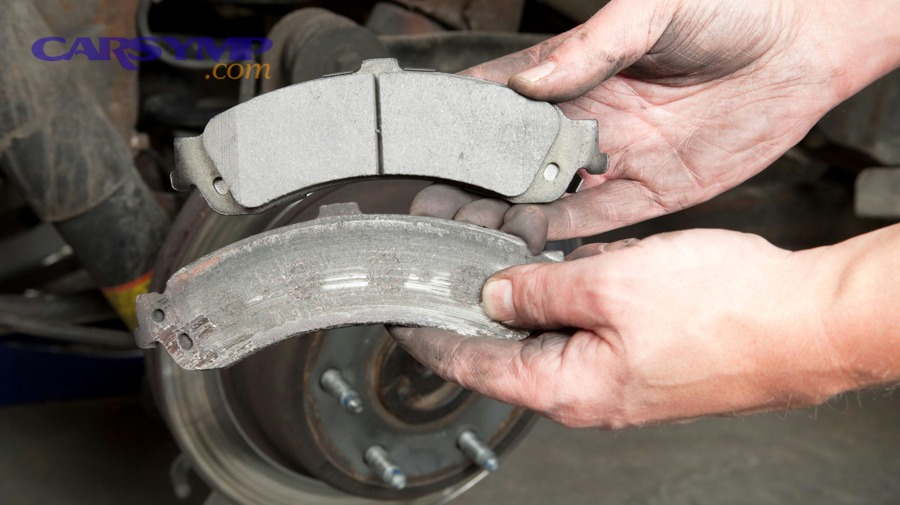
Ceramic pads often run clean and can be quiet, but they can still squeal if hardware damping is weak or if the rotor surface isn’t compatible. They also may feel different under light braking, which can reveal vibration.
Semi-metallic pads often have strong bite and good heat handling, but they can be more prone to low-speed squeal, especially in cold conditions or with light pedal pressure.
NAO/organic pads can be quiet and smooth, but may wear faster or behave differently under heat. If you drive aggressively, you can overheat them and create glaze that squeals.
Pad shape and chamfers matter. Many quiet pads use chamfered edges and slots to reduce resonance. If you switch to a pad without these noise-control features, you may notice squeal even if everything is installed correctly.
Practical takeaway: If you installed a “performance” or high-friction pad on a daily driver, noise may be part of the tradeoff. However, persistent squeal still deserves a hardware and surface inspection—compound alone shouldn’t cause loud, constant noise.
How can dust, debris, and contamination create squeal after pad replacement?
Dust, debris, and contamination cause squeal by creating uneven friction zones: small particles embed in the pad or sit between pad and rotor, leading to micro-slips that vibrate audibly—especially during light braking and low speeds.
To start, think “uneven friction” first, then look for the contamination source so it doesn’t return.
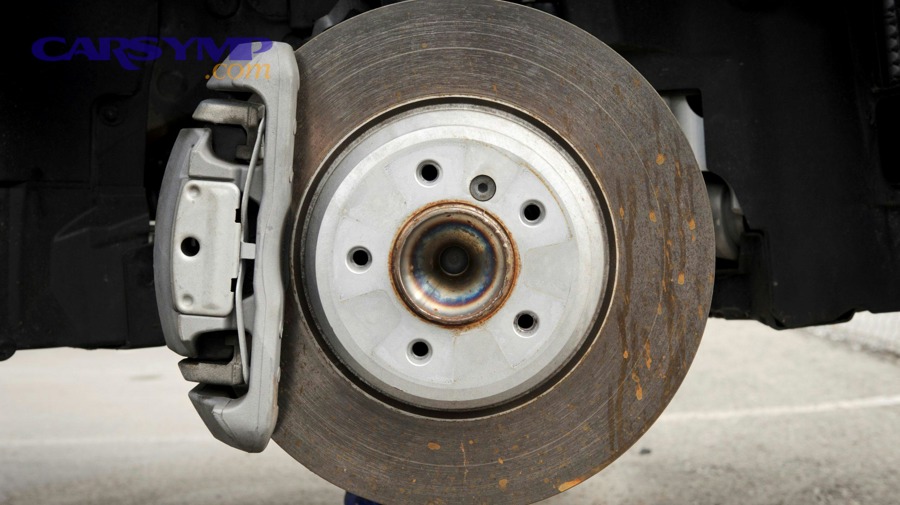
Common contamination sources:
- Grease/oil: from over-application, leaking axle seals, or careless handling.
- Rust flakes: from backing plates, brackets, or hub faces.
- Road grit: trapped between pad and rotor, especially after wet or salty conditions.
Why it’s worse after pad replacement: New pads can be more “grabby” at the surface, so they pick up and react to particles more noticeably. Also, a new rotor/pad interface may be more sensitive before the transfer layer stabilizes.
Clean approach: Remove the pads and inspect for shiny embedded particles or dark oily spots. Clean the bracket and clips, ensure the dust shield isn’t shedding rust into the rotor, and address any leaks before installing fresh pads if contamination is severe.
Important note: If pads are soaked with grease or brake fluid, cleaning rarely restores consistent friction. Replacement is usually the safer choice.
Could rotor runout, hub rust, or torque mistakes cause squeal even without vibration?
Yes—hub rust, rotor runout, or torque mistakes can cause squeal because they create uneven rotor contact and shifting pressure hotspots; even small variations can excite resonance during light braking before you feel a strong pedal pulsation.
Next, treat the hub and wheel mounting as part of the brake system, because misalignment can “manufacture” noise.
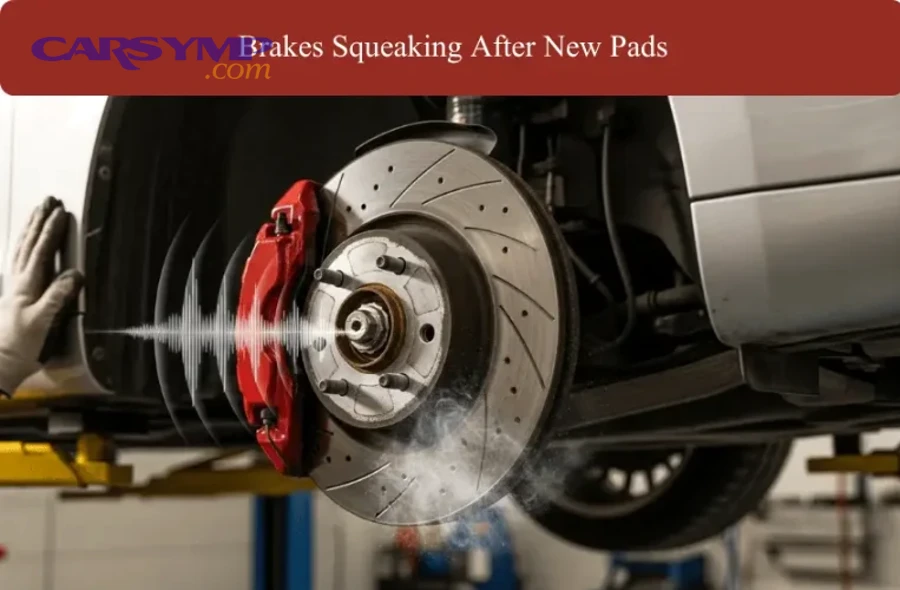
Hub face rust prevents the rotor from sitting perfectly flat. That tilt changes pad contact patterns and can trigger squeal, especially after a pad swap when the friction surface relationship is “new” again.
Uneven lug torque can distort the rotor slightly (or at least change how it seats). The result may show up as noise, then later as vibration if the transfer layer becomes uneven.
What to do: Clean the hub face to smooth metal, ensure the rotor hat sits flush, and torque lug nuts in a star pattern to the vehicle’s specification. If you suspect runout, a dial indicator check is the precise method; otherwise, watch for a repeating noise pattern that correlates with wheel rotation.
Use a DIY checklist to pinpoint the cause in 20 minutes
Use this 6-step checklist to narrow brake squeal after pad replacement: reproduce the noise, localize the corner, inspect hardware fit, confirm lubrication points, evaluate rotor surface, and verify caliper slide function—then re-bed only after mechanical issues are corrected.
After that, your observations will map directly to the most likely fix, so you avoid random part swapping.
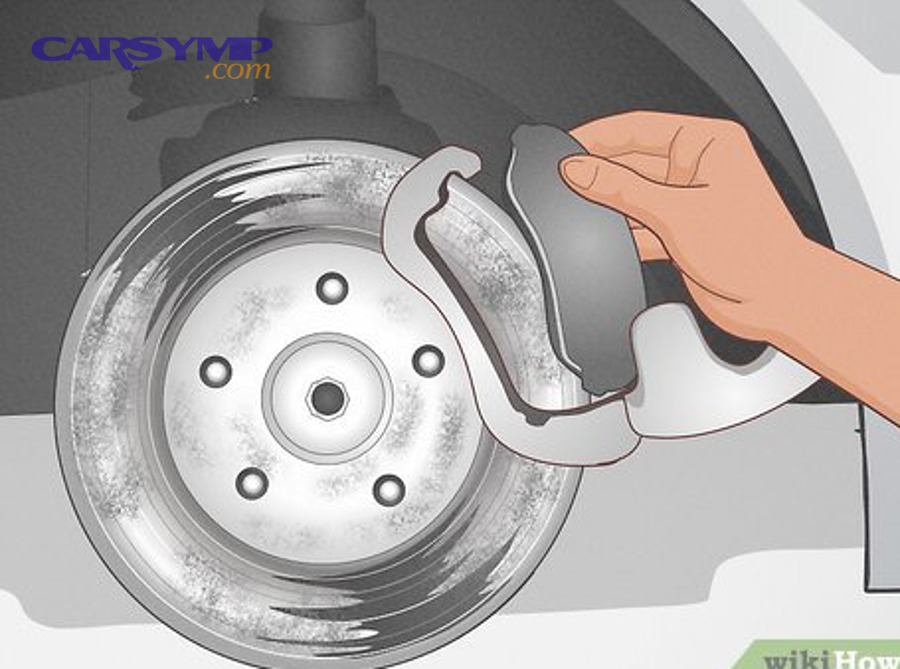
Step 1: Reproduce and describe. Does it squeal only at low speed? Only with light pedal pressure? Only when turning left/right? Those details point to vibration vs shielding vs uneven pad contact.
Step 2: Localize the corner. If safe, have a helper listen near each wheel at a slow roll in a parking lot. Alternatively, check which wheel accumulates more brake dust or feels hotter.
Step 3: Visual hardware check. Confirm clips are seated, pads slide freely, and nothing is contacting the rotor (dust shield, stones, bent backing plate).
Step 4: Lubrication sanity check. Thin film at pad ears and backing plate contact points; slide pins smooth; no grease on rotor or pad face.
Step 5: Rotor surface feel test. With the wheel off, feel the rotor for grooves, lips, or patchiness. Look for glazing or heat spots.
Step 6: Caliper motion test. Slide pins move evenly; piston retracts without excessive force; pads are wearing evenly side-to-side.
Below is a quick mapping table that helps you connect a specific noise pattern to the most likely mechanical cause and the fastest inspection target.
| Noise pattern you notice | Most likely cause | Fastest place to check first |
|---|---|---|
| Squeal only with very light braking | Unstable transfer layer or hardware damping weak | Bedding status, pad clips/shims, pad edge features |
| Squeal that worsens after a short drive | Dragging pad from sticky slide/piston | Slide pins, boots, piston retraction, wheel heat |
| Intermittent squeal with wheel rotation | Rotor surface defect, debris, shield contact | Rotor face, dust shield clearance, trapped grit |
| Squeal mainly in wet or humid weather | Surface moisture + pad compound sensitivity | Rotor rust film, pad type, edge chamfers/slots |
| Squeal when turning one direction | Hardware shifting, shield rubbing, bearing play | Clips seating, shield alignment, hub/bearing check |
Móc xích: Once you’ve identified the likely cause, a final piece is understanding what a “quieting strategy” looks like in real life—because the best fix combines damping, cleanliness, and correct motion, not a single magic product.
Contextual Border
Extra factors that keep squeal coming back after you “fix” the basics
How to choose between damping paste, shims, and correct clip tension
The most reliable anti-noise strategy is layered: correct clip tension holds the pad stable, shims isolate vibration at the backing plate, and damping paste helps only when applied as a thin, controlled layer at the right interfaces.
To begin, treat clip tension as the “structure,” shims as the “insulator,” and paste as the “fine-tuning.”
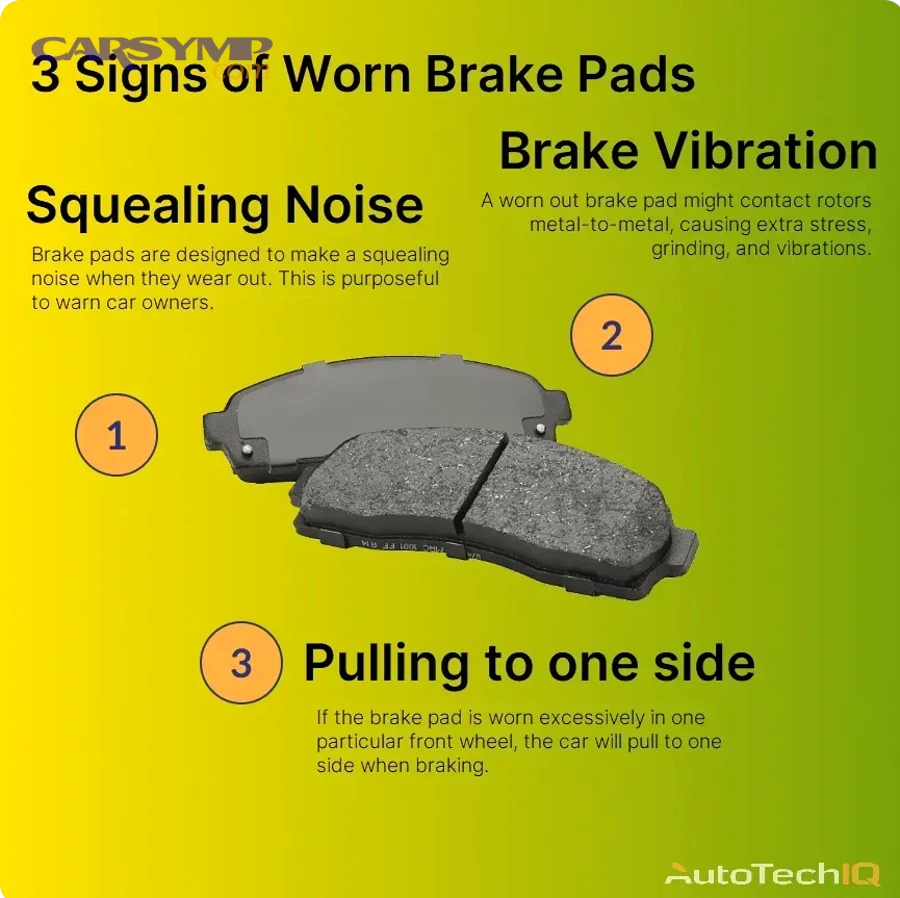
When clips are wrong or bracket lands are rusty, paste may mask noise briefly but the pad still moves. In contrast, when clips and pad fit are correct, a small amount of damping at piston contact points can noticeably reduce chirp without risking contamination.
In other words, if you’re tempted to “add more paste,” pause and re-check pad ear freedom and clip seating first—because that’s the upstream cause that paste cannot compensate for.
Later in the process, if your pad set supports OE-style shims, ensure they’re installed exactly as designed; mixing shim styles can reduce contact stability instead of improving it.
When squeal means the pad is glazed or contaminated and must be replaced
Squeal can become “self-sustaining” when the pad surface turns glazed or gets contaminated, because friction becomes patchy and the pad starts to slip and resonate under light pressure.
Next, look for physical evidence on the pad surface before you try more bedding.
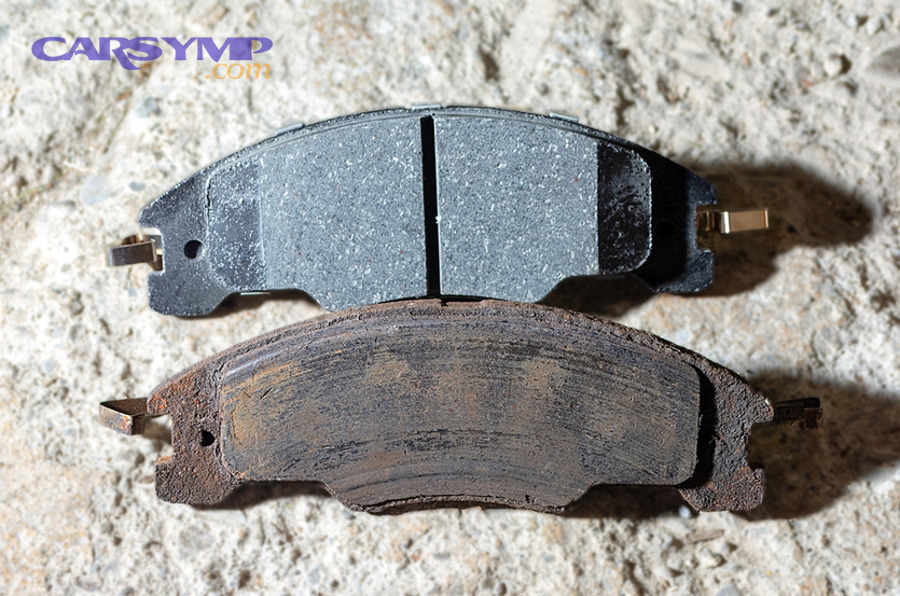
Glaze signs: a shiny, glass-like pad surface and reduced initial bite. Glaze often follows overheating (dragging caliper, repeated hard stops, or aggressive driving before bedding completed).
Contamination signs: dark oily patches, a chemical odor, or a pad that looks “spotted.” If you see fluid leaks nearby, fix the leak first or new pads will quickly repeat the problem.
Best practice: Replace contaminated pads, refresh or replace the rotor surface as needed, and then perform a controlled bedding process—otherwise the noise usually returns.
What a shop typically does, and what the fix may cost
A shop typically fixes post-pad squeal by verifying hardware, cleaning bracket lands, lubricating correctly, measuring rotor condition, and checking caliper motion; costs depend on whether it’s a rework, rotor service, or a caliper/hardware replacement situation.
After that, you can compare estimates by asking what specific steps they will perform—not just “fix the noise.”
Common low-cost fixes include re-seating clips, cleaning rust from bracket lands, correcting lubrication points, and re-bedding. These are often billed as inspection or labor time.
Mid-range fixes usually involve resurfacing or replacing rotors, especially if the rotor surface is glazed, grooved, or unevenly coated.
Higher-cost fixes include replacing sticky calipers, seized slide hardware, or repairing related issues like leaking seals that contaminated the new pads.
Tip: Ask whether the noise is considered a warranty rework if the pads were installed recently. If the issue is due to missing hardware or improper lubrication, it may fall under workmanship; if it’s due to pre-existing caliper sticking or rotor condition, it may be considered an additional repair.
FAQ: the three questions drivers ask most often
This FAQ covers the most common “what now?” questions so you can decide whether to re-check installation details, re-bed, or escalate to a deeper inspection.
To start, answer these in order—each one narrows the cause faster than guessing.
Q1: “I hear squeal only in the morning—should I worry?” Light morning squeal can be normal due to surface moisture or a thin rust film, but it should fade after a few stops. If it persists all day, check hardware damping and rotor finish.
Q2: “Can I just spray brake cleaner and be done?” Brake cleaner helps remove light dust or residue, but it won’t fix misinstalled hardware, binding slides, or an uneven transfer layer. Use it as part of inspection, not as the whole plan.
Q3: “If the pads are new, can it still be metal-on-metal?” Rarely, but yes—if a pad is installed incorrectly, a backing plate contacts the rotor, or a caliper is severely sticking. If you hear grinding or feel severe drag, stop driving and inspect immediately.