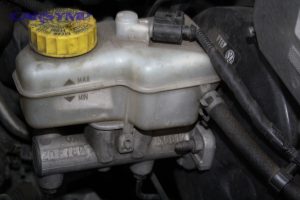
Master Brake Fluid Change Guide for Drivers: Flush vs Bleed
A brake fluid change restores the hydraulic “muscle” behind your brake pedal by replacing contaminated, moisture-laden fluid with fresh fluid that can handle heat and pressure. If you want consistent stopping power, stable pedal feel, and fewer surprises during hard braking, this is one of the highest-impact maintenance items.
Many drivers only think about pads and rotors, but the fluid is the working medium that transfers force from your foot to the calipers. When that medium degrades, symptoms can look like other problems—so understanding what a brake fluid change fixes (and what it doesn’t) helps you make the right call.
Older fluid can also change how your braking system behaves under heat: repeated stops, hills, towing, and spirited driving can reveal a soft pedal or longer stopping distances. That’s why a smart interval and a simple condition check matter even if your brakes feel “okay” most days.
To start, let’s connect the “why” to the “how” and walk through the decisions and steps that keep your system clean, sealed, and predictable.
What does a brake fluid change actually improve?
A brake fluid change improves heat tolerance, pedal consistency, and corrosion protection by removing old, water-contaminated fluid. Next, it helps to understand why that contamination happens in the first place so you can spot it early.
Brake fluid is typically
Beyond heat, old fluid can carry suspended debris and dissolved corrosion products. Those contaminants can accelerate wear inside sensitive components like the master cylinder, ABS hydraulic unit, and caliper seals. Fresh fluid renews additive packages that fight corrosion and stabilize viscosity across temperatures.
After a fluid change, you’re aiming for three outcomes: (1) a firm, repeatable pedal, (2) stable braking performance when the brakes get hot, and (3) long-term protection against internal rust.

- Heat stability: higher effective boiling point reduces fade risk.
- Consistency: less compressible vapor = more predictable pedal travel.
- Component life: fewer corrosive byproducts circulating in the system.
How can you tell your brake fluid is overdue?
Brake fluid is likely overdue if pedal feel changes under heat, the fluid looks dark, or braking becomes inconsistent in repeated stops. Next, match symptoms to simple checks so you don’t confuse fluid issues with pad, rotor, or tire problems.
Start with the reservoir inspection (engine off, vehicle cool, level ground). Fresh fluid is usually clear to light amber; older fluid often turns darker brown as it absorbs moisture and picks up contamination. Color alone isn’t a perfect test, but it’s a quick signal that the fluid has been working hard for a long time.
Then pay attention to driving-based symptoms, especially those that appear after braking repeatedly: a pedal that feels spongy, a pedal that travels farther than usual, or a pedal that firms up after pumping. These patterns can overlap with air in the system, but old fluid increases the odds that heat is creating compressible vapor.
Also watch for indirect signs: uneven braking confidence in wet weather, a “long pedal” after descending hills, or a brake warning message linked to hydraulic performance (vehicle-specific). If you live in humid climates or see lots of short trips (where condensation cycles are common), fluid ages faster.
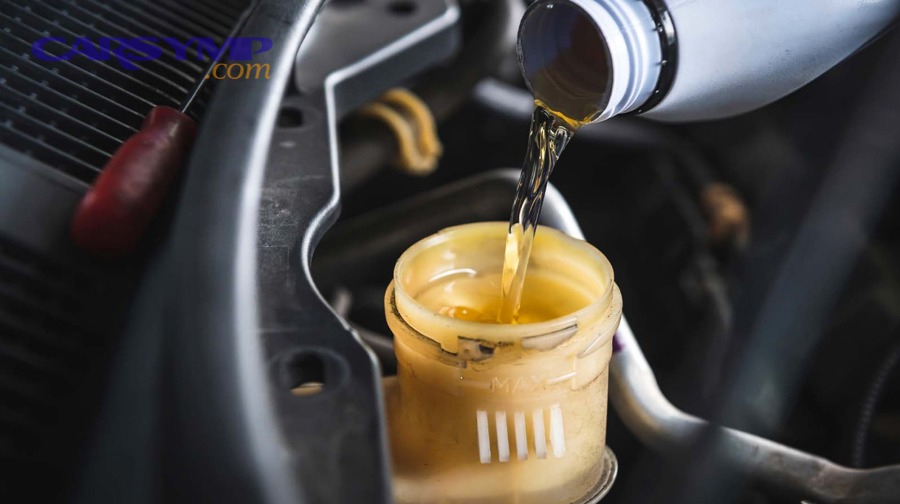
- Visual: fluid is dark brown or cloudy rather than clear/amber.
- Feel: soft pedal appears after repeated braking or downhill driving.
- Behavior: braking response varies more than it used to.
- Context: high humidity, towing, mountains, or track days accelerate aging.
When should you change brake fluid for best reliability?
Most vehicles benefit from a brake fluid change every 2–3 years, sooner for severe heat or humidity exposure. Next, use your driving conditions and the system design to choose an interval that matches real-world stress.
Some manufacturers publish a time-based interval (often 2 years), while others recommend inspection-based replacement. A practical approach is to combine both: follow the service schedule if it’s explicit, and shorten the interval if your use case is harsh—mountain descents, towing, heavy city traffic, or performance driving.
Why time matters: moisture accumulation is largely time-driven, not mileage-driven. A low-mileage vehicle stored in a humid environment can still absorb moisture. Likewise, a high-mileage commuter in dry conditions might keep acceptable fluid longer—yet heat cycles can still degrade it.
Here’s a simple, driver-friendly guide. This table helps you pick a conservative interval when you don’t have a clear manufacturer recommendation.
The table below summarizes typical brake fluid change intervals by driving condition to help you choose a schedule that matches real use.
| Driving profile | Common conditions | Practical interval |
|---|---|---|
| Normal daily driving | Mixed city/highway, moderate climate | Every 2–3 years |
| Humidity or coastal climate | Frequent moisture exposure, salt air | Every 2 years |
| Severe heat use | Mountains, towing, heavy stop-and-go | Every 1.5–2 years |
| Performance/track | High brake temps, repeated hard stops | As often as every 6–12 months |

To keep the flow logical: choose an interval first, then decide the method. That brings us to a common confusion—what people mean by “bleeding,” “flushing,” and “changing” fluid.
Is changing brake fluid the same as bleeding the brakes?
No—changing brake fluid replaces old fluid throughout the system, while bleeding primarily removes trapped air (and may only refresh a small amount of fluid). Next, you’ll want to pick the method that matches your problem: maintenance vs a pedal-feel issue.
Bleeding is a process step: it’s how you purge air from the hydraulic lines and calipers. You may bleed after opening the system (like replacing a caliper, hose, or master cylinder), or if you suspect air is present. A fluid change, in contrast, is a maintenance goal: replace the bulk of old fluid with new fluid.
In real service, these overlap: many fluid changes are performed by continuously exchanging fluid while bleeding each wheel until the fluid runs clear and bubble-free. But it’s possible to “bleed” and still leave most of the old fluid in the system if you only push a small amount through one corner.
So the decision rule is simple: if the system was opened or the pedal is spongy, focus on removing air; if the fluid is old or contaminated, focus on exchanging volume. The best outcome is often both—an exchange that also confirms the pedal is solid.

- Maintenance goal: replace old fluid volume across all lines and components.
- Repair goal: remove air after a part replacement or leak repair.
- Best practice: exchange fluid at each wheel until clean and bubble-free.
Can you do a brake fluid change at home without risking the system?
Yes, you can do a brake fluid change at home if you use clean tools, keep the reservoir from running low, and follow a consistent wheel sequence. Next, set up a safe workflow that prevents contamination and protects paint and rubber components.
Brake fluid is aggressive to paint and can damage finishes; spills should be cleaned quickly. Use gloves, eye protection, and a catch bottle. Keep new fluid sealed until use because it absorbs moisture quickly once exposed to air. Only pour what you’ll use soon, and close the bottle between wheels.
Before you begin, confirm the fluid specification in your owner’s manual or on the reservoir cap. Mixing incompatible types can create seal issues or performance problems. Also inspect the system for leaks—no maintenance procedure compensates for a failing hose, wet caliper, or compromised master cylinder.
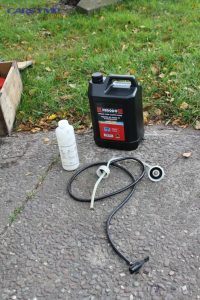
At-home methods typically include a one-person bottle-and-hose approach, a vacuum bleeder, or a pressure bleeder. Each can work well; the key is consistency and preventing the reservoir from emptying. In practice, the most common DIY failure is introducing air by letting the fluid level drop too far.

To connect this to real-world planning: many people combine this with a broader brake service visit or pad/rotor work. If you’re doing it yourself, treat the workflow like a cleanliness exercise—because contamination is the silent enemy of consistent braking.
What are the safest step-by-step principles for a full fluid exchange?
The safest approach is a controlled fluid exchange: remove old fluid from the reservoir, refill with fresh fluid, then bleed each wheel until the fluid runs clear while never letting the reservoir drop low. Next, focus on the single most important principle—avoiding air entry.
Here’s the high-reliability framework used by careful DIYers and pros. It’s not about rushing; it’s about repeatable control.
- Prep and protect: cover painted surfaces, gather correct fluid, clear tubing, wrench for bleeders, and a catch bottle.
- Baseline inspection: check for leaks, cracked hoses, and seized bleeder screws before starting.
- Reservoir refresh: siphon old fluid from the reservoir (do not expose ports), then refill with fresh fluid.
- Wheel sequence: bleed one wheel at a time, typically starting farthest from the master cylinder (vehicle-specific).
- Monitor level: top up the reservoir frequently—never let it run low.
- Finish checks: confirm firm pedal, no seepage at bleeders, and correct reservoir level.
The single biggest success factor is
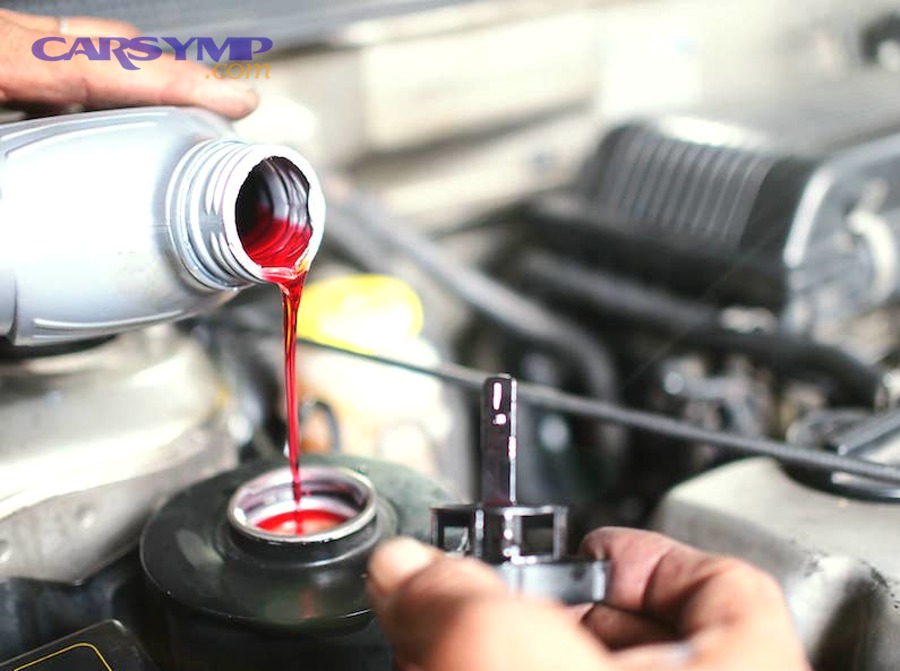
In a detailed workflow, people often search for DIY brake fluid flush steps and discover variations. The variations matter less than the control points: clean fluid, sealed bottle habits, correct sequence, and constant reservoir level.
How do you avoid getting air into the brake system during the change?
You avoid air by keeping the reservoir above minimum, maintaining a tight hose seal at the bleeder, and using slow, consistent pedal or pressure cycles. Next, lock in best practices that prevent “chasing bubbles” and wasted fluid.
Air enters when the system ingests it—most commonly at the reservoir (emptying), at a loose hose connection, or through a bleeder screw that’s opened too far. Once air is in, the pedal becomes compressible and inconsistent, and you may need extra cycles to restore firmness.
Use clear tubing that fits snugly over the bleeder nipple, and keep the tube end submerged in a small amount of fluid inside the catch bottle. This helps prevent backflow air. If using a vacuum bleeder, be aware that you can sometimes see “false bubbles” caused by air leaking around the bleeder threads rather than from the brake line. A small amount of grease around the bleeder threads (avoiding the hole) can reduce that effect.
Pedal technique matters too: slow strokes reduce aeration and help the system purge predictably. Avoid rapid pumping, especially with the bleeder open—this can churn fluid and create small bubbles that take longer to clear.

- Keep the reservoir full: top up after every few cycles.
- Seal the hose: tight fit prevents air being sucked back.
- Go slow: controlled strokes reduce froth and microbubbles.
- Watch for leaks: wet fittings and bleeders can mimic air problems.
These are the same Best practices to avoid air in system that prevent the classic DIY frustration: a pedal that never firms up because air is repeatedly reintroduced.
What should you watch for on vehicles with ABS?
ABS-equipped vehicles usually allow a routine brake fluid change, but you must avoid draining the reservoir and be cautious if air enters the ABS hydraulic unit. Next, learn when a standard exchange is enough and when a scan-tool procedure might be required.
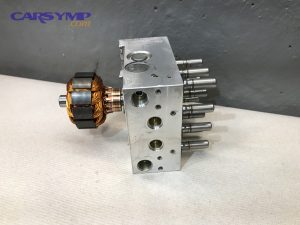
For typical maintenance exchanges where the reservoir never empties, ABS is usually not a problem—fluid flows through the system as you bleed each wheel, and the ABS unit remains sealed and full. The risk rises when the reservoir runs dry, when a major component is replaced, or when a leak allows air to reach the ABS modulator.
If air enters the ABS hydraulic unit, some vehicles require a scan tool to cycle ABS valves and pump motors to purge trapped air. Symptoms can include a persistently spongy pedal even after extended bleeding at all wheels. The exact requirement is vehicle-specific; this is why service information matters if you’ve had a major hydraulic opening.
To keep your workflow safe: maintain reservoir level, avoid aggressive pedal pumping, and confirm a stable pedal before road testing. If you’ve replaced hydraulic parts, plan for the possibility that you’ll need an ABS service routine to finish the job correctly.
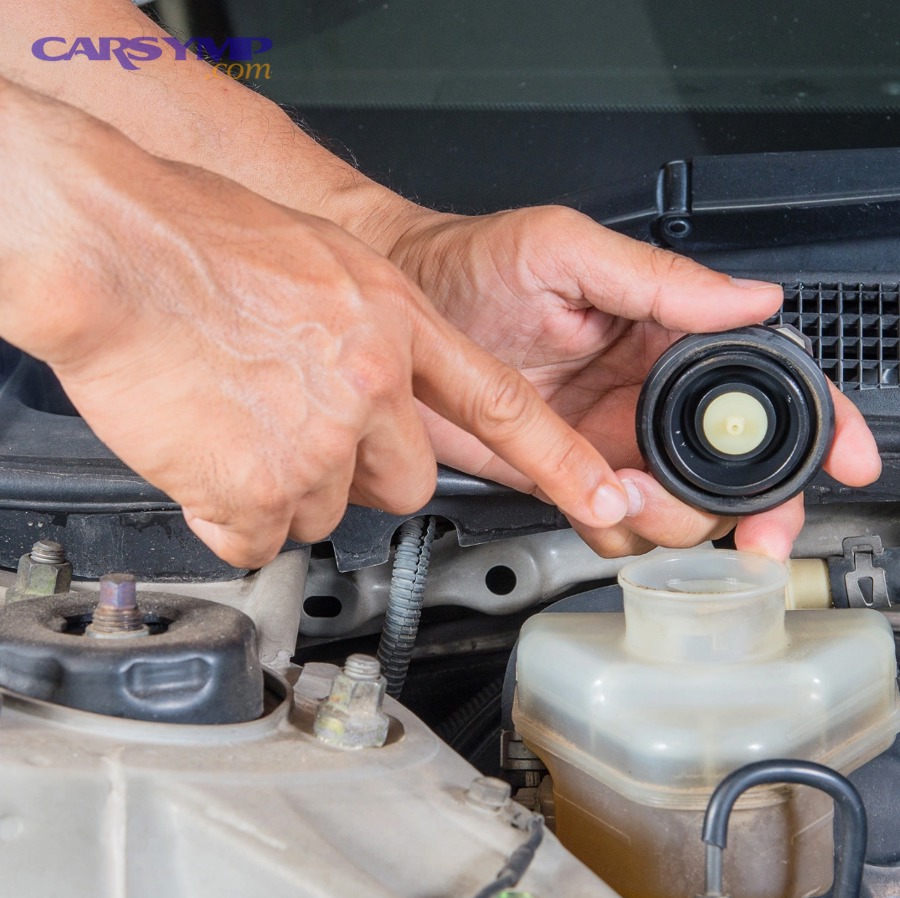
In practical planning terms, this is where people run into ABS considerations during fluid service—the system is forgiving for routine maintenance, but less forgiving after air intrusion into the modulator.
How much does a brake fluid change cost, and what drives the price?
A brake fluid change cost varies by vehicle, method, labor rates, and whether the job includes diagnostic or ABS-related steps. Next, break the cost into parts so you can compare quotes and avoid paying for the wrong procedure.
Cost typically includes fluid (often 1–2 liters depending on vehicle and method), shop supplies, and labor time. A simple exchange on an accessible system may be quick, while vehicles with hard-to-reach bleeders or strict procedures can require more time. Prices also rise if the shop bundles a full inspection, road test, or related maintenance.
Another price driver is the method used: pressure-bleeder exchanges can be efficient and thorough; vacuum methods can also work but may take longer depending on setup. If your vehicle requires special steps because of prior air intrusion, the labor can increase due to additional bleeding routines.
When comparing estimates, ask what’s included: Are they exchanging fluid at all four corners until clear? Are they cleaning bleeders and checking for seepage? Are they verifying pedal feel under controlled testing? A low price that only refreshes fluid in one line is not the same value as a full exchange.
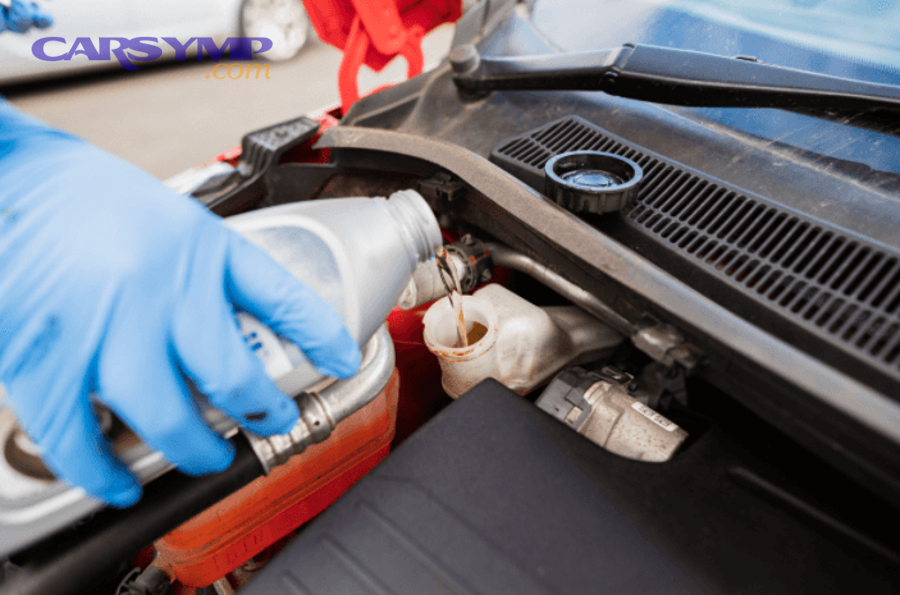
Many readers specifically look for a Brake fluid change cost estimate. The most reliable way to interpret that estimate is to map it to scope: full exchange, confirmed pedal, and leak check—those are the value markers.
The table below lists common cost factors and what they usually mean, helping you compare quotes apples-to-apples.
| Cost factor | What it affects | Why it matters |
|---|---|---|
| Labor rate | Total bill | Varies widely by region and shop type |
| Vehicle access | Time required | Hard-to-reach bleeders increase labor |
| Method (pressure/vacuum/manual) | Consistency and speed | Some methods are faster and more repeatable |
| ABS-related procedures | Extra steps | May require specialized routine if air entered modulator |
What happens if you skip brake fluid changes for too long?
Skipping brake fluid changes can lead to corrosion, reduced boiling point, inconsistent pedal feel, and higher risk of expensive hydraulic component failures. Next, connect the long-term damage pattern to the early warning signs you can act on.
Old fluid’s moisture content lowers the boiling point, making it easier to form vapor under high heat. That’s not only a performance issue—it can become a safety issue during sustained braking. At the same time, moisture supports internal corrosion that can pit cylinders, contaminate valves, and degrade seals.
Corrosion isn’t always obvious until it causes a sticking piston, a leaking seal, or a master cylinder that can’t hold pressure reliably. Many drivers experience “mystery” brake behavior—like a pedal that changes with temperature—and replace pads and rotors without solving the underlying hydraulic weakness.
In short, fluid neglect is a slow burn: the system may seem fine until a stressful moment reveals the weakness. That’s why the best strategy is proactive replacement on a sensible interval rather than waiting for symptoms to become severe.

Drivers often search for Symptoms of old brake fluid after feeling a change in pedal confidence. The more powerful move is to treat those symptoms as a prompt to check the fluid condition and schedule the exchange—before corrosion sets deeper roots.
Contextual Border: Up to this point, you’ve covered the decision-making and execution logic for a brake fluid change. Next, we’ll cross into deeper micro-details—spec selection, moisture checking, and responsible handling—so you can optimize outcomes and avoid common misunderstandings.
Beyond the basics: selecting the right fluid and handling it responsibly
Choosing the right brake fluid means matching the correct DOT specification, understanding heat vs moisture tradeoffs, and handling fluid in a clean, sealed way from bottle to disposal. Next, we’ll break down the most practical details that protect performance and the environment.
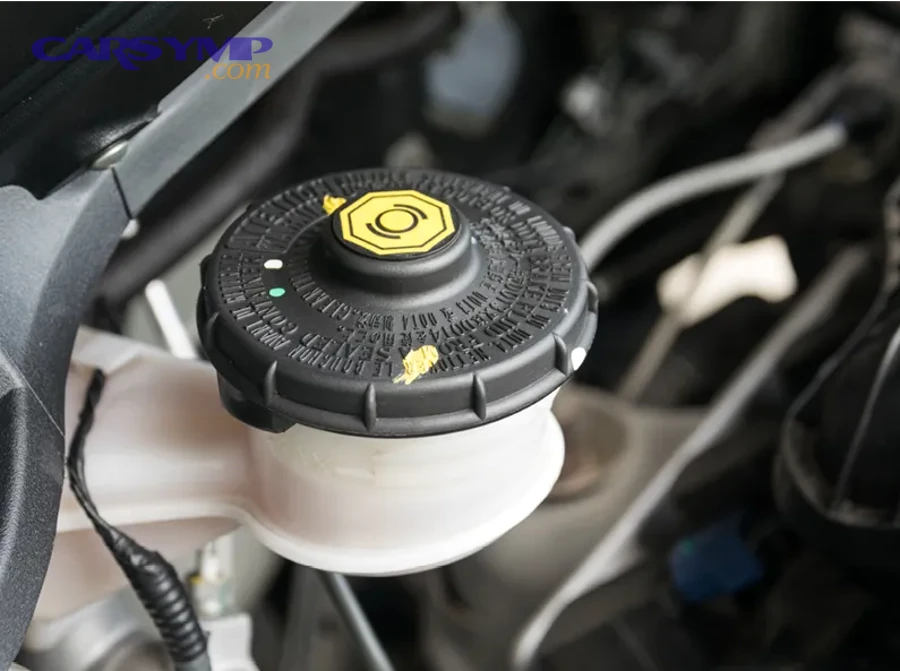
How do DOT 3, DOT 4, and DOT 5.1 differ in real driving?
DOT 3, DOT 4, and DOT 5.1 are glycol-based fluids that differ mainly in boiling point and performance characteristics, with higher DOT ratings generally supporting higher heat loads. Next, connect this to your driving profile so you don’t overpay for specs you don’t need.
For most daily drivers, DOT 3 or DOT 4 is typical and safe when matched to manufacturer requirements. DOT 4 often offers higher boiling points than DOT 3, which can be beneficial in heavier vehicles, frequent downhill braking, towing, or hot climates. DOT 5.1 is also glycol-based and can offer high boiling performance while maintaining compatibility in systems designed for glycol fluids—yet it’s not automatically “better” if your vehicle spec doesn’t call for it.
The key is compatibility and the system’s seals. Always prioritize the spec required by the vehicle. If you upgrade within compatible glycol-based categories, keep the system clean, avoid mixing unknown fluids, and complete a thorough exchange so the overall performance matches the new fluid’s potential.
Many readers look for DOT 3 vs DOT 4 vs DOT 5.1 explained; the practical takeaway is simple: match the required spec first, then choose a quality fluid with a boiling point appropriate for your heat load.
Why DOT 5 is a different category, and why that detail matters
DOT 5 is silicone-based and is not the same family as DOT 3/4/5.1, so it can be incompatible with systems designed for glycol-based fluids. Next, use this distinction to avoid a costly mistake caused by name similarity.
DOT 5’s silicone base behaves differently with moisture and can trap water in pockets rather than absorbing it uniformly. In systems not designed for silicone fluid, the wrong choice can create seal issues, poor pedal feel, or unpredictable performance. This is why the number “5” can be misleading: DOT 5.1 is glycol-based (often compatible with DOT 3/4 systems when allowed), while DOT 5 is a separate silicone category.
When in doubt, do not guess—verify the required DOT specification. If you’re inheriting a used vehicle with unknown fluid history, a full exchange using the correct spec is often safer than topping off with an assumption.
How to check moisture content and interpret the result
You can check moisture using electronic testers or test strips, and the goal is to estimate water content that can reduce boiling point and increase corrosion risk. Next, translate the reading into an action: monitor, schedule, or change immediately.
Electronic testers measure conductivity as a proxy for moisture, while strips change color based on water content. These tools are not perfect, but they offer a practical condition-based supplement to time intervals. If the reading suggests elevated moisture, a fluid change becomes a proactive move rather than a guess.
Use the result in context: a borderline reading on a vehicle that sees mountains or towing should push you toward replacing sooner, while a low reading supports staying on schedule. The best use of moisture testing is trend awareness—checking periodically to see if your environment and usage are accelerating fluid aging.
Drivers often search for Brake fluid moisture test and why it matters because it feels abstract; the concrete answer is that moisture can reduce heat margin and increase corrosion risk, which directly affects pedal consistency and component life.
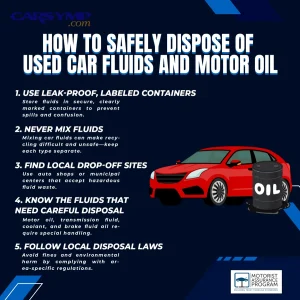
How to store and dispose of used brake fluid safely
Store used brake fluid in a sealed, labeled container and dispose of it through local hazardous waste or recycling programs—never pour it onto the ground or into drains. Next, align cleanup habits with environmental safety and paint protection.
Because brake fluid can be harmful to the environment and damaging to surfaces, treat it like other automotive chemicals: keep it sealed, avoid mixing it with unknown liquids, and use proper drop-off locations. Many communities accept it at household hazardous waste events or designated collection centers.
For cleanup, use absorbent material for spills, then dispose of that material according to local guidelines. Keep fresh fluid bottles closed between pours, and do not reuse catch-bottle fluid—once exposed, it may have absorbed moisture and picked up contaminants.
This is where Proper brake fluid disposal becomes part of responsible maintenance: the job isn’t complete until the used fluid is handled safely.