


DIY brake fluid flush steps are a repeatable, safety-focused process: exchange old, moisture-contaminated fluid with fresh fluid until each bleeder runs clean and bubble-free, then confirm a firm pedal and stable braking on a cautious test drive.
Beyond “how,” you also need to know “what to watch”: protecting paint, preventing air entry, and avoiding stripped bleeders are the difference between a confident pedal and a frustrating re-bleed.
For modern vehicles, the workflow must also respect hydraulics and electronics: fluid viscosity, caliper sealing, and scan-tool scenarios can change the safest approach.
To begin, the key is a methodical setup and a clear step order—Giới thiệu ý mới: we’ll start with tools and prep that prevent mistakes, then walk step-by-step through the flush methods and final checks.
What tools and supplies make DIY brake fluid flush steps safe and consistent?
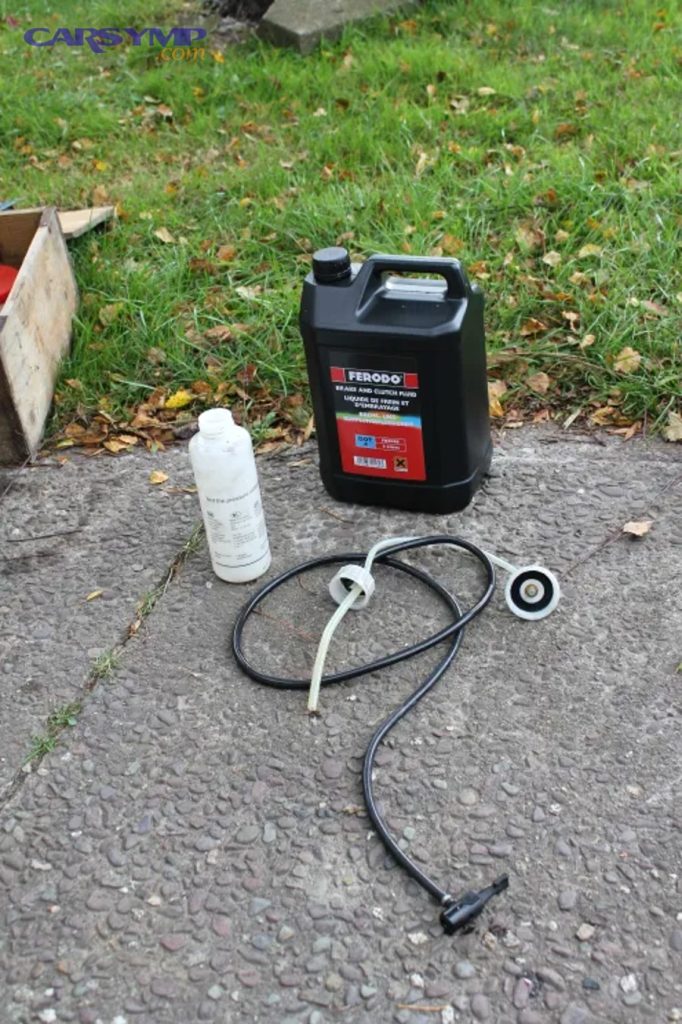
Use a basic kit—correct fluid, a catch bottle, a clear hose, and the right wrench—to flush safely, because you control flow, prevent air re-entry, and protect components while pushing old fluid out.
To start, the goal is to eliminate “guesswork” by staging tools so you never leave the reservoir empty or the bleeder open too long.

Before you touch a bleeder screw, gather everything in one spot and check fitment:
- Brake fluid (new, sealed): buy enough for your vehicle plus waste. Most passenger cars use about 0.5–1.0 liter for a full exchange if you flush all four corners thoroughly.
- Bleeder wrench: a 6-point box wrench reduces rounding. If space is tight, a flare-nut wrench can help on some designs.
- Clear vinyl hose: sized to the bleeder nipple so it seals without clamps.
- Catch bottle: ideally with a one-way style or a lid hole so the hose stays submerged in a small pool of fluid.
- Turkey baster or syringe: for removing old reservoir fluid without draining the system dry.
- Brake cleaner + rags + drip tray: for immediate cleanup.
- Gloves + eye protection: brake fluid is irritating; splashes happen when cracking a bleeder.
- Jack, stands, wheel chocks: never rely on a jack alone.
- Penetrating oil + small wire brush: for rusty bleeders and caps.
- Torque wrench (optional but ideal): to snug bleeders properly without over-tightening.
Below is a quick planning table so you can match your method to your tools and avoid mid-job improvisation.
| Method | What you need | Best for | Typical risk |
|---|---|---|---|
| Two-person pedal method | Wrench, hose, bottle, helper | Most home garages | Air re-entry if timing is sloppy |
| Vacuum bleeder | Hand vacuum kit + adapters | Solo work, quick extraction | False bubbles from bleeder threads |
| Pressure bleeder | Pressure tank + cap adapter | Full flush, consistent flow | Cap seal leaks, over-pressurizing |
The hidden “supply” that matters most: time. Plan for at least 60–120 minutes so you can go slow, keep the reservoir topped up, and repeat final checks without rushing.
The science behind why this matters is simple: old fluid tends to accumulate moisture, lowering boiling resistance and increasing corrosion risk. Theo nghiên cứu của ADVICS từ Technical Resources, vào June 2023, “wet” boiling point is evaluated after brake fluid absorbs about 3.7% water by volume, which is treated as a saturated condition that signals replacement need.
How do you confirm the correct brake fluid type before starting?
Confirm the correct fluid by checking the reservoir cap and owner’s manual first, because the wrong type can damage seals, change viscosity, and reduce braking reliability.
Next, make sure your “replacement” matches the system’s design so the flush improves performance rather than creating compatibility issues.
Where should you look for the fluid specification?
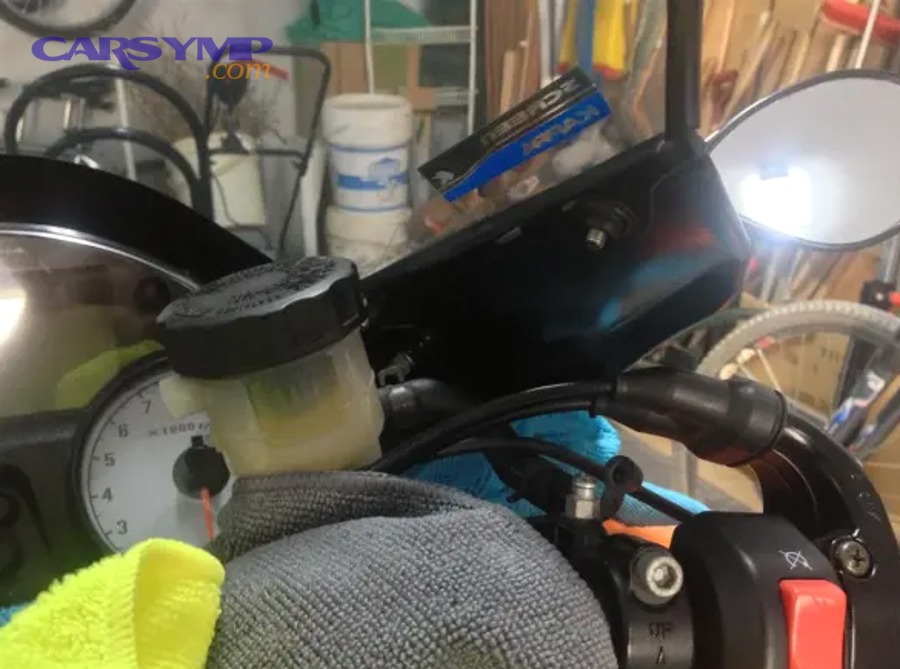
Look at the reservoir cap first, then confirm in the owner’s manual, because caps sometimes list a DOT rating but manuals may specify a low-viscosity or manufacturer-approved variant.
To understand it clearly, treat the cap as the “quick label” and the manual as the “final authority.”
- Cap says DOT 3/DOT 4: common on many vehicles.
- Manual mentions low-viscosity DOT 4: common on many modern ABS/ESP systems requiring fast valve action.
- Do not mix DOT 5 (silicone) with glycol-based fluids: it is a different chemistry and mixing can create serious system problems.
What does “DOT rating” actually control?
DOT rating mainly reflects performance requirements like boiling point and viscosity ranges, so the number is not just “better,” it is a spec with compatibility assumptions.
In practice, you’re balancing heat resistance and system response, especially in cold climates and high-activity ABS vehicles.
The standards concept is widely explained in industry education: Theo nghiên cứu của BG Products từ Technical Service content, vào November 2020, wet boiling point is referenced using fluid containing about 3.7% water, and viscosity becomes increasingly important for computerized stability and anti-lock systems.
How much fluid should you buy for a full flush?
Buy enough for a full exchange plus a safety margin—typically 1 liter is a safe baseline for many cars, while some larger systems or very dirty fluid may require more.
To avoid stopping mid-job, choose the next larger bottle size rather than the exact minimum.
- Small cars: often ~0.5–1.0 L for a thorough exchange.
- Trucks/SUVs: sometimes ~1.0–1.5 L depending on line length and method.
- If you’re doing extra purging: plan additional fluid, especially after any air ingress.
What prep steps prevent air, spills, and stripped bleeders?
Prep is the “risk control” phase: secure the vehicle, protect paint, clean the reservoir area, and pre-treat bleeders so you can flush without introducing air or damaging hardware.
After that, you’ll be ready to move fluid through the system in a controlled order rather than fighting stuck parts.
How do you set up the vehicle safely?
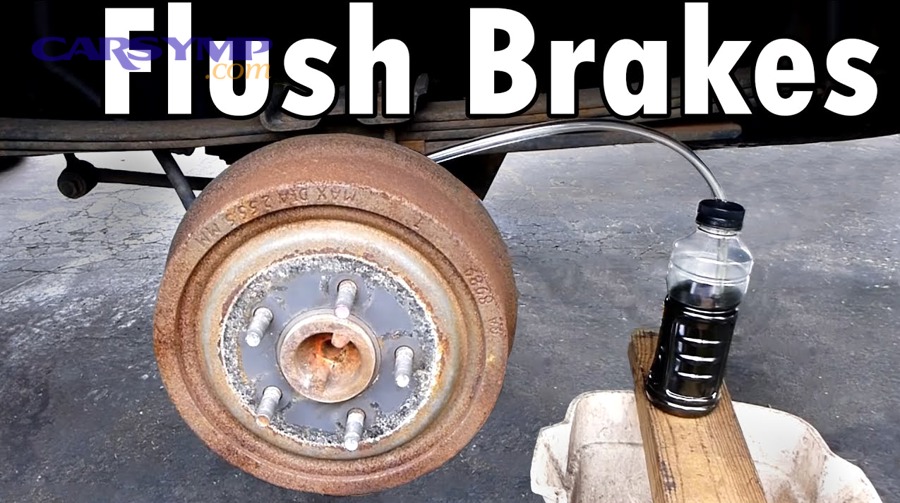
Chock wheels, lift at proper jack points, and support with stands, because you’ll be applying force to bleeders and moving around the car where stability matters.
To reduce surprises, do a quick “touch check” on each wheel before you fully commit—if a wheel is hot or dragging, you may have a separate issue that needs diagnosis first.
- Park on a flat surface; set parking brake if appropriate for the axle you’re not lifting.
- Chock opposite wheels; break lug nuts loose before lifting.
- Use stands; remove wheels for clear access and safer wrench angles.
How do you protect paint and electronics from brake fluid?
Brake fluid can damage paint quickly, so cover fenders with towels and keep a water spray bottle or damp cloth ready to dilute and wipe spills immediately.
In addition, keep the reservoir area clean so grit doesn’t fall inside while you’re topping up.
- Lay absorbent towels under the reservoir and along the fender edge.
- Use brake cleaner only where safe; avoid saturating sensitive plastics or electrical connectors.
- Wipe the reservoir cap and surrounding area before opening it.
How do you handle stuck or rusty bleeder screws?
Use penetrating oil, a wire brush, and a snug-fitting 6-point wrench, because rounding a bleeder creates a much bigger repair than a slow soak and careful break-loose technique.
To keep control, apply steady force rather than sudden jerks, and stop if the wrench begins to slip.
- Remove the rubber cap; brush rust from the nipple and hex.
- Soak with penetrating oil; wait 10–20 minutes.
- Try tightening a hair first, then loosen—this can crack rust bonds.
- If the bleeder feels “springy” or twists oddly, stop and reassess to avoid snapping it.
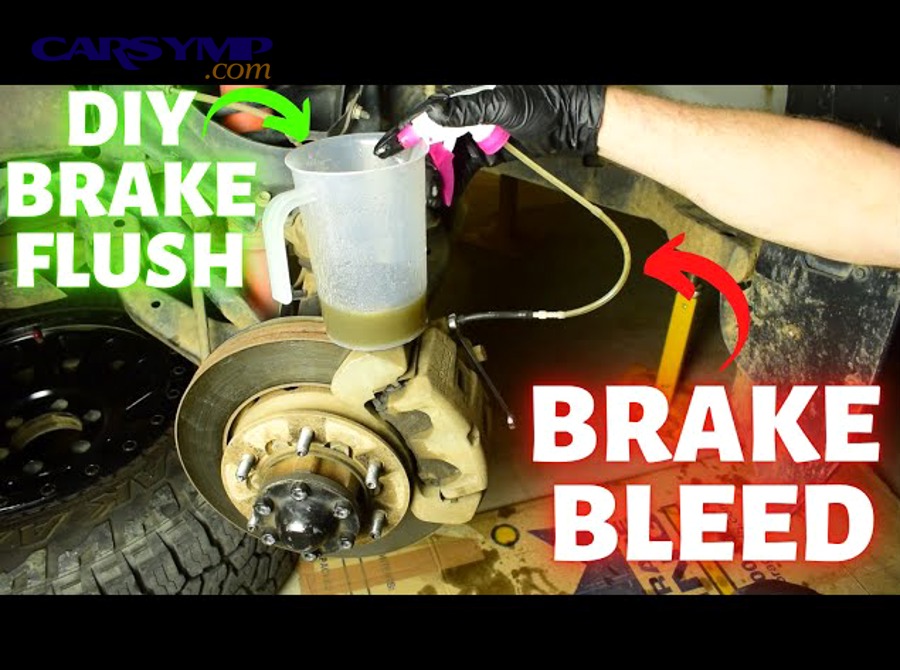
At this point, you’re set up to start the actual exchange. A crucial rule to remember throughout all DIY brake fluid flush steps: never let the reservoir run low. Air entry at the master cylinder can turn a simple flush into a full bleed troubleshooting session.
How do you start the flush at the reservoir without contaminating the system?
Start by extracting old fluid from the reservoir and refilling with fresh fluid, because this reduces how much dark fluid you push through lines and speeds up clean, consistent results.
Next, you’ll flow fresh fluid from the master cylinder through each brake circuit in an order that matches your vehicle’s design.
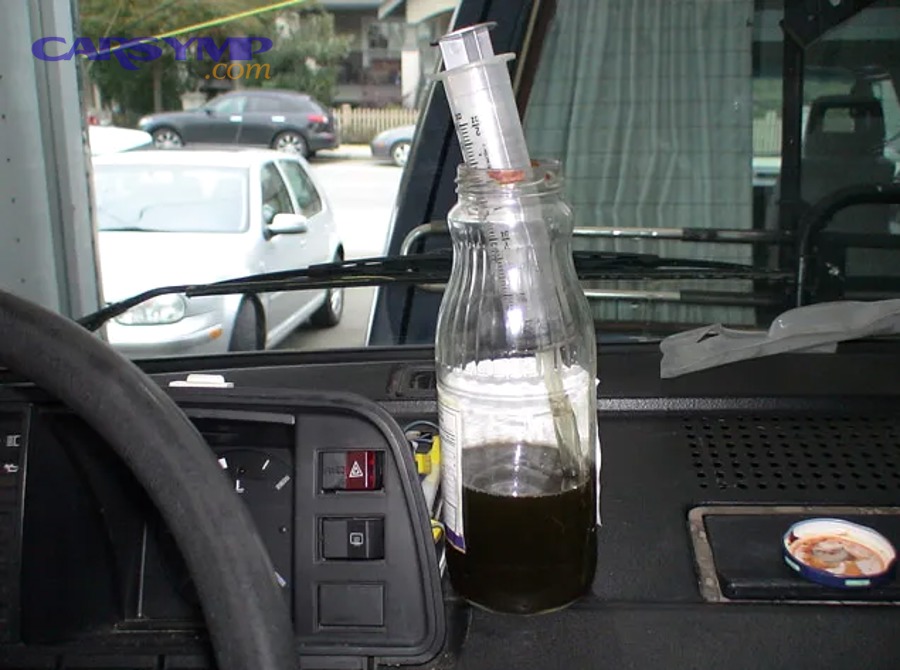
What is the safest way to remove old reservoir fluid?
Use a syringe or turkey baster to remove most of the old fluid while leaving a small amount above the ports, because draining completely can allow air into the master cylinder passages.
To keep it clean, place extracted fluid in a dedicated waste container, not your catch bottle.
- Open the cap carefully; avoid dropping dirt inside.
- Suck out old fluid until you’re close to the “MIN” level but not empty.
- Refill with fresh fluid to “MAX.”
- Keep the new bottle sealed between top-ups to limit moisture absorption.
How do you choose the correct bleeding order?
Use the owner’s manual sequence when available; if not, the common approach is to start at the wheel farthest from the master cylinder and work toward the closest, because it purges the longest lines first.
However, some vehicles specify a different order—so the manual wins when it’s specific.
- Common pattern: RR → LR → RF → LF (farthest to closest).
- Some diagonally split systems: may use a different sequence.
- Some motorcycles or certain cars: specify caliper order explicitly.
As you move to the first wheel, build a habit: open bleeder → move fluid → close bleeder → confirm reservoir level → repeat. This rhythm prevents the number-one DIY mistake: air re-entry.
How do you flush using the two-person pedal method step by step?
The two-person method uses controlled pedal strokes to push old fluid out in a predictable sequence, typically in 8–12 repeated cycles per wheel until the fluid runs clean and bubble-free.
To begin, coordinate timing so the bleeder is closed before the pedal is released, which prevents air from being pulled back through the threads.
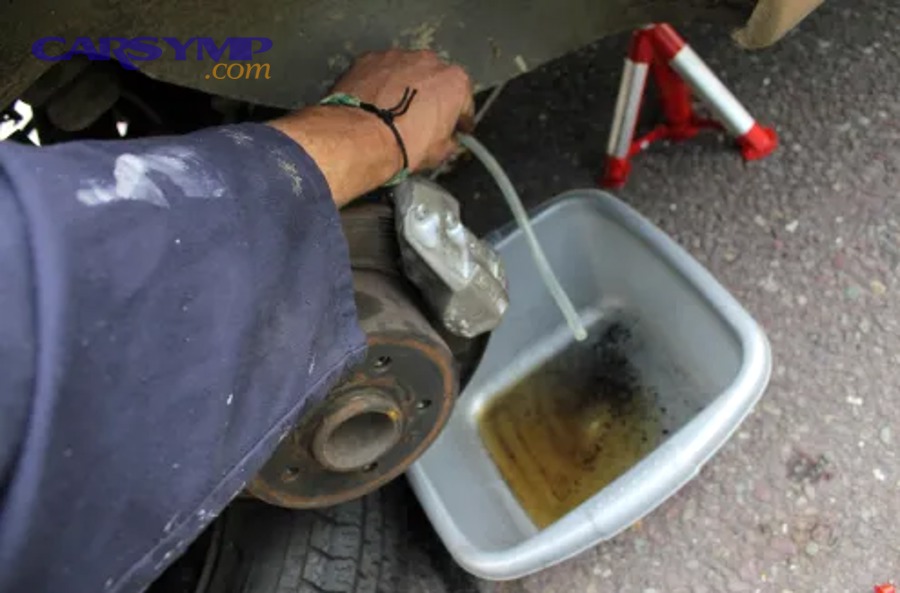
Step 1: Set up the hose and catch bottle
Attach a clear hose to the bleeder nipple and place the other end into a catch bottle with a small amount of clean fluid, because submerged hose ends reduce backflow of air into the line.
To keep the workflow smooth, position the bottle so the hose slopes downward without kinks.
- Push hose firmly onto the nipple for a tight seal.
- Keep the hose end below the fluid line in the bottle.
- Label the bottle “waste” so it never gets reused.
Step 2: Coordinate the pedal cycle correctly
Use a consistent cycle: “pump and hold,” crack the bleeder, close the bleeder, then release the pedal, because releasing with the bleeder open can draw air backward.
To avoid seal damage in older systems, do not slam the pedal to the floor; use smooth, moderate strokes.
- Helper pumps the pedal 2–3 times and then holds steady pressure.
- You crack the bleeder about 1/4 turn; fluid flows and pedal drops.
- You close the bleeder firmly (snug, not over-tight).
- Helper releases pedal slowly and waits for your signal.
- Check reservoir level every 2–3 cycles; top up as needed.
Step 3: Decide when the corner is “done”
That corner is done when the stream is clear and bubble-free for multiple cycles, because the last cloudy bursts can be trapped in caliper passages and will appear only after several pushes.
To confirm progress, compare the color in the hose to the fresh fluid in the new bottle under good light.
- Dark to amber shift usually signals old fluid being displaced.
- Fine “champagne” bubbles can come from threads—look for true air pockets in the hose.
- Finish with 2–3 extra cycles after it looks clean as a safety margin.
At this stage you’ve performed a functional exchange. For clarity in terminology later in this guide, remember that people often say “flush” and “bleed” interchangeably; in practice, you’re exchanging fluid (flush) while removing any entrained air (bleed) as part of the same workflow. You’ll see this explained as the Brake fluid flush vs bleed difference when comparing partial air removal to full fluid exchange during service.
To ground why clean fluid matters beyond appearance: Theo nghiên cứu của Acta Technologica Agriculturae từ nhóm tác giả Branislav Šarkan và cộng sự, vào May 2025, brake fluid boiling point in glycol-based fluids was shown to decrease significantly with moisture absorption, and samples taken at the caliper could be up to 20°C lower than reservoir samples—supporting why a full-corner exchange is more revealing than reservoir-only checks.
How do you flush solo with a vacuum bleeder or pressure bleeder?
You can flush solo either by pulling fluid (vacuum) or pushing fluid (pressure); pressure tends to give steadier flow, while vacuum is convenient but can show false bubbles from bleeder threads.
Next, pick the approach that fits your tools, your time, and the condition of your bleeders.
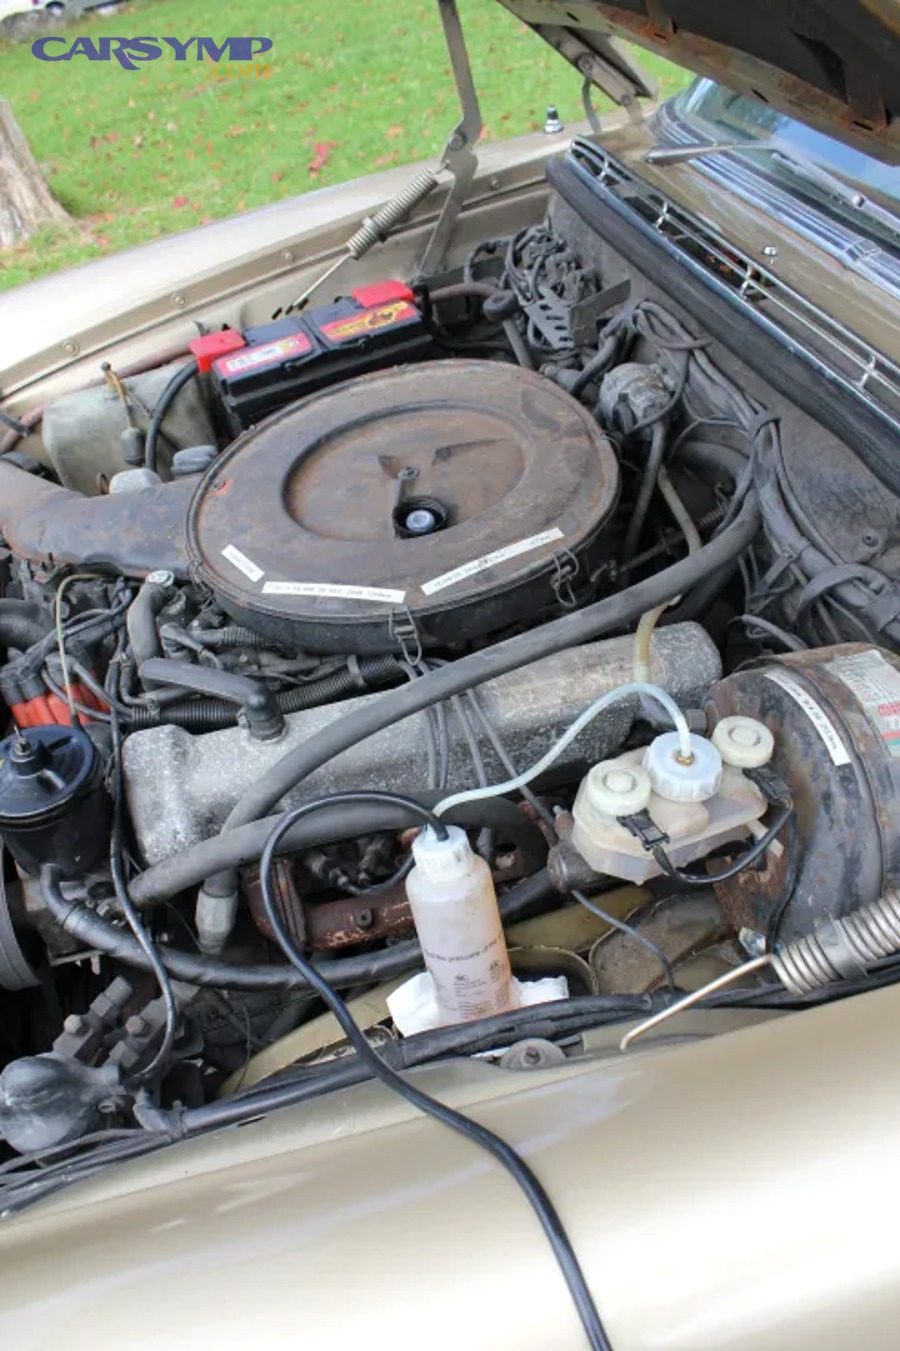
Vacuum method: How do you avoid “fake air bubbles”?
Vacuum bleeding can pull air around the bleeder threads, so seal the threads lightly (without blocking the hole) and focus on fluid clarity rather than bubble count.
To make it reliable, use moderate vacuum, keep the reservoir full, and watch the stream consistency.
- Apply vacuum, then crack the bleeder slightly—too far invites more thread leakage.
- Maintain steady suction; avoid rapid pumping that foams fluid.
- Top up the reservoir frequently; vacuum can drain it faster than expected.
Pressure method: What pressure is “safe enough”?
Pressure bleeding is consistent when you use low, controlled pressure, because excessive pressure can cause cap leaks or push fluid past seals depending on system condition.
To stay safe, follow your bleeder kit instructions and keep pressure modest and stable rather than “as high as it goes.”
- Use the correct cap adapter so the reservoir seals without distortion.
- Pressurize gradually; check for leaks at the cap before opening any wheel bleeders.
- Bleed each corner until clear; then depressurize before removing the cap.
Which solo method should you choose?
Pressure is best for full exchanges and consistent results, vacuum is best for quick extraction and portability, and the two-person method remains the simplest baseline if you have a helper.
In other words, choose the method that reduces your biggest risk: time pressure, air entry, or hardware damage.
If you’re planning your budget, note that tools and fluid vary widely by region and vehicle. This is where many owners consider a Brake fluid change cost estimate alongside tool purchase—because a pressure bleeder may pay for itself if you maintain multiple cars.
How do you handle ABS-equipped vehicles during a brake fluid flush?
Most ABS-equipped vehicles can be flushed normally, but you must keep the reservoir full and avoid introducing air, because air trapped in ABS modulator channels can be harder to remove without a scan-tool procedure.
To proceed safely, treat ABS systems as “more sensitive to mistakes,” not “impossible to DIY.”
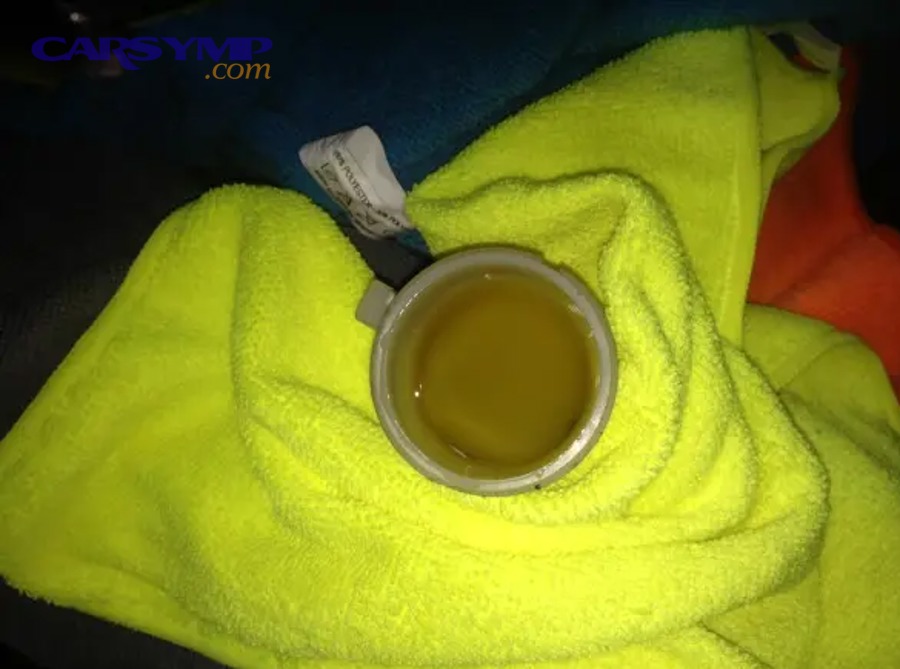
When do you need a scan tool for ABS bleeding?
You typically need a scan tool if the system has ingested air into the ABS hydraulic control unit or if the manufacturer specifies an automated bleed routine, because some modulators trap air in internal passages that normal pedal flow won’t fully purge.
To avoid needing that step, keep the reservoir from dropping low and do not open lines unless necessary.
- Normal flush (no air introduced): usually no scan tool needed.
- Air introduced (empty reservoir, opened lines, replaced ABS components): scan tool routine may be required.
- Manufacturer procedure says “mandatory”: follow it.
What are the most important ABS-specific habits during the flush?
The most important habits are steady flow, frequent top-ups, and calm pedal technique, because spiky pressure changes can aerate fluid and a low reservoir can pull air into complex ABS channels.
To keep control, do fewer but cleaner cycles, and re-check pedal feel before moving to the next corner.
Here’s the practical takeaway often summarized as ABS considerations during fluid service: keep fluid clean and full, avoid letting the master cylinder ingest air, and follow OEM sequences when the manual specifies special routines.
Why does viscosity matter more on modern stability systems?
Viscosity matters because ABS and stability control can pulse valves rapidly, and fluid must move quickly through narrow channels to maintain precise pressure modulation.
So, if your manual calls for a low-viscosity formulation, treat that as a hard requirement, not a suggestion.
The relationship is often explained in technical education: Theo nghiên cứu của BG Products từ Technical Service content, vào November 2020, modern safety systems may actuate calipers rapidly, increasing the importance of low viscosity for responsive fluid movement in computerized braking systems.
How do you know the flush is complete and the pedal is correct?
The flush is complete when fluid runs clear at every wheel, the reservoir is filled to the correct mark, and the brake pedal feels firm and consistent without sinking under steady pressure.
Next, you’ll validate results with controlled checks before driving at normal speeds.
What does “firm pedal” mean after the flush?
A firm pedal means resistance builds quickly and holds, because hydraulic pressure is being transmitted through incompressible fluid rather than compressible air pockets.
To verify it, use a steady-pressure hold test with the engine off, then with the engine on (boosted), and compare feel.
- Engine off: pedal should feel firm and not drift downward noticeably.
- Engine on: pedal may drop slightly as booster assists, but should still feel solid.
- Warning sign: slow sinking under steady pressure can indicate remaining air or a leak.
How do you check for leaks and bleeder sealing?
Check each bleeder, hose connection, and caliper area for wetness, because even a small seep can pull air back in over time and undo your work.
To make it systematic, inspect in a loop: each wheel, then the master cylinder, then the lines you can see.
- Wipe the bleeder area dry, then re-check after a few pedal presses.
- Inspect rubber caps and reinstall them to keep dirt and moisture out.
- Look at the reservoir seam and cap area for wetness after topping up.
How should you test drive after DIY brake fluid flush steps?
Test drive at low speed first, because you’re confirming braking response and ensuring no leaks under real pressure before joining fast traffic.
To stay safe, do a staged test: driveway stop → neighborhood stop → moderate stop, then re-check the reservoir level afterward.
- First stop: gentle, straight-line, no sudden maneuvers.
- Second stop: slightly firmer pedal, listen for unusual noises.
- Final check: park, inspect bleeders and reservoir one more time.
What mistakes cause a soft pedal after a flush, and how do you fix them?
A soft pedal after a flush is usually fixable: it most often comes from air re-entry, an incorrect bleeding rhythm, or an unseen leak, and you can correct it by re-bleeding methodically and checking each connection.
To troubleshoot efficiently, diagnose the pattern—when the pedal feels soft and how it changes—before repeating steps blindly.
Mistake 1: Letting the reservoir run low
If the reservoir runs low, air can enter the master cylinder and downstream circuits, so the fix is a full re-bleed in correct order with extra attention to the first corner you bleed.
To prevent recurrence, top up more often than you think you need, especially when using vacuum methods.
- Refill to “MAX” before each wheel.
- Check after every 2–3 cycles.
- If you suspect air ingestion, expect a longer re-bleed session.
Mistake 2: Opening the bleeder too far or using poor timing
Opening too far can pull air around threads and splash fluid, while poor timing can draw air back in, so the fix is to use smaller bleeder openings and enforce the “close before release” rule.
To make it repeatable, use the same 1/4-turn opening every cycle and communicate clearly with your helper.
Mistake 3: Misreading bubbles that come from threads (not the line)
Vacuum bleeding often shows bubbles from thread leakage rather than true system air, so the fix is to prioritize fluid clarity and pedal feel over bubble counting.
To confirm true air, look for large, intermittent gaps in the hose stream and a pedal that improves noticeably after each bleed set.
Mistake 4: Over-tightening or damaging bleeders
Over-tightening can deform seats or snap bleeders, so the fix is to snug them properly and replace damaged hardware rather than forcing a seal with excessive torque.
To keep hardware healthy long-term, clean the bleeder seat area and use protective caps after the job.
When you’re done troubleshooting, the job’s success is measured by consistency: clear fluid, no leaks, and a repeatably firm pedal. If any step felt uncertain, repeat the affected corner rather than the entire system—this keeps your process efficient and controlled.
Contextual Border: The main flush is complete. Next, we shift from the core how-to into micro details that improve long-term reliability, prevent contamination, and reduce the chance you’ll need to redo the work.
How can you keep brake fluid healthy after the flush?
Keep brake fluid healthy by storing new fluid correctly, disposing of waste safely, monitoring moisture risk, and setting a realistic interval for the next service, because brake fluid is hygroscopic and its condition changes over time even in a sealed system.
Besides that, small habits—cap discipline, clean funnels, and periodic inspection—compound into fewer brake issues.
How should you store leftover new brake fluid?
Store leftover fluid only if the container can be sealed tightly and used soon, because repeated opening allows moisture absorption that undermines the point of fresh fluid.
To be practical, write the open date on the bottle and avoid long-term storage for critical brake work.
- Keep the cap tight and store upright in a cool, dry place.
- Do not “top off” from an old, repeatedly opened bottle if safety is your priority.
- Use small bottles if you rarely service brakes to reduce leftovers.
How do you dispose of old brake fluid responsibly?
Dispose of old fluid like other automotive chemicals, because dumping can harm the environment and may violate local rules.
To keep it simple, use a sealed container and take it to an approved recycling or hazardous waste facility.
- Do not pour into drains, soil, or trash where it can leak.
- Keep it separate from motor oil unless your local facility allows combined fluids.
- Wipe spills promptly and dispose of contaminated rags according to local guidance.
How often should you plan the next service?
Plan intervals based on the owner’s manual and driving conditions, because heat cycles and humidity accelerate moisture uptake and fluid degradation.
To stay ahead, consider periodic checks for discoloration or boiling-point testing if you drive hard, tow, or track the vehicle.
The rationale is supported by published discussion of moisture effects: Theo nghiên cứu của ADVICS từ Technical Resources, vào March 2022 (cập nhật June 2023), wet boiling point is linked to moisture uptake and the industry commonly treats 3.7% water-by-volume as a saturated reference condition for replacement decisions.
What quick checks should you do monthly after a flush?
Do quick checks—fluid level, cap seal, and signs of external leaks—because early detection prevents air ingress and preserves the pedal feel you just restored.
To keep it effortless, add it to your routine under-hood glance and do a brief look behind each wheel for wetness.
- Fluid level should remain stable between MIN and MAX.
- Any drop without pad wear explanation deserves inspection.
- Look for damp calipers, hoses, and line fittings.