


Parking brake switch issues usually show up as a stubborn dash indicator, an intermittent warning, or a system that “thinks” the parking brake is still applied even after you release it. The fastest way to fix it is to treat the switch like a simple on/off truth-teller: confirm what it should report, test what it actually reports, and then decide whether the problem is the switch, the linkage, or the wiring.
Beyond the indicator itself, the same signal can influence other behaviors in modern vehicles—such as brake-related messages, driver-assist availability, and even how confidently you can interpret a red brake lamp at speed. So a clean diagnosis isn’t just about turning a light off; it’s about restoring trustworthy feedback.
Just as important, a parking-brake circuit often shares logic with other “brake system” alerts. That means you need a strategy that separates “parking brake is applied” from “hydraulic/braking fault,” so you don’t miss something serious while chasing a switch.
To connect everything into one clear workflow, the sections below move from how the switch is supposed to work, to common failure patterns, to hands-on tests, and finally to confirmation steps after the repair—so you can solve the root cause instead of resetting symptoms.
What is a parking brake switch, and what does it actually control?
A parking brake switch is a small electrical contact that changes state when the parking brake is applied or released, telling the dash and control modules whether the parking brake is “on” or “off.” After that, the vehicle uses that state to illuminate indicators and, in some models, alter certain safety logic.
To start, think of the switch as the “last mile” of information: the lever/pedal/button moves mechanically or electronically, but the switch (or its electronic equivalent) is what the dashboard and modules believe.

In a traditional hand lever or foot pedal system, the switch is commonly mounted so the lever/pedal physically presses or releases a plunger, closing or opening a simple circuit. In many designs, the switch completes a ground path (ground signal) when the brake is applied, which makes the indicator light up; when released, the circuit opens and the light should go out.
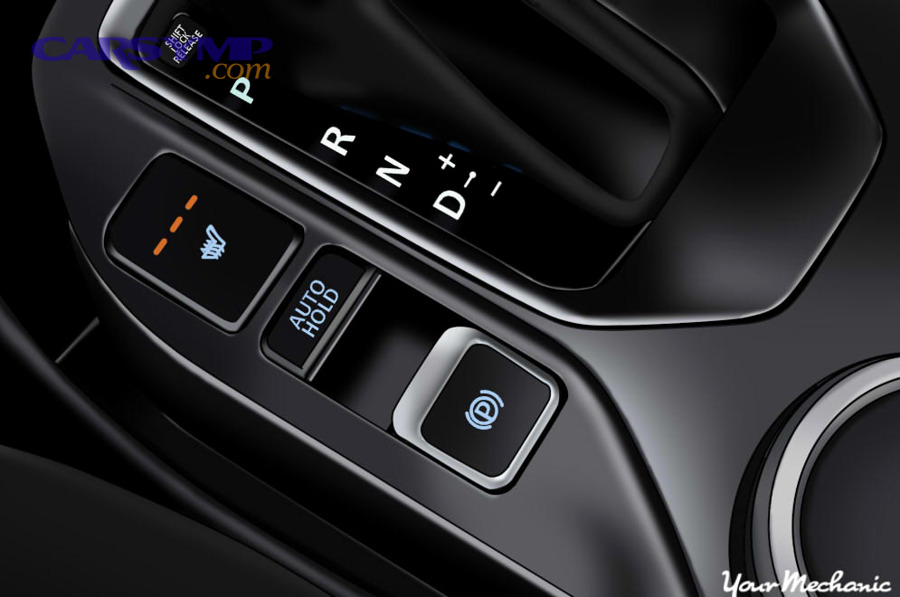
In an electronic parking brake (EPB) system, the “switch” you touch is a command input, and the vehicle decides what to do based on sensors, motor position, and module logic. Even then, the system still relies on a clean, consistent “applied/released” status for the dash and for safety decisions.
Why does the parking brake indicator stay on or flicker after release?
Yes, a parking brake indicator can stay on or flicker after release, most often because the switch state is wrong (stuck/dirty/misaligned), the linkage isn’t fully returning, or the circuit has a wiring/connector fault that mimics “applied.”
Next, use a symptom-first split: does the lamp change with lever/pedal/button movement, or is it “stuck” regardless of movement? That single observation narrows the fault from mechanical alignment to electrical integrity.
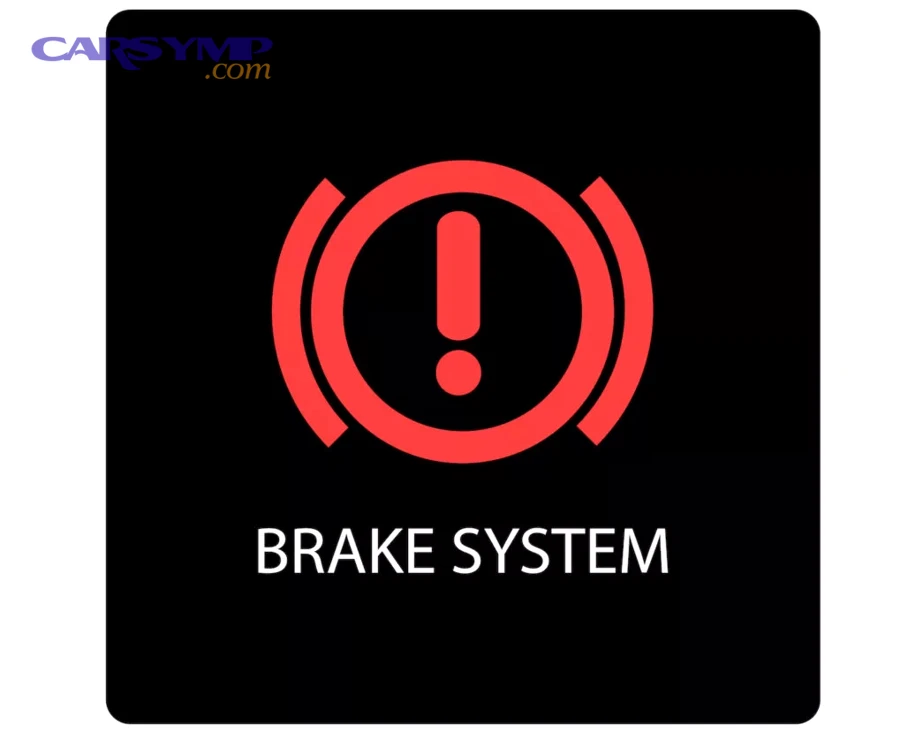
There are three high-probability patterns:
- Switch state problem: The switch is physically stuck, contaminated, worn, or not being “released” by the lever/pedal return, so it continues to report “on.”
- Return/adjustment problem: The handle/pedal doesn’t fully return to the rest position (slack, binding, weak return spring), so the switch remains engaged even though the brake feels released.
- Circuit problem: A chafed wire, corroded connector, or poor ground makes the circuit behave as if the switch is closed.
To make this practical, this table helps you map “what you see” to “what to test first.”
This table contains common indicator behaviors, the most likely root causes, and the fastest confirmation test so you can avoid replacing parts blindly.
| Indicator behavior | Most likely cause | Fastest confirmation |
|---|---|---|
| Light stays on; changes when you tug lever/pedal slightly | Switch misalignment or lever not returning fully | Observe switch actuation point; test if lamp changes when you manually press/release switch |
| Light stays on; no change with any lever movement | Short-to-ground (or shorted circuit) downstream of switch | Unplug switch connector; if lamp stays on, suspect wiring/module input |
| Light flickers over bumps | Loose connector, intermittent ground, worn internal switch contact | Wiggle test connector and harness while watching lamp |
| Light comes on with low fluid or heavy braking, not lever movement | Shared warning lamp logic (fluid level/pressure) not parking-brake switch | Check brake fluid level and for leaks before focusing on the switch |
For safety context, remember that some vehicles use the same red brake lamp for parking brake status and for hydraulic warnings, so you must rule out low fluid or a leak if anything feels different about the brake pedal or stopping power.
Can parking brake switch problems trigger other brake-related warnings or behavior changes?
Yes, they can—because the vehicle may share indicator logic or interpret “parking brake applied” as a condition that changes what other systems report, even when the foundation brakes are fine.
However, the direction matters: a bad parking-brake switch can cause a warning to appear, but the same warning can also appear from low fluid, ABS faults, or pad sensors—so correlation is not proof.
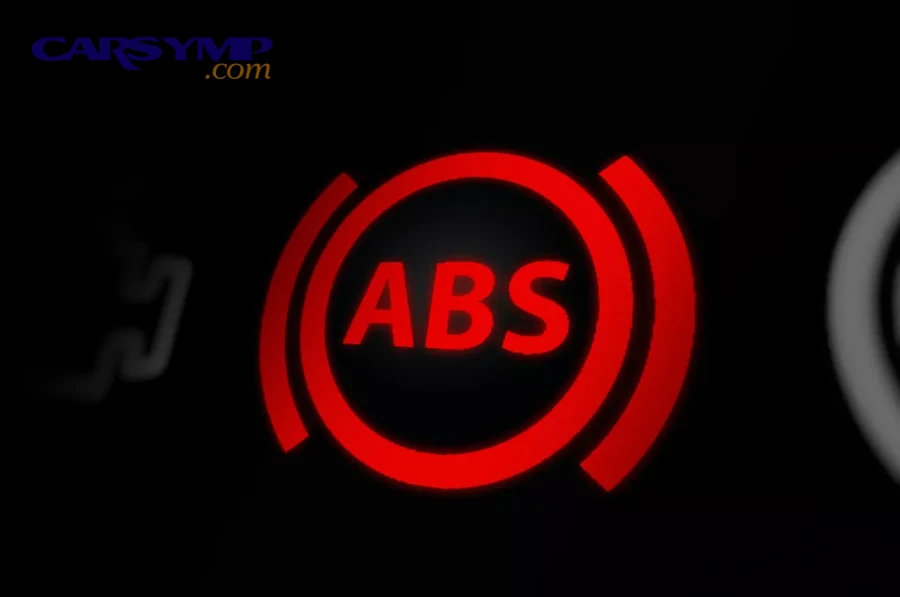
Here are realistic “spillover” effects you may notice:
- Brake system lamp ambiguity: The red brake lamp may illuminate for parking brake engagement or for low fluid/pressure, depending on design.
- ABS/traction warnings in parallel: An ABS fault uses its own lamp and stores diagnostic trouble codes, but drivers often interpret multiple lights as a single issue. A clear workflow prevents that mistake.
- Electronic parking brake logic: In EPB vehicles, a “switch” input issue can be interpreted as a command problem, while a status sensor issue can be interpreted as a motor/actuator problem—leading to different warnings and different repair paths.
According to research by the U.S. National Highway Traffic Safety Administration (NHTSA) from its vehicle safety program, in 2012 NHTSA estimated major safety developments contributed to tens of thousands of lives saved annually—so treating any brake-related warning as “just a light” is a bad habit.
To keep the diagnosis grounded, assume the lamp is telling the truth until you prove otherwise: verify fluid level and brake feel first, then validate the parking brake switch signal.
How do you test a parking brake switch the right way (without guessing)?
The most reliable method is a three-step test: verify mechanical actuation, verify electrical continuity at the switch, and then verify the circuit response with the connector unplugged.
To begin, separate mechanical from electrical: if you can manually actuate the switch and the indicator changes, the circuit is likely intact and the mounting/adjustment is the suspect. If nothing changes, you move upstream (power/ground/module input) or downstream (wiring).
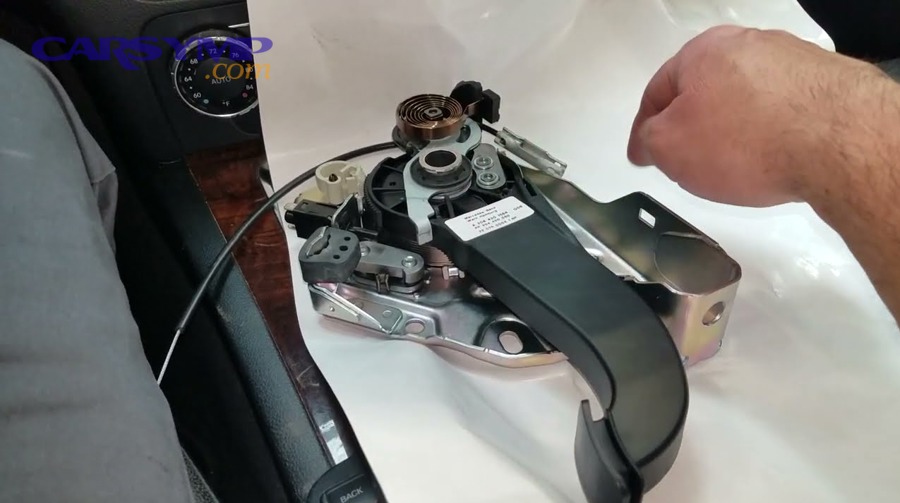
Step-by-step continuity test (typical mechanical switch):
- Locate the switch: It may sit at the lever base, under the handbrake boot/trim, or near the foot-pedal mechanism depending on the design.
- Check actuation travel: With the brake released, confirm the switch plunger/lever is fully released. Then apply the parking brake and confirm it fully depresses/changes position.
- Unplug the connector: If the indicator turns off immediately, the switch may be shorted/closed or the linkage is holding it closed. If the indicator stays on, suspect wiring/module logic.
- Meter test the switch: Using a multimeter, test continuity across the switch terminals while you apply/release the brake. You should see a clean change (open to closed, or closed to open, depending on design).
- Wiggle test: While watching the meter, gently move the connector and harness. Intermittent drops indicate a connector pin fit/corrosion issue.
Where people go wrong is skipping the connector-unplug test. That one move tells you whether the system is reacting to the switch itself or something else in the circuit path.
Note: Some vehicles use a switch-to-ground strategy, meaning continuity-to-ground is the “on” signal; others use a powered feed. If you’re unsure, follow the vehicle service information or observe how the indicator behaves when the connector is unplugged.
What wiring and connector faults most commonly mimic a “stuck” parking brake switch?
The most common mimics are moisture/corrosion in the connector, chafed insulation causing a short-to-ground, and poor grounding that confuses the module input.
Next, use the same logic electricians use: faults often live where the harness moves, rubs, or transitions through metal—especially around consoles, pedal brackets, and underbody routing.
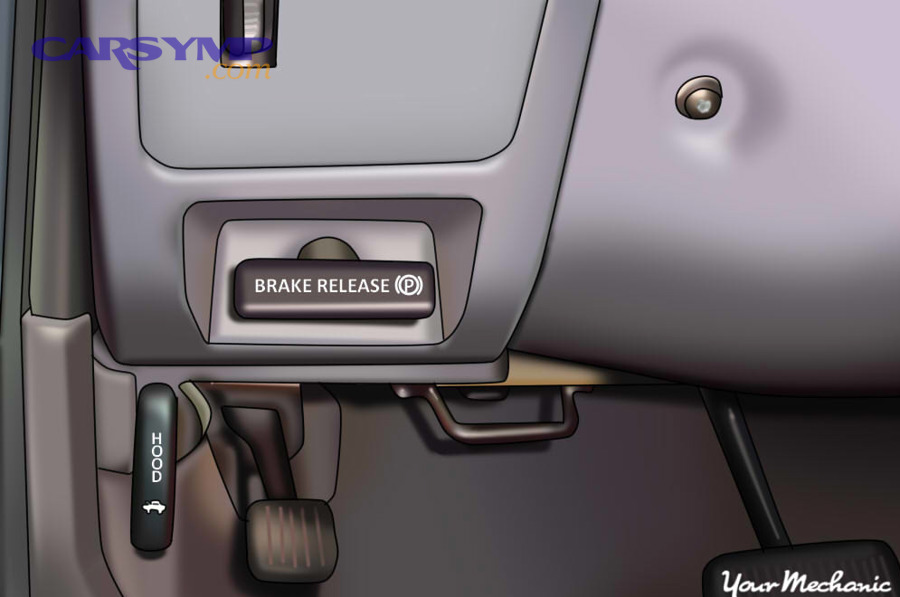
High-frequency failure points to inspect:
- Console and trim edges: Harness pinched during prior interior work can damage insulation over time.
- Foot pedal bracket region: Movement and vibration can fatigue wiring near the pedal mechanism.
- Connector pin tension: A loose female terminal can behave normally when parked, then flicker over bumps.
- Ground points: A corroded ground can create strange, shared-warning behaviors that look like switch failure.
If you also see brake light or pedal-signal oddities, remember that brake pedal switches commonly live under the dashboard near the pedal and can wear from repeated use; while that’s a different switch, it helps explain how “simple contacts” fail in real cars.
How do you differentiate parking brake switch issues from low brake fluid or real brake system faults?
You differentiate them by checking brake feel and fluid level first, then confirming whether the warning changes with parking brake movement and switch disconnection. If the pedal feel or braking performance is abnormal, treat it as a brake system problem—not a switch problem.
After that, use the “two-condition rule”: if the warning behaves independently of the parking brake position, it’s less likely to be the parking brake switch and more likely to be hydraulic level/pressure or ABS-related.
Do these checks in order:
- Brake pedal and stopping check: Any sinking pedal, increased stopping distance, or pull is a red flag—stop and diagnose the braking system.
- Brake fluid level: Low fluid can illuminate a red brake warning on many vehicles and may indicate worn pads or a leak.
- Parking brake movement correlation: Apply/release the parking brake while watching the warning. If it tracks movement, the switch/linkage is more likely.
- Switch connector test: Unplug the parking brake switch (mechanical systems). If the warning behavior changes, the switch circuit is involved.
According to CarParts.com’s brake warning light overview (updated February 2024), a brake system warning light can indicate the parking brake is engaged or that brake fluid level is low—so the same lamp can represent two different realities.
That’s why a disciplined sequence matters: it keeps you from “fixing the light” while ignoring the brakes.
When should you clean/adjust the switch versus replace it entirely?
Replace the switch when it fails a continuity test, shows intermittent contact you can reproduce, or has physical damage; clean or adjust it when the switch tests good but the lever/pedal doesn’t reliably actuate it at the right point.
Next, let the failure pattern guide the decision: dirt and misalignment create “almost works” behavior, while internal wear tends to create unpredictable flicker or permanent closure/open.
Clean/adjust is appropriate when:
- The switch tests correctly on the bench (clean open/close), but doesn’t get fully released by the lever/pedal.
- You can make the indicator turn off by pushing the lever/pedal “a little farther” into the rest position, suggesting travel/stop adjustment or binding.
- The connector is dirty but pins are intact and tension is good after cleaning.
Replace is appropriate when:
- Continuity does not change when actuated, or changes inconsistently with the same movement.
- The plunger/lever is broken, loose, or seized.
- Wiggle testing produces clear intermittent drops even after connector servicing.
If you’re working on an EPB vehicle, replacement decisions often shift from “switch” to “switch input vs actuator/module status.” In those cases, you still start with input validation, but you may need scan tool data to see whether the module recognizes “applied/released” correctly.
What does a complete, no-shortcuts repair workflow look like for parking brake switch issues?
The best workflow is: confirm safety first, isolate the signal, correct mechanical actuation, repair wiring if needed, and then verify the system with a final functional test—including making sure the warning behaves normally in multiple driving conditions.
After that, lock in the repair with a “proof set”: you want evidence that the switch state, the dash indicator, and the real parking brake action are all aligned—because any mismatch is where false confidence is born.
Workflow you can follow:
- Safety gate: If braking performance is questionable, stop and address hydraulic issues first.
- Reproduce the symptom: Note when it happens—cold start, bumps, after rain, after interior work, after a long drive.
- Isolate the switch: Unplug and observe indicator behavior (mechanical systems).
- Confirm switch test: Meter continuity/state change; clean/adjust/replace based on results.
- Harness check: Inspect chafe points, connector pin tension, and grounds; repair as needed.
- Functional test: Apply parking brake, confirm holding force, release, confirm full release, and confirm indicator behavior.
- Road verification: Drive over mild bumps and do a safe, low-speed stop to confirm no flicker and no new warnings.
In real-world terms, this is the difference between “light went away in the driveway” and “light stayed away after a week of normal driving.”
brake warning light diagnosis should be treated as a structured split: confirm whether the lamp is responding to parking brake status or to fluid/pressure logic, then verify the parking brake switch signal directly before replacing parts.
What should you do after the repair to confirm the fix and clear warnings?
After repair, confirm the parking brake holds and releases correctly, confirm the indicator responds instantly to apply/release, and then verify that any stored faults are addressed—because some systems retain codes even after the physical issue is fixed.
Next, treat post-repair steps as part of the diagnosis: if the lamp returns, the system is telling you the underlying condition still exists (or the vehicle is interpreting a different input as a brake fault).

Confirmation checklist:
- Static indicator test: Apply parking brake → lamp on; release → lamp off within a second.
- Holding test: On a safe incline (or controlled environment), confirm the vehicle holds without creep.
- Release test: Confirm the brake fully releases—no dragging smell, no unusual resistance, no heat buildup.
- Intermittent trigger test: Tap/wiggle connector and harness lightly; no flicker should occur.
How to reset brake warning light after repair depends on the vehicle: some lights clear automatically once the switch state and fluid/pressure conditions return to normal, while others require a key cycle and, for module-stored faults, a scan tool clear after the root cause is repaired.
Scan tool codes for brake system warnings are especially relevant when the ABS module has stored a diagnostic trouble code (DTC); many professionals use a scan tool to retrieve those codes and use them as a starting point for troubleshooting and confirmation.
Diagnosis cost and typical repairs vary widely by vehicle and design, but the price range usually follows a simple pattern: basic mechanical switch replacement and adjustment is often cheaper than diagnosing intermittent wiring faults or EPB module/actuator issues that require scan tool data and deeper teardown.
If you want a quick cost logic map, this table helps you estimate what the shop is actually charging for (access vs testing vs parts).
This table contains common repair categories, what the technician typically does, and why the labor varies—so you can compare estimates more confidently.
| Repair category | Typical work included | Why cost varies |
|---|---|---|
| Switch adjustment/cleaning | Inspect actuation, clean connector, adjust mounting/stop if applicable | Access difficulty (console trim vs easy access) |
| Switch replacement (mechanical) | Remove trim, unplug/replace switch, confirm operation | Part location, trim complexity, corrosion |
| Harness/connector repair | Find intermittent fault, repair wiring, secure routing, verify | Time to reproduce and isolate intermittent issues |
| EPB diagnostics | Scan tool checks, actuator tests, status verification, possible recalibration | Tooling, module access, software procedures |
Is it safe to keep driving when the brake warning lamp is on?
No, it isn’t automatically safe—because the same warning lamp can represent “parking brake applied” or a hydraulic issue, and a hydraulic leak or low fluid condition can reduce braking ability or lead to loss of braking.
However, you can quickly lower risk by doing immediate checks: verify the parking brake is fully released, check brake feel, and check brake fluid level; if anything is abnormal, stop driving until diagnosed.
Stop driving immediately if:
- The brake pedal feels soft, sinks, or requires extra distance to stop.
- You see brake fluid loss, wetness near wheels, or a rapidly dropping reservoir level.
- The warning lamp appears together with severe ABS/traction warnings and braking feels inconsistent.
It may be acceptable to drive only to a safe location (slowly) if:
- Braking feels completely normal, fluid is at the correct level, and you can confirm the parking brake is released.
- The issue is clearly correlated to a flaky parking brake switch signal (for example, flicker over bumps with no brake feel change).
Even then, treat it as time-sensitive: the entire point of the warning system is to give you reliable information, and switch issues remove that reliability.
Contextual Border: The main diagnosis above focuses on the most common root causes and tests. Next are edge cases, vocabulary “synonyms,” and quick FAQs that help you avoid rare-but-frustrating misdiagnoses.
Edge cases, synonyms, and quick FAQs for parking brake switch issues
Switch vs sensor vs module: what words mean what in your repair plan?
“Switch” commonly means a simple contact that opens/closes; “sensor” usually means a variable signal read by a module; and “module” is the controller that interprets inputs and commands outputs. In EPB systems, the cabin button is a switch input, while “applied/released” can be derived from sensors and motor position.
The lexical trick that keeps you accurate is to ask: “Is this part reporting a binary state (on/off) or a measured state (position/pressure)?” Once you know that, you choose the right test: continuity for switches, scan data/voltage range for sensors, and command/status verification for modules.
Moisture, cold weather, and intermittent flicker that only happens sometimes
Intermittent flicker that appears after rain, car washes, or cold mornings is often connector moisture or a marginal ground that becomes worse as resistance changes. Drying and cleaning may temporarily help, but the durable fix is restoring connector integrity and harness routing.
If your symptom is time-dependent, your test should be time-dependent too: reproduce under the same conditions, then wiggle-test and meter-test while the symptom is present.
After interior work, stereo installs, or console removal: why the problem “suddenly starts”
Parking brake switch circuits and related harnesses often run through the console area, which makes them vulnerable to pinching, misrouting, or partially seated connectors after interior work. A warning that starts right after a trim job is a clue—not a coincidence.
In that scenario, don’t start by replacing parts. Start by re-checking connector seating, harness clips, and whether the switch mounting got bumped out of alignment.
Quick FAQ: fast answers without breaking the diagnosis flow
Why does the light go out when I press down on the lever/pedal area? Usually because the switch isn’t being fully released at rest—adjustment, binding, or a weak return is likely.
Can I just unplug the switch and ignore it? You can sometimes turn off the lamp, but you lose a safety indicator and may hide real brake warnings depending on lamp logic.
Does the same lamp always mean parking brake? Not always; many vehicles use the same brake lamp for parking brake status and low fluid/pressure warnings.
What’s the fastest “proof” that the switch is bad? A repeatable continuity failure on the meter while you actuate the switch, especially if unplugging it changes the lamp behavior.