


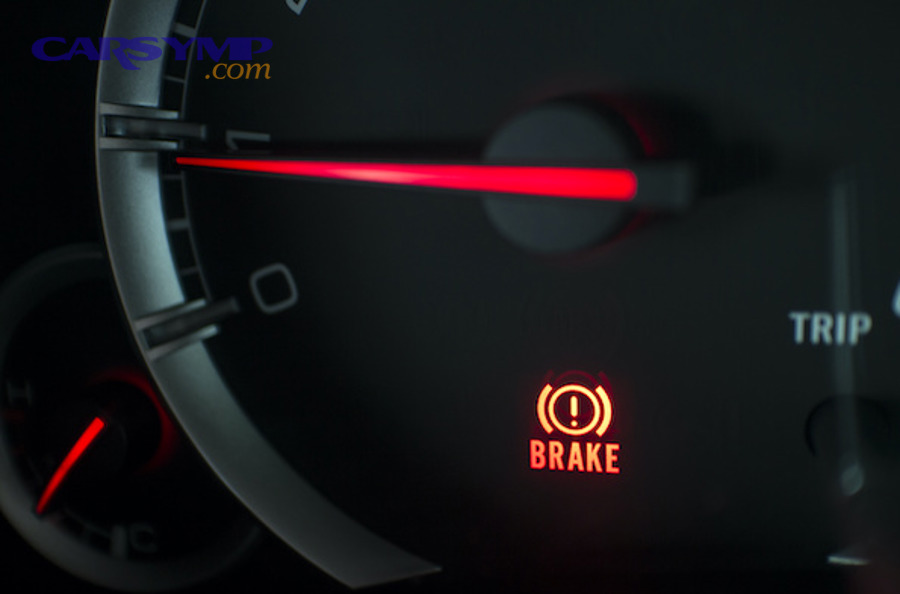
A low brake fluid warning usually means the fluid level in the master-cylinder reservoir has dropped to the sensor’s threshold, often because brake pads have worn down, a leak has developed, or the system was recently serviced and the level wasn’t set correctly.
Because brake hydraulics are a sealed system, “low level” is a clue—not a diagnosis—so the right response is to check for safety-critical leaks first, then confirm wear-related level drop, and only then consider sensor faults.
Many drivers assume adding fluid is the fix, but topping up can hide the real problem: worn pads that need replacement, a leaking caliper or line that could fail suddenly, or a master-cylinder issue that changes pedal feel.
To begin, this guide breaks the warning into clear cause-groups, then walks you through safe checks, what actions are appropriate right now, and how to avoid common mistakes that turn a simple warning into a dangerous brake failure.
What does a low brake fluid warning actually mean in the brake system?
It means the reservoir level has fallen enough to trigger the level sensor, so the car is telling you the hydraulic “margin” is reduced and you must verify whether the drop is normal (pad wear) or abnormal (leak or fault).
To connect that meaning to real-world decisions, the next step is to understand how the reservoir level relates to braking force and why it can drop even when nothing is “consuming” fluid.
Why the reservoir level matters even if the brakes still work
Brake fluid doesn’t get used up like fuel; instead, it moves between the reservoir and the calipers/wheel cylinders as the system compensates for wear and heat expansion. When the level is low, there’s less reserve to compensate for changes in temperature and component travel.
For example, if the system is already low and a small leak grows under pressure, the reservoir can drop below the pickup point, introducing air—then pedal travel increases and braking becomes inconsistent. To see why that happens, it helps to picture the reservoir as the “buffer” that keeps the master cylinder from pulling in air.
How the sensor triggers the warning
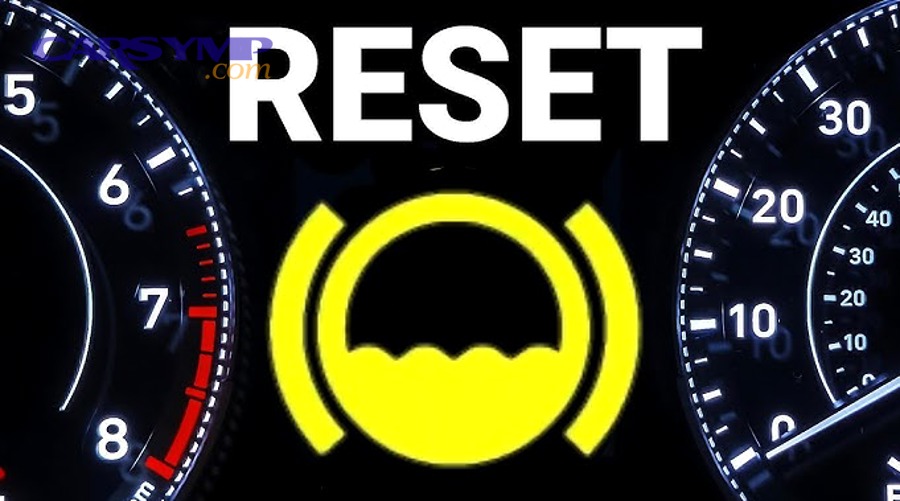
Most vehicles use a float or reed-switch sensor in the reservoir. When fluid falls below a set point, the float drops and the switch changes state, turning on the warning. Some cars combine signals (fluid level + parking brake switch + ABS/ESC logic), which can make the light confusing.
Because multiple inputs can share the same dashboard icon, the rest of this guide separates low fluid causes from other warnings that can look similar.
What are the most common low brake fluid warning causes?
There are three main cause-groups: normal level drop from brake pad wear, abnormal loss from leaks, and “false” warnings from sensor or service-related issues.
Next, we’ll break each group into specific components—calipers, hoses, lines, master cylinder—so you can match symptoms to the most likely source quickly and safely.

Cause group 1: Brake pad wear (normal level drop)
As pads thin, caliper pistons sit farther out. That extra piston position holds more fluid in the caliper, which lowers the reservoir level. This is common and often appears near the end of pad life, especially on vehicles with small reservoirs or aggressive pad compounds.
However, “normal” doesn’t mean “ignore it.” The warning can be the first sign that pads are close to minimum thickness, so you should confirm pad wear before topping off.
Cause group 2: External leaks (abnormal and urgent)
Leaks can occur at flexible hoses, hard lines, caliper seals, bleeder screws, master-cylinder seals, or ABS hydraulic unit connections. Even a slow seep can trigger the warning over time, and a sudden rupture can cause immediate loss of braking assist or pedal pressure.
Because leaks are the highest-risk scenario, the upcoming sections prioritize safe leak checks and “do not drive” indicators.
Cause group 3: Service errors, sensor faults, or trapped air
After brake work, the fluid might be left slightly low, the cap may not be seated properly, or the sensor connector could be disturbed. In some cases, air in the system or an incorrect bleed procedure changes pedal feel and prompts a driver to notice the light that was already marginal.
To avoid missteps, later steps will explain when topping up is appropriate and when it only masks the real repair.
How does brake pad wear lower the fluid level without any leak?
Pad wear lowers the reservoir level because the caliper piston extends as friction material thins, storing more fluid in the caliper and less in the reservoir.
To make that concept actionable, we’ll tie piston position (a meronymy relationship: piston is part of the caliper assembly) to what you can inspect visually and what you should not do when pads are near end-of-life.
What you should see when pad wear is the real cause
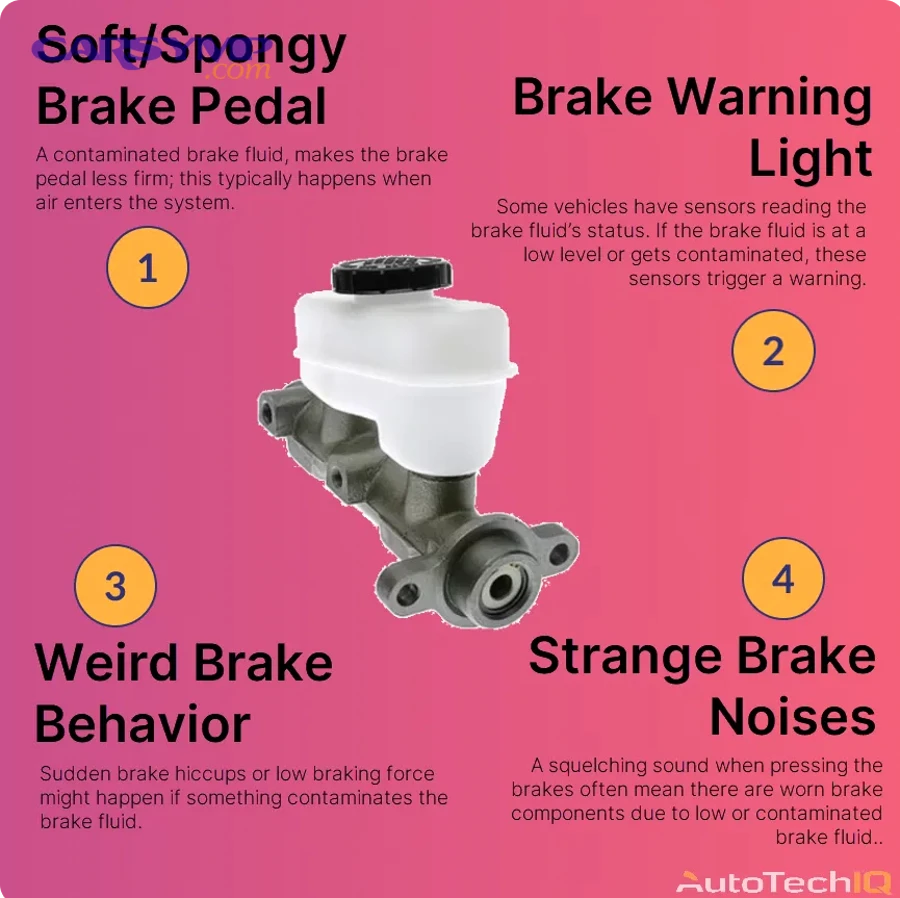
Typical clues: no wet spots under the car, no oily residue on wheels, and a brake pedal that still feels firm. Often, you’ll also notice a mild squeal indicator, longer stopping distance, or a “thin pad” look through the wheel spokes.
Specifically, if the pads are thin on one axle (commonly the front on many vehicles), the reservoir drop can be enough to trigger the sensor even though the system is sealed.
Why topping off can be a mistake when pads are worn
If you add fluid to compensate for worn pads, then later replace pads, the caliper pistons will be pushed back in. That forces fluid back toward the reservoir and can overflow, damaging paint and creating a mess that looks like a leak.
So the safer sequence is: inspect pad thickness first, plan pad replacement if needed, and only adjust fluid level to the correct “MAX” mark after the brake hardware is in its final condition.
Uneven wear: a hidden driver of low fluid warnings
Sticking slide pins, seized caliper pistons, or glazed pads can cause one side to wear faster, pushing one piston farther out and dropping fluid level more than expected. Uneven wear also hints at a mechanical issue that can overheat the rotor and degrade seals.
Because uneven wear can be the bridge between “normal” and “leak,” the next section focuses on leak points and how to spot them before they become failures.
Where can brake fluid leak from, and what are the safest ways to check?
Brake fluid leaks commonly originate at calipers/wheel cylinders, flexible hoses, steel lines, master-cylinder seals, or fittings near the ABS hydraulic unit, and you can often identify them by wetness, residue, and level drop over time.
Next, we’ll map the system from the reservoir outward, so you can check in a logical order that minimizes risk and avoids missing the most common leak zones.

Step-by-step leak check from top to bottom
1) Reservoir and cap area: Look for dampness around the cap, cracks in the plastic reservoir, or a loose electrical connector on the level sensor. Brake fluid is typically clear to amber (darkens with age), and it feels slick but is not greasy like engine oil.
2) Master cylinder and booster seam: Check where the master cylinder bolts to the brake booster. Any wetness here can indicate a rear seal leak. If fluid leaks into the booster, it may not drip externally, yet the level drops.
3) Hard lines and junction blocks: Follow the metal lines for rust, pitting, and damp fittings. Rust-prone areas include underbody sections and clips that trap moisture.
4) Flexible hoses at each wheel: Look for cracking, wetness near the crimp fittings, or fluid streaks on suspension parts.
5) Calipers/wheel cylinders and bleeder screws: Inspect behind the wheel for wetness, especially at the caliper piston dust boot area and at the bleeder screw.
To keep the inspection safe, avoid driving if you see active drips, puddles, or if the pedal suddenly feels soft—those are signs the system may be ingesting air.
What brake fluid looks like on the ground or wheel
Fresh brake fluid is usually clear to light amber; older fluid can be darker. On painted surfaces, it can soften paint quickly. On wheels, it may appear as a wet, glossy patch mixed with brake dust, often forming streaks running down the inside of the rim.
However, road water and other fluids can mimic wet spots, so verify by checking the reservoir level trend and the specific origin point on the component.
Hidden leaks you can miss without looking closely
Some leaks only show under pressure (hard braking) and may not drip when parked. Others seep slowly and evaporate on hot components. A master-cylinder rear seal can leak into the booster, lowering fluid without obvious puddles.
Because a leak isn’t the only reason the light can appear, the next section covers sensor and wiring issues that can imitate low fluid warnings.
Could the warning be caused by the sensor, wiring, or dashboard logic instead of low fluid?
Yes—faulty reservoir level sensors, damaged wiring, or shared warning circuits can turn the light on even when the fluid level is correct, especially after maintenance or in cars that combine brake-related warnings.
To narrow this down without guesswork, you’ll compare the actual fluid level and pedal feel to the warning behavior, then decide whether a scan tool and electrical inspection are justified.

Simple sanity checks before assuming an electrical fault
First, verify the fluid level against the reservoir markings on level ground, with the vehicle off and cool. If the level is clearly at or near “MAX” and the warning persists, then pay attention to pedal feel: a firm, consistent pedal with stable braking performance makes an urgent hydraulic loss less likely.
Next, look for a pattern: does the light flicker over bumps or during turns? That can indicate a borderline level (sloshing) or a loose connector at the reservoir sensor.
When a scan tool helps
Modern vehicles may store diagnostic trouble codes in ABS/ESC modules that help separate a fluid level signal from other issues. A stored code related to the fluid level switch circuit, ABS pump, or pressure sensor can clarify whether you’re dealing with electrical input or actual hydraulic loss.
In practice, a proper brake warning light diagnosis often combines a visual inspection, a scan for ABS/ESC codes, and a basic circuit check at the reservoir connector.
Common electrical culprits
Typical issues include: corroded sensor terminals, broken wires near the reservoir, a stuck float, or a cap/reservoir assembly that doesn’t seat correctly. In some cars, the same warning icon can also illuminate for parking brake switch problems or ABS/ESC faults, which is why confirming the real fluid level is always step one.
Now that you can separate “low fluid” from “signal problems,” the next section focuses on immediate safety actions when the warning appears.
What immediate steps keep you safe when a brake warning appears while driving?
The safest response is to reduce speed, increase following distance, avoid hard braking, and find a safe place to stop so you can check pedal feel and the fluid level—because the warning may indicate a leak that can worsen quickly.
Next, you’ll follow a short decision tree that prioritizes safety over troubleshooting, then you’ll decide whether the car is safe to move, needs a tow, or can be driven cautiously to service.
On-road decision tree: pedal feel first, then the level
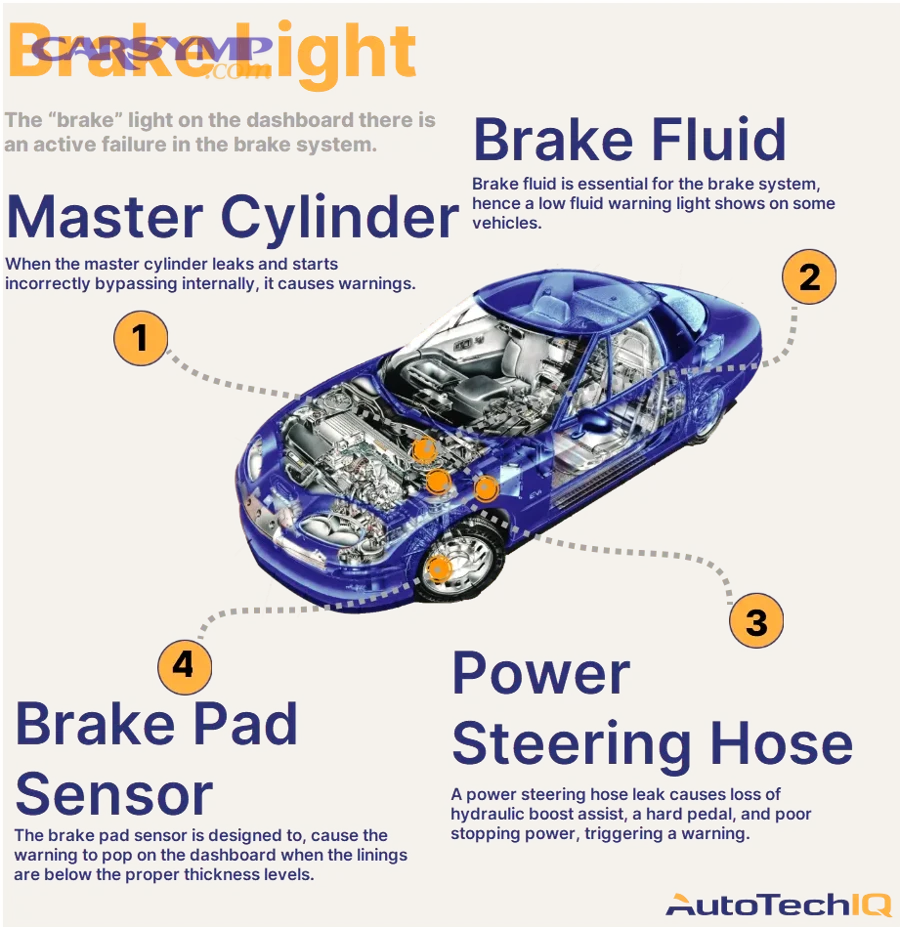
1) Check pedal feel safely: In a straight line at low speed, gently press the brake. If the pedal is sinking, spongy, or travels much farther than normal, treat it as unsafe and pull over immediately.
2) Avoid panic stops: If a leak is present, hard braking can accelerate loss and introduce air faster.
3) Stop and assess: Once parked safely, look under the vehicle for fresh wet spots and check the reservoir level.
In other words, What to do immediately when brake light comes on is less about “fixing” and more about preventing a situation where reduced hydraulics becomes total braking loss.
If the light turns on during a turn or hill
Fluid can slosh in the reservoir. If the level is borderline (near “MIN”), a turn or incline can expose the sensor and trigger the warning briefly. This still matters because borderline level often means either pad wear is advanced or a slow leak exists.
So treat flickering as an early warning: check level and brakes soon, not “someday.”
When you should not continue driving
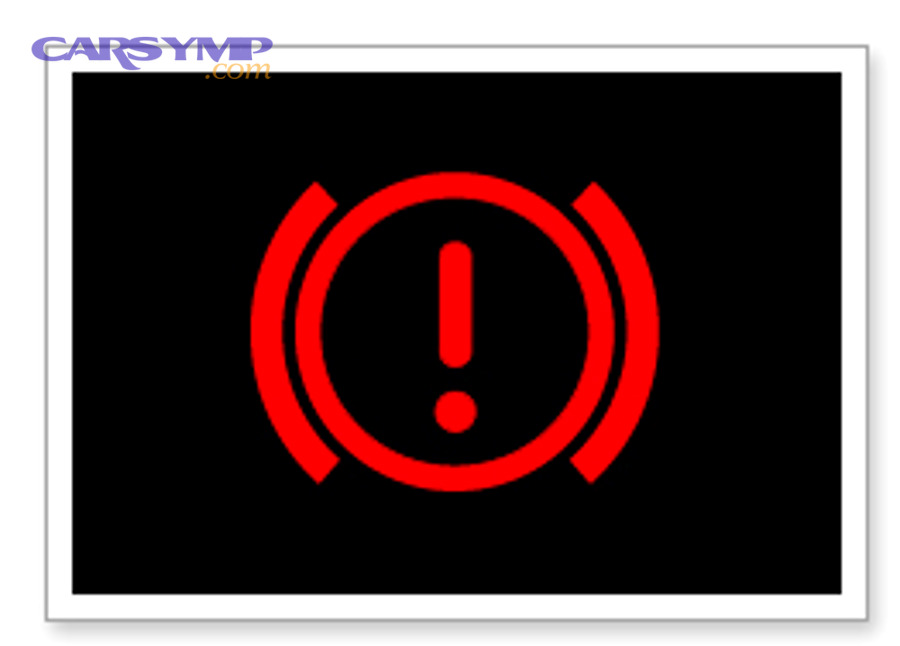
Do not drive if: the pedal feels soft or sinks, stopping distance increases noticeably, you see active fluid dripping, the warning is accompanied by a red brake icon and audible alarm, or the reservoir is below “MIN.”
With safety actions clear, the next section explains how to check and top up fluid correctly—and when topping up is the wrong move.
How do you check and top up brake fluid correctly, and when should you avoid it?
You can check brake fluid by inspecting the reservoir level on flat ground and topping up only with the correct DOT-rated fluid, but you should avoid topping up if you suspect a leak or if pads are worn and due for replacement soon.
Next, we’ll cover the “right fluid, right method, right time” approach so you don’t introduce contamination or hide a problem that needs repair.
How to check level the right way
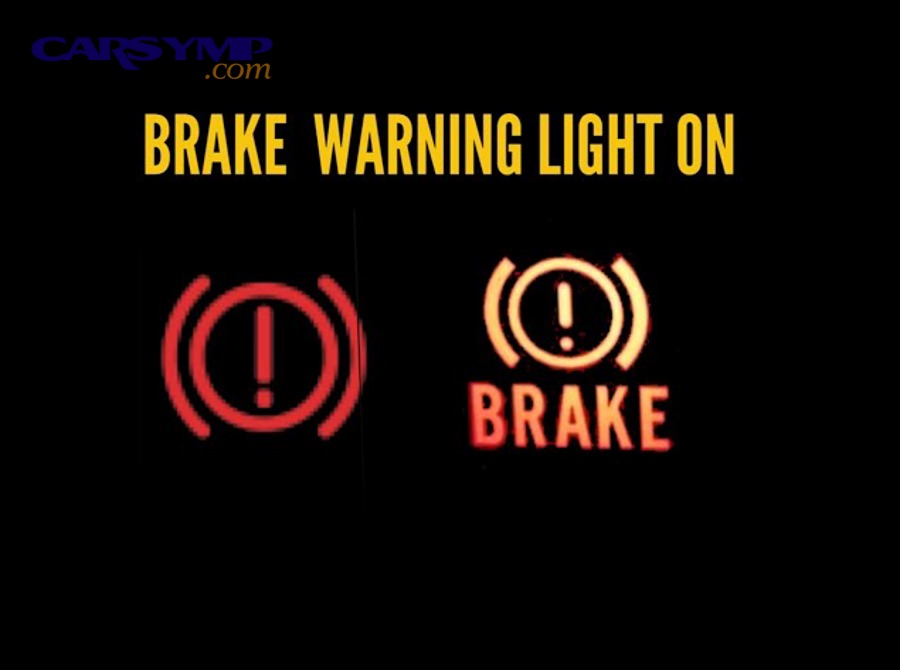
Park on level ground, turn the engine off, and allow components to cool. Clean the reservoir cap area so debris doesn’t fall inside. Read the level against the molded “MIN/MAX” marks (some reservoirs have translucent walls with marks; others require removing a cover).
If the level is below “MIN,” assume there’s either significant pad wear or a leak until proven otherwise.
How to add fluid without contaminating the system
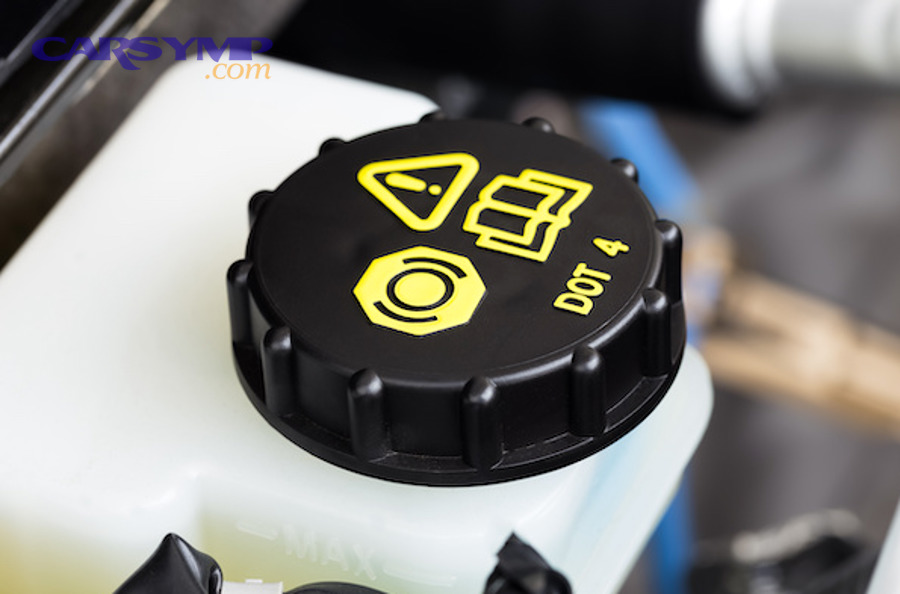
Use only new, sealed brake fluid of the exact specification listed on the reservoir cap or owner’s manual (commonly DOT 3 or DOT 4; some vehicles specify DOT 4 LV or DOT 5.1). Pour slowly to avoid overfilling. Replace the cap tightly to prevent moisture intrusion.
Never reuse old fluid from an open container; brake fluid absorbs moisture from air, which can reduce boiling point and braking performance under heat.
When topping off is a “mask,” not a fix
A top-off is not a repair when the underlying cause is an external leak, a failing master cylinder, or severely worn pads. If you add fluid and the level drops again, you have confirmed a loss that must be addressed.
Because many drivers want to know what the repair path looks like after the check, the next section explains typical fixes and what they commonly involve.
What repairs usually fix a low brake fluid warning once the cause is confirmed?
The fix depends on the cause: pad replacement for wear-related low level, component replacement or line repair for leaks, and sensor/circuit repair for false warnings.
Next, we’ll pair each cause with the usual repair steps so you can understand what a shop will likely recommend—and what questions to ask before approving work.

Wear-related fixes: pads (and sometimes rotors)
If pads are thin, replacing pads typically restores proper piston position once the pistons are pressed back during installation. After that, the reservoir level is adjusted to the correct mark. If rotors are below spec or damaged, rotors may be resurfaced or replaced depending on thickness and condition.
This is why a warning that appears “at the same time” as squeal or reduced bite often ends up being a straightforward pad service rather than a hydraulic failure.
Leak-related fixes: identify, replace, bleed
Leak repairs commonly include replacing a caliper (or rebuilding it), replacing a flex hose, repairing a rusted hard line section, resealing fittings, or replacing a master cylinder. After any hydraulic component replacement, the system must be bled properly to remove air.
A correct bleed process matters because any trapped air increases pedal travel and can cause intermittent braking under repeated stops.
False-warning fixes: sensor or harness repairs
If the fluid level is correct and no leaks are found, shops may test the reservoir level sensor, inspect connector corrosion, and verify continuity back to the module or cluster. Sometimes the “fix” is as simple as reseating a connector after service; other times it involves replacing the sensor or reservoir assembly.
To translate those fixes into practical planning, the next section discusses inspection time, common labor steps, and typical cost patterns.
How much does it usually cost to diagnose and repair low brake fluid warnings?
Costs vary widely by vehicle and cause, but you can estimate by separating diagnosis time from the repair itself: pad service is usually predictable, while leak repairs depend on location, corrosion, and bleeding requirements.
Next, you’ll see a cause-to-repair map and a cost framework you can use to evaluate quotes without guessing.
In a shop setting, Diagnosis cost and typical repairs commonly start with a safety inspection (fluid level, leak check, pad thickness, pedal feel), then expand to scanning ABS/ESC codes or measuring rotor/pad condition if needed.
Below is a table that helps you connect the likely cause to the typical repair path and what usually drives the price up or down.
| Likely cause | Typical repair | What affects cost most | Risk if delayed |
|---|---|---|---|
| Worn brake pads | Replace pads (and possibly rotors), set fluid level | Rotor condition, axle count, parts quality | Metal-to-metal damage, longer stops |
| Leaking caliper or wheel cylinder | Replace caliper/cylinder, bleed system | Side/axle, seized hardware, fluid flush | Sudden pressure loss, unsafe braking |
| Leaking hose or hard line | Replace hose/repair line, bleed system | Rust severity, line access, fittings | Line rupture, rapid fluid loss |
| Master cylinder leak | Replace master cylinder, bleed and test | Vehicle design, booster access, calibration needs | Internal bypass, sinking pedal |
| Faulty level sensor / wiring | Test circuit, repair connector or replace sensor | Diagnostic time, harness routing, module logic | Ignored real issues due to “false alarm” assumption |
How to interpret a quote intelligently
A fair quote explains (1) what was observed (wetness, pad thickness, reservoir level), (2) what test confirmed it (visual, pressure check, scan codes), and (3) why the proposed part fixes the root cause. If a shop suggests “just topping it off” without verifying pads and leaks, ask them to document the cause-group first.
Since costs are only useful if you know whether it’s safe to drive, the next section clarifies the “drive vs tow” line with concrete indicators.
When is it safe to drive to a shop, and when should you tow immediately?
It may be safe to drive slowly to service only if the pedal is firm, braking performance feels normal, there are no visible leaks, and the fluid level is not below “MIN”—otherwise, towing is the safer choice.
Next, we’ll convert those general rules into specific “green, yellow, red” conditions so you can decide with confidence.
Green conditions: usually okay to drive carefully (short distance)
You’re generally in the “green” zone if: the warning is intermittent, the fluid is near “MIN” but not below it, the pedal is firm, there are no wet spots at wheels or underbody, and you have clear signs of pad wear that explain the level drop.
Even then, drive gently, avoid high speeds, and schedule service soon—because borderline level can become a problem faster than expected.
Yellow conditions: drive only if you must, and only after a quick check
“Yellow” includes: the warning is steady, the level is close to “MIN,” you’re unsure about leaks, or the vehicle was recently serviced and you suspect a bleed/level issue. If you must move the car, recheck the level, look for wetness around the wheels, and test the pedal at very low speed first.
If anything changes—pedal travel increases, braking feels uneven—stop and tow.
Red conditions: tow—do not risk it
“Red” includes: fluid below “MIN,” visible dripping, a sinking or spongy pedal, sudden change in stopping distance, brake warning accompanied by major ABS/ESC alerts, or brake fluid on the inside of a wheel. These conditions suggest the system may already be ingesting air or losing pressure.
With the safety boundary clear, the next section expands your understanding of brake fluid itself so you can prevent repeat warnings and avoid common fluid mistakes.
Contextual Border: The sections above focused on direct warning causes and immediate decisions. Next, we expand into brake-fluid details that prevent repeat problems, reduce misdiagnosis, and improve long-term braking reliability.
Brake fluid details most drivers miss that change the warning outcome
Brake fluid choice, moisture absorption, and mixing rules can influence pedal feel, warning recurrence, and service quality, even though they don’t change the basic cause-groups of wear, leaks, or sensor faults.
To deepen your confidence, the following points cover unique and rare attributes—fluid chemistry, DOT specifications, and maintenance habits—that often separate a “quick fix” from a durable repair.
DOT 3 vs DOT 4 vs DOT 5.1: what matters for most vehicles
DOT 3 and DOT 4 are glycol-based and are common in passenger vehicles; DOT 4 generally has a higher boiling point but may absorb moisture similarly. DOT 5.1 is also glycol-based (despite the name) and can offer higher boiling performance for high-heat applications.
The key rule: use the DOT rating specified by the manufacturer. Upgrading “just because” can create compatibility or performance inconsistencies if the system is designed for a specific fluid viscosity range.
Why moisture absorption is a silent performance problem
Glycol-based brake fluid is hygroscopic, meaning it absorbs water over time. That moisture lowers boiling point, and under hard braking heat, fluid can vaporize locally and cause a soft pedal. While this doesn’t directly cause a low-level warning, it changes how the brakes feel and can complicate troubleshooting if the pedal is already marginal.
That’s why many technicians recommend periodic fluid replacement based on time and driving conditions, not only mileage.
Mixing fluids and “universal” bottles: what to avoid
Do not mix DOT 5 (silicone-based) with DOT 3/4/5.1 (glycol-based). Mixing incompatible types can create aeration or seal issues. Even within glycol-based fluids, avoid “universal” claims unless the specification matches exactly and the fluid meets the OEM requirements.
If you’re unsure what’s in the system, a full fluid exchange performed correctly is safer than experimenting with partial top-offs.
Clean handling and paint safety
Brake fluid can damage paint, so use a clean funnel, wipe spills immediately, and dispose of rags properly. Keep the reservoir area clean before opening it; a small amount of grit can contaminate seals and lead to long-term issues.
With those prevention details in mind, the last section answers common questions drivers ask when a low brake fluid warning appears.
FAQ
Can I just add brake fluid and keep driving?
You can add fluid only as a temporary measure if the pedal is firm, there are no leaks, and pad wear is confirmed as the reason the level dropped. If you add fluid and the level drops again, treat it as a leak or unresolved issue and stop driving until it’s repaired.
Why did the warning come on right after brake work?
Common reasons include: the reservoir was left slightly low after bleeding, the sensor connector wasn’t fully seated, the cap wasn’t tightened, or air remained in the system causing unusual pedal feel that draws attention to the light. A proper recheck includes fluid level, leak inspection at bleeders and fittings, and a cautious pedal test.
Is low brake fluid always a leak?
No. It’s often caused by pad wear because fluid shifts into the calipers as pistons extend. But you must rule out leaks first because they carry the highest safety risk and can worsen quickly.
What if the reservoir is full but the warning stays on?
Then suspect a sensor/connector issue or a shared warning circuit, and consider scanning for ABS/ESC codes. Still, confirm pedal feel and inspect for hidden leaks (including at the master cylinder/booster area) before assuming it’s only electrical.
What brake fluid should I buy?
Use the exact DOT specification printed on the reservoir cap or listed in the owner’s manual. Choose a reputable brand, buy a sealed container, and avoid using old opened bottles that may have absorbed moisture.