


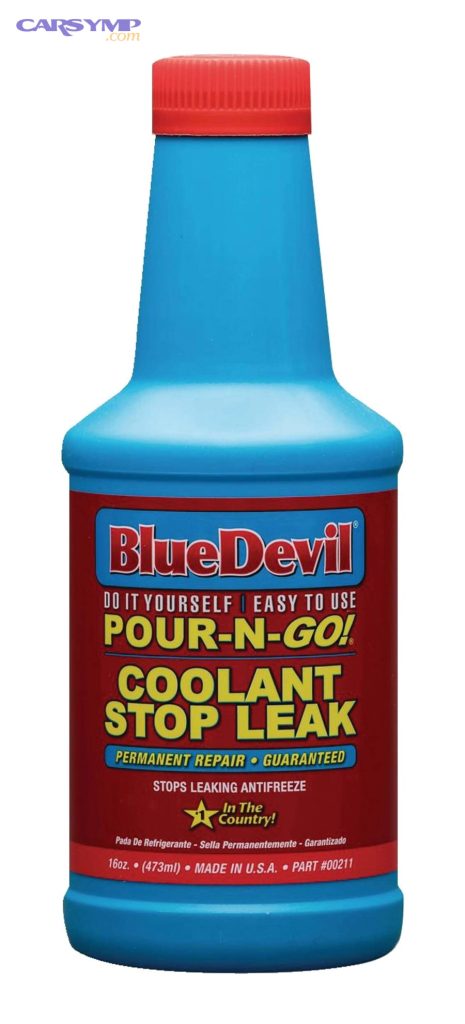
Stop-leak products can be risky because they don’t “fix” the failed part—they mask a leak by changing what’s flowing through the system, and that can create new problems (clogs, heat-transfer loss, sensor contamination, and harder diagnostics) if you use them in the wrong situation.
Next, it helps to understand how coolant stop leak works (and why some formulas behave very differently), because the mechanism—particulates vs. chemical bonding vs. swelling—largely determines the risk profile and what parts might be affected.
Then, you’ll want a clear way to decide when it’s safe enough as a short-term strategy versus when it’s a “don’t gamble” scenario (active overheating, big leaks, unknown leak source, heater-core symptoms, or repeated top-offs).
Introduce a new idea: the safest path is usually identify the leak first, then choose the least-invasive repair—because a correct diagnosis often costs less than the downstream damage from guessing.
Are stop-leak products risky for your car’s cooling system?
Yes—stop-leak products are risky for a cooling system because they can restrict flow, reduce heat transfer, and complicate future diagnosis, especially if the leak is large, the system is already dirty, or the engine is running hot.
More importantly, these risks show up when the “sealant” ends up sealing the wrong place—like narrow radiator tubes, heater-core passages, thermostat bleed ports, or pressure-cap valves—so the cooling system loses capacity right when you need it most.

Specifically, cooling systems rely on clean, predictable circulation and efficient heat exchange. A stop-leak can interfere with both. Even when the product “works,” it may do so by leaving behind residue that later breaks loose, migrates, or accumulates where flow is tightest.
Here are three risk drivers that matter most in real-world use:
- Leak size and location: A tiny seep at a radiator tank seam is not the same as a split hose or a head-gasket breach. The bigger and hotter the leak, the more chaotic the sealing behavior becomes.
- System cleanliness: If the coolant is old, rusty, or has scale, the product has more “stuff” to bind with—raising the chance of unintended deposits.
- Thermal margin: If your car already runs near the hot side (weak fan, partially clogged radiator fins, marginal water pump), any extra restriction can push it into overheating.
Evidence (heat-transfer sensitivity): According to a study by University of Education, Winneba from the Design and Technology Department, in 2012, every 10% increase in radiator area covered (simulating blockage) raised outlet coolant temperature by about 17°C (silt) to 20°C (clay)—showing how quickly cooling performance can collapse when heat-transfer area is compromised. (ijae.iust.ac.ir)
What is a stop-leak product and how does coolant stop leak work?
A stop-leak product is a temporary sealing additive designed to slow or stop fluid loss by creating a plug, film, or swelling effect at a leak path; coolant stop leak typically targets small external leaks by depositing or bonding material where coolant escapes and meets heat/air.
To better understand the risk, focus on where the product is supposed to react: at a leak boundary—not inside small passages.
Most cooling-system stop-leak strategies fall into a few mechanisms:
- Particulate “bridging”
Small fibers/particles circulate until they catch at an opening and build a plug. This can help with pinhole leaks, but it’s also the mechanism most likely to collect in narrow passages. - Chemical sealing / polymer bonding
Some formulas claim they “bond” to metal/plastic at the leak site. These can be less clog-prone if the chemistry is selective—but in practice, selectivity depends on coolant condition, temperature, and mixing. - Reactive silicate-style sealing (legacy approach)
Certain sealants use compounds that can form glassy deposits under heat. These can seal, but the tradeoff is a higher chance of residue where you don’t want it.
The key takeaway is simple: a cooling system is a network of passages, and the product doesn’t know which ones are “allowed” to seal. That’s why the same bottle can be a “lifesaver” in one scenario and a heater-core killer in another.
What are the main types of stop-leak products, and how do they differ?
There are 4 main types of stop-leak products—cooling-system, engine-oil, transmission, and power-steering—based on which fluid system they’re formulated for and the sealing mechanism they use.
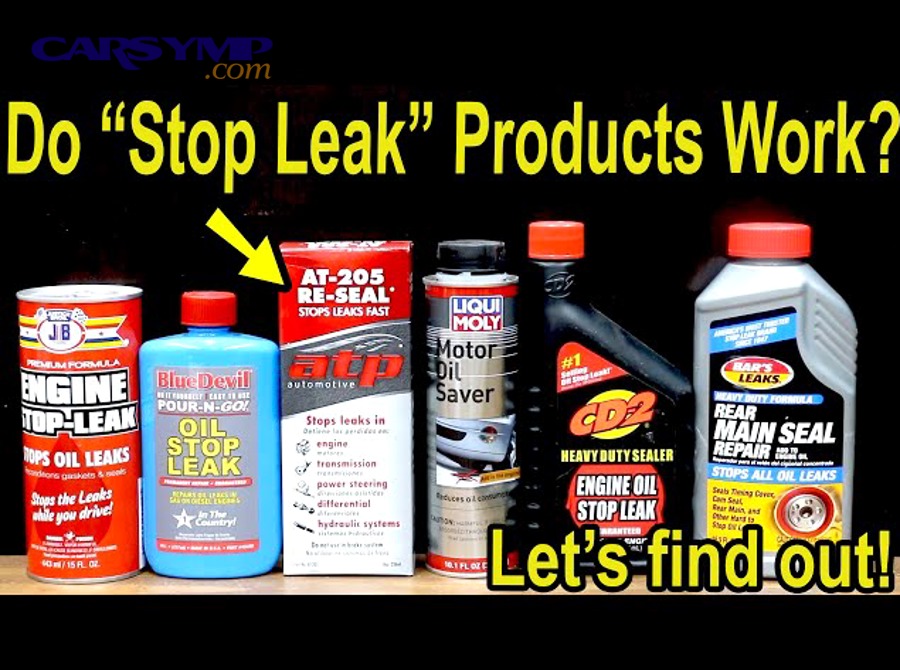
Next, matching the type to the system matters because cross-using products (or confusing “oil stop leak” logic with coolant sealing) increases failure risk.
Cooling-system stop-leak (radiator/heater-core loop)
- Designed for coolant circulation and temperature swings.
- Often marketed as “pour-and-go” or “permanent,” but the realistic best case is “temporary until repair.”
- Higher risk areas: radiator tubes, heater core, thermostat, water-pump seal region.
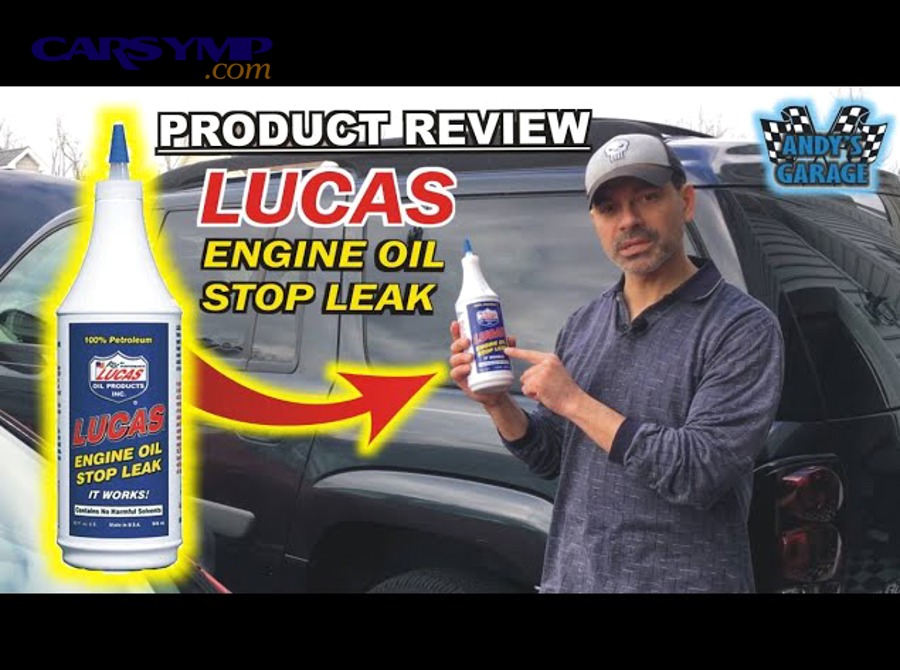
Oil stop-leak (engine seals and gaskets)
- Often relies on seal conditioning (swelling/softening certain elastomers) rather than plugging with particles.
- Can reduce seepage at old seals, but can also change seal behavior beyond what the engine was designed for.
Transmission stop-leak
- Similar concept: may condition seals, but transmissions are extremely sensitive to fluid properties (friction modifiers, viscosity), so “one-bottle fixes” are a bigger gamble.
Power-steering stop-leak
- Often seal-conditioning focused; may quiet a pump temporarily.
- Risk: may not address hose/fitting leaks and can still end in rack/pump failure if ignored.
Evidence (why “seal swell” is a double-edged sword): According to a study by University of Birmingham from the Mechanical Engineering Department, in 2021, acceptable elastomer seal swell in the automotive industry is cited as about 12%, highlighting that additive-driven seal swelling is a controlled tolerance window—not a free-for-all. (pure-oai.bham.ac.uk)
What damage can coolant stop leak cause in a cooling system?
Coolant stop leak can cause damage by restricting coolant flow, reducing heat transfer, clogging small passages (especially the heater core), interfering with thermostats and sensors, and leaving residue that complicates future repairs.
More specifically, the risk isn’t just “clogging”—it’s where the restriction happens and what the engine does when temperature control becomes unstable.
1) Heater-core restriction and weak cabin heat
The heater core is basically a tiny radiator with narrow passages. Any deposit-prone additive raises the odds of:
- Reduced cabin heat at idle
- Temperature swings (hot then cold)
- Gurgling/air-pocket symptoms after refilling
2) Thermostat sticking or slow response
Thermostats rely on predictable coolant flow and clean operation. Deposits can contribute to:
- Sluggish opening
- Partial restriction at the housing
- Cycling between too cool and too hot
3) Hot spots and “false confidence”
A stop-leak may reduce visible dripping but doesn’t restore proper cooling capacity. You can end up with:
- Less coolant loss but more heat stress
- “It stopped leaking” while the engine runs hotter under load
4) Harder diagnosis later (and higher repair cost)
Once residue is in the system:
- A technician may recommend flushing, component replacement, or more labor
- Pressure testing and dye testing can be less clear (multiple seep points)
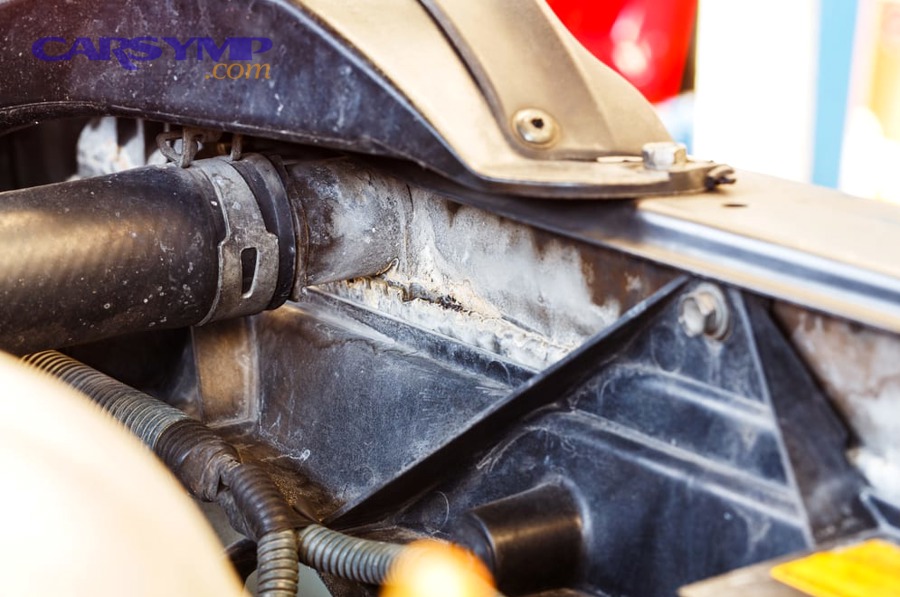
Evidence (why restriction matters fast): According to a study by University of Education, Winneba from the Design and Technology Department, in 2012, partial blockage of effective radiator area produced large increases in outlet coolant temperature—about 17°C per 10% silt coverage and 20°C per 10% clay coverage—demonstrating how quickly heat control can deteriorate when heat-transfer performance drops. (ijae.iust.ac.ir)
When is it safe to use coolant stop leak, and is it safe to drive afterward?
Yes—coolant stop leak can be “safe enough” only as a short-term, get-you-home measure when the leak is small, the engine is not overheating, and you’re using it to buy time for a real fix—not to avoid one.
However, your decision should start with Overheating risk and safe-to-drive guidance: if the temperature gauge climbs, you stop treating it like a convenience product and start treating it like an engine-saving emergency.
Use it only when all of these are true:
- The leak is slow (no rapid puddles, no steam, no constant top-offs needed within minutes).
- The engine stays at normal operating temperature during a short test drive.
- The coolant is reasonably clean (not thick, rusty, muddy, or full of debris).
- You accept that you may need a flush and parts replacement later.
Do not use it (and do not keep driving) if you see any of the following:
- Temperature gauge rising or warning light
- Steam from the engine bay
- Coolant dumping fast
- Milkshake oil (possible head-gasket contamination)
- No cabin heat plus overheating (possible circulation issue)
- Repeated overheating events (damage accumulates quickly)
A practical rule: if you must keep adding coolant to keep it alive, you’re past the “additive” phase and into “repair now / tow” territory.
How do you identify the leak source before choosing a fix?
Identify the leak source by combining 4 steps—visual inspection, level/pressure behavior, targeted pressure testing, and confirmation of common leak points—so you can choose the correct repair instead of guessing with additives.
Then, once you know where the coolant is escaping, you can decide whether you need a hose, clamp, radiator, water pump, thermostat housing, or a deeper engine repair.
Step 1: Quick visual scan (cold engine first)
Start with Coolant leak locations and quick identification:
- Under the radiator end tanks and seam lines
- Upper/lower radiator hoses (look for crusty residue)
- Water pump weep hole area and pump gasket perimeter
- Thermostat housing and nearby sensors
- Heater hoses at the firewall
- Coolant reservoir cracks and cap seal area
Tip: dried coolant often leaves a white/colored crust trail that points back to the source.
Step 2: Check for pressure-related clues
- A system that pushes coolant out rapidly may have pressure problems (cap, boiling, combustion gases).
- A system that loses coolant only after shutdown may point to heat-soak seepage.
Step 3: Pressure test to confirm
This is the cleanest method for most external leaks: How to pressure test the cooling system
- With the engine cool, attach a pressure tester to the radiator neck or reservoir (depending on design).
- Pump to the cap’s rated pressure (do not exceed).
- Watch the gauge: a steady drop usually means a leak.
- Inspect for seepage while the system is pressurized (hose ends, radiator seams, pump, housing, heater lines).
Step 4: Decide if it’s external leakage or internal failure
External leaks usually show wetness/residue. Internal problems can show:
- Sweet exhaust smell or white smoke
- Unexplained coolant loss with no drips
- Overpressure quickly after startup
You don’t need a perfect diagnosis to avoid the worst mistake—you just need enough certainty to avoid sealing the system blindly.
What are safer alternatives to stop-leak for a lasting repair?
Safer alternatives to stop-leak are targeted repairs that restore system integrity—replace the failed part, refill correctly, and verify the fix—because they solve the cause (the leak path) without adding new failure modes to the cooling network.
In addition, proper coolant leak repair tends to be cheaper long-term because it avoids heater-core clogs, repeat overheating, and diagnostic confusion.
Here’s a practical decision framework:
If the leak is at a hose, clamp, or plastic fitting
- Replace the hose or fitting and use the correct clamp type.
- Clean the mating surfaces and route hoses to prevent rubbing.
- Refill with the correct coolant mix and bleed air properly.
If the leak is at the radiator or end tank seam
- Replace or professionally repair the radiator (depending on design/cost).
- Inspect fan operation and fin condition (blocked fins = reduced cooling margin).
- Verify cap rating and seal integrity.
If the leak is at the water pump
- Replace the pump (seal-only repairs are rarely worth it).
- Consider the belt/serpentine system condition and tensioner health.
- Confirm circulation and no wobble/play.
If you suspect internal leakage (head gasket / combustion gases)
- Don’t rely on stop-leak as a “solution.”
- Test properly (combustion leak test, pressure behavior, plugs, cooling system overpressure).
- Decide repair vs. vehicle value realistically.
Why this is “safer” than additives: you preserve flow, heat transfer, thermostat behavior, and diagnostic clarity. That keeps the engine’s temperature control predictable—exactly what prevents expensive overheating damage.
Evidence (additives that alter seal behavior must stay in tolerance): According to a study by University of Birmingham from the Mechanical Engineering Department, in 2021, acceptable automotive elastomer seal swell is cited as about 12%, underscoring that “seal conditioning” is a narrow engineering target—not a guarantee that more additive equals more reliability. (pure-oai.bham.ac.uk)