


A coolant leak repair cost estimate is easiest to predict when you match the leak to the most likely part—because a loose clamp and a failing water pump live in completely different labor-and-parts worlds. The goal of this guide is to help you ballpark costs by component (hose vs radiator vs water pump) and avoid the “surprise invoice” problem.
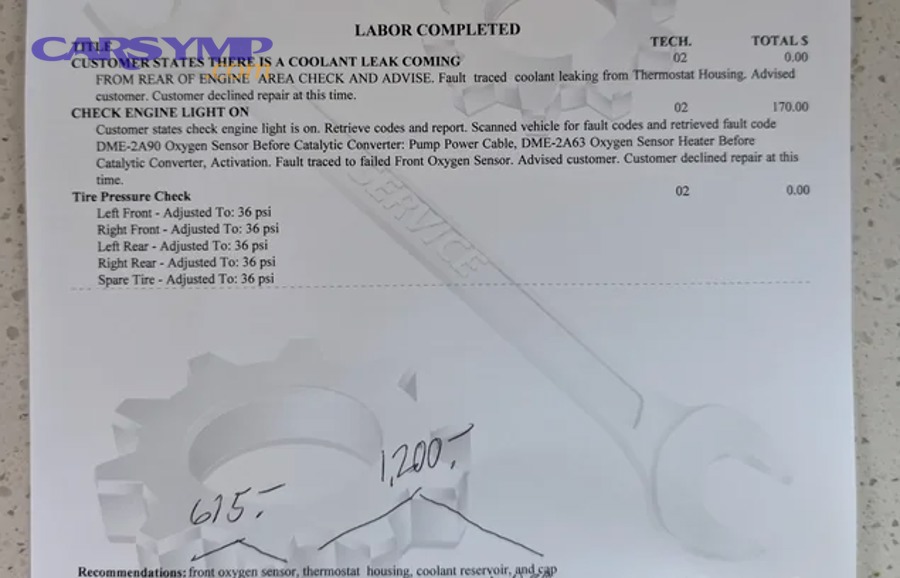
Next, you’ll see exactly what an estimate should include—diagnosis, labor, parts, coolant, bleeding, and retesting—so you can compare quotes like-for-like instead of guessing what’s missing. That matters because some shops separate diagnosis and some roll it into the repair total. (repairpal.com)
Then, you’ll learn how to use quick symptom mapping (puddle location, odor, when it leaks) to predict which component is probably at fault before you even book the appointment—because the source of the leak is the biggest driver of price variability.
Introduce a new idea: once you understand what’s included and what the likely culprit is, you can decide whether it’s safe to drive, whether a short-term top-off is reasonable, and how delaying the fix can turn a small leak into a major engine-damage bill.
What does a “coolant leak repair cost estimate” include (diagnosis, parts, labor, coolant)?
A coolant leak repair cost estimate includes diagnosis + labor + parts + coolant refill/bleed + verification, and the total changes most when diagnosis time, labor access, and parts choice (OEM vs aftermarket) shift.
To better understand what you’re paying for, it helps to treat every estimate like a checklist: what’s being measured, what’s being replaced, and what’s being done to confirm the leak is gone.

Is a coolant leak diagnosis fee usually separate from the repair cost?
Yes—coolant leak diagnosis is often billed separately, because the shop is charging for time and tools (pressure testing, dye, inspection) before it knows which part will be replaced; it’s separate for at least three reasons: (1) leak location is unknown at check-in, (2) some leaks only show under pressure/heat, and (3) diagnosis can reveal multiple leaks. (repairpal.com)
More specifically, many estimates start with a diagnostic line item because leak confirmation is the “gate” that determines every other cost line. A pressure test can quickly show external leaks, while slower leaks may require a longer inspection window or dye to pinpoint seepage trails.
A practical way to handle this when comparing quotes is to ask two questions upfront:
- Is diagnosis credited toward the repair if I approve the work? (Some shops do, some don’t.)
- What exactly does diagnosis include? (Pressure test, dye, visual inspection, road test, cooling fan check, cap test.)
If you want a hard benchmark, RepairPal lists an average coolant leak diagnosis cost range of $60–$88 (labor-only estimate range), which helps you sanity-check whether a diagnosis fee is typical or inflated. (repairpal.com)
Evidence: According to a report from Purdue University’s College of Veterinary Medicine in 2017, ethylene glycol in antifreeze becomes severely toxic after metabolism and can cause severe kidney damage, which is why careful handling and cleanup during leak diagnosis matters. (purdue.edu)
What factors change the estimate the most (accessibility, severity, engine layout, parts choice)?
There are 6 main cost drivers for a coolant leak repair estimate: (1) leak source, (2) access/labor hours, (3) labor rate by region, (4) parts quality, (5) coolant type/amount + bleeding complexity, and (6) whether related parts are replaced “while you’re in there.”
Next, connect those drivers to how a quote grows:
- Leak source (the biggest swing): hose/clamp vs radiator vs water pump vs internal gasket.
- Access: a top-mounted hose is quick; a buried pump behind accessories can be hours.
- Parts choice: OEM can cost more; aftermarket can be cheaper but varies in durability and fit.
- Coolant requirements: some vehicles require specific coolant chemistry; a proper refill includes bleeding air to prevent hot spots.
- Retest and verification: pressure test after repair is a quality step; skipping it can lead to comebacks.
- Bundled work: replacing a thermostat or belt during water pump service may increase today’s bill but reduce the chance of paying twice for labor later.
A simple way to make an estimate comparable is to request the breakdown in the same structure every time:
- Diagnosis (yes/no, and credit policy)
- Parts (brand/grade + warranty)
- Labor hours (flat-rate hours listed)
- Coolant and bleed procedure (included?)
- Verification (pressure test after repair included?)
How much does it cost to fix a coolant leak by part (hose vs radiator vs water pump)?
There are 3 main cost tiers for coolant leak repairs—hose/clamp (lowest), radiator (mid), and water pump (often higher)—because they differ in labor access and what must be removed to reach the leaking component.
Then, to keep the numbers useful without pretending there’s one “universal” price, the best approach is a range + what’s driving the range.
Before the table, here’s what it contains: the chart below groups typical repair targets and shows commonly published benchmark ranges so you can quickly see why “a coolant leak” can be a $100-ish fix or a four-figure job depending on the part.
| Leak source (most common) | What’s usually done | Public benchmark ranges (parts + labor, where available) |
|---|---|---|
| Hose/clamp (upper/lower radiator hose) | Replace hose + clamps, refill + bleed | Radiator hose replacement averages $467–$522 (RepairPal) (repairpal.com); $536–$614 (KBB) (kbb.com) |
| Radiator (crack/leak) | Repair minor leak or replace radiator, refill + bleed | Radiator replacement $765–$1,826 (ConsumerAffairs) (consumeraffairs.com) |
| Water pump | Replace pump + gasket/seal, often belt/related parts, refill + bleed | Water pump replacement typically $400–$800 (KBB) (kbb.com); dealer average cited around $900 in KBB article (kbb.com) |
These are benchmarks, not a promise—your vehicle layout and local labor rate can move the total meaningfully.
How much does a coolant hose or clamp leak repair cost?
A hose/clamp leak is usually the lowest-cost coolant leak repair because it’s external and accessible, and it often requires fewer disassembly steps than radiator or water pump work.
Specifically, hose repairs span from “tighten/replace a clamp” to full hose replacement plus refill and bleeding. The reason costs jump is that hoses can be simple (one clamp each end) or cramped behind covers, intake tubing, or splash shields.
A realistic way to estimate it is to separate the job into four mini-costs:
- Part(s): hose + clamps (and sometimes quick-connect fittings).
- Labor: removal (stuck hoses are common), install, routing checks.
- Coolant: top-off vs refill, plus bleed time.
- Verification: pressure test or post-repair inspection.
For published benchmarks, RepairPal lists a radiator hose replacement average of $467–$522, and KBB lists $536–$614 for radiator hose replacement—both illustrating that “simple” can still be several hundred dollars once labor, coolant handling, and verification are included. (repairpal.com)
Now tie that to the linked phrase you requested: DIY hose clamp and hose replacement basics are straightforward in concept (release clamp, break the hose seal, swap, refill/bleed), but the risk is real—hot pressurized coolant, trapped air, and incorrect bleeding can cause overheating even after the hose is replaced. A “DIY” attempt also becomes expensive if a plastic fitting cracks or the engine is run low on coolant.
If you do DIY planning, treat these as non-negotiable safety/quality steps:
- Work only on a fully cooled engine (cap off on a hot system can spray).
- Use the correct coolant type and a proper refill/bleed procedure for your vehicle.
- Recheck for leaks under pressure and after a full warm-up cycle.
How much does radiator leak repair or replacement cost?
Radiator repairs land in the mid-tier because the part is larger and may require fan shroud removal, hoses, transmission cooler lines (some vehicles), and careful refilling and air bleeding.
More importantly, many radiators fail at plastic end tanks, seams, or the neck, and shops often prefer replacement over patching because reliability matters and comebacks are costly.
ConsumerAffairs reports radiator replacement can range from $765 to $1,826, which fits the reality that radiators vary heavily by vehicle class and packaging. (consumeraffairs.com)
To predict where in that range you might land, look at these factors:
- Vehicle size/complexity: compact vs full-size truck vs performance car.
- Extra steps: fan module removal, AC condenser clearance, cooler line handling.
- Coolant system condition: if contamination exists, shops may recommend flushing or additional hoses/clamps.
In practice, a radiator estimate often becomes a “bundle” estimate: radiator + hoses that are disturbed + new cap + fresh coolant + test. That’s not upselling by default; it’s risk management because old hoses can fail after being removed and reinstalled.
How much does water pump leak repair cost—and why is it often higher?
Water pump repair is often more expensive because the pump can be buried behind belts, pulleys, brackets, and covers, and labor—not parts—frequently dominates the total.
Next, connect cost to access: the pump can be a quick external swap on some engines or a deep job on others. KBB notes water pump replacement typically costs $400–$800 depending on vehicle and difficulty, and also highlights that labor can be a major portion of the total. (kbb.com)
A useful “estimate logic” for water pump jobs is:
- Parts: pump + gasket/seal (sometimes integrated assemblies cost more)
- Labor: remove belt drive components; access pump; clean gasket surface; reinstall and torque
- Coolant: refill with correct coolant; bleed air thoroughly
- Verification: warm-up + check for weep hole seepage and leaks under pressure
KBB also reports a dealer-average water pump replacement around $900 in a 2025 advisory, reinforcing that many real-world totals are driven by labor and shop rates rather than the pump itself. (kbb.com)
Because the pump is central to circulation, a shop may recommend “while you’re in there” replacements (belt, tensioner, thermostat) if access overlaps. That’s a decision point: paying a bit more today can reduce duplicate labor later.
Which coolant leak repairs are most expensive (head gasket, heater core, intake gasket)?
There are 3 most expensive coolant leak repair categories—head gasket/internal engine leaks, heater core leaks, and intake manifold gasket/coolant crossover leaks—based on the criterion that they require major disassembly or involve internal sealing surfaces.
More specifically, these jobs become expensive because the labor includes deep teardown and careful reassembly, and the consequences of missing the root cause can be severe.
- Head gasket/internal leak: can require significant disassembly; often paired with machining checks, new bolts, and extensive verification.
- Heater core: often involves dashboard/ HVAC case labor, which is time-heavy.
- Intake gasket/coolant crossover: varies by engine design; can range from moderate to major.
This is the moment where “estimate by part” has limits—because internal leaks can masquerade as small symptoms until the diagnosis confirms combustion gas intrusion or coolant/oil mixing.
Evidence: According to a report from Purdue University’s College of Veterinary Medicine in 2017, ethylene glycol exposures can cause severe kidney damage after metabolism, which is why any major leak that spills coolant needs immediate cleanup and secure disposal to protect pets and children. (purdue.edu)
How can you predict the likely leak source to estimate cost before visiting a shop?
You can predict the likely leak source by combining where the leak appears + when it leaks + what it smells/looks like, which narrows the culprit part and makes your coolant leak repair estimate more accurate.
Then, once you have a “most likely” short list, you can use the cost tier logic (hose vs radiator vs water pump vs internal) to set expectations before you get a quote.
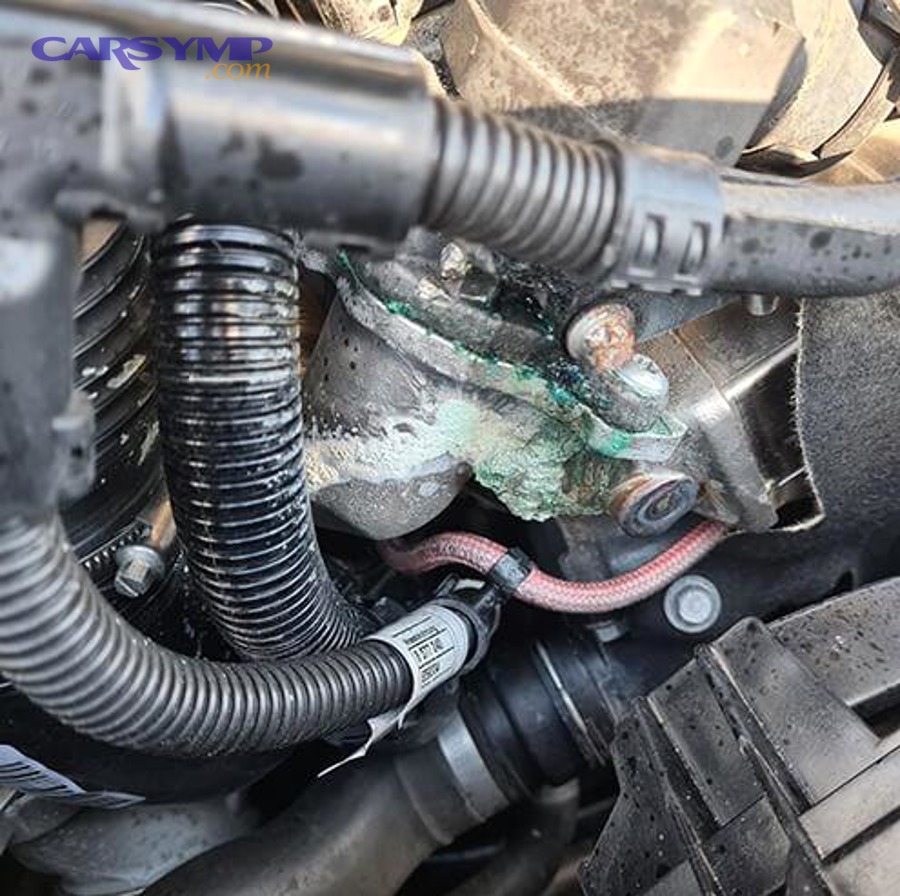
Where is the coolant leaking from (front, passenger side, firewall, under reservoir)—and what does that usually mean?
There are 6 common leak-location patterns that point to different parts: front-center, front-corner, under reservoir, engine-front, firewall area, and inside cabin, based on the criterion of where coolant collects relative to the cooling system layout.
Specifically, use this fast mapping:
- Front-center puddle: radiator, lower radiator hose, or radiator drain area (varies by car).
- Front-corner (driver/passenger): radiator end tank, hose connections, or overflow hose routing.
- Under coolant reservoir: reservoir crack, cap, or overflow line.
- Engine-front (behind belt area): water pump weep hole or pump gasket/seal area.
- Near firewall (engine bay): heater hoses or heater control valve lines.
- Inside passenger footwell / sweet smell in cabin: heater core leak (often with fogging).
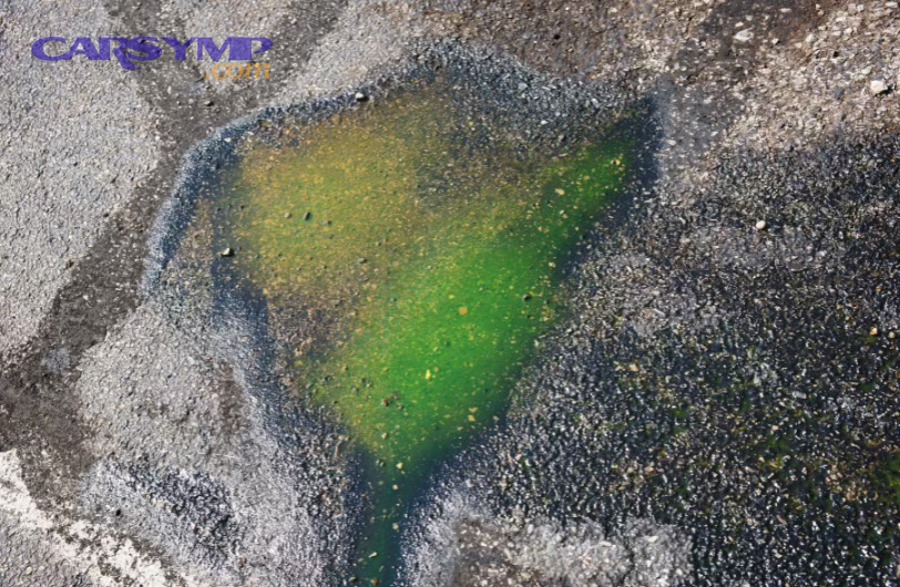
This is where your required linked phrase fits naturally: Coolant leak smell and puddle color clues help confirm that the fluid you’re seeing is actually coolant. Many coolants are bright green, orange, pink, or blue; they often smell sweet, and dried residue can look crusty or chalky around fittings.
To make this practical, do one quick “paper towel test” on a cooled vehicle:
- Dab the fluid.
- Note color and slickness.
- Compare to your reservoir coolant color (do not taste).
- Check for residue trails above the puddle—gravity lies; trails tell the truth.
If you want a simple walkthrough of pressure testing (a common diagnostic step), this video demonstrates the method and where to look based on leak location:
Does the leak happen only when the engine is hot or after shutdown?
Yes—many coolant leaks show only when hot or after shutdown, because heat expands metal/plastic, system pressure rises, and heat-soak can push coolant past weak seals; that matters for at least three reasons: (1) cold inspections miss leaks, (2) pressure tests reveal marginal sealing, and (3) heat-cycle leaks predict future failures.
More specifically, coolant systems typically operate under pressure to raise the boiling point, so leaks can hide until the system reaches temperature and pressure. That’s why a pressure test is such a common first diagnostic step, and why many procedures reference testing near the cap’s rated pressure (often around the mid-teens psi on many vehicles). (static.nhtsa.gov)
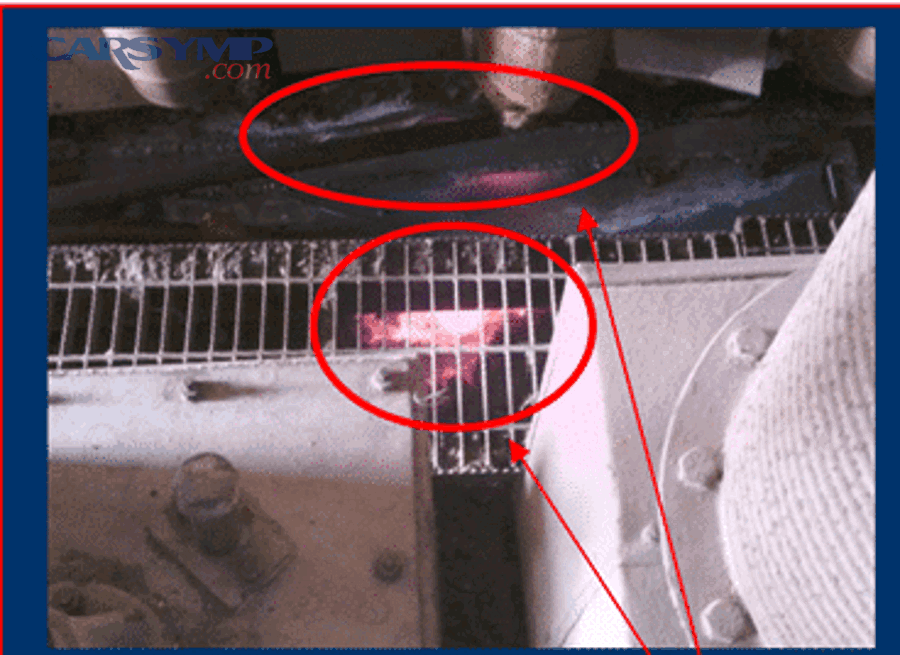
If your leak appears only after shutdown, look for:
- Wet seams that appear after heat soak
- Steam or a sweet smell right after parking
- Dried crust that re-wets when hot
- Small drips that stop once pressure drops
Is it safe to drive with a coolant leak, or should you stop immediately?
No—it’s not generally safe to keep driving with a coolant leak, because (1) coolant loss can trigger overheating quickly, (2) overheating can cause expensive engine damage, and (3) a sudden hose failure can dump coolant and strand you without warning.
In addition, “safe to drive” depends on leak rate and temperature control, not wishful thinking—so treat this as a risk decision, not a comfort decision.
Can you top off and drive short distances to a shop?
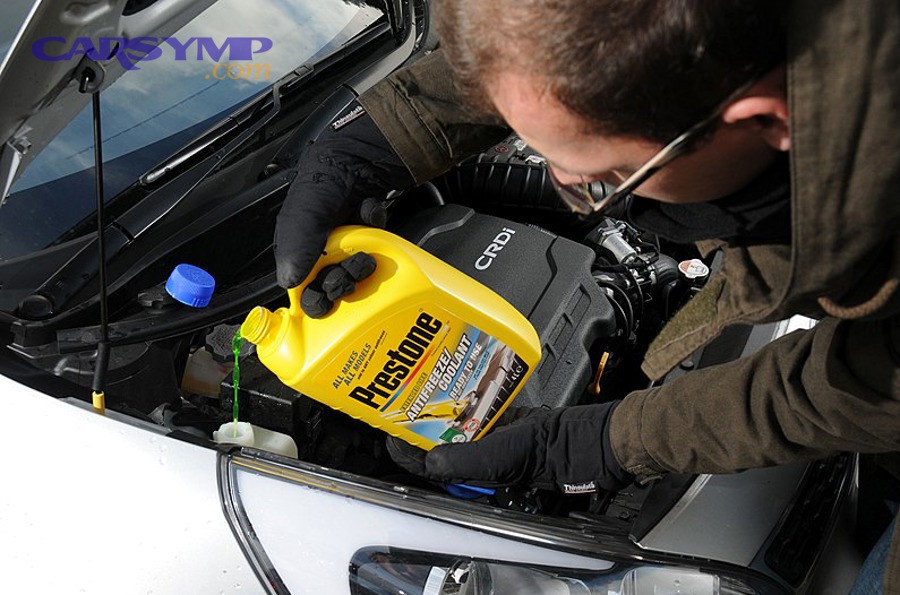
Yes—sometimes you can top off and drive a short distance, but only if (1) the temperature gauge stays normal, (2) the leak rate is slow, and (3) you can stop immediately if temperature rises; otherwise you should tow.
Next, use a simple “go/no-go” checklist:
You may drive cautiously to a nearby shop if ALL are true:
- Coolant level can be brought to a safe mark and stays there briefly.
- No steam, no overheating warning, no temperature climb at idle.
- Heater can blow warm air (loss of heat can signal low coolant/air pockets).
- You can pull over safely at the first sign of rising temperature.
You should NOT drive and should tow if ANY are true:
- Temperature rises above normal even once.
- Steam appears, or you smell strong sweet odor after short driving.
- You see a fast drip/stream or large puddle forming.
- You must repeatedly top off within minutes.
A pressure test is a common way to confirm leak severity and location; 1A Auto’s pressure-test instructions emphasize matching pressure to the cap rating to avoid over-pressurizing the system.
What are the red flags that make the repair cost jump dramatically?
There are 7 red flags that tend to turn a small coolant leak into a big repair bill: overheating events, coolant loss with no puddle, white exhaust smoke, milky oil, bubbles in reservoir, heater failure, and repeated top-offs, based on the criterion that they suggest internal leakage or secondary engine damage.
More importantly, these red flags change the estimate category—from external component replacement to internal diagnosis and repair:
- Overheating even once: can warp sealing surfaces and trigger cascading failures.
- Coolant disappearing with no external leak: suggests internal consumption or evaporation.
- White smoke + sweet smell: can indicate coolant entering combustion.
- Milky oil: can indicate mixing (serious).
- Bubbles in reservoir: can indicate combustion gas intrusion.
Even though symptom lists vary, the core idea is consistent: overheating is the bridge between a “cooling system repair” and an “engine repair.”
Should you repair a coolant leak now or wait—and how does delay change the cost?
Repairing now wins on total cost risk, waiting is only rational for tiny seepage with stable temps, and emergency-only stopgaps are optimal only for getting safely to a shop, because each option trades short-term convenience against long-term damage probability.
Then, once you see how delay multiplies outcomes, you can make a decision based on risk instead of hope.
Repairing a hose leak vs waiting for a blowout: which costs more overall?
Repairing the hose leak now wins in cost, time, and reliability, while waiting is “cheaper” only until the moment the hose fails; a blowout is best only for nobody, because it adds towing, lost coolant, overheating risk, and collateral damage to the same repair.
More specifically, hoses often fail at the worst time—high load, hot day, long highway run—because that’s when pressure and temperature are highest. The cost multiplier comes from secondary expenses:
- Tow + downtime
- Emergency labor pricing or limited shop choice
- Possible overheating damage
- Additional parts replaced due to heat stress
This is why many drivers who delay a visible seep end up paying for more than “just a hose,” even though the initial fix might have been simple.
OEM vs aftermarket parts: which choice is smarter for coolant leak repairs?
OEM wins in fitment certainty, aftermarket is best for budget and availability, and upgraded aftermarket is optimal for durability in known weak points, because each option optimizes a different criterion (compatibility, price, or longevity).
More importantly, the “smart” choice depends on the part:
- Hoses/clamps: quality aftermarket is often fine, but brittle plastic connectors may be better OEM.
- Radiators: build quality matters; cheap radiators can fail at seams.
- Water pumps: brand reputation matters because labor is expensive—replacing a cheap pump twice costs more than buying a better pump once.
A good quoting tactic is to ask the shop to provide two part options (OEM vs quality aftermarket) and explain the warranty difference in writing.
What niche factors can distort a coolant leak estimate and how do you avoid overpaying?
Niche factors distort a coolant leak estimate when leaks are hidden, intermittent, misdiagnosed, or tied to special cooling circuits, so you avoid overpaying by demanding clear leak evidence, confirming test methods, and preventing “temporary fixes” that create new problems.
Next, use these edge-case checks to protect your wallet and your cooling system reliability.

Do stop-leak products reduce repair cost—or increase it later (flush, clogged heater core)?
Stop-leak can reduce cost today for a minor seep, but proper repair is best for reliability, and using stop-leak repeatedly is optimal for emergencies only, because the main tradeoff is temporary sealing versus contamination and clog risk. (community.cartalk.com)
More specifically, stop-leak products are designed to deposit material where coolant escapes, and that same “deposit where flow changes” behavior can create headaches in small passages. Some discussions and technician experiences warn about clogging risks in radiators and heater cores, especially with repeated use. (community.cartalk.com)
If you used stop-leak and then get a repair estimate, ask the shop:
- Do you see signs of contamination or deposits?
- Are you recommending a flush because of product residue or because of general coolant condition?
- Will you verify heater core flow and cabin heat after the repair?
Evidence: According to a report from Purdue University’s College of Veterinary Medicine in 2017, ethylene glycol-based antifreeze is dangerous if ingested and can cause severe kidney damage after metabolism, which is why cleaning spills (including any stop-leak-tainted coolant) is a safety priority, not an optional detail. (purdue.edu)
How do hidden leaks (heater core, intake gasket, turbo coolant lines) change labor and diagnosis time?
There are 4 common hidden-leak categories—heater core, intake/coolant crossover seals, turbo coolant lines, and intermittent heat-soak leaks—based on the criterion that they don’t drip clearly onto the ground during a quick parking-lot inspection.
More importantly, hidden leaks widen estimate ranges because diagnosis becomes the job before the repair can even be chosen. A heater core leak may show as interior odor and fogging rather than a puddle; turbo lines can be buried; intake seals may seep internally or at the rear of the engine where visibility is poor.
This changes labor because the technician may need:
- Longer inspection time with mirrors/borescopes
- Pressure testing plus dye, then recheck after heat soak
- Access removal to confirm the leak path
Can UV dye or pressure tests be wrong (residue vs active leak, heat-soak leaks)?
Yes—UV dye and pressure tests can mislead, because (1) old residue can fluoresce even after the leak stopped, (2) some leaks occur only at temperature, and (3) pressure testing at the wrong pressure can miss or exaggerate a marginal seal.
More specifically, the goal is not “a cool tool” but a confirmed leak path. A smart shop will show you either a fresh wet trail, an active drip under pressure, or a clear failure point (crack, failed gasket edge, leaking weep hole) rather than relying on dye glow alone.
A simple way to avoid paying for guesswork is to request:
- Photos/video of the leak source under pressure
- The test pressure used (matched to cap rating) (static.nhtsa.gov)
- The post-repair verification step (pressure retest or warm-up check)
Do hybrids/EVs or vehicles with multiple coolant loops cost more to diagnose and repair leaks?
Yes—multi-loop systems can cost more, because (1) there are more circuits to isolate, (2) bleeding procedures can be more specific, and (3) leak standards and detection methods may differ from traditional single-loop designs. (sae.org)
More importantly, EV and advanced thermal systems may use specialized leak testing approaches and tighter leak standards in certain components, which can increase diagnostic time and method complexity compared with a basic pressure test on a conventional radiator loop. (sae.org)
Evidence: According to a 2022 SAE technical paper on glycol-based coolant loop leak testing, researchers discuss methods to detect leaks reliably and quantitatively in water-glycol cooling circuits, supporting the idea that advanced systems can require more specialized testing than a simple visual inspection. (sae.org)