


Replacing a hose and hose clamp (often called a “hose clip”) is a straightforward DIY job when you match the right hose to the right fitting, pick the correct clamp style, and tighten it correctly—so the connection seals without cutting or crushing the hose.
Next, it helps to understand what the clamp actually does (and what it doesn’t do), because most repeat leaks come from mismatch errors: wrong hose size, wrong clamp type, wrong clamp position, or a dirty/damaged sealing surface.
Then, you’ll make better choices faster if you know the common clamp families (worm-drive vs spring vs constant-tension vs ear clamps) and how hose materials behave (rubber/EPDM, silicone, vinyl, braided, reinforced) under heat, pressure, and vibration.
Introduce a new idea: once you can replace a hose and clamp confidently, you can also spot when a leak is not the hose—so you don’t waste time on the wrong fix.
What does “hose clamp” (hose clip) mean, and why does it matter for leak-free hose replacement?
A hose clamp (hose clip) is a mechanical fastener that squeezes a hose onto a fitting to create a sealed, slip-resistant joint, typically by applying uniform radial pressure around the hose’s circumference.
To better understand why your seal succeeds or fails, start by separating the clamp’s job (controlled squeeze) from the hose’s job (elastic sealing).

What does a hose clamp actually do (seal vs retain)?
A hose clamp does two jobs at the same time: it seals by compressing the hose against the barb/bead, and it retains by preventing the hose from sliding off under pressure, temperature cycles, or vibration.
- Seal function: The clamp compresses the hose wall so it conforms to tiny surface imperfections on the fitting.
- Retention function: The clamp adds friction and mechanical “grip,” especially on barbed or beaded fittings.
If you see seepage, your clamp may be sealing poorly (low clamp force, wrong position, dirty surface). If a hose pops off, your clamp may be retaining poorly (undersized hose, missing bead/barb engagement, wrong clamp style).
Why do people call it a “hose clip,” and does the name affect what you buy?
“Hose clip” is a common synonym in many regions, but it can hide a big shopping trap: some listings label spring clamps, worm-drive clamps, and ear clamps as “clips” even though they behave very differently.
- If your application sees heat cycling (cars, hot-water loops), the “clip” that works best is often a constant-tension or spring style.
- If you need quick adjustment and easy removal, a worm-drive clamp is convenient.
- If you need tamper-resistant or production-style sealing, ear clamps are common.
How does a clamp prevent leaks, and what causes leaks even with a “tight” clamp?
A leak-free joint depends on pressure distribution, not just “tightness.” The most common leak causes even when the clamp feels tight are:
- Wrong hose size or wrong hose type (too large, too stiff, too thin-walled).
- Wrong clamp style for the hose material (worm-drive cutting into soft silicone, for example).
- Wrong clamp location (over the hose end, not behind the barb/bead).
- Dirty/corroded fitting surface or hardened old rubber film under the hose.
- Oval/warped plastic necks (radiator tanks, plastic thermostat housings) that don’t like over-tightening.
Can you replace a hose and clamp yourself safely with basic tools?
Yes—DIY hose clamp and hose replacement basics are safe for most car owners and home DIYers if you control pressure/temperature, use the correct clamp type, and verify the seal with a proper test, because burns and leaks typically come from rushing the depressurize-and-check steps.
Next, let’s separate “safe to DIY” from “should you outsource,” so you don’t take a small job and turn it into a bigger repair.
Is it safe to DIY on a car cooling system hose?
Yes, but only when the system is cold and not pressurized.
- Wait for cool-down: Hot coolant can cause severe burns; pressure can force coolant out like a spray.
- Depressurize safely: Slowly crack the cap only when cool, using a thick rag.
- Containment: Catch pan + absorbent; dispose properly.
This matters because many “mystery leaks” are actually post-repair seepage from residue or air pockets—so your process should include an intentional inspection and retest.
Is it safe to DIY on household water hoses (washer, dishwasher, garden, sump)?
Yes, as long as you shut off the supply and relieve line pressure.
- Turn off the local valve (or main if needed).
- Open a downstream faucet briefly to relieve pressure.
- Expect residual water in the hose.
Household hoses are often lower-risk than coolant hoses, but they can still cause damage (flooding) if you skip the retest.
When should you not DIY hose/clamp replacement?
Avoid DIY (or pause and research more) when:
- The hose connects to fragile plastic necks that are already cracked or chalky.
- The fitting is corroded/pitted and may not seal without replacement.
- Access requires removing critical components (timing covers, intake manifolds, or high-voltage EV components).
- The leak might not be the hose at all (more on “Radiator vs hose vs water pump leak diagnosis” later in this guide).
What tools and parts do you need for DIY hose and clamp replacement basics?
There are 6 main categories of DIY hose-and-clamp replacement essentials—cutting, gripping, cleaning, measuring, tightening, and testing—based on the job stages from removal to leak verification.
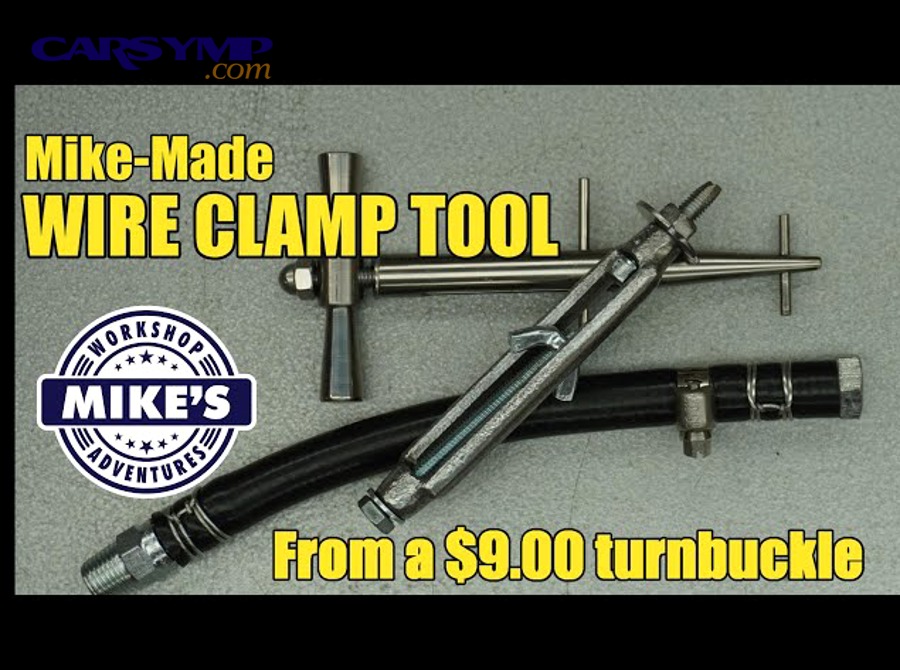
Then, once you know which clamp type you’re dealing with, you can avoid buying tools you don’t need.
What basic hand tools cover most hose-and-clamp jobs?
A simple kit covers most scenarios:
- Flathead screwdriver and/or nut driver (worm-drive clamps)
- Pliers (regular + slip-joint)
- Hose clamp pliers (especially for spring clamps—nice to have)
- Pick tool or small hook (to break hose seal gently)
- Utility knife or hose cutter (clean cuts when trimming is required)
- Small wire brush / Scotch-Brite pad (cleaning fitting surfaces)
- Rags + catch pan
What specialty tools make the job easier (and when are they worth it)?
Specialty tools are worth it when you repeat the job often or access is tight:
- Cable-operated hose clamp pliers: reach spring clamps in cramped bays.
- Torque screwdriver / small torque wrench: helps prevent over-tightening worm clamps on plastic fittings.
- Cooling system pressure tester (car): fastest way to confirm a leak-free joint without a long drive.
What parts and consumables should you have on hand?
- Correct replacement hose (matched by ID, bend shape, temperature rating)
- Correct clamp(s), ideally new
- Coolant (car) or appropriate fluid (if any is lost)
- A small amount of silicone grease (for some non-coolant household uses—not always appropriate for coolant hoses)
- Distilled water (cooling system top-off when needed)
Tip: In car work, prioritize OEM-style clamps for OEM-style hoses unless you have a reason to change clamp type.
How do you choose the right replacement hose (size and type) for a tight, reliable seal?
A “right” replacement hose is one that matches the fitting’s outer diameter and bead/barb geometry with the correct inner diameter (ID), wall thickness, and material rating, so it seals under heat/pressure without slipping or cracking.
Specifically, start by measuring the fitting, then match the hose by function and environment.
What measurements matter most (ID, OD, wall thickness, length, bend radius)?
For reliable sealing, measure and match:
- Hose inner diameter (ID): must match the fitting OD (or barb OD) closely.
- Wall thickness: affects clamp choice and how the hose compresses.
- Length and routing: avoid kinks and tension on the joint.
- Bend radius: too tight = kink + flow restriction + stress near the clamp.
If you’re replacing a formed automotive hose, try to match the shape rather than forcing a universal hose into a sharp bend.
Which hose materials are best for cars vs home?
Common hose material choices:
- Cars (coolant): typically EPDM rubber; often molded for shape and reinforced. One automotive coolant hose study from VIT University’s School of Mechanical and Building Sciences notes EPDM coolant hoses are designed to endure wide operating temperatures and common working pressures in many applications. (oaji.net)
- Cars (vacuum/PCV): different rubber compounds; don’t swap coolant hose material blindly.
- Home (water): braided stainless supply lines, reinforced vinyl, rubber washer hoses, PEX segments (with fittings), etc.
How do you match the hose to the fitting style (barbed vs beaded vs smooth)?
- Barbed fittings: rely on hose elasticity + clamp position behind the barb.
- Beaded fittings: rely on the bead to prevent blow-off; clamp should sit behind the bead, not over it.
- Smooth fittings: need more careful clamp selection and surface condition; consider using fittings intended for clamps (barbs/beads) when possible.
Which hose clamp type should you use for your DIY hose replacement (and why)?
There are 5 main hose clamp types for DIY work—worm-drive, spring, constant-tension, T-bolt, and ear clamps—based on how they generate clamp force and how they handle vibration and heat cycling.
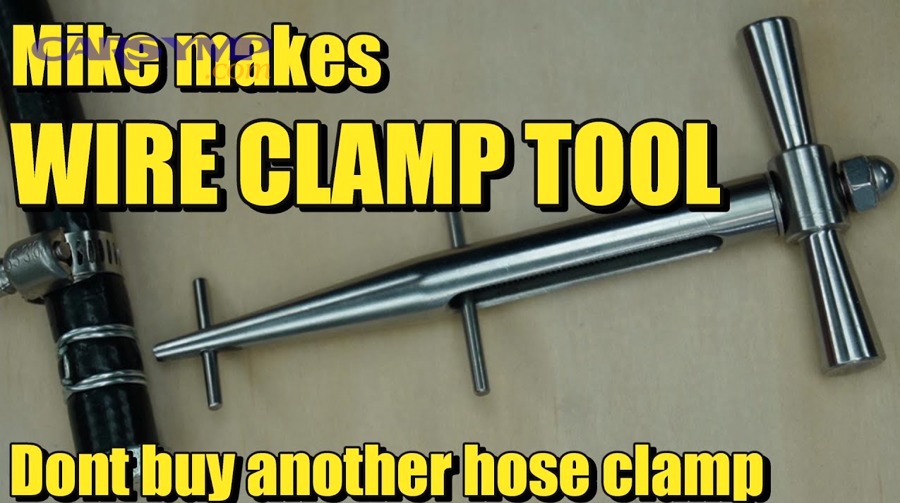
However, the “best clamp” is the one that matches your hose material, fitting style, and temperature/pressure environment.
To make the choice quick, here’s a comparison table of clamp types and what they’re best at (and what they’re bad at):
| Clamp type | Best for | Common mistakes | Quick rule |
|---|---|---|---|
| Worm-drive (screw/band) | Adjustable, easy removal | Over-tightening, cutting soft hose | Great for many home uses and some car uses if tightened correctly |
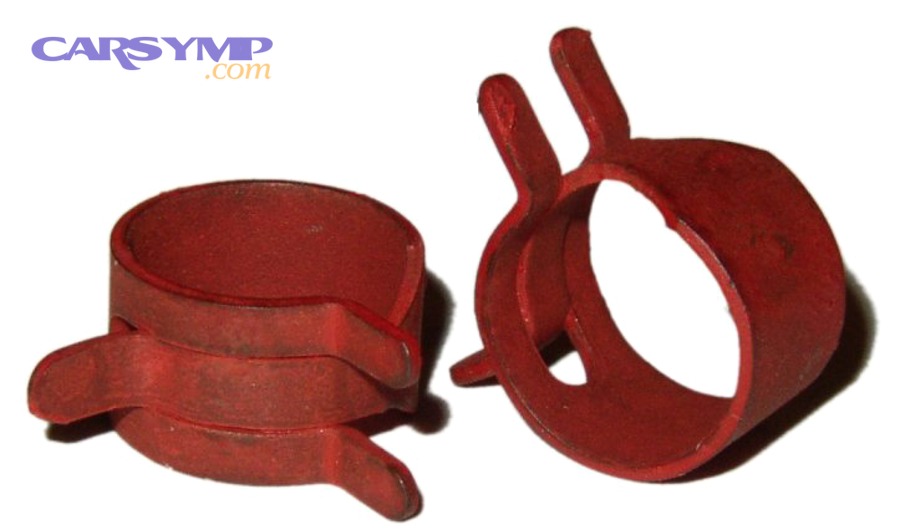
| Spring clamp | Heat cycling, OEM coolant hoses | Using wrong pliers, reusing weak clamps | Great for many OEM coolant applications |
| Constant-tension clamp | Heat cycling + long-term stability | Installing backwards or wrong size | Often best upgrade for coolant hoses |
| T-bolt clamp | Higher pressure / thicker hose | Using on thin hose, uneven seating | Use for robust hoses where specs call for it |
| Ear (Oetiker) clamp | Clean, tamper-resistant, compact | Wrong size; requires special tool | Good when you can size it precisely |
What’s the difference between worm-drive and spring clamps?
A worm-drive clamp tightens via a screw mechanism and stays at that set diameter, while a spring clamp maintains force as the hose expands and contracts—so spring clamps typically handle heat cycles better.
Also, the worm-drive mechanism is literally a worm gear driving the band engagement in many “Jubilee-style” clamps. (en.wikipedia.org)
When are constant-tension clamps worth it?
Constant-tension clamps shine when:
- Your system sees hot/cold cycles (cars, hot-water heating loops).
- You’ve had repeat seepage after heat soak.
- You want a clamp that “follows” hose relaxation over time.
Are ear clamps (crimp clamps) good for DIY?
Yes, if you can:
- Buy the exact size, and
- Use the correct crimping tool, and
- Accept that removal typically destroys the clamp.
They’re common on some automotive and small-diameter hose applications because they’re compact and consistent.
How do you remove an old hose clamp and hose without damaging the fitting?
Use a controlled removal method in 5 steps—depressurize, loosen clamp, break the hose seal, twist off, and clean the fitting—so you avoid cracking plastic necks or gouging metal barbs.
Then, once the old hose is off, the real win is prepping the sealing surface so your new clamp doesn’t have to “fight” old residue.
How do you remove worm-drive clamps without stripping them?
- Use the correct driver (flathead or nut driver/hex).
- Back the screw off until the band loosens fully.
- If it’s stuck, apply penetrating oil to the screw and wait a moment.
- Replace stripped clamps—don’t reuse them.
How do you remove spring clamps safely?
- Use clamp pliers or strong slip-joint pliers.
- Compress the tabs, slide the clamp back on the hose, and release gently.
- Avoid prying against plastic radiator necks—use the clamp itself as a controlled tool, not a lever point.
How do you remove a stuck hose without tearing the fitting or hose nipple?
A hose often “glues” itself on with heat and time. Use the least destructive method first:
- Twist the hose to break the seal (don’t just pull).
- Use a pick to lift a small edge and let air in.
- If you must cut: slice the hose lengthwise carefully, angled away from the fitting.
If the fitting is plastic and feels brittle, slow down—plastic necks can crack from side loads.
What surface prep matters before installing the new hose?
- Wipe away old rubber film and crust.
- Lightly brush corrosion on metal fittings (don’t remove material aggressively).
- Ensure the barb/bead is intact and clean.
A clean, smooth sealing surface is a big part of successful coolant leak repair on vehicles—because clamps can’t compensate for grime and pitting forever.
How do you install the new hose and position/tighten the clamp correctly to prevent leaks?
Install the hose-and-clamp assembly in 6 steps—dry-fit, seat fully, align, position clamp behind the bead/barb, tighten gradually, and recheck after a short heat/pressure cycle—so the joint seals without deforming the hose.
More importantly, clamp placement and “even squeeze” beat brute force.
Where should the clamp sit relative to the barb or bead?
- On a barbed fitting: clamp sits behind the last barb ridge, not right at the hose edge.
- On a beaded neck: clamp sits just behind the bead, so the bead helps prevent blow-off.
A clamp placed too close to the hose end can squeeze the hose into a cone shape and create a seep path.
How tight is “tight enough” for worm-drive clamps?
Tight enough means:
- The hose visibly conforms to the fitting,
- The clamp band is seated evenly, and
- You can’t rotate the hose by hand—but you’re not cutting the hose.
Avoid over-tightening especially on plastic fittings; it can ovalize the neck and create a leak that no clamp can fix.
How do you install spring/constant-tension clamps correctly?
- Put the clamp on the hose first.
- Push the hose fully onto the fitting.
- Slide the clamp into its final position behind the barb/bead.
- Release slowly and confirm the clamp sits flat, not cocked.
Do you need sealant or grease?
Usually no for automotive coolant hoses: a correct hose + correct clamp + clean fitting seals dry. In home low-pressure applications, a tiny amount of appropriate lubricant can help assembly, but don’t use products that attack rubber.
Video (optional walkthrough)
How do you test your work and confirm the connection is leak-free?
Yes—you can confirm a leak-free hose connection reliably by using a short, staged test (visual check + pressure/heat cycle + recheck), because many leaks only appear after expansion, vibration, or pressure increases.
Next, use the right test method for the environment: coolant systems behave differently than household water lines.
What’s the fastest leak check right after installation?
- Wipe everything dry.
- Look for immediate seepage at the clamp line.
- Gently try to rotate the hose: it should resist.
How do you test a car hose connection properly?
Best practice:
- Refill/top off coolant as needed.
- Run the engine to operating temp with the heater on (if relevant).
- Watch the joint during warm-up.
- After cool-down, recheck clamp position and for dried residue.
A pressure-focused perspective helps too: a coolant hose design/validation study from VIT University (School of Mechanical and Building Sciences) reports pressure-drop behavior in radiator hoses under conditions like ~2.5 bar input pressure and 20 lpm flow in their testing, illustrating why clamps must hold reliably under meaningful operating pressure. (oaji.net)
How do you test household hoses and avoid hidden drips?
- Run water at normal pressure.
- Dry the area and place a paper towel under the joint for 5–10 minutes.
- Recheck after an hour (slow drips show up late).
What if you still see coolant dripping—how do you diagnose the real source?
If you still have a leak after a correct clamp install, shift to Radiator vs hose vs water pump leak diagnosis:
- Leak at clamp line: clamp placement/force or hose sizing.
- Leak above clamp (at fitting neck): cracked plastic neck, pitted metal, warped flange.
- Leak below hose area: water pump weep hole, radiator end tank seam, thermostat housing, or a nearby junction.
Use Coolant leak smell and puddle color clues as a sanity check: fresh coolant often has a sweet odor, and puddle color can hint at coolant type (green/orange/pink/blue), while oily rainbow sheen suggests mixed fluids or contamination (confirm by feel and location, not color alone).
What’s the difference between hose replacement in a car vs a home setup?
Car hose replacement prioritizes heat cycling, pressure, and vibration resistance, while home hose replacement prioritizes water-tightness, corrosion resistance, and flood prevention—so the best hose and clamp choices differ by environment and failure risk.
Meanwhile, the steps look similar, but the “gotchas” are not.
How are automotive hoses different from household hoses?
Automotive hoses (coolant, heater) are designed for:
- High temperature swings
- Chemical exposure (coolant additives)
- Engine vibration and movement
- Pressurized operation
Household hoses (washing machine, dishwasher, garden) are designed for:
- Consistent water pressure
- Corrosion resistance (braided lines)
- Longer static routing
How are clamp choices different between car and home?
- Cars often benefit from spring/constant-tension clamps for heat cycling.
- Home setups often do fine with worm-drive clamps (especially on flexible drain hoses), but supply lines may use threaded fittings instead of clamps.
What are the different “failure costs”?
- Car: a leak can cause overheating and engine damage if ignored.
- Home: a leak can cause water damage to floors and walls quickly.
So your post-install verification matters in both—but for different reasons.
What are the advanced clamp-and-hose edge cases DIYers should know (crimp clamps, constant-tension, and tricky fittings)?
These 4 edge-case categories—crimp/ear clamps, constant-tension upgrades, plastic neck sensitivity, and hose-routing stress—explain most “I did everything right, but it still leaks” situations, based on clamp mechanics and material behavior.
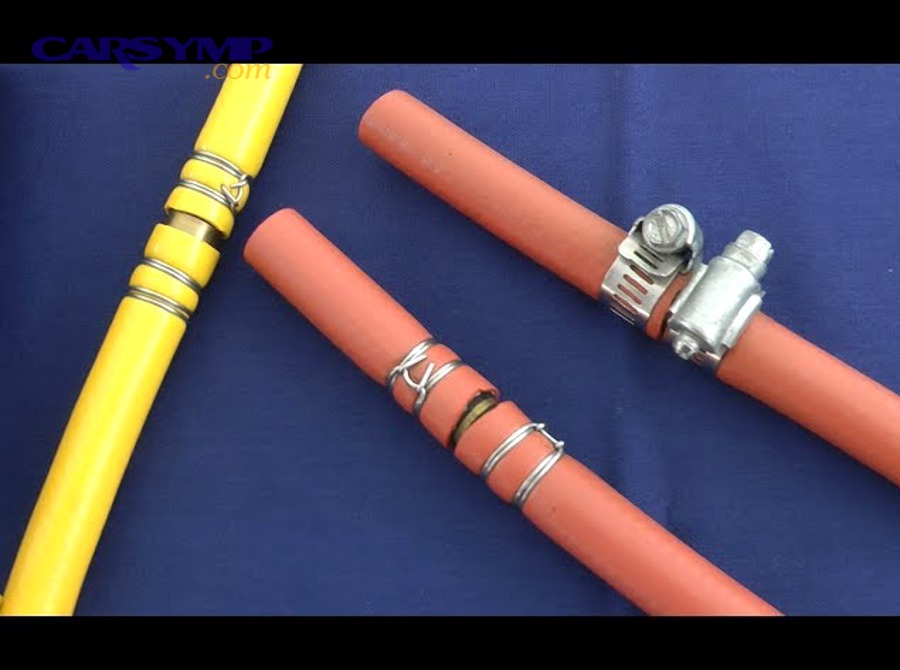
More importantly, understanding these micro-cases prevents repeat repairs and supports better long-term reliability.
When should you upgrade from worm-drive to constant-tension clamps?
Upgrade when:
- You have recurring seepage after heat cycles.
- The hose is in a high-vibration zone.
- The OEM used spring clamps and you’re replacing parts—matching OEM intent often helps.
What makes crimp/ear clamps tricky for DIY?
- They require precise sizing.
- They require the right tool.
- Removal usually destroys the clamp, so plan for replacements.
Why do plastic fittings crack, and how do you avoid it?
Plastic necks crack from:
- Side loading during removal
- Over-tightening worm-drive clamps
- Heat aging + brittleness
Avoid it by twisting hoses gently, supporting the fitting, and tightening clamps gradually.
What routing mistakes cause “mystery leaks” later?
- A hose that’s slightly too short pulls on the clamp line.
- A hose that kinks creates pressure spikes and stress.
- A hose rubbing on a bracket wears through.
If your goal is durable coolant leak repair, treat routing and clearance as part of the “seal,” not an afterthought.