


Coolant loss with no visible leak is serious because the coolant is still leaving the system—either through a hidden external seep, an internal leak, or pressure/boiling venting—and any of those can trigger overheating and engine damage if the level drops far enough.
Next, you need to separate “normal level changes” from “abnormal loss,” then decide how urgent it is based on how fast the level drops and whether you see temperature spikes, sweet smells, or wetness inside/outside the cabin.
Then, you’ll narrow the cause by thinking like the cooling system: coolant can “disappear” into the engine, into the cabin, or out a vent path without ever making a puddle on the ground.
Introduce a new idea: once you understand the hidden pathways, you can diagnose coolant loss with no visible leak using a structured checklist—starting with urgency, then symptoms, then tests like a pressure test and combustion-gas check.
Is Coolant Loss With No Visible Leak Serious?
Yes—coolant loss with no visible leak is serious because (1) the cooling system is sealed and needs a stable level to control temperature, (2) small hidden losses can turn into sudden overheating, and (3) internal leaks can damage the engine even before you see a puddle. More importantly, the “no puddle” part is exactly what delays diagnosis—so you need urgency rules and symptom patterns, not guesswork.

What coolant loss rate is normal vs abnormal?
A small level change can be normal after recent service (air burps out and the reservoir level settles), but repeated top-offs are not normal.
Use these practical thresholds:
- Likely normal/one-time settling: You topped off after a coolant service, then the level drops slightly once (especially from “MAX” toward midline) and stabilizes for weeks.
- Likely abnormal loss: You’re adding coolant more than once, the reservoir keeps trending down, or you see any overheating events.
- Definitely urgent: The reservoir drops from “MAX” to “MIN” in a few days, you need to add coolant weekly, or the temperature gauge climbs above normal.
Why “abnormal” matters: a cooling system can tolerate tiny losses for a while, but the risk is nonlinear: once the coolant level falls below key passages (or air enters), heat transfer collapses and temperatures can spike quickly—especially at idle or under load.
When to stop driving immediately?
When to stop driving immediately is when the car shows signs that coolant loss has already become an overheating or pressure-control event. Stop as soon as it’s safe if you notice any of the following:
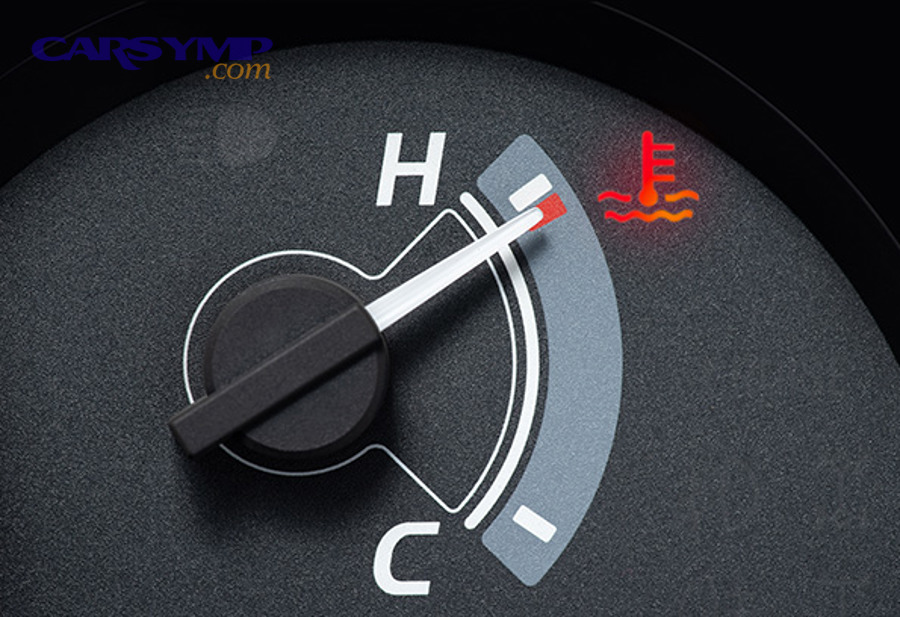
- The temperature gauge enters the hot zone or a red warning appears.
- Steam from the hood, or a strong sweet odor with visible vapor.
- The heater suddenly blows cold air while the engine is hot (often means low coolant/air pocket).
- You hear boiling/gurgling from the dash or engine bay after shutdown.
- The low-coolant warning returns right after topping off, especially with rough running.
If you must move the vehicle to safety, do it gently, minimize load, and don’t keep driving “to see if it goes away.” Overheating episodes can warp heads, degrade gaskets, and damage catalytic converters.
What are the most common coolant leak symptoms even when you can’t see a puddle?
coolant leak symptoms still show up even when the leak is hidden or evaporating on hot parts. Look for these high-signal clues:
- Sweet smell after driving or at idle (ethylene glycol odor).
- White residue/crust near hose joints, radiator seams, or around the cap area (dried coolant).
- Intermittent smoke/steam that appears only at a stoplight (leak drips onto hot surfaces and flashes off).
- Wet carpet or foggy windows (heater core seep inside the cabin).
- Oil/coolant cross-contamination: milky oil, oily film in the reservoir, or “chocolate milk” sludge (not always present, but important).
- Bubbles in reservoir that persist with revs (can suggest combustion gas intrusion).
The key is pattern recognition: hidden coolant loss often leaves traces—smell, residue, intermittent vapor—even if the driveway stays dry.
According to a study by Rochester Institute of Technology from the Mechanical Engineering (KGCOE) program, in 1999, researchers tested 18 ethylene glycol/water concentrations (from pure water to 40% ethylene glycol) and reported that increasing ethylene-glycol concentration deteriorated heat-transfer coefficients compared with pure water at the same wall superheat.
What Does “Coolant Loss With No Visible Leak” Mean?
Coolant loss with no visible leak means the cooling system is losing coolant volume without leaving an obvious puddle because the coolant is escaping in a hidden way (seep/evaporation), venting under pressure, or leaking internally into the engine or cabin. To better understand why this happens, it helps to map where coolant can travel—and where it can “vanish” without dripping.
How does coolant move through the cooling system (reservoir, radiator, heater core)?
In most modern cars, coolant circulates in a closed loop:
- Water pump moves coolant through the engine block and cylinder head (where it absorbs heat).
- Thermostat controls when coolant flows to the radiator.
- Radiator rejects heat to outside air.
- Heater core is a small radiator in the dash that provides cabin heat.
- Reservoir/expansion tank stores extra coolant volume as it expands with heat and returns it as it cools.
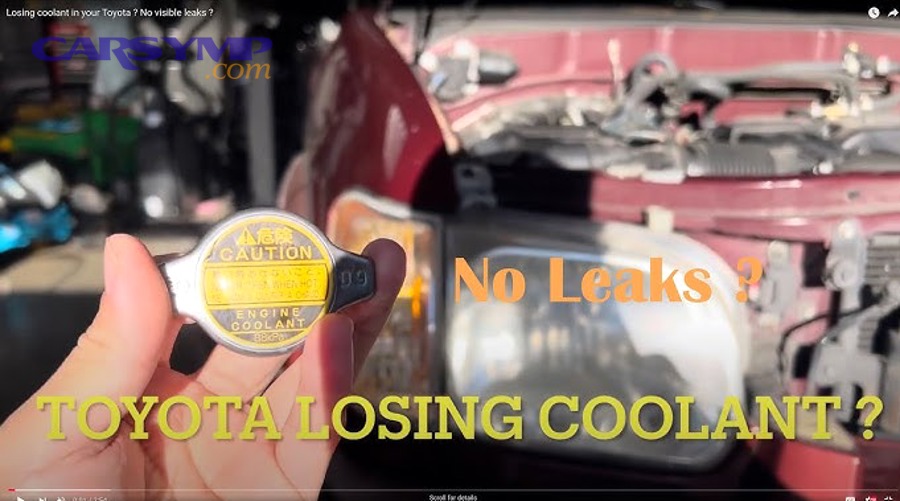
- Cap (radiator cap or reservoir cap) controls system pressure and recovery flow.
That pressure control is crucial: the system is designed to run pressurized so coolant doesn’t boil in normal operation, and so it can recover coolant from the overflow path back into the system as it cools.
How can coolant disappear without dripping (evaporation, boiling, venting)?
If coolant hits hot surfaces (exhaust manifold, turbo, hot block areas), it can flash evaporate, leaving only faint residue and smell.
Coolant can also be lost by venting:
- A weak or incorrect cap may release pressure too early.
- Overheating can spike pressure and push coolant out of the overflow path.
- After shutdown, heat soak can boil coolant locally if the system can’t hold pressure.
A useful rule: pressure raises boiling point. Many systems run around 13–16 psi cap ratings; a typical 50/50 mix under a 15 psi cap has a much higher boiling margin than at atmospheric pressure. So if the cap can’t hold pressure, coolant may boil/vent sooner, creating loss with little to no puddle—especially when driving.
What Are the Most Common Hidden Causes of Coolant Loss With No Visible Leak?
There are three main types of hidden causes of coolant loss with no visible leak: (A) external leaks that evaporate or don’t drip, (B) internal leaks into the engine or cabin, and (C) system behaviors that mimic a leak (air pockets, cap venting, overheating) based on where the coolant is going. Besides the location, the fastest way to narrow causes is to match them to symptom patterns—smell, residue, cabin fog, misfires, or pressure behavior.
External leaks that don’t hit the ground (hose seepage, radiator end tanks, water pump weep hole, radiator cap/overflow)
These leaks are real, but they’re “invisible” because the coolant evaporates on hot surfaces or spreads in a thin film.
Most common spots:
- Hose ends and clamps: micro-seeps under pressure can dry before dripping.
- Radiator end tanks/seams: fine cracks or seam seepage can mist and evaporate.
- Water pump weep hole: may leak only when running and fling coolant onto nearby parts.
- Thermostat housing / plastic flanges: common seep points that leave crusty residue.
- Cap/overflow neck: a cap that can’t seal may push coolant vapor/liquid into overflow without leaving a puddle.
What to look for:
- White/green/orange crust (depending on coolant color) around joints
- Sticky residue under hose runs
- Sweet smell strongest after a hot shutdown
- A faint “steam wisp” near the front of the engine at idle
Internal leaks (head gasket, intake gasket, EGR cooler, heater core)
Internal leaks explain many “no visible leak” cases because the coolant is going somewhere you don’t see.
1) Heater core leak (cabin):
- Sweet smell inside the car
- Fogging windows with oily film
- Damp passenger carpet
- Coolant level drops with no underhood puddle
2) Head gasket / combustion-chamber leak (engine):
- Unexplained coolant loss
- Occasional misfire on cold start (coolant in a cylinder)
- Bubbles in reservoir, pressure builds quickly after startup
- White exhaust smoke (not always)
3) Intake manifold gasket or coolant passages (some engines):
- Coolant leaks internally into intake runners or crankcase depending on design.
4) EGR cooler leak (some turbo/diesel applications):
- Coolant loss with white smoke/steam
- Sometimes no obvious overheating early on
Internal leaks can be intermittent—small at first, then suddenly worse—so your diagnosis needs testing, not just observation.
System conditions that mimic leaks (air pockets, wrong mix, overheating, cap pressure, recent service)
Sometimes the system isn’t “leaking” in the classic sense; it’s expelling coolant or reading low because coolant is trapped elsewhere.
Common mimics:
- Air pockets after service: coolant level drops as air bleeds out; heater output may fluctuate.
- Wrong coolant mix: too much water can boil easier; too much concentrate can reduce heat transfer efficiency and raise operating stress.
- Overheating event: pushes coolant into overflow or out of the vent path.
- Cap pressure problems: if the cap can’t hold pressure, you lose boiling margin and can vent coolant more often.
- Reservoir cracks or faulty cap seal: can vent vapor without leaving a puddle.
A simple “hook-chain” way to remember it: coolant loss without a puddle usually means the coolant is turning into vapor, going inside, or being pushed out under pressure.
How Do You Diagnose Coolant Loss With No Visible Leak at Home vs at a Shop?
Diagnose coolant loss with no visible leak using a 4-step method—(1) baseline the level and symptoms, (2) inspect for evaporating seep points, (3) pressure test and apply Pressure test results interpretation, and (4) verify/rule out internal leaks—so you can choose the correct fix instead of repeatedly topping off. Next, treat diagnosis like a funnel: cheapest checks first, then confirm with tools.
How to do a cold visual inspection and smell check
Start cold (safer, and residue is easier to spot).
Checklist:
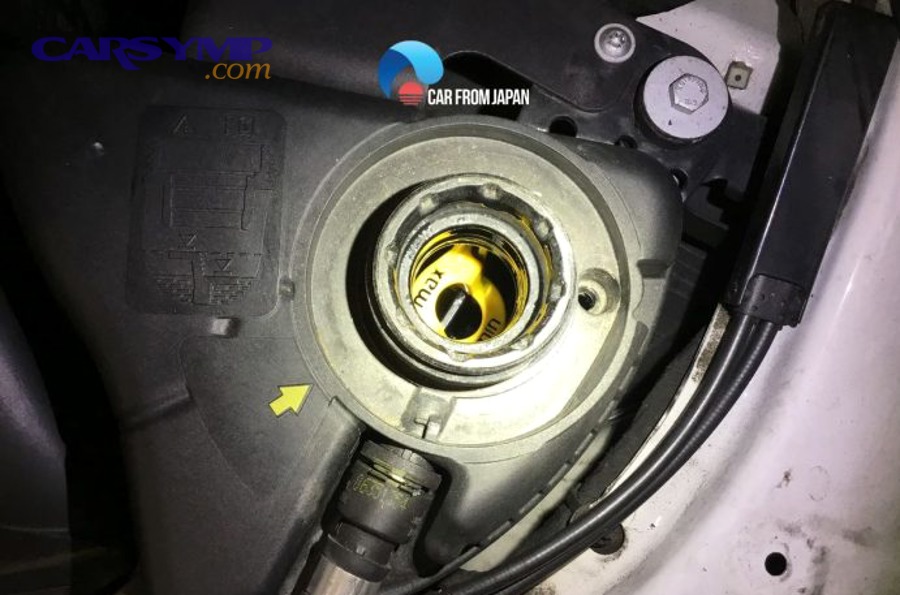
- Mark the reservoir level with a paint pen (cold MIN/MAX reference).
- Inspect hose ends, clamps, thermostat housing, radiator seams, and the water pump area.
- Look for dried crust, staining, or wet shine.
- Smell around the radiator cap/reservoir cap area and firewall (heater core lines).
- Check inside: passenger footwell dampness, sweet smell, window fog film.
Quick win: Use a bright flashlight at a shallow angle; dried coolant crystals show up better than in overhead light.
How to run a cooling system pressure test and Pressure test results interpretation
A cooling system pressure test replicates operating pressure without heat, making small leaks reveal themselves.
How to run it (general approach):
- Engine cold. Remove cap safely.
- Attach the pressure tester to the radiator or reservoir adapter.
- Pump to the cap’s rated pressure (often printed on the cap).
- Hold for 10–20 minutes while inspecting for seepage.
Now the important part: Pressure test results interpretation—use the pressure behavior + what you see to decide what it means.
Interpretation table (what it contains): This table links common gauge behaviors to likely cause categories, so you can map “pressure drop patterns” to next diagnostic steps.
| Pressure test outcome | What it usually means | What to do next |
|---|---|---|
| Holds steady, no drop | No active external leak found under static pressure | Move to internal leak checks or test hot/overnight |
| Slow drop, no visible leak | Micro-leak evaporating, internal seep, or leak only when hot | Inspect with UV dye; check heater core and cap |
| Fast drop, visible wet spot | External leak | Repair the leaking component and retest |
| Pressure rises quickly on startup (separate test) | Possible combustion gases entering system | Perform combustion-gas (block) test |
Two pro tips:
- Check the cap itself: a weak cap can mimic a leak by venting early and preventing proper recovery.
- Some leaks only show hot: if the cold test is inconclusive, a shop may pressure test warm or use UV dye.
How to test for combustion gases and internal leaks (block test, spark plugs, oil, exhaust)
If you suspect internal leakage, stack evidence from multiple signals:
- Block (CO₂) test: checks for combustion gases in the cooling system.
- Spark plug inspection: a “steam-cleaned” plug can suggest coolant intrusion.
- Oil check: milky oil is a red flag (but absence doesn’t clear it).
- Exhaust behavior: persistent white smoke/steam after warm-up is suspicious.
What repair path to follow based on findings
Use a decision path that prevents “parts cannon” repairs:
- If pressure test shows an external leak: repair that exact component (hose, radiator seam, water pump, housing), refill correctly, bleed air, and recheck level over a week.
- If cabin signs point to heater core: address heater core/hoses; don’t ignore damp carpet (it can damage electronics and create mold).
- If combustion-gas evidence appears: confirm with a block test and/or leak-down test before major repairs.
- If nothing shows but loss persists: do UV dye + recheck after a few heat cycles; some leaks only occur under vibration/heat.
A disciplined process beats guessing because coolant loss with no visible leak often has one dominant root cause—even if multiple minor issues exist.
According to a study by Rochester Institute of Technology from the Mechanical Engineering (KGCOE) program, in 1999, experiments in an engine-coolant-relevant ethylene glycol/water system reported measurable changes in boiling heat-transfer behavior across 18 tested concentrations, supporting the idea that coolant composition and thermal behavior can materially affect cooling performance under heat.
How Can You Prevent Future Coolant Loss and Overheating After the Fix?
Preventing repeat coolant loss with no visible leak comes down to correct coolant, correct pressure control, and consistent monitoring—because many “mystery losses” are really maintenance drift (cap, hoses, air) that turns into venting, hot spots, and intermittent seepage. In short, once you’ve repaired the root cause, prevention keeps you from returning to the same symptom loop.
How to choose the correct coolant and mix ratio
Use the coolant type specified for your vehicle and mix it properly.
Why mix ratio matters:
- Too much water can reduce boil margin.
- Too much concentrate can reduce heat transfer efficiency and raise system stress (cooling is not just “freeze protection,” it’s heat management too).
As a general concept, pressurization and the right mix work together to keep the coolant from boiling in normal operation; a cap that maintains pressure supports that design goal.
How often to check levels and bleeding air after service
For the two weeks after a repair or coolant service:
- Check level cold, same parking spot if possible.
- Watch heater performance (stable heat usually means stable circulation).
- If you had the system opened, ensure it’s properly bled—air pockets can create local hot spots and push coolant out.
After that, a quick monthly glance at the reservoir level is usually enough for most drivers—unless you’re towing, tracking, or driving extreme heat.
What maintenance items reduce repeat failures (hoses, cap, thermostat)
These items don’t just “wear out”—they cause the exact conditions that make leaks go invisible:
- Cap: maintains pressure and recovery; replace if suspect rather than gambling.
- Hoses and clamps: age + heat cycles create seep paths that evaporate.
- Thermostat: a sticking thermostat can trigger overheating spikes and venting.
- Radiator and plastic fittings: UV/heat aging can create hairline cracks.
A good habit: if you fix one leak on an older system, inspect the rest of the rubber and plastic—coolant loss with no visible leak often appears in clusters over time.
What misconceptions cause repeat loss (topping off only, stop-leak products)
Common traps:
- “I’ll just top it off.” This hides the trend until you get a major overheat event.
- Assuming “no puddle” means “no leak.” Evaporation and internal pathways are real.
- Stop-leak as a default fix. It can clog small passages (radiator/heater core) and complicate diagnosis later.
If you keep a simple log , you’ll catch abnormal loss early—before it escalates into overheating, misfires, or expensive internal damage.