


If your car “feels” hot but the temperature gauge looks normal—or the gauge swings around while the engine seems fine—you can’t rely on guesswork. The safest approach is to separate real overheating from inaccurate temperature readings using consistent signs, simple cross-checks, and a clear troubleshooting order.
Next, you’ll learn how to read temperature gauge behavior like a symptom map—normal-but-hot, hot-but-not-hot, and bouncing needles each point toward different cooling-system failures or electrical faults, and the fastest fix often depends on which pattern you’re seeing.
Then, we’ll narrow the problem to the most common culprits—coolant level and leaks, thermostat control, airflow and fans, radiator heat exchange, circulation, and sensor accuracy—so you can check the right thing first instead of replacing parts randomly.
Introduce a new idea: once you can confirm what’s truly happening, you can use the same evidence-based logic to prevent repeat overheating, avoid engine damage, and estimate repair urgency before a small cooling issue becomes a major failure.
Is my engine actually overheating, or is the temperature gauge lying?
Yes—your engine can be truly overheating or your temperature gauge can be lying, and you can tell the difference by (1) real-world heat symptoms, (2) coolant behavior under pressure, and (3) a quick temperature cross-check using the heater, fans, and data.
To better understand what you’re dealing with, start by treating “overheating” as a physical event (coolant boiling, pressure spikes, heat soak) and “gauge problems” as a measurement event (sensor drift, wiring resistance, buffered gauge logic).

What are the unmistakable signs of real overheating (even if the gauge looks normal)?
Real overheating shows up as coolant and combustion heat escaping control, even when the needle stays calm.
Look for these high-confidence indicators:
- Steam or vapor from the engine bay (often near the radiator, reservoir, or a hose junction).
- Sweet, hot coolant smell after a drive or at idle with the hood up.
- Coolant boiling/overflow into the reservoir or out of a cap/vent.
- Heater suddenly blows cold while the engine is under load (coolant isn’t circulating through the heater core).
- Power drop, pinging/knock, or limp mode—the engine control system may reduce power to protect itself.
- Rapid temperature rise after stopping (heat soak), especially if fans don’t run.
A key detail: some vehicles use buffered gauge logic, meaning the needle sits “normal” across a wide temperature band and only moves when temperatures are already unsafe. That’s why you must prioritize physical symptoms over the dash needle.
Can I safely keep driving when the gauge is high or fluctuating?
No—driving with a high or unstable temperature indication is not safe unless you’ve confirmed normal temperature by other checks, because overheating can warp the cylinder head, damage the head gasket, and degrade oil lubrication quickly.
However, the decision is clearer if you follow a strict safety rule:
- Stop driving immediately if you see steam, smell strong coolant odor, lose cabin heat unexpectedly, or the gauge enters the red/hot zone.
- Reduce load and seek a safe stop if the gauge rises steadily and doesn’t recover within 30–60 seconds after easing off.
- Only continue briefly if the gauge flickers but you can confirm normal conditions (stable heater heat, fans operating, no coolant loss, no boiling, and normal coolant temperature data).
If you’re unsure, treat it as real overheating—because the cost of being wrong is far higher than the cost of stopping early.
What quick checks confirm real temperature without guessing?
You can confirm real temperature quickly using three independent signals that don’t rely on the dash gauge alone:
- Heater output test: set heat to max and blower high. If air turns cold while the gauge claims “hot,” circulation may be failing or coolant may be low.
- Fan operation check: when hot, many cars should run radiator fans at idle. If the gauge rises at idle and fans never engage, airflow is suspect.
- Data cross-check (best): read live coolant temperature through an OBD tool if available, and compare it to gauge behavior.
The goal is not perfection—it’s confidence. If two out of three checks suggest abnormal heat, assume overheating until proven otherwise.
What does each temperature gauge behavior pattern usually mean?
There are 4 main types of temperature gauge behavior—normal while overheating, high without overheating, bouncing/fluctuating, and idle-only rising—based on whether the problem is heat control (cooling system) or heat reporting (sensor/gauge circuit).
To illustrate why pattern-reading matters, the same “hot needle” can mean a failing thermostat, a failing fan circuit, or a wiring issue—so decoding the behavior is what prevents wasted repairs.
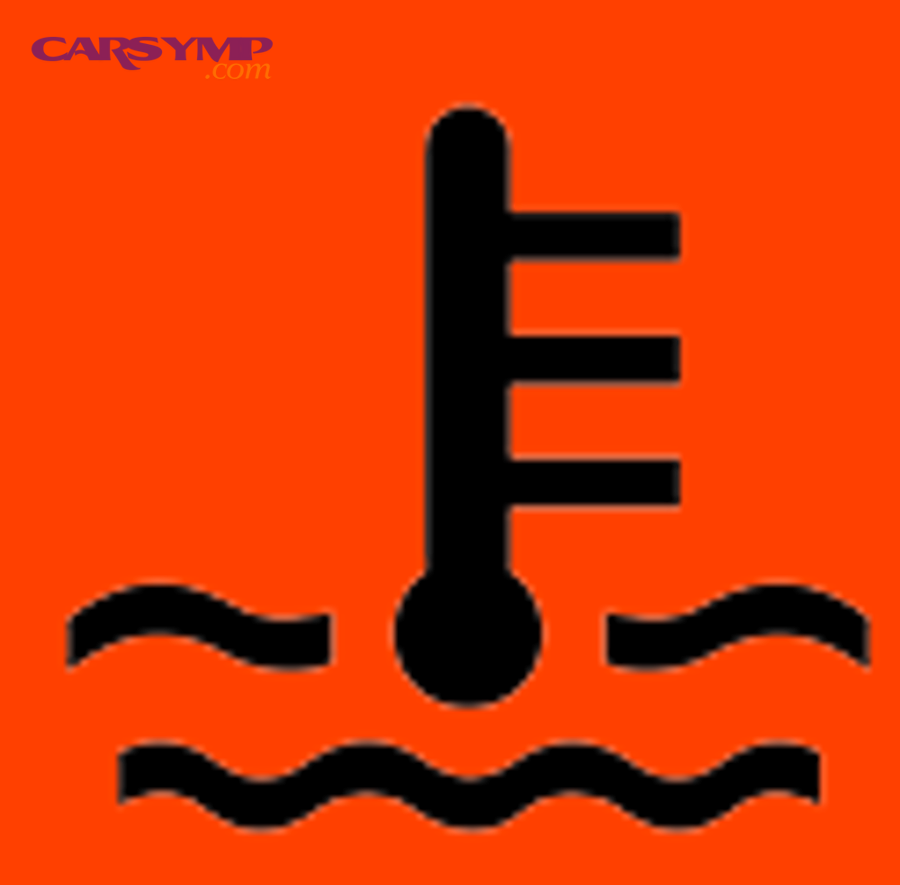
What does it mean if the engine overheats but the gauge reads normal?
This usually means the engine is hot in reality, but the gauge isn’t reflecting it, and the most common reasons are:
- Buffered gauge behavior: the needle doesn’t move until temperature exceeds a high threshold.
- Air pocket near the sensor: the sensor measures air/steam instead of liquid coolant and under-reports temperature.
- Sensor circuit mismatch: some vehicles use separate senders for the ECU and the dash, and one can fail independently.
- Localized overheating: coolant may be low and pockets of the engine run hot before the sensor “sees” it.
This pattern often appears alongside coolant loss and coolant leak symptoms (sweet smell, low reservoir, damp hose ends, crusty residue near clamps), even before you see the needle rise.
What does it mean if the gauge reads hot but there’s no overheating symptoms?
This is often a false hot reading, typically caused by electrical or instrumentation issues such as:
- Engine coolant temperature sensor drift (reads hotter than reality).
- Connector corrosion adding resistance or causing intermittent signal spikes.
- Poor ground path for the sensor or gauge cluster.
- Instrument cluster gauge fault (stepper motor/logic issues in some clusters).
A practical tell: if the gauge jumps quickly from normal to hot without a gradual rise—and the heater remains strong, no boiling occurs, and OBD temperature stays reasonable—suspect reporting rather than true overheating.
Why does the gauge bounce up and down while driving or idling?
A bouncing gauge typically means the system is cycling between “enough cooling” and “not enough cooling,” and the most common causes are:
- Thermostat sticking: it opens late, then snaps open, then closes unpredictably.
- Air pockets moving through the system: the sensor alternates between coolant and air.
- Fan cycling faults: fan turns on too late, turns off too early, or runs intermittently due to relays/control modules.
- Low coolant level: as coolant sloshes, the sensor intermittently loses liquid contact.
This is also where people confuse White exhaust smoke vs coolant leak clues. Light white vapor on a cold morning can be normal condensation, but persistent thick white smoke with coolant loss and sweet odor can indicate coolant entering the combustion chamber—an issue that may create unpredictable gauge behavior due to pressurization and air intrusion.
Which gauge patterns point to airflow/fan problems vs coolant-flow problems?
Airflow problems show up when speed changes the symptom, while coolant-flow problems show up when load changes the symptom.
- Overheats at idle / slow traffic, improves at speed → airflow/fan issue likely
- Fans not engaging, weak fan motor, missing shroud, blocked radiator/condenser fins.
- Overheats at highway speed, worsens with load → heat exchange/coolant flow issue likely
- Restricted radiator, thermostat not fully opening, water pump circulation limits, collapsed hose at speed.
- Rapid spikes then drops → thermostat or air pocket pattern
- Especially after coolant service, or when coolant is low.
Which cooling-system parts most commonly cause overheating, and how do I narrow it down fast?
There are 6 common cooling-system causes of overheating—low coolant/leaks, thermostat failure, fan/airflow failure, radiator restriction, circulation failure, and pressure-control failure—and you can narrow them quickly by matching symptoms to when and how the temperature rises.
More specifically, think in systems: overheating happens when heat production exceeds heat removal, and every part you check should answer one question—“Is heat being carried away and released properly?”
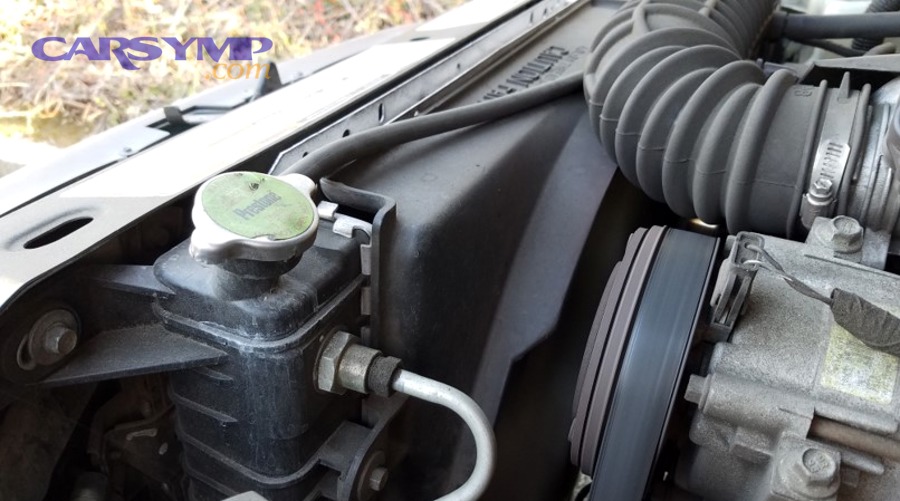
Is low coolant or a leak the first thing to rule out?
Yes—low coolant is the fastest and most common root cause because it creates hot spots, traps air, and reduces circulation through both the radiator and heater core.
Here’s why it creates confusing gauge behavior:
- The sensor can become exposed to air/steam and misread temperature.
- Coolant can boil locally in the head while the radiator stays relatively cool.
- The heater can blow cold at random as air enters the heater core.
If you’re trying to estimate urgency and budget, it helps to think in Typical repair costs by leak source (not exact prices, but cost tiers):
- Low cost: loose clamp, small hose, radiator cap, minor reservoir crack.
- Medium cost: thermostat housing leak, radiator replacement, water pump seep.
- High cost: heater core leak, head gasket failure, internal coolant/oil mixing.
Use this cost-by-source mindset only after you’ve confirmed the leak location—because “low coolant” is a symptom, not the final diagnosis.
Is a stuck thermostat the most likely cause of fluctuating readings?
Yes—a sticking thermostat is one of the most common causes of cycling temperatures because it regulates when coolant can flow to the radiator.
Typical thermostat-linked patterns include:
- Normal driving temp, then sudden climb at idle, then sudden drop when it opens.
- Overheats under load, then cools abruptly when airflow increases or thermostat finally opens.
- Upper radiator hose stays cooler than expected until the thermostat opens.
A thermostat can fail “stuck closed” (overheating) or “stuck open” (slow warm-up, poor heater performance, lower efficiency). The key is whether the thermostat is controlling flow consistently.
Are cooling fans or airflow issues causing overheating mainly at idle/slow traffic?
Yes—if the temperature rises mostly at idle and improves once you’re moving, airflow is the suspect because the radiator depends on airflow to shed heat.
Common airflow/fan failures:
- Blown fuse, failed relay, failed fan motor.
- Fan control module faults.
- Missing shroud or broken mounting causing poor pull-through.
- Debris blocking the radiator/condenser face.
Evidence matters here because airflow is measurable: According to a study by Luleå University of Technology from the Department of Applied Physics and Mechanical Engineering (Division of Fluid Mechanics), in 2007, CFD fan modeling using a Multiple Reference Frame approach reproduced measured fan performance with less than 3.5% difference in airflow rate across many test conditions—showing that fan airflow is a quantifiable driver of cooling performance.
Could the radiator or coolant condition be the bottleneck at highway speed?
Yes—if overheating worsens at speed or under sustained load, the radiator’s ability to exchange heat (and the coolant’s ability to carry heat) becomes the likely bottleneck.
Two major pathways create this:
- External restriction: bent fins, packed debris, blocked condenser/radiator stack.
- Internal restriction: scale, corrosion, sludge, or partial clogging reducing flow and heat transfer.
Coolant chemistry matters more than people think. According to a study by Rochester Institute of Technology from Mechanical Engineering (KGCOE), in 1999, increasing ethylene-glycol concentration in water was found to deteriorate heat transfer coefficients compared with pure water at the same wall superheat—highlighting why the correct coolant mix and condition affect real cooling performance.
How do I compare dash gauge readings to real coolant temperature data?
The dash gauge is a driver-friendly indicator, while real coolant temperature data comes from sensors and control logic; the most reliable approach is to compare OBD coolant temperature, gauge behavior, and physical symptoms and only trust the reading when they agree.
Especially, this comparison prevents the classic mistake: replacing a thermostat when the real issue is a sensor connector, or assuming a sensor failure when the engine is actually boiling over.
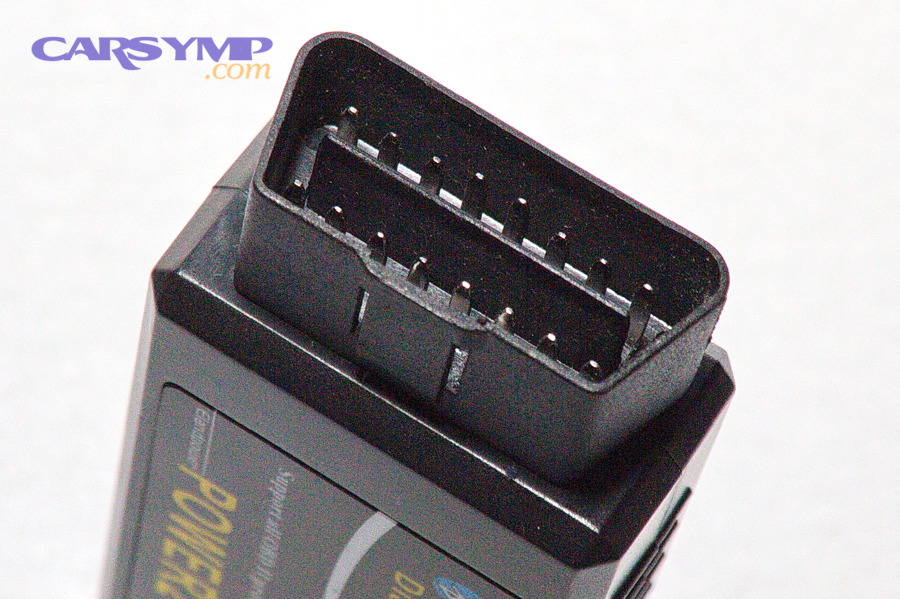
What is the coolant temperature sensor (ECT), and how does it affect the gauge and engine computer?
The ECT sensor is a thermistor-based temperature sensor that converts coolant temperature into a signal used by the ECU for fueling, fan control, and (in many cars) the dash gauge display.
Because the ECU depends on ECT for critical decisions, a wrong signal can cause:
- Fans to turn on late or run continuously.
- Fuel mixture to run rich or lean incorrectly.
- Idle quality changes and poor warm-up behavior.
- Misleading dash gauge movement (depending on design).
In other words, ECT problems can create both real overheating (fans controlled incorrectly) and fake overheating (bad reporting).
Is the dash gauge the same as the OBD-II coolant temperature reading?
No—not always, because some vehicles display a filtered or buffered gauge value while OBD shows the ECU’s live sensor reading.
Here’s how to use the difference correctly:
- If OBD coolant temperature rises steadily and matches symptoms (boiling, hot smell, fan stress), treat it as real overheating.
- If OBD stays stable while the dash gauge jumps, suspect gauge circuit issues or cluster filtering faults.
- If OBD is erratic (spikes/drops) and the dash is calm, suspect sensor contact issues, wiring intermittence, or air pockets.
The right comparison is not “which is perfect,” but “which matches reality.”
What wiring or grounding faults create false “hot” readings?
Several common electrical issues create false hot readings by changing resistance or signal reference:
- Corroded ECT connector pins (green/white oxidation).
- Harness damage near hot components (brittle insulation, intermittent short).
- Poor engine ground straps causing unstable sensor reference voltage.
- Connector tension loss (plug seems seated but is loose internally).
If the gauge changes when you hit bumps, turn on accessories, or wiggle a connector gently (engine off, key on), you’re often dealing with an electrical signal stability problem—not a cooling capacity problem.
What is a safe, step-by-step troubleshooting order for drivers and DIYers?
A safe troubleshooting method has 3 stages—roadside safety checks, basic home checks, and professional confirmation tests—and the expected outcome is a confident diagnosis of “real overheating” vs “false reading” without risking engine damage.
Next, follow the steps in order. Skipping ahead usually causes either unnecessary parts replacement or dangerous assumptions.

What should I check in the first 5 minutes on the roadside?
Start with safety and high-signal observations:
- Pull over safely and shut off the engine if the gauge is in the red or steam is visible.
- Do not open the cap hot. Wait for cooling—pressurized coolant can spray.
- Look and listen: steam, hissing, boiling sounds, fan running or not.
- Check heater output (briefly): if it turns cold unexpectedly, circulation may be failing.
- Scan the ground: puddles, dripping, wet splash marks—strong leak indicators.
- Smell test: strong sweet odor points toward coolant release.
At this stage, your goal is to decide: stop now and tow vs drive gently to a safe location.
What should I check at home with basic tools?
Once the engine is fully cool, use a consistent checklist:
- Coolant level and condition
- Low level, rusty color, sludge, oily sheen, or floating particles.
- Visual leak tracing
- Hose ends, thermostat housing, radiator seams, reservoir cracks, water pump weep hole.
- Cap and reservoir inspection
- Damaged seals, cracked necks, crusted residue from past venting.
- Fan function
- Verify fans spin freely by hand (engine off), confirm engagement when warm, check fuses/relays.
- Hose behavior
- Collapsing lower hose at revs can suggest flow restriction or weak hose structure.
- Basic sensor checks
- ECT connector condition, harness routing near exhaust, obvious insulation damage.
If you find coolant leak symptoms (repeated low level, wet residue, sweet smell) and the gauge behavior is odd, prioritize leak repair first—because air intrusion can mimic multiple other failures.
When should I move to professional tests (pressure test, combustion leak test)?
Yes—you should escalate to professional testing when (1) coolant loss continues without visible leaks, (2) overheating persists after basic fixes, or (3) symptoms suggest internal combustion-gas intrusion.
Escalation triggers include:
- Coolant level drops repeatedly with no external leak.
- Persistent overheating with fans working and coolant full.
- Bubbling in reservoir when revving (cold start) or rapid pressurization.
- Oil/coolant cross-contamination signs.
- Persistent thick white exhaust that doesn’t disappear as the engine warms, especially paired with coolant loss (key distinction in white exhaust smoke vs coolant leak clues).
Professional tests are valuable because they quantify what your eyes can’t—system pressure integrity, cap holding pressure, and combustion gases in coolant.
What advanced checks explain “weird” temperature readings when the basics look fine?
There are 4 advanced explanations for weird readings—buffered gauge logic, tool-based temperature validation, trapped air dynamics, and rare pressure/combustion issues—and each one clarifies why symptoms can look contradictory.
Besides, advanced checks are where you stop arguing with the needle and start trusting measurable temperature and flow behavior.

How do buffered temperature gauges hide real temperature changes?
Buffered gauges intentionally reduce needle movement so drivers don’t worry about normal fluctuations—but the downside is that they can hide early warning signs.
What this means in practice:
- The needle may stay “centered” across a broad temperature range.
- Small overheating events can be real while the gauge looks normal.
- The gauge may move only when the system is already near a danger zone.
So, if your car overheats “without warning,” it may not be sudden—it may be that the gauge was designed to stay calm until it wasn’t.
How can I use an OBD-II scanner or infrared thermometer to confirm the real temperature?
Use tools to cross-check the system in a way the dash can’t:
- OBD-II live data
- Watch ECT rise during idle after a drive.
- Compare “fan on” moments to temperature changes.
- Look for unrealistic jumps (electrical/air pocket signature).
- Infrared thermometer
- Measure at thermostat housing, radiator inlet/outlet, and upper/lower hoses.
- A big inlet-to-outlet difference can indicate radiator heat exchange, while a small difference under high temperature can indicate radiator inefficiency or airflow limitations.
This is where airflow physics becomes visible. According to a study by the University of Ontario Institute of Technology from the Faculty of Engineering and Applied Science, in 2013, blockage proximity in an engine-bay style setup was shown to change fan pressure behavior with a quadratic-type dependence, and blocked conditions increased reverse and radial flow—reinforcing that airflow restrictions can materially change cooling performance, especially as conditions change.
Can air pockets after coolant service cause temperature spikes and bouncing readings?
Yes—air pockets can cause spikes and bouncing because coolant must circulate as a continuous liquid column; trapped air interrupts heat transfer and makes sensors read inconsistently.
Common situations that trap air:
- Coolant drained/refilled without proper bleeding.
- Small leaks letting air in as the system cools.
- Low coolant level causing the pump to aerate coolant.
Typical air-pocket signatures:
- Heater output goes warm → cold → warm.
- Temperature rises quickly at idle, then drops suddenly.
- Gurgling sounds behind the dash (heater core area).
- Coolant level changes after a heat cycle as air purges.
Bleeding procedures vary by vehicle (bleeder screws, funnel tools, elevated fill points), but the diagnosis pattern remains consistent: intermittent circulation and inconsistent sensor contact.
Which rare issues mimic overheating (head gasket early signs, wrong coolant mix, pressure cap mismatch)?
Rare issues matter because they create “impossible” symptoms—like repeated overheating with no obvious leak, or boiling at temperatures that shouldn’t boil.
The main rare mimics include:
- Early head gasket issues
- Combustion gases pressurize the system, push coolant out, and introduce air pockets.
- Wrong coolant mix ratio
- Too much water reduces boiling protection; too much glycol can reduce heat transfer efficiency and alter system behavior.
- Pressure cap mismatch or weak cap
- Lower pressure can reduce effective boiling point, causing boil-over “early.”
- Aftermarket parts fit issues
- Incorrect thermostat temperature rating or poor sealing can change the system’s control behavior.
When you’re in this territory, stop relying on the dash and lean on repeatable evidence: coolant level stability, pressure testing, combustion-gas testing, and consistent temperature measurements under the same driving conditions.
Evidence
According to a study by Rochester Institute of Technology from Mechanical Engineering (KGCOE), in 1999, increasing ethylene-glycol concentration in water was found to deteriorate heat transfer coefficients compared to pure water at the same wall superheat.
According to a study by Luleå University of Technology from the Department of Applied Physics and Mechanical Engineering (Division of Fluid Mechanics), in 2007, a Multiple Reference Frame CFD approach reproduced measured automotive cooling fan performance with less than 3.5% difference in airflow rate in most cases.
According to a study by the University of Ontario Institute of Technology from the Faculty of Engineering and Applied Science, in 2013, airflow blockage proximity in an automotive cooling-fan environment showed a quadratic-type dependence in pressure change and increased reverse/radial flow under blocked conditions.