


Master cylinder and pressure switch faults can cause a soft pedal, a brake warning light, or unpredictable stopping because they affect the hydraulic pressure your brake system depends on.
To stay safe and avoid unnecessary parts swapping, you need to connect what you feel at the pedal with what’s happening inside the master cylinder bore, seals, fluid reservoir, and pressure-sensing circuits.
Just as importantly, these faults often overlap with other brake-system warnings, so the goal is to isolate root causes—then choose the most reliable fix, not the fastest guess.
To begin, “Giới thiệu ý mới”: we’ll map symptoms to likely failure modes, show practical tests, and explain repair decisions that keep braking predictable and trustworthy.
What are master cylinder and pressure switch faults, and why do they matter?
They are failures that prevent the brake system from building, holding, or correctly reporting hydraulic pressure, which can reduce stopping power or trigger warning lights. Next, we’ll tie each symptom to the most probable internal fault.

The master cylinder is the hydraulic “heart” of a brake system: your pedal force moves pistons inside a bore, pressurizing brake fluid and sending it through lines to calipers or wheel cylinders. Most modern vehicles use a tandem (dual-circuit) master cylinder, so one half can provide partial braking if the other circuit fails.
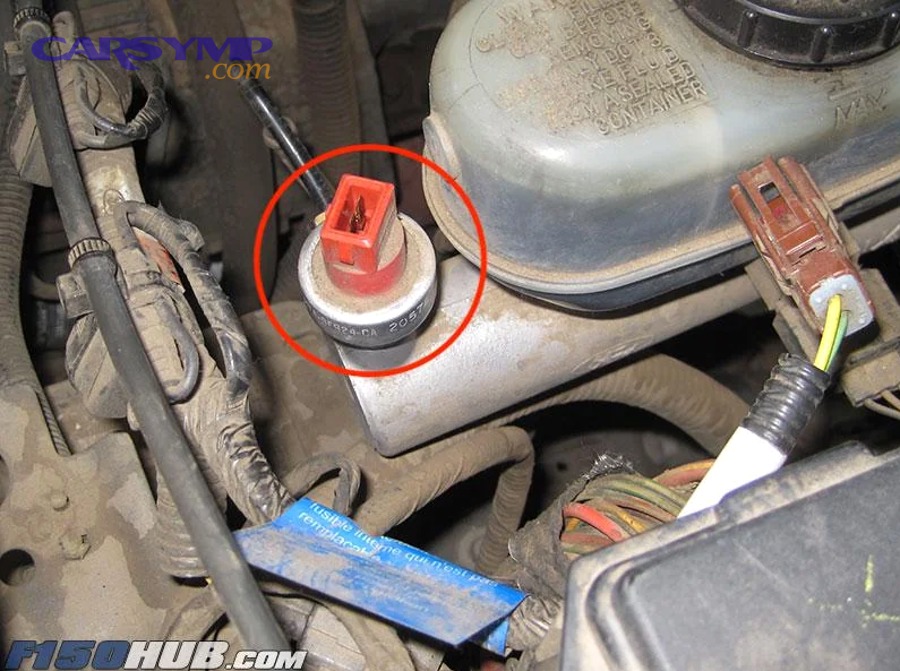
A pressure switch (or pressure sensor) is a device that reacts to brake pressure and provides an electrical signal. Depending on the vehicle, it may be used for warning logic, cruise control disengagement, brake light control (sometimes via pedal switch instead), or hydraulic-based safety monitoring. Some systems use a simple on/off switch; others use a variable pressure sensor.
When either component is faulty, the impact typically falls into two categories:
- Hydraulic performance faults: pressure cannot build or hold (soft pedal, sinking pedal, longer stopping distances).
- Signal/reporting faults: pressure is fine, but the system reports the wrong status (warning light on, intermittent alerts, inconsistent brake-assist behavior).
Because these categories can overlap, your job is to separate “pressure problem” from “pressure reporting problem” before you spend money on parts.
Which warning signs most strongly point to a master cylinder problem?
Yes—certain symptoms strongly suggest master cylinder failure, especially a sinking pedal, internal bypass, or fluid loss near the booster. To connect the dots, we’ll break symptoms into “feel,” “fluid,” and “behavior under repeated braking.”
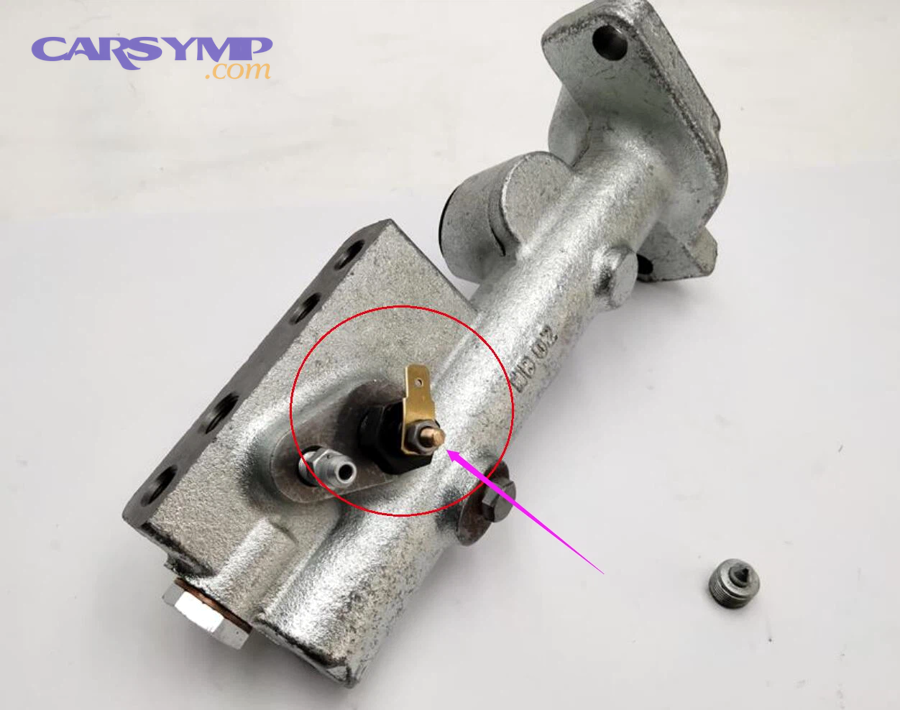
Pedal slowly sinks at a stop is one of the most classic signs of internal seal bypass. You press the pedal, the car stops, but the pedal continues to drift toward the floor while you hold steady pressure. That often means fluid is leaking past the primary or secondary cup seals inside the bore rather than being forced down the lines.
Soft or spongy pedal can be master-cylinder-related, but it’s not exclusive. Air in the lines, flexible hose expansion, caliper slide issues, or poor pad-to-rotor contact can also create a soft feel. The master cylinder becomes more likely when the softness is paired with a pedal that changes with time (sinking) or a pedal that improves temporarily with pumping.
Fluid level changes without obvious external leaks is another big clue. If the reservoir drops, you expect to find wet calipers, wheel cylinders, lines, or a dripping fitting. When you don’t, look for:
- Rear seal leak into the brake booster: fluid can be drawn into the booster, leaving little or no drips on the ground.
- Internal bypass: fluid may not be “missing,” but the system cannot maintain pressure.
Brake warning light behavior can also point to master cylinder issues, particularly when it correlates with low fluid level or pressure imbalance between circuits. However, keep in mind that warning logic differs by make and model.
To make this practical, the strongest “master cylinder” pattern is: sinking pedal + stable calipers/lines + no obvious air + possible booster contamination.
How do pressure switch faults show up differently from hydraulic failures?
They often create electrical symptoms—intermittent warning lights, inconsistent cruise canceling, or brake light anomalies—without a matching change in pedal feel. Next, we’ll list the “signal-only” clues that keep you from replacing a good master cylinder.
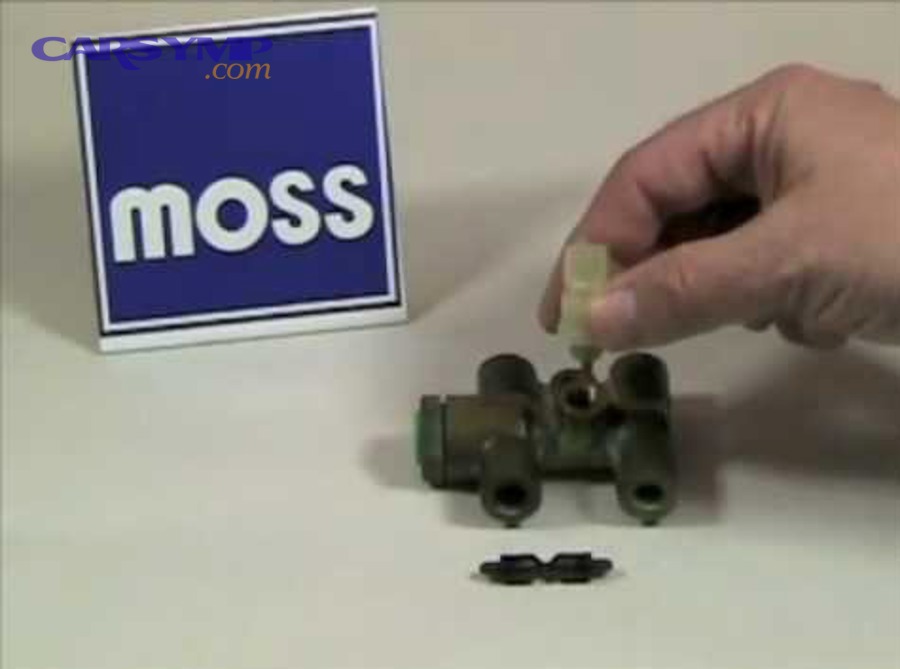
A pressure switch (or sensor) failure is frequently misunderstood because it can create serious-looking warnings while the brakes still feel normal. That mismatch—normal pedal, abnormal warning—is an important pattern.
Common “signal-only” behaviors include:
- Warning light flickers over bumps or during temperature changes, yet stopping feel stays consistent.
- Warning stays on after repairs even when fluid is full and no leaks exist (some systems need proper reset logic, others need the fault truly resolved).
- Electrical codes pointing to pressure input rather than hydraulic imbalance (the exact wording varies by scan tool).
In some vehicles, the hydraulic pressure sensor is integrated into a larger module (like an ABS hydraulic control unit). In others, it’s a standalone switch near a distribution block or master cylinder area. Either way, a failing sensor can “cry wolf.”
As a flow check: if the pedal is stable, stopping distance is unchanged, and fluid level stays constant, lean toward an electrical input issue before condemning the master cylinder.
What causes master cylinder failures: wear, contamination, or heat?
Most master cylinders fail from seal wear, bore corrosion, or fluid contamination that damages rubber cups and internal valves. To understand the root cause, we’ll connect each failure mode to what you see in the reservoir and how the pedal behaves.
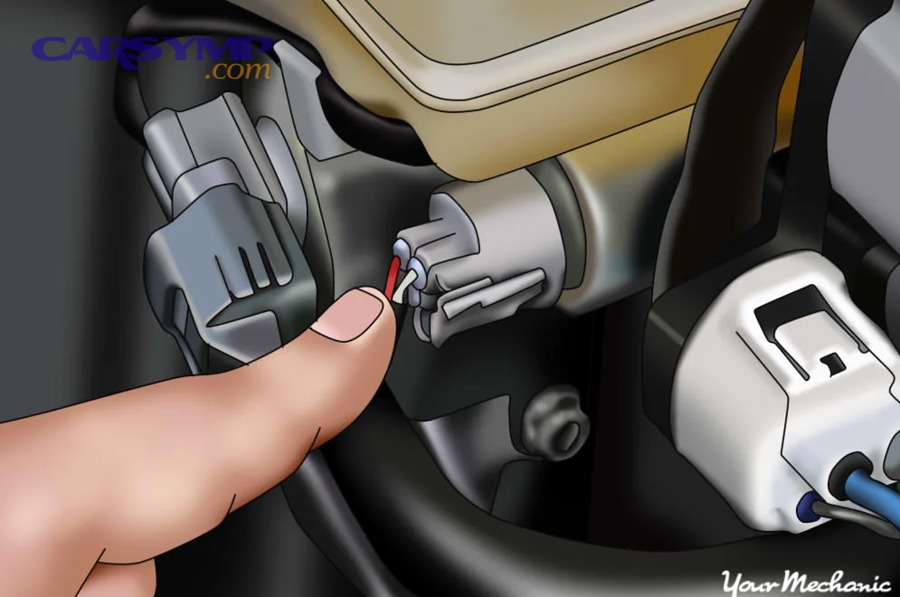
Seal wear and internal bypass happens as the rubber cups age, harden, or get cut by rough bore surfaces. Every brake application drags seals across the bore, and over time they lose their ability to maintain pressure under steady force.
Bore corrosion and pitting is often related to brake fluid moisture. Brake fluid is hygroscopic (it absorbs water). As water content rises, internal metal surfaces can corrode. Pitting tears seals and creates micro-leak paths that become internal bypass.
Contamination is a major, preventable killer. Common contamination sources include:
- Wrong fluid type (mixing incompatible fluids or using petroleum-based products can swell seals).
- Dirty service practices (introducing debris during bleeding or topping off).
- Old fluid with degraded additives and moisture content.
Heat cycling matters too. Frequent hard braking (towing, mountain driving) raises fluid temperature. While the master cylinder is not usually the hottest point, repeated high heat can accelerate seal aging and reveal borderline internal leaks.
As a practical takeaway: if the fluid is dark, smells burnt, or shows suspended particles, treat contamination as a root cause—not just an aesthetic issue.
What causes pressure switch faults: wiring, corrosion, or internal drift?
Pressure switches fail from connector corrosion, wiring fatigue, fluid intrusion, or sensor drift that sends incorrect signals. Next, we’ll translate “intermittent warning” into concrete inspection points you can verify in minutes.
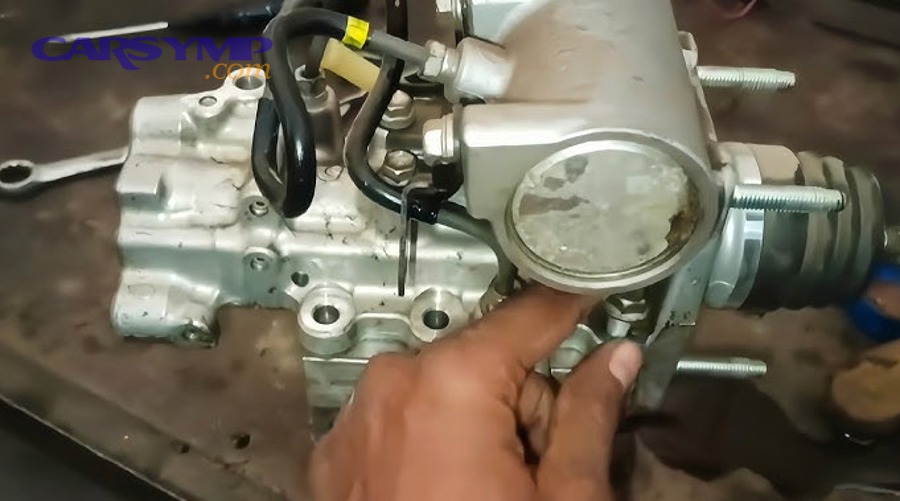
Connector corrosion is a top cause, especially in regions with road salt or high humidity. A tiny increase in resistance can turn a clean on/off signal into a noisy, fluctuating input.
Wiring fatigue occurs where harnesses flex—near the firewall, around the engine, or where clips break and the harness rubs a bracket. Intermittent opens or shorts can mimic a failing sensor.
Fluid intrusion can occur if the switch/sensor seals degrade. Brake fluid can wick into the connector, damaging terminals and causing unreliable readings.
Internal drift is more common in analog pressure sensors. Over time, the sensor may output a value that’s plausible but wrong—triggering warnings at normal pressures or failing to trigger them under abnormal conditions.
To keep your flow logical: electrical faults often change with vibration, moisture, and heat; true hydraulic faults tend to change with pedal force, time held, and repeated applications.
How do you quickly test for internal bypass vs air in the lines?
Use a controlled pedal-hold test plus isolation steps to separate internal bypass from compressible air, because each produces a different pedal signature. Next, we’ll walk through a safe, repeatable method you can do before buying parts.
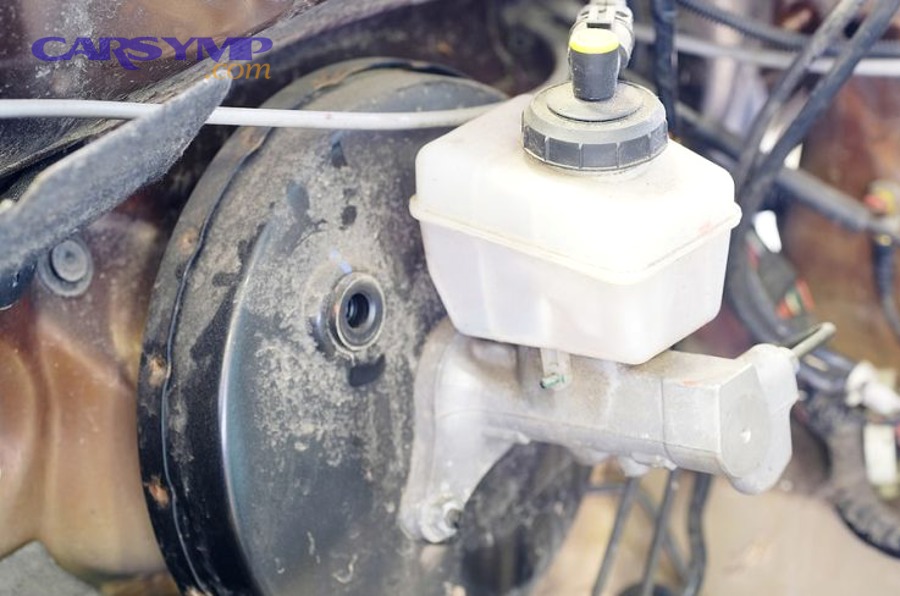
Step 1: Pedal-hold test (engine off, safe area). Press the brake pedal firmly and hold steady pressure for 30–60 seconds. If the pedal slowly sinks, that strongly suggests internal bypass in the master cylinder (or a major external leak you would usually see).
Step 2: Pump test. Pump the pedal 3–5 times quickly, then hold. Air often shows as a pedal that firms up temporarily after pumping, then gradually feels soft again. Internal bypass can also “change” with pumping, but the sinking-under-hold is the key separator.
Step 3: Visual leak check. Inspect calipers, wheel cylinders, lines, flex hoses, and fittings. Look behind each wheel, along the chassis lines, and at the master cylinder-to-booster interface.
Step 4: Booster contamination check. If safe and accessible, inspect for brake fluid where the master cylinder mounts to the booster. Any wetness there is a serious clue of a rear seal leak.
Step 5: Isolation (advanced, shop-level). Professionals may isolate circuits using line clamps or block-off fittings (done carefully to avoid hose damage). If you isolate the master cylinder outlet and the pedal still sinks, the master cylinder is the likely culprit.
As a hook into the next section: once you confirm the pedal behavior, you can decide whether to prioritize hydraulic repair or chase electrical inputs.
How can you inspect the master cylinder area for hidden leaks and booster damage?
Look for fluid trails at the reservoir grommets, master cylinder body, and the rear seal area near the brake booster, because leaks here may not drip to the ground. Next, we’ll outline exactly where to look and what each sign means.

Reservoir and grommets: Many reservoirs plug into the master cylinder with rubber grommets. Over time, grommets harden and seep. You may see wetness or a shiny film around the base of the reservoir.
Brake line ports: Check for dampness at flare nuts or threaded ports. Even a small seep can introduce air over time, leading to a soft pedal that looks like a “mystery” internal bypass.
Rear seal leak into booster: This is the hidden one. If the rear seal fails, fluid may enter the booster. Signs include:
- Wetness where the master cylinder meets the booster
- Paint damage or softened grime under the master cylinder
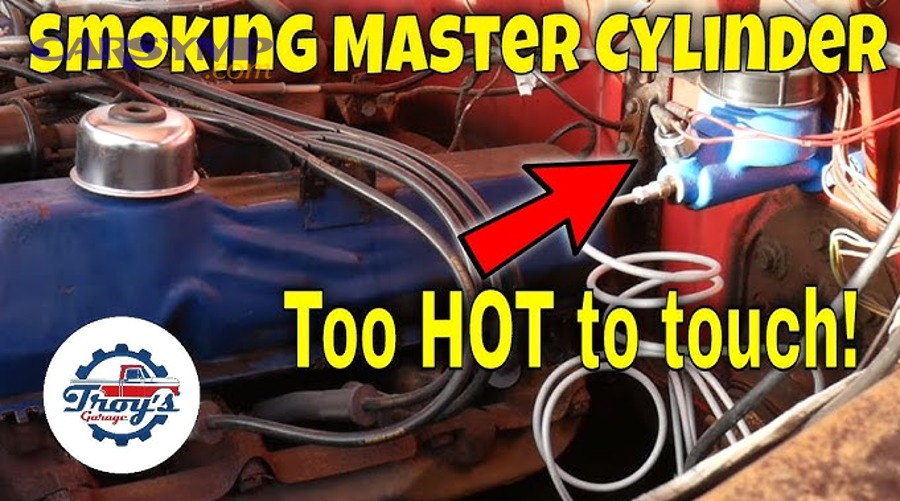
- Occasional white smoke (rare) if fluid is drawn into the intake on some designs
Why it matters: Brake fluid inside the booster can damage the booster diaphragm and check valve, leading to poor assist and an even more dangerous braking feel.
To connect forward: if you see fluid at the booster interface, replacement is often smarter than rebuilding, because the contamination risk is high.
How do you diagnose pressure switch faults without guessing?
Start by correlating warning behavior with vibration/temperature, then inspect connectors and verify the signal with a scan tool or multimeter where applicable. Next, we’ll give a step-by-step checklist that focuses on evidence, not assumptions.
Step 1: Confirm the symptom pattern. Does the warning appear only on bumps? Only after warming up? Only in rain? These patterns scream “electrical.”
Step 2: Inspect the connector. Unplug the sensor/switch connector (with the vehicle safely off) and look for:
- Green or white corrosion
- Fluid residue
- Loose pins or damaged locks
Step 3: Harness stress test. With the engine running (and vehicle safely stationary), gently move the harness near the sensor while watching the warning behavior (or a live data value if available). A change indicates wiring/connector issues.
Step 4: Verify with scan data (if supported). Some vehicles provide live brake pressure readings. If the value is erratic at rest, stuck at a constant, or spikes without pedal input, suspect the sensor or wiring.
Step 5: Multimeter check (when service info allows). For simple on/off switches, you can check continuity under known conditions. For analog sensors, you typically need service specifications for expected voltage ranges.
In real-world workflows, this is where many people drift into “part swapping.” Instead, keep the flow: prove the input is wrong before replacing the sensor, and prove the pressure is wrong before replacing the master cylinder.
How do you separate master cylinder faults from ABS and distribution block problems?
You compare pedal behavior and circuit-specific symptoms because master cylinder issues usually change pedal feel, while ABS module or distribution issues may preserve feel but alter modulation or warning logic. Next, we’ll map the differences to a decision tree you can follow.
Master cylinder fault tendencies:
- Sinking pedal during steady hold
- Soft pedal that changes with repeated applications
- Fluid loss near master cylinder/booster (sometimes hidden)
ABS hydraulic unit / HCU tendencies:
- Normal pedal most of the time, but unusual ABS activation or inconsistent modulation
- Warning lights tied to ABS events, speed sensors, or module power issues
- Fault codes pointing to ABS pump/valves or pressure sensor inside the module
Distribution block / proportioning valve tendencies (vehicle-dependent):
- Brake bias issues or circuit imbalance symptoms
- Warning light linked to a differential pressure valve in some older designs
Here’s the guiding logic: pedal feel is a hydraulic “truth teller.” If the pedal tells you pressure cannot be held, start at the master cylinder and leaks. If the pedal feels trustworthy but the system complains, focus on sensors, wiring, and modules.
And to prevent confusion, remember that some drivers misinterpret symptoms as “Parking brake switch issues” when the root cause is a pressure input fault elsewhere; that’s why pattern recognition matters.
Is it safe to drive with suspected master cylinder or pressure switch faults?
No—if you have a sinking pedal, low fluid, or reduced stopping power, you should not drive because braking may fail without warning. Next, we’ll translate risk into practical “stop-now vs drive-to-shop” thresholds.
Safety depends on whether the fault is hydraulic or signal-only. A warning light alone is not enough information; you must pair it with pedal feel and fluid level.
- Do not drive if the pedal sinks, the pedal goes near the floor, stopping distance increases, or the reservoir is low.
- Use extreme caution if the pedal feels normal but a warning light appears—still treat it as urgent because you may have reduced redundancy or an evolving leak.
Many people search “Can you drive with brake warning light on” when they’re trying to decide whether to continue a trip; the safest rule is: if the pedal or fluid level is abnormal, stop and tow, because the outcome of failure is severe.
To keep your diagnostic flow clean: confirm braking performance first, then diagnose the signal. Never assume it’s “just a sensor” if the pedal is changing.
What repairs make sense: replace, rebuild, or upgrade related components?
Replacing the master cylinder is usually the most reliable fix when internal bypass or booster contamination is present, while sensor and connector repairs often solve pressure switch faults. Next, we’ll match repair choices to evidence and long-term reliability.
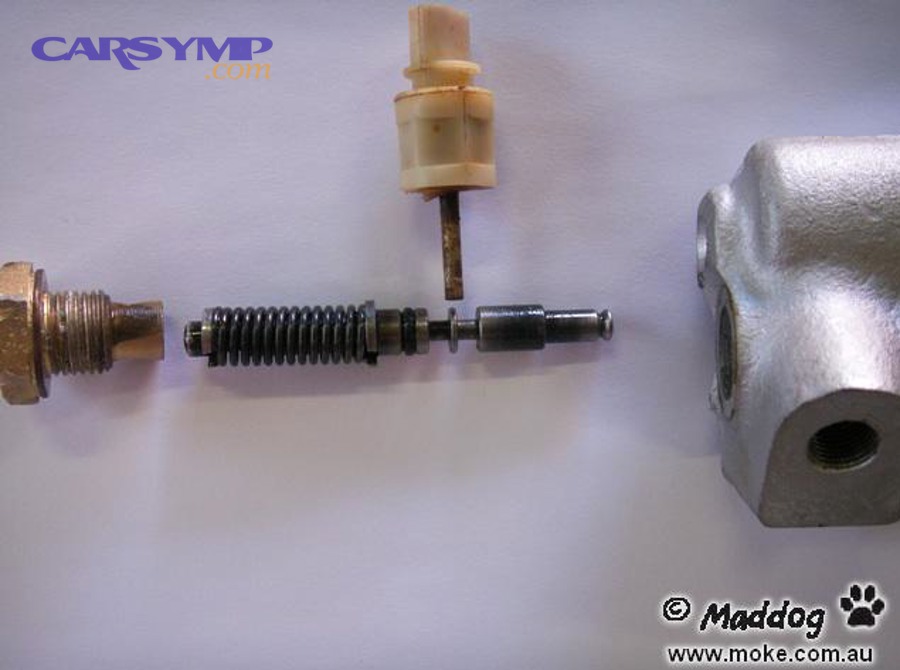
Master cylinder replacement is typically preferred when:
- The pedal sinks under steady pressure (strong internal bypass evidence)
- Fluid has leaked into the booster area
- The bore is likely pitted/corroded (common with old, moisture-laden fluid)
Rebuilding can work in limited cases—usually for specific applications where rebuild kits are high quality and bores are known-good. However, many modern units are replaced rather than rebuilt because labor time and risk often outweigh cost savings.
Pressure switch/sensor repair paths often start with the simplest fixes:
- Clean and protect connectors (appropriate electrical contact cleaner, dry thoroughly)
- Repair damaged wiring or replace a pigtail if terminals are compromised
- Replace the sensor/switch only after confirming signal instability
Related components you should consider:
- Brake fluid service: flush old fluid to prevent repeat failures and restore consistent pressure response.
- Rubber hoses: swollen or aging hoses can mimic soft pedal symptoms.
- Booster check: if fluid entered the booster, evaluate booster integrity to avoid weak assist later.
This is also where a thorough brake warning light diagnosis matters: replacing the master cylinder without resolving a sensor circuit issue can leave the light on and erode confidence in the repair.
What does diagnosis and repair cost usually depend on?
Costs depend on vehicle design, whether the master cylinder is easy to access, and whether bleeding or scan-tool procedures are required afterward. Next, we’ll summarize typical cost drivers and help you avoid paying twice for the same problem.
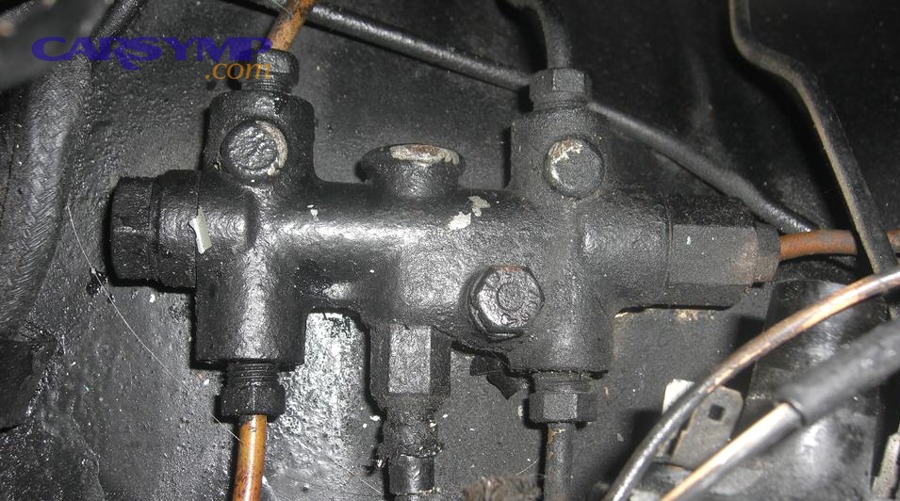
Instead of quoting a single number, it’s more useful to understand what makes costs rise so you can predict your estimate.
Key cost drivers for master cylinder work:
- Access and labor time: Some masters are straightforward; others are buried under cowl panels or require careful line handling.
- Bleeding complexity: A basic bleed is simpler than an ABS-assisted bleed that requires specific steps.
- Booster contamination: If the booster is compromised, parts and labor increase.
Key cost drivers for pressure switch/sensor work:
- Location: Standalone sensors are easier than module-integrated sensors.
- Harness repair: Proper wiring repair can take time but prevents repeat faults.
- Diagnostic depth: Intermittent faults require more test time.
To keep spending rational, ask for the logic: what test evidence points to the master cylinder, and what evidence points to the switch/sensor circuit? That single question often filters out guesswork.
How do you bleed brakes correctly after master cylinder replacement?
Use a bench-bleed plus a controlled wheel-bleed sequence to remove trapped air, restore a firm pedal, and prevent false “soft pedal” conclusions. Next, we’ll outline a method that reduces rework and protects your new parts.
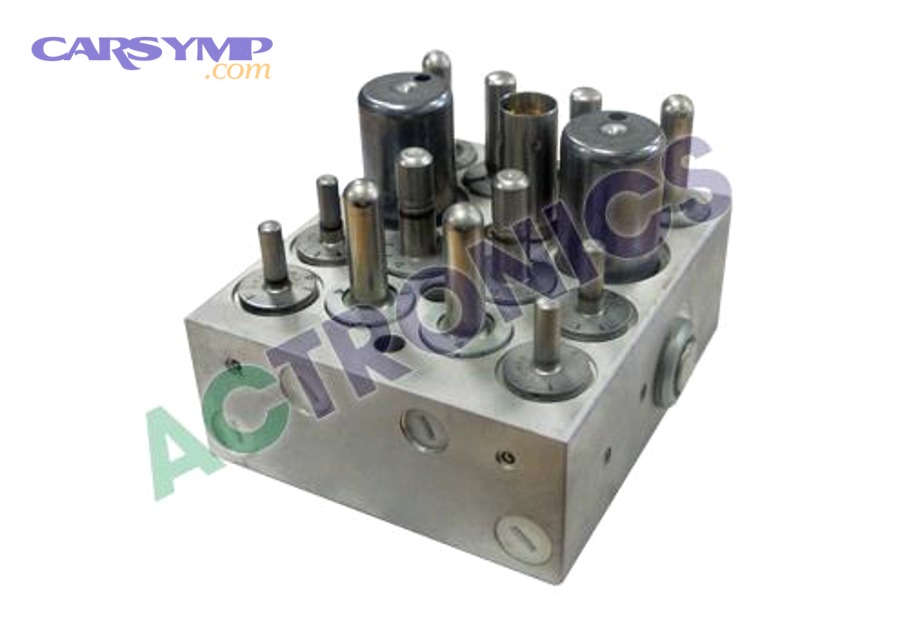
Bench bleeding is critical because a new or emptied master cylinder can trap air internally. If you skip this, you may chase a “soft pedal” that isn’t a defective part—it’s just air that never left the master cylinder.
General workflow (vehicle specifics vary):
- Bench bleed the master cylinder until no bubbles appear in the return lines.
- Install and torque fittings properly to prevent micro-leaks that reintroduce air.
- Bleed at the wheels in the recommended sequence (often farthest to closest, but follow service guidance).
- Check pedal feel with engine off and then on (assist changes feel, but firmness should remain).
Common mistakes that create repeat symptoms:
- Letting the reservoir run low during bleeding
- Over-tightening bleeder screws and damaging seats
- Ignoring small seeping fittings that pull air in under return stroke
For many DIYers, a clear, linked demonstration helps. Below is a related video walkthrough you can compare against your process:
As a connector to broader diagnostics, if you still have warnings after a proper bleed, you may be dealing with sensor inputs rather than hydraulic air.
How can you prevent repeat master cylinder and pressure switch issues?
Maintain clean brake fluid, fix small leaks early, protect connectors from corrosion, and avoid contamination during service to extend component life. Next, we’ll turn prevention into a short routine that keeps braking consistent year-round.

Preventing master cylinder failure is largely about controlling moisture and contamination:
- Flush brake fluid on a sensible interval for your climate and driving style.
- Keep the reservoir sealed and only open it when necessary.
- Use the correct fluid specified by your vehicle manufacturer.
Preventing pressure switch faults is often about connector care:
- Inspect connectors during routine brake service for corrosion or fluid wicking.
- Secure harness routing so it doesn’t rub or flex excessively.
- Address moisture paths (missing covers, broken clips, damaged seals) before they create intermittent faults.
When you treat the brake system as both a hydraulic and electrical network, you prevent the most common cycle: warning light → part replacement → warning light returns.
And if you’re building a structured maintenance knowledge base, a resource hub like carsymp.com can help standardize checklists so every repair follows the same evidence-first flow.
Contextual Border
Beyond the core failures, the next section expands into less common but high-friction scenarios—intermittent faults, module-integrated sensors, and tricky symptom overlaps that can derail diagnosis if you don’t keep the logic chain intact.
Supplementary: What rare scenarios mimic master cylinder or pressure switch faults?
There are a few less common scenarios—ABS internal valve issues, micro-leaks, and mixed warning logic—that can imitate master cylinder or switch problems. Next, we’ll cover the highest-impact “look-alikes” so you can avoid misdiagnosis.

Can a tiny external leak create a “bypass-like” pedal?
Yes—small leaks can introduce air slowly, producing a soft or inconsistent pedal that resembles internal bypass, especially after the vehicle sits. Next, we’ll show what “micro-leak” evidence looks like in real inspections.
Micro-leaks often show as dampness rather than drips: a slightly wet flex hose crimp, a faint sheen on a caliper, or a barely moist fitting. Over time, that small leak allows air to enter during pedal release, making the next drive feel spongy.
The fix isn’t a master cylinder—it’s correcting the leak, then bleeding properly.
Can ABS hydraulic unit valve behavior imitate pressure loss?
Yes—sticking valves or internal leakage in the ABS hydraulic unit can change pedal response and create odd warning patterns, but the pedal behavior may be inconsistent rather than steadily sinking. Next, we’ll explain the signature difference.
ABS-related pedal anomalies may appear after ABS activation, during low-traction events, or randomly when a valve doesn’t return smoothly. Unlike classic master cylinder bypass, the pedal may feel normal at one stop and strange at the next, often paired with ABS-specific warnings.
If your tool supports it, comparing live sensor readings and running actuator tests can clarify whether the hydraulic unit is behaving abnormally.
How do mixed-warning systems confuse diagnosis?
They can—some vehicles combine low fluid, circuit imbalance, and multiple switch inputs into one light, so the same lamp can represent different fault families. Next, we’ll tie this to a practical “verify before replace” mindset.
For example, a driver may assume the lamp indicates worn pads, but the root cause is fluid level drop from a leak. Another driver may assume the lamp is a sensor glitch, but the reservoir is genuinely low.
This is why symptom overlap with topics like Parking brake switch issues can mislead; the indicator may be reacting to a separate input while the real hydraulic fault remains untreated.
Can the wrong repair sequence create persistent warnings?
Yes—if you fix hydraulics but ignore the electrical input fault, or reset logic incorrectly, warnings can remain even with good braking. Next, we’ll connect this to the final verification steps that confirm a complete repair.
After repairs, verify: fluid level stable, pedal firm, no leaks, and warning logic resolved. If the braking is solid but the light persists, you likely still have a sensor/wiring issue, a stored fault condition, or a module that needs proper fault-clearing procedures based on the vehicle’s design.
When in doubt, return to the core split: pressure performance versus pressure reporting. Keeping that split clear prevents the most expensive outcome: replacing multiple parts without solving the actual cause.
FAQ
Can a master cylinder fail without an obvious leak?
Yes—internal seal bypass can reduce pressure-holding ability without showing external fluid loss. Next, confirm with a pedal-hold test and a careful inspection for hidden booster contamination.
If the pedal slowly sinks while held and you can’t find external leaks, internal bypass is a strong possibility. However, always check for air introduction through small leaks or service errors before finalizing the diagnosis.
Why does the brake warning light come and go with no change in pedal feel?
This pattern often points to a sensor, connector, or wiring fault rather than hydraulic pressure loss. Next, inspect connectors for corrosion or fluid intrusion and look for harness movement that changes the symptom.
Intermittent electrical faults are commonly affected by moisture, vibration, and heat cycles. A stable pedal plus unstable warning is your clue to prioritize electrical verification.
Do you always need to bench bleed a new master cylinder?
Yes—bench bleeding reduces trapped air inside the master cylinder and prevents a soft pedal that mimics a defective part. Next, follow with a careful wheel bleed while keeping the reservoir full.
Skipping bench bleed is one of the most common reasons a new master cylinder “feels bad” immediately after installation, even when the part is fine.
What’s the fastest way to avoid replacing the wrong part?
Use evidence: pedal-hold behavior for hydraulic truth, fluid level stability for leak detection, and connector/signal checks for switch faults. Next, treat each symptom as a clue that must match a failure mode before you buy parts.
When your symptom and failure mode align, repairs become predictable—and your brake system returns to consistent, confidence-inspiring performance.