


Inspecting your suspension at home can be safe and genuinely useful when you focus on stability first, use the right support points, and stop the moment you see a “don’t-touch-this” warning sign like a loose joint, broken mount, or severe play. The goal isn’t to become a mechanic in one afternoon—it’s to confidently spot safety issues early and know what needs attention now.
Next, you’ll want to understand what “safe” really means for a DIY suspension inspection: what you can check with basic tools, what tests are reliable in a driveway, and what findings should immediately move you from “inspection” to “tow or shop.”
Then, you’ll learn the exact step-by-step workflow that keeps you out of danger: how to position the car, lift it correctly, perform quick visual checks, and test for looseness without putting your hands where they can get pinched or crushed.
Introduce a new idea: once you follow a consistent routine, your inspection becomes a repeatable “baseline check” you can do every few months—so you catch changes early instead of waiting for a serious failure.
Is it safe to inspect your suspension at home, and when should you stop?
Yes—inspecting suspension at home can be safe if you (1) support the vehicle on rated jack stands on solid ground, (2) keep clear stop-conditions that end the DIY check immediately, and (3) use controlled tests that don’t put your body under a risky load.
Next, safety becomes much easier when you treat the inspection like a checklist: setup → lift → visual scan → gentle play tests → conclusions.
Should you inspect suspension if you hear clunking noise over bumps?
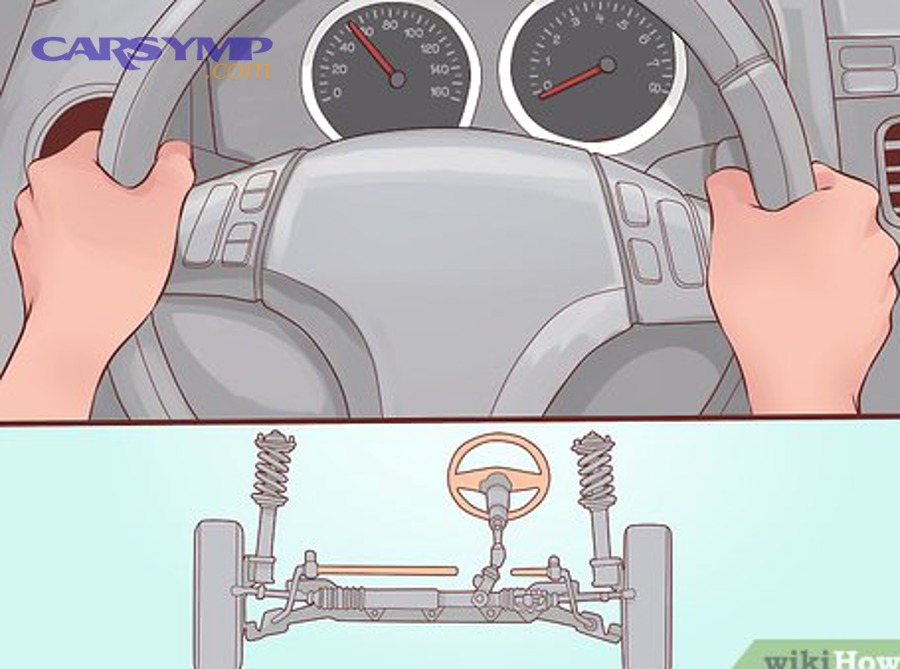
Yes—you should inspect the suspension when you hear a clunking noise over bumps because (1) looseness can progress quickly, (2) repeated impacts can damage nearby parts, and (3) some clunks signal steering or wheel-retention risk.
Then, the smartest move is to narrow the sound: does it happen only on sharp bumps, only while turning, or even at low speed in a parking lot?
A practical approach:
- Single clunk on a bump: often links/bushings/mounts shifting.
- Rattle over washboard roads: frequently sway bar links or loose hardware.
- Clunk while braking or accelerating: can be control arm bushings or subframe movement.
- Clunk + steering “wander”: raises urgency—treat as a priority inspection.
If the sound is new, louder, or paired with a steering change, inspect sooner rather than later.
When is clunking unsafe to drive?
Clunking becomes unsafe when it suggests loss of control or loss of wheel location, and you should treat it as “stop driving” if (1) steering feels loose, (2) the car pulls hard or changes direction on bumps, or (3) you can feel a knock through the floor/steering wheel that’s getting worse.
More importantly, When clunking is unsafe to drive is exactly when you notice any of these red flags:
Stop and avoid driving (or drive only directly to a shop at low speed) if you have:
- Sudden wandering, unstable tracking, or delayed steering response
- A clunk paired with shaking, vibration, or a wheel that looks tilted (odd camber)
- Metal-on-metal sound that happens even on gentle road texture
- Any visible broken mount, hanging component, or leaking part with severe bouncing
- A steering wheel that is no longer centered after the noise started
If the vehicle feels unpredictable, you’re no longer troubleshooting noise—you’re managing risk.
What safety gear and setup prevent injury?
A safe setup relies on basic protective gear and simple, repeatable environment rules, because most driveway injuries happen from slips, pinch points, or unstable lifting.
To begin, use this minimum standard:
Safety essentials:
- Wheel chocks (at least two)
- Jack stands rated for your vehicle (pair, matched)
- Hydraulic floor jack in good condition (lifting only—not supporting)
- Safety glasses and mechanic gloves
- Flat, hard surface (avoid dirt, gravel, soft asphalt in heat)
- Good lighting (headlamp + flashlight)
Safety behavior rules:
- Never work with only a jack supporting the car.
- Don’t put hands between a joint and a hard stop while someone rocks the wheel.
- Keep your body out from under the car until it’s on stands and gently “shake-tested.”
- If you feel rushed, stop. Suspension work punishes shortcuts.
What tools and supplies do you need for a safe DIY suspension inspection?
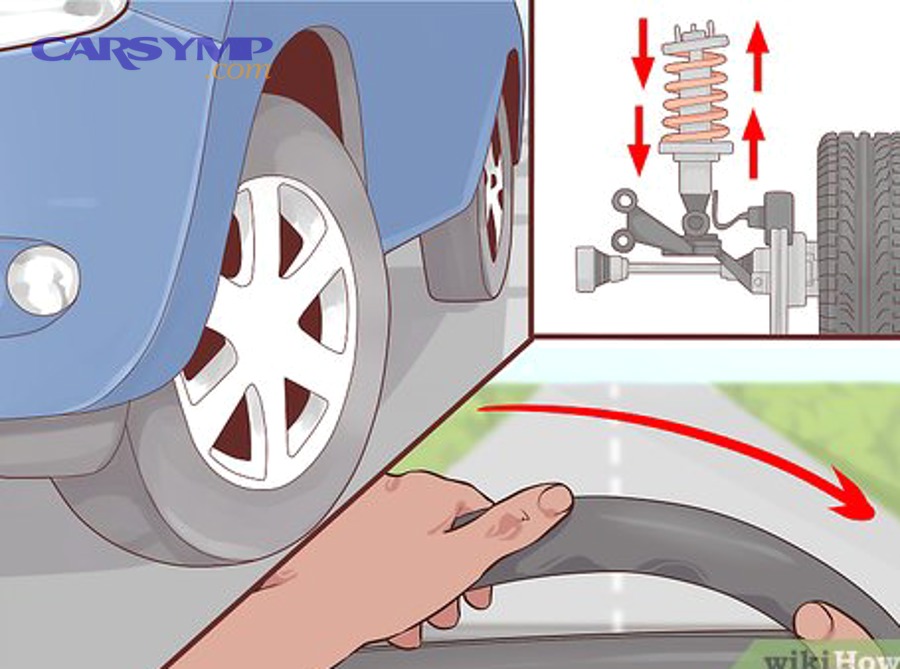
There are 3 main tool groups for a safe DIY suspension inspection: (1) lifting/safety tools, (2) inspection/hand tools for detecting play, and (3) optional measurement tools that increase confidence when symptoms are subtle.
Next, assembling the right tools reduces the temptation to improvise—improvisation is what usually creates risk.
Which lifting tools are required (jack, stands, wheel chocks)?
A safe lift requires a floor jack to raise and jack stands to hold, plus chocks to prevent rolling—each tool has a different job, and mixing them up is how accidents happen.
Then, match the ratings to your vehicle:
- Floor jack: choose one with enough capacity for your vehicle class (common: 2–3 ton for many cars; more for trucks/SUVs).
- Jack stands: use a pair with a rating that exceeds the load they’ll carry.
- Wheel chocks: cheap, essential, and often more important than people think.
Add-ons that increase safety:
- A rubber jack pad (protects pinch welds and reduces slip)
- A spare tire/wheel placed under a reinforced area as a backup safety layer (not a substitute for stands)
Which hand tools help you find play (pry bar, flashlight, torque wrench)?
Your most valuable “diagnostic tools” are light and leverage, because most suspension faults reveal themselves through torn rubber, shiny contact marks, or movement under load.
Specifically, keep these close:
- Flashlight or headlamp: to see cracks, leaks, and shiny rub marks
- Pry bar (or large flat screwdriver): to apply controlled force to bushings/joints
- Gloves: for grip and to protect knuckles around sharp edges
- Torque wrench: to confirm loose fasteners are actually tightened to spec after checks
- Marker/chalk: to mark suspected contact points and recheck later
Which optional tools make inspection easier (dial indicator, stethoscope, camera)?
Optional tools don’t replace common sense, but they help when the problem is faint or intermittent.
Moreover, these are the most useful upgrades:
- Dial indicator: measures play more objectively (great for wheel bearing questions)
- Mechanic’s stethoscope: helps localize knocks and rattles (used carefully)
- Phone camera: record movement while you gently rock the wheel—slow motion can reveal play you miss live
- Mirror on a stick: inspect behind the wheel, inner bushings, and hidden leaks
What is the step-by-step process to inspect suspension at home safely?
A safe at-home suspension inspection follows 6 steps—prepare the car, lift and support it, perform a visual scan, test wheel play, check key joints/bushings, and interpret results—so you can identify common failures without taking unsafe risks.
Then, the workflow matters: doing tests out of order often leads to missed clues or unsafe positioning.
How do you prepare the vehicle (parking, chocking, loosening lugs)?
Preparation is about preventing motion and preventing surprises, because a car that rolls or shifts is the enemy of safe inspection.
To begin, do this every time:
- Park on a flat, solid surface.
- Set the parking brake (unless your car’s procedure says otherwise for rear checks).
- Put the transmission in Park (auto) or 1st gear (manual).
- Place wheel chocks on the opposite end from where you’ll lift.
- If you plan to remove wheels, break the lug nuts loose slightly before lifting (do not remove them yet).
The “why”: once a wheel is off the ground, you lose the tire’s friction and your ability to safely counter-rotate it.
How do you lift and support the car correctly?
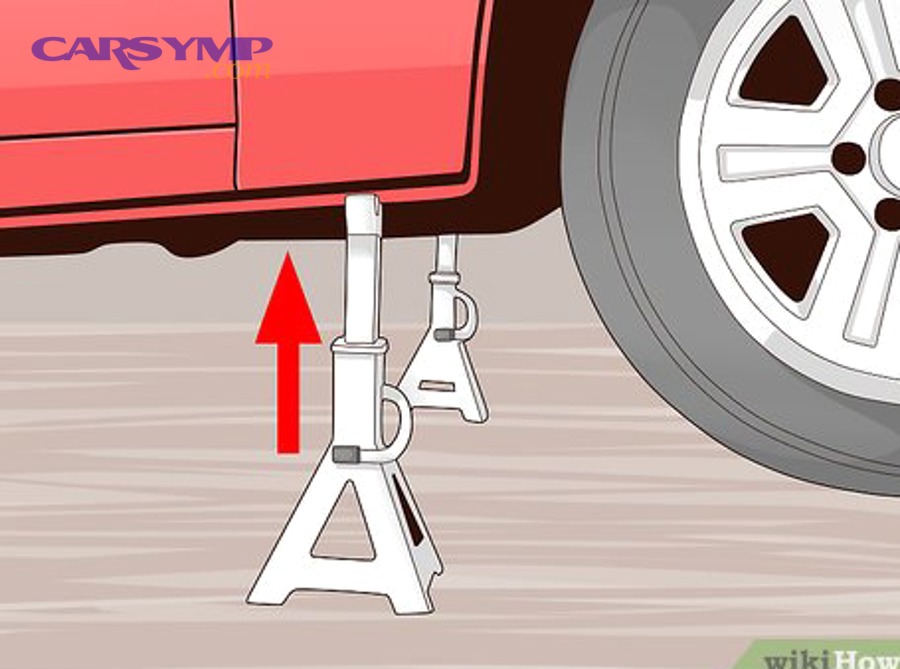
Correct lifting means the jack raises the car, and the stands hold it—no exceptions.
Next, follow a controlled sequence:
- Locate approved lift/support points (owner’s manual is best).
- Position the floor jack under the lift point and raise slowly.
- Place jack stands under solid support points (frame, subframe, reinforced pinch welds where appropriate).
- Lower the car gently onto stands.
- Keep the jack lightly touching (optional backup) without relying on it.
- Do a gentle stability test: push the car lightly at the fender—no wobble should occur.
If the stands sink, tilt, or feel unstable, lower and reset. Stability is non-negotiable.
How do you do a visual scan before touching anything?
A visual scan is your highest-value step because it can reveal obvious failures without any force, and it guides where you test next.
Then, work from “outer and obvious” to “inner and hidden”:
Look for:
- Oil leaks on shocks/struts
- Torn dust boots or grease boots
- Cracked bushings (control arm, sway bar, mounts)
- Missing hardware, shiny witness marks, or a component touching where it shouldn’t
- Uneven tire wear patterns (cupping/scalloping can hint at damping issues)
How do you do the “shake” tests at 12&6 and 3&9?
Wheel shake tests help you detect looseness in steering/suspension connections using controlled force and repeatable hand positions.
More specifically:
- 12 and 6 o’clock (top and bottom of tire): can indicate ball joint or bearing-type looseness (interpret carefully).
- 3 and 9 o’clock (left and right): often reveals tie rod/steering play and related looseness.
How to do it safely:
- Keep the vehicle on stands, wheel off the ground.
- Grip the tire at the positions above.
- Apply firm, alternating push-pull (not violent yanks).
- Watch and feel: does the wheel move relative to the knuckle? Do you hear a click?
Tip: have a helper watch the joints while you move the wheel, or record video close-up.
How do you inspect shocks and struts for wear or failure?
You inspect shocks and struts by combining visual leak/damage checks, controlled bounce behavior observations, and symptom patterns (nose dive, excess body roll, cupped tire wear) so you can separate “annoying” from “safety-relevant.”
Then, focus on what the damper actually does: it controls oscillation and keeps the tire planted.
What visual signs show a bad shock/strut (leaks, dents, rust, torn boot)?
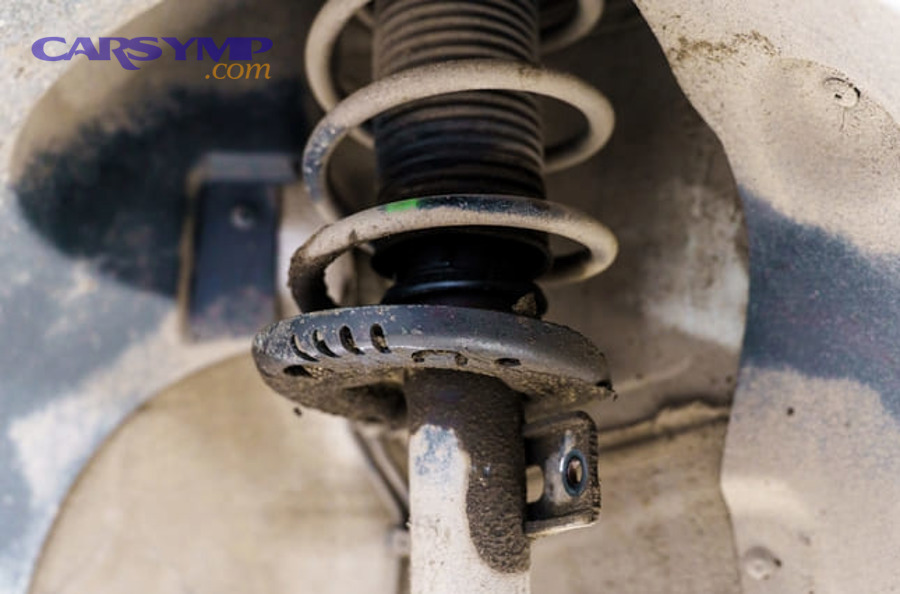
A shock or strut is suspect when you see wet oil, damaged housings, or mounting deterioration, because dampers are sealed systems and leaks usually mean reduced damping.
Specifically, check:
- Oil film or wet streaking on the strut body
- Dented shock body (can bind internal movement)
- Heavy rust at spring seat (especially on struts)
- Torn dust boot (accelerates wear)
- Cracked strut mount rubber or separated mount
Also inspect the upper mount area (engine bay or strut tower). A failing mount can clunk and mimic other problems.
How do you do the bounce test, and what are its limits?
The bounce test is a quick screening tool: push down firmly on one corner and release—if the car continues to oscillate, damping may be weak.
However, the bounce test has limits because modern suspensions, stiff tires, and vehicle weight distribution can hide marginal dampers.
Do it like this:
- Push down hard on the corner above the wheel.
- Release and watch how the body settles.
- One rebound and settle is generally normal.
- Multiple rebounds suggests weak damping.
Limits to remember:
- It can miss failures in some strut designs.
- It won’t tell you which internal valve failed.
- It doesn’t replace a road test or professional measurement if symptoms are strong.
Evidence: According to a study by Technische Universität Dresden (Chair of Automobile Engineering) in March 2024, damper degradation caused braking-distance increases ranging from just over 2% to more than 30%, depending on the degradation level and road surface.
How do you spot related tire wear and handling symptoms?
Damping problems often show up as “indirect” symptoms because the tire is the part meeting the road while the damper controls how consistently it stays there.
Moreover, look for these patterns:
- Cupping/scalloping on the tread: repeating dips around the tire
- Excess nose dive during braking
- More body roll and delayed settling after bumps
- “Floaty” feeling at highway speed
- Reduced stability on uneven pavement
If you see cupping plus a bouncy ride, elevate the priority of damper inspection—especially if stopping distances feel longer.
How do you check ball joints and control arm bushings for play?
You check ball joints and control arm bushings by identifying the joint locations, applying safe, directed force, and watching for movement where there should be none—because these parts locate the wheel, not just cushion it.
Next, treat ball joint play as higher urgency than a mild bushing crack, since ball joints are load-bearing pivots.

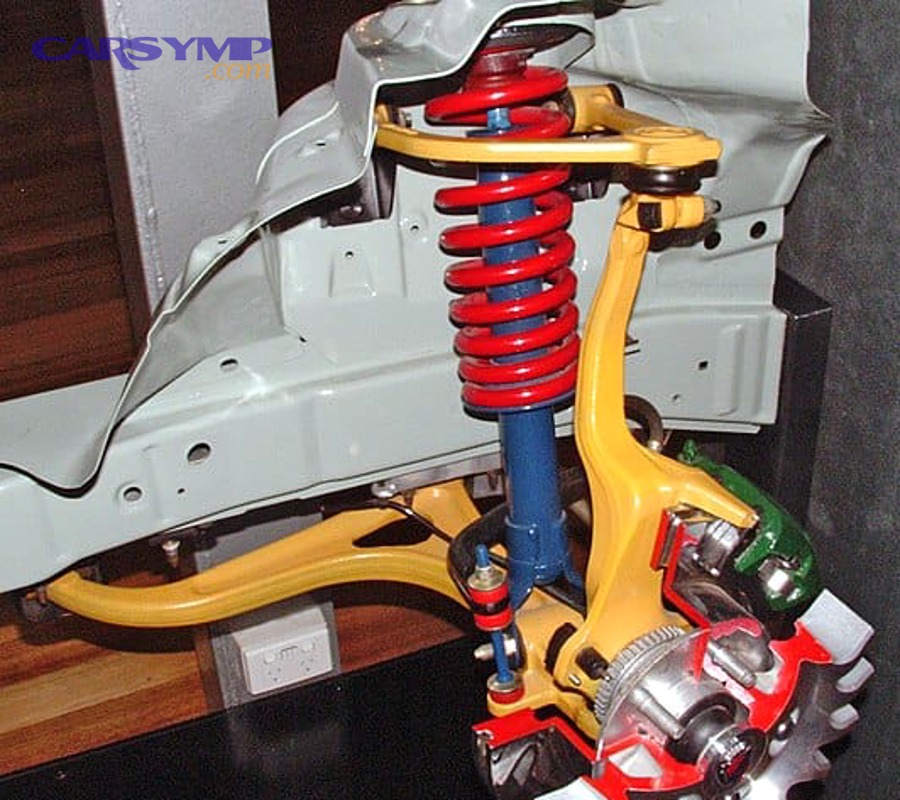
How do you identify upper vs lower ball joints on your suspension type?
Upper and lower ball joints depend on suspension design: some cars have both, while others integrate one pivot differently (for example, certain front strut layouts may use a single lower ball joint).
Then, identify what you’re looking at:
- Double wishbone: commonly has an upper and lower control arm, often with ball joints.
- MacPherson strut: frequently relies on a lower control arm with a lower ball joint; the strut top mount carries the upper location.
If you’re unsure, follow the steering knuckle: ball joints connect the knuckle to an arm, while tie rods connect steering to the knuckle.
How do you test ball joint play with a pry bar safely?
A safe pry-bar test uses small, controlled leverage while you watch the joint for movement, because violent prying can damage boots or create misleading movement.
More specifically:
- Lift and support the car securely.
- Position the pry bar under the tire or under the control arm (depending on access).
- Apply gentle upward force while watching the ball joint stud and housing.
- Look for visible separation, clicking, or movement in the joint itself.
Safety notes:
- Keep your face and hands clear of pinch points.
- Don’t pry on thin dust shields or brake components.
- If the boot is torn and grease is gone, treat it as “replace soon” even if play is small.
How do you inspect control arm bushings for cracks and movement?
Control arm bushings fail by cracking, separating, or allowing the arm to shift under load, which can create clunks, pulls, and uneven tire wear.
In addition, check for:
- Cracked rubber or missing chunks
- Rubber that has separated from its sleeve
- Shiny metal marks where the arm has been shifting
- Excess movement when you apply force with a pry bar (small movement may be normal—large movement is not)
A helpful method:
- Use a flashlight, then pry gently near the bushing.
- Watch whether the rubber twists (often normal) or the whole arm jumps (often a problem).
What symptoms indicate ball joint failure?
Ball joint issues commonly show as looseness and noise during load changes, and they deserve fast attention because the joint helps keep the wheel located.
Especially watch for:
- Clunking during bumps or turning
- Steering that feels vague or inconsistent
- Uneven tire wear (inner/outer edge patterns)
- A wheel that appears to lean (abnormal camber)
- A pop or knock you can feel through the floor or steering wheel
If you can feel play at the wheel and see the joint move, treat it as a repair priority.
How do you inspect sway bar links, bushings, and related clunk sources?
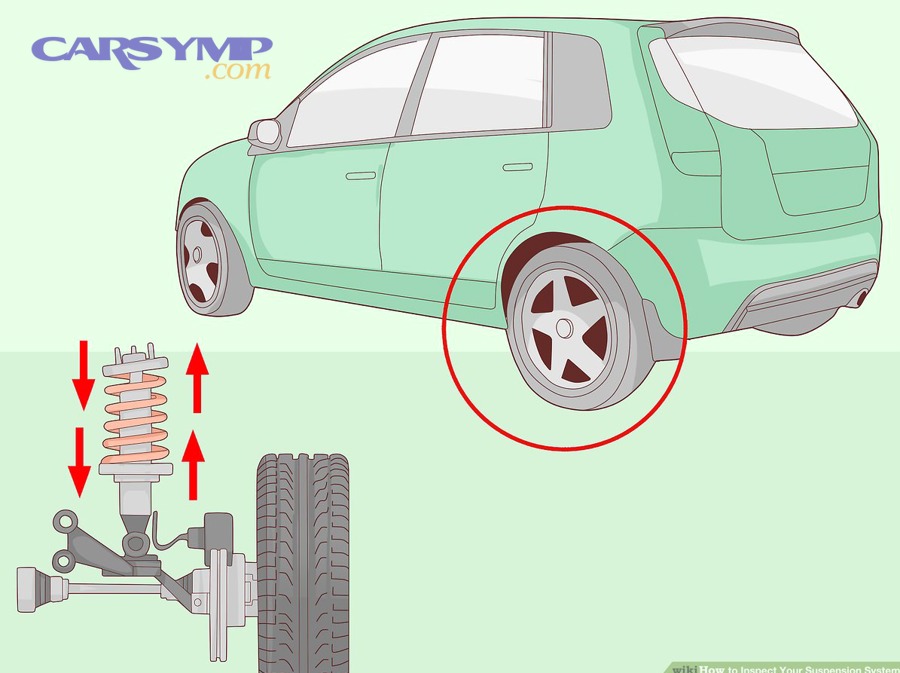
You inspect sway bar links and bushings by checking for free play, torn boots, and loose mounting points, because these parts often cause bumps-and-rattle noises even when major suspension components are fine.
Then, broaden the diagnosis: some “suspension clunks” aren’t suspension at all.
How do you test sway bar end link play by hand?
Sway bar end links should feel tight at their joints; if you can move them easily by hand or hear clicking, they’re suspect.
To better understand:
- With the car safely supported, grab the link and try to move it.
- Look for torn boots, rust bleed, or looseness at the joint.
- Use a pry bar gently to see if the link shifts with a click.
A worn link commonly produces a repeatable clunk on small bumps and rough roads.
How do you check sway bar frame bushings?
Frame bushings hold the sway bar to the chassis, and when they wear, the bar can slide or knock against brackets.
Moreover:
- Look for cracked or flattened rubber.
- Check for shiny rub marks where the bar has been moving.
- Lightly pry the bar near the bushing and watch for excess motion.
If the bar can “walk” side to side, you may also see displaced bushing positions.
How do you rule out Exhaust hanger clunk under bumps?
An Exhaust hanger clunk under bumps can sound almost identical to a suspension knock because the exhaust can swing and hit the chassis or heat shields.
Next, do a quick rule-out test:
- With the car cool, grab the exhaust near the suspected area and gently shake it.
- Look for broken rubber hangers, missing mounts, or shiny contact marks.
- Tap heat shields lightly; a loose shield can rattle like a bad link.
If the noise happens mostly when the exhaust shifts (start/stop, bumps, or certain RPM ranges), investigate hangers and shields before buying suspension parts.
What do your findings mean, and what should you fix first?
Your findings mean the most when you classify them into monitor, repair soon, and repair now, because not every crack is urgent—but looseness in wheel-location parts can become dangerous quickly.
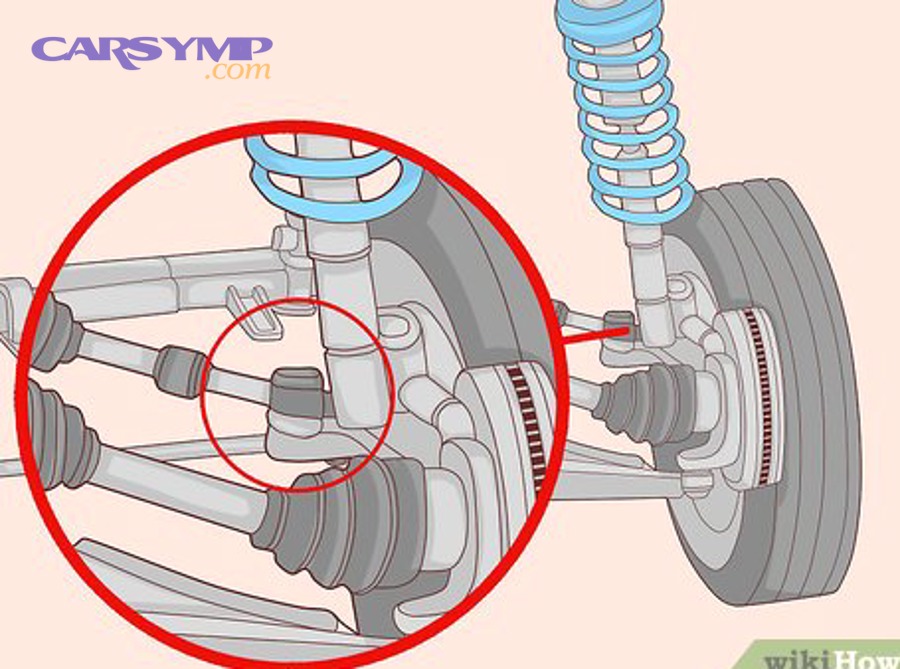
Then, once you’ve classified the issue, you can prioritize repairs by safety impact first and cost second.
Which findings are “monitor” vs “replace now”?
Use this simple classification:
Monitor (recheck in weeks/months):
- Minor surface cracking in non-load bushings with no clunk
- Light corrosion with no structural loss
- Slightly aged boots with no grease loss and no play
- Very mild noise that is not worsening and has no steering change
Replace soon (plan it):
- Torn boots with grease loss (even if play is small)
- Noticeable bushing separation
- Leaking shocks/struts with worsening bounce or tire cupping
- Consistent clunk that you can reproduce during inspection
Replace now / don’t drive if severe:
- Visible ball joint play or joint movement you can see
- Steering play that changes direction on bumps
- Hardware missing/loose at critical mounts
- Any component that looks close to separating
Evidence: According to a study by the University of Alabama (Alabama Transportation Institute) in 2024, analysis of Alabama crash data from 2016–2020 found that brake and tire defects accounted for about 65% of vehicle defects associated with crashes—highlighting why “small maintenance issues” can still be safety-relevant.
How do you prioritize repairs for safety and cost?
A practical priority order is:
- Wheel location and steering control (ball joints, tie rods, control arms if severely worn)
- Damping and stability (shocks/struts if leaking or clearly weak)
- Noise and comfort (sway bar links/bushings, mounts)
- Secondary contributors (heat shields, exhaust hangers, minor bushings)
A good rule: if a part can change where the wheel points, it gets moved to the top of the list.
Also consider “pair replacement” logic:
- Shocks/struts are often best replaced in pairs on the same axle for balanced handling.
- Sway bar links often age similarly; replacing both can save time and repeat labor.
When should you get a professional alignment or inspection?
Get a professional alignment or inspection when:
- You replace steering or control-arm components
- Tire wear shows alignment problems
- The steering wheel is off-center after repair
- The car pulls, wanders, or feels unstable at speed
If you’re unsure whether looseness is from bearings vs joints vs steering linkage, a shop can confirm with lift equipment and measurement tools.
Contextual Border: At this point you have everything needed to complete a safe at-home suspension inspection and decide what action to take. Next, we’ll expand into special suspension types and modern vehicle factors that can change what “normal wear” looks like.
What changes if your car has air suspension, adaptive dampers, or EV weight?
Air suspension, adaptive dampers, and heavier EV platforms change inspection priorities because ride height control, electronics, and increased mass can affect wear patterns and diagnosis—so you must add system-specific checks and avoid disturbing high-risk components.
Next, think of these systems as “suspension + control layer,” not just springs and joints.
Is home inspection different for air suspension systems?
Yes—air suspension inspection adds leak and compressor behavior checks, and you should avoid disassembling pressurized components at home unless you have the correct procedure.
Key DIY-safe checks:
- Look for uneven ride height after sitting overnight
- Listen for frequent compressor cycling
- Check for air line abrasion and obvious damage (visual only)
If the system drops suddenly or the compressor runs constantly, treat it as a “shop-level” repair.
How do adaptive/active dampers affect diagnosis?
Adaptive dampers can mask symptoms until the system faults, and some leaks or failures trigger warning lights rather than obvious bouncing.
Moreover:
- Scan for suspension-related fault codes if you have an OBD tool.
- Treat leaks and mount issues the same way as conventional dampers.
- Follow manufacturer procedures—some components require calibration after replacement.
Do heavier EVs change wear patterns and inspection intervals?
Yes—heavier vehicles can load bushings, links, and tires more, and torque delivery can add stress during acceleration changes.
In addition:
- Watch tires closely for uneven wear.
- Pay attention to recurring small noises; extra mass can amplify wear progression.
- Prioritize checks of control arm bushings and links if you drive on rough roads frequently.
What problems should be left to a shop?
Leave these to a shop when:
- You need to compress springs on a strut assembly without the right tools
- You see severe ball joint play and aren’t equipped to replace it safely
- Air suspension diagnosis requires pressure procedures or calibrations
- Adaptive systems require coding, calibration, or specialized alignment steps
If your inspection reveals a clear safety issue, the “win” is catching it early—handing off the repair is still a smart outcome.
If you want, I can turn this into a publish-ready SEO package next: meta description, FAQ schema questions, and a short “inspection checklist” box you can add near the top for featured snippet targeting.