


Preventing future coolant leaks means fixing today’s leak and removing the conditions that make the same spot—or a nearby weak point—fail again, such as wrong pressure, poor clamping, contaminated coolant, or a warped sealing surface.
Next, you’ll learn the repeat-leak patterns that cause “it’s leaking again” scenarios (especially after a recent coolant leak repair), so you can spot the real root cause instead of chasing symptoms.
Then, you’ll get a maintenance checklist that reduces leak risk across the entire cooling system—hoses, clamps, radiator, reservoir, thermostat housing, and water pump—using simple inspection habits and proactive replacement timing.
Introduce a new idea: once you understand where leaks return and why, the rest becomes a step-by-step playbook—inspect, prevent, verify, and drive safely without gambling on temporary fixes.
What does “preventing future coolant leaks” mean, and why do leaks return after a repair?
Preventing future coolant leaks means restoring a sealed, correctly-pressurized cooling system and eliminating the underlying stressors—heat, pressure spikes, corrosion, clamp creep, and installation errors—that re-open leaks after the initial fix.
More specifically, most repeat leaks happen because the original repair addressed the visible drip, but not the “system behavior” that caused that drip to form—like an over-pressurizing cap, trapped air pockets, or degraded coolant chemistry.
What are the most common repeat-leak patterns in a cooling system?
Repeat leaks usually follow predictable patterns:
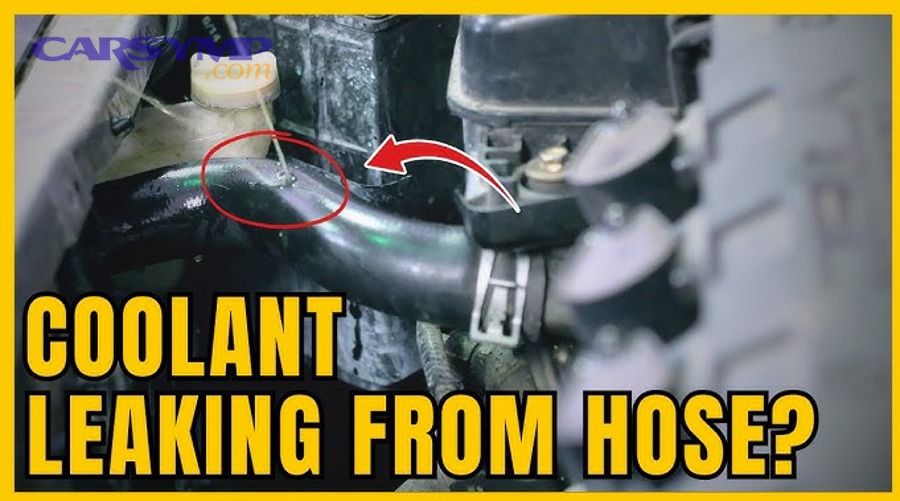
- Hose-end seepage returns: the hose looks “fine,” but the end is heat-hardened, slightly oval, or slick internally, so it never seals perfectly again.
- Clamp imprint leaks: a worm-gear clamp cuts a groove into rubber; after re-tightening, coolant seeps along that groove.
- Plastic neck cracks: radiator or reservoir necks develop hairline cracks from age + vibration + over-tightening caps or clamps.
- Gasket re-leaks: thermostat housing or water pump gasket surfaces weren’t cleaned/flattened correctly, so the gasket “walks” or weeps.
- Pressure-related leaks: the system builds too much pressure (wrong cap rating, overheating, trapped air), forcing coolant out of the weakest point.
A good prevention mindset is to treat the system like a chain: the leak point is where the chain broke, but the chain broke because it was being overstressed.
Why does a “fixed leak” sometimes come back within weeks?
A “fixed” leak often returns within weeks for three practical reasons:
- Heat cycles loosen the seal: rubber hoses relax after repeated hot/cold cycles, and clamps lose initial tension.
- The sealing surface wasn’t truly restored: old gasket material, pitting, or a slightly warped flange can hold for a short time, then seep.
- The system wasn’t bled or pressure-tested: trapped air creates localized hot spots, pressure spikes, and coolant expansion that pushes past seals.
In other words, the first repair may have stopped the symptom, but the system still behaves like a leak-maker.
Is preventing leaks mostly about parts, installation, or coolant chemistry?
It’s all three, but installation habits usually decide whether good parts actually stay sealed, and coolant chemistry decides whether the system stays healthy long enough for seals to survive.
- Parts: aged hoses, brittle plastic tanks, worn pump bearings, and tired caps fail regardless of technique.
- Installation: clamp placement, torque, surface prep, and gasket alignment prevent “slow seeping” that becomes a drip later.
- Coolant chemistry: incorrect coolant types, dilution errors, contamination, and mixing can accelerate corrosion and deposit formation that undermines seals.
According to a study by Universitas Indonesia’s Metallurgical and Material Engineering Department, in 2024, ethylene glycol concentration (up to 50%) improved corrosion inhibition efficiency up to ~75% at 60°C in testing on aluminum alloy Al 5052—showing how coolant composition can materially change corrosion behavior over time.
What is the maintenance checklist that prevents future coolant leaks?
There are 6 main pillars of a leak-prevention checklist—(1) level checks, (2) visual inspections, (3) pressure integrity, (4) hose and clamp health, (5) cap and reservoir health, and (6) coolant condition—because leaks are usually the result of multiple small failures stacking together.

To better understand how to apply that checklist, treat each pillar like a quick routine you repeat at predictable times (weekly glance, oil-change check, seasonal deep check).
How often should you inspect coolant level, smell, and color?
Use a simple schedule that catches trends before they become leaks:
- Weekly (30 seconds): glance at the reservoir level when the engine is cold. A slow drop is your earliest warning.
- Monthly: check coolant color and clarity. Healthy coolant looks consistent; trouble coolant looks rusty, muddy, oily, or has floating debris.
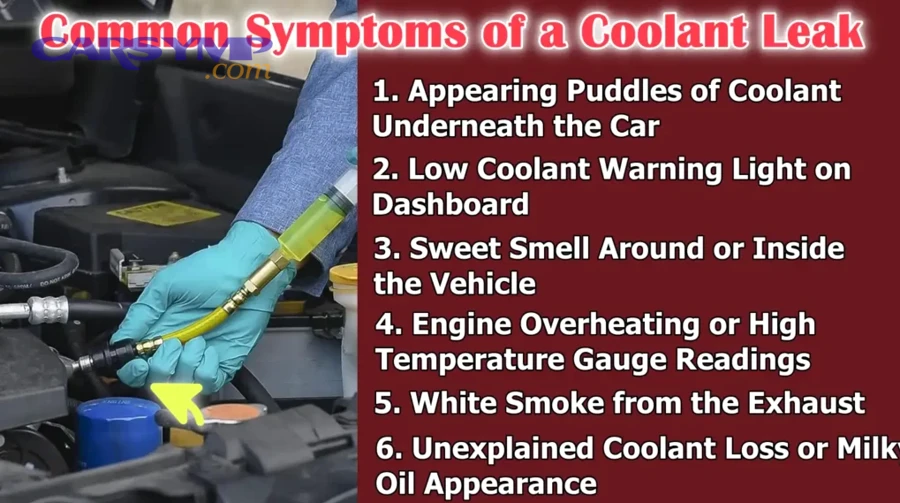
- Anytime you smell sweet coolant: a sweet smell after shutdown can mean a tiny seep hitting hot metal and evaporating.
A useful mindset: you’re not checking for “empty,” you’re checking for “change.” Leaks often start as evaporation-level losses, then escalate.
What should you check during oil changes to catch leaks early?
Oil changes are perfect for leak prevention because the car is already warm, and you’re already looking under the hood.
Add these quick checks:
- Hose ends and clamp areas: look for dampness, white/green crust, or pink residue (color varies by coolant type).
- Radiator seams and corners: check where plastic meets aluminum (common seep zone).
- Water pump area: look below the pulley and around the pump body for a dried “trail.”
- Thermostat housing: inspect the seam for a wet line or crust.
- Under-car drips: check the splash shield edge; it often collects coolant from a leak above and misleads you.
This routine reduces the chance you’ll need an urgent coolant leak repair because you’ll catch a “seep” while it’s still a weekend job.
When should you replace coolant, cap, hoses, and clamps proactively?
Proactive replacement prevents the repeat-leak cycle because you stop relying on aged rubber and tired springs.
Here’s a practical table showing what to replace and why (use your owner’s manual intervals as the final authority; this is a prevention-oriented baseline):
| Component | Prevention-focused timing | Why it reduces future leaks |
|---|---|---|
| Coolant | At manufacturer interval or sooner if contaminated | Old/incorrect coolant accelerates corrosion and seal wear |
| Radiator cap | When aging signs appear (weak spring, crusted seal) | Wrong pressure control forces leaks at weak points |
| Upper/lower radiator hoses | When swollen, hardened, cracked, or oil-soaked | Heat-cycled rubber loses sealing ability |
| Heater hoses | At first sign of softness, bulging, or seep | Often fail suddenly due to heat and routing stress |
| Worm-gear clamps | Replace if corroded, stripped, or cutting hose | Worn clamps can’t hold steady tension |
| Spring clamps (OEM) | Replace if deformed or weak | Weak clamp = seep after heat cycles |
Next, we’ll apply this checklist to the most common repeat-leak zone of all: hose ends and fittings.
How do you prevent leaks at hoses, clamps, and fittings?
Prevent hose and fitting leaks by using the correct clamp style, placing the clamp in the right sealing zone, and replacing hoses that are heat-hardened—because re-tightening a bad seal rarely becomes a good seal.
Specifically, hoses leak repeatedly when clamp tension is uneven, the hose end is deformed, or the fitting surface has corrosion/pitting that a clamp can’t “fix.”
What are the correct clamp types and torque habits to avoid seepage?
Clamp choice matters because different clamps apply tension differently:
- OEM spring clamps maintain tension as the hose expands and contracts—often best for long-term sealing.
- Quality worm-gear clamps work well when sized correctly, but overtightening can cut the hose and create a groove that leaks later.
- T-bolt clamps are strong and consistent for higher-pressure or performance applications, but must be sized precisely.
Torque habits that prevent future leaks:
- Tighten until sealed, not until until “as tight as possible.”
- Re-check clamp tension after a few heat cycles (once cooled), especially on worm-gear clamps.
- Position the clamp behind the fitting bead (the raised ridge) so it locks the hose against a mechanical stop.
If you’re seeing recurring seepage, the clamp may be doing its job—revealing that the hose end is no longer sealing.
When should you replace a hose vs re-clamp it?
Replace the hose (don’t re-clamp) when:
- The hose end feels hard and glassy compared to the middle.
- You see cracks, swelling, or a “ballooned” section.
- The hose was oil-soaked (oil weakens rubber).
- The inside of the hose feels slick or degraded, letting it slide instead of grip.
Re-clamp can be enough when:
- The hose is in good shape, but the clamp was mis-positioned.
- The clamp is corroded/stripped and can’t hold steady tension.
- The fitting is clean and the hose end still has elasticity.
A repeat leak at the same hose end usually means the hose has aged out—re-tightening just delays the next seep.
How do you do DIY hose clamp and hose replacement basics safely?
DIY hose clamp and hose replacement basics are straightforward: cool engine, relieve pressure, drain to a clean pan, replace hose/clamp correctly, refill, bleed air, and verify with a warm-up check—but safety and cleanliness decide whether you prevent future leaks or create new ones.
Then, follow a safe, repeatable method:
- Let the engine cool fully (hot coolant can spray under pressure).
- Relieve pressure slowly at the reservoir cap (if applicable) and never force a stuck cap.
- Drain enough coolant to get below the hose you’re removing.
- Remove the hose gently (twist to break the seal; don’t pry and crack plastic necks).
- Clean the fitting (remove crust and corrosion; a dirty neck prevents sealing).
- Install the new hose fully seated, then place the clamp behind the bead.
- Refill and bleed air per the vehicle’s procedure (bleeder screws or spill-free funnel methods).
- Warm up and re-check: look for seepage during warm-up and again after cool-down.
If you do everything right but still see seepage, the fitting neck may be cracked or warped—so we move to radiators and reservoirs next.
How do you prevent radiator and reservoir leaks?
Prevent radiator and reservoir leaks by controlling pressure (cap health), reducing vibration stress (mounts and hoses), and avoiding chemical shortcuts that create deposits—because plastic tanks and reservoirs often fail from age plus abnormal pressure behavior.
Moreover, radiator leaks are frequently “system leaks”: a weak cap, overheating event, or trapped air can turn a small weakness into a visible drip.
What causes radiator tank seams and cores to start leaking?
Radiators typically start leaking from:
- Plastic-to-aluminum seam fatigue: heat cycles and vibration slowly loosen the crimped seam area.
- Core corrosion and pinholes: poor coolant condition, mixed coolant types, or contamination can accelerate corrosion inside tubes.
- Impact or bending: even minor front-end bumps can stress a corner and start a slow seep.
- Overpressure: wrong cap rating or boiling events force coolant out through seams.
A prevention habit that works: keep the cooling fans and airflow path healthy (clean debris), because less overheating = fewer pressure spikes = fewer seam failures.
How do you protect the coolant reservoir from cracking and cap failures?
Reservoirs crack because they’re thin plastic exposed to heat, pressure pulses, and stress from hose routing.
Protect them by:
- Replacing a weak cap: a bad cap can’t regulate pressure/return flow properly, stressing the reservoir.
- Avoiding overfilling: expansion needs space; constant “too full” can increase stress.
- Checking hose routing: a hose pulling sideways on the reservoir nipple slowly cracks the plastic.
- Inspecting the seam line: small cracks often appear near molded seams or mounting points first.
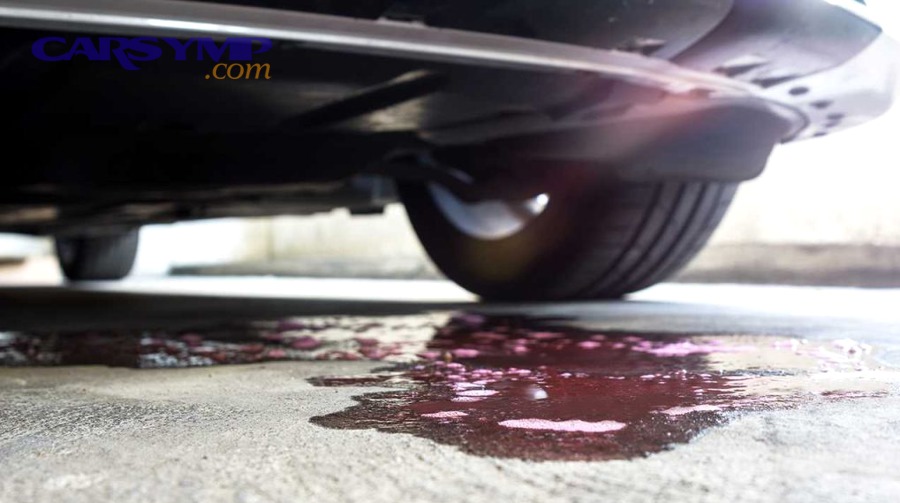
If you see staining down the reservoir face, don’t assume it’s “old spill.” Many repeat leaks are tiny reservoir cracks that only open when hot.
Are stop-leak additives a good way to prevent leaks long-term?
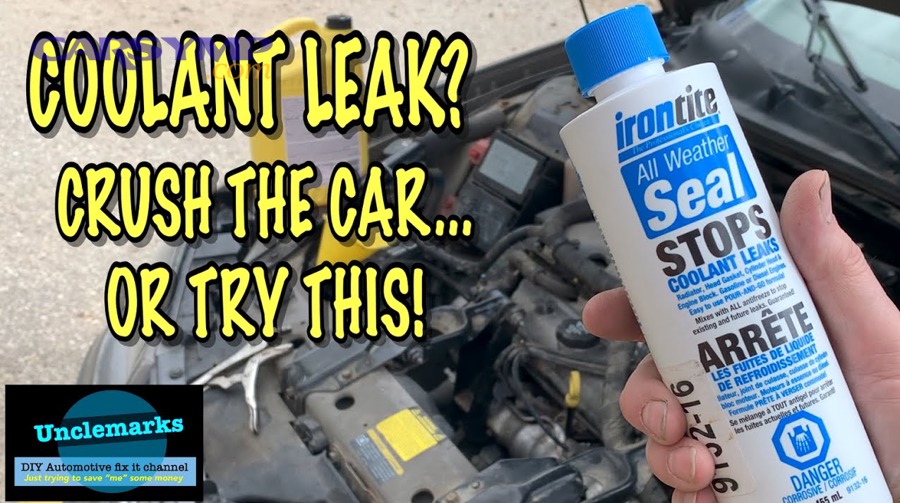
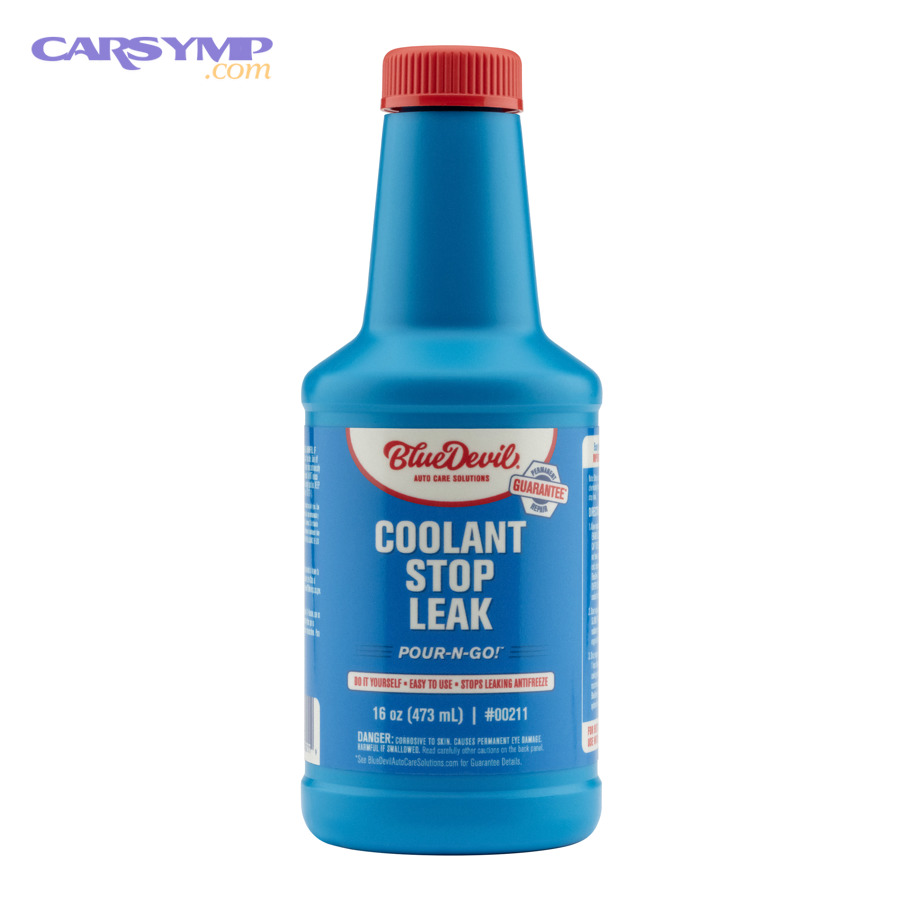
No—stop-leak additives are not a good long-term leak prevention strategy because they can (1) deposit solids in narrow passages, (2) hide the real leak source until it worsens, and (3) complicate future coolant leak repair by contaminating the system.
However, in an emergency, some drivers use stop-leak as a temporary limp-home measure—so the real conversation is Stop-leak products risks vs. controlled diagnosis. If you must use one, treat it as a short bridge to proper repair, not as prevention.
A better prevention approach is always: diagnose the leak source, restore sealing surfaces, and verify system pressure stability—which leads directly to water pump and thermostat housing leaks.
How do you prevent water pump and thermostat housing leaks?
Prevent water pump and thermostat housing leaks by catching early bearing/seal wear, preparing gasket surfaces correctly, and replacing aging plastic housings before they warp—because these leaks are often slow at first and easy to miss until they become repeat failures.
Especially, pump and housing leaks love to “show up” only under pressure and temperature—so prevention requires both inspection and verification.
What are early signs of a water pump weep-hole leak?
Most water pumps have a weep hole that signals internal seal wear.
Early signs include:
- Dried coolant trails below the pump snout or on the timing cover.
- Pink/white crust near the pump body seam.
- Occasional drip after shutdown (heat soak pushes coolant out).
- Bearing noise or wobble (a failing bearing accelerates seal failure).
If you catch a weep-hole leak early, you prevent it from becoming an “overheat event” that then causes more leaks elsewhere.
How do gasket surfaces and sealants cause repeat leaks?
Repeat housing leaks usually aren’t because “the gasket was bad”—they’re because the gasket never got a fair chance.
Common causes:
- Old gasket material left behind: even a thin film can create a channel for seepage.
- Pitting or corrosion on the flange: the gasket can’t fill deep pits reliably.
- Overuse of RTV: excess sealant can squeeze out, prevent proper clamping, and later create leak paths.
- Uneven torque pattern: one side compresses, the other side stays loose, and the gasket relaxes after heat cycles.
A prevention rule: flat, clean, evenly torqued surfaces beat “more sealant” every time.
Should you replace the thermostat, housing, and gasket as a set?
Yes, replacing the thermostat, housing, and gasket as a set is often the most leak-resistant approach because it reduces mismatch risk, eliminates warped plastic housings, and ensures the sealing surfaces and components age together.
Then, the key is to match the replacement strategy to the design:
- If your vehicle uses a plastic thermostat housing, treat it as a wear item—plastic warps and hairline-cracks more easily over time.
- If the thermostat is integrated into a housing assembly, replacing only the gasket is often false economy.
Preventing leaks here also reduces overheating—and overheating is a major trigger for future leaks, which we’ll address during diagnosis and safe-to-drive decisions next.
How do you confirm and stop a leak early before it becomes a repeat problem?
Stop a leak early by using a cooling-system pressure test, tracing residue to the true source, and making a safe-to-drive decision based on leak rate and temperature behavior—because early confirmation prevents guesswork repairs that fail again.
To better understand this, think of diagnosis as a three-step chain: create conditions → observe → verify.
Can a cooling-system pressure test find slow leaks reliably?
Yes, a cooling-system pressure test can reliably find slow leaks because it recreates operating pressure without engine heat, making seep points visible before they evaporate or blow away.
Then, the practical method is:
- Use a tester that matches your cap/reservoir style.
- Pressurize only to the cap rating, not beyond.
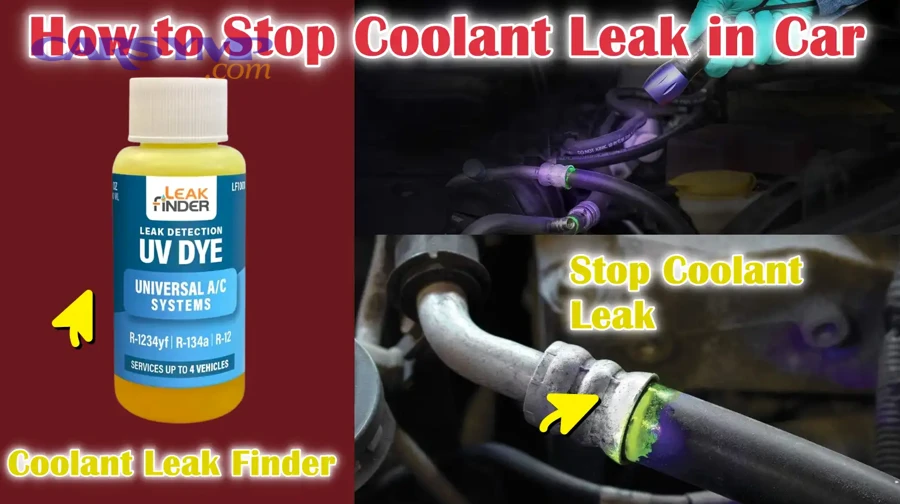
- Inspect with a bright light: hose ends, radiator seams, pump area, thermostat housing, heater hoses, firewall area, and under the intake (where drips hide).
How do you trace dried coolant residue to the true source?
Dried coolant residue is helpful, but it lies if you don’t trace upward.
Use this approach:
- Start at the lowest wet point, then look above it for the first crust line.
- Follow edges and seams: coolant travels along brackets, ribs, and harnesses.
- Look for spray patterns near belts and pulleys (a rotating pulley can mist coolant).
- Clean and re-check: wipe residue, pressure test again, and confirm the fresh source.
If the residue is widespread, that’s often a cap/overflow issue or a fan-blown mist from a tiny leak.
When is it unsafe to drive with a coolant leak?
Yes—it can be unsafe to drive with a coolant leak, because (1) coolant loss can trigger overheating quickly, (2) overheating can warp components and create multiple new leaks, and (3) sudden coolant loss can leave you stranded or damage the engine.
Then use this Overheating risk and safe-to-drive guidance rule set:
- Unsafe immediately: temperature gauge rising above normal, steam, warning light, puddle forming fast, or you must add coolant repeatedly on a short trip.
- Possibly safe only for a short distance: a very slow seep with stable temperature, no steam, and coolant level still in range—but only to reach a repair location.
- Never ignore: intermittent overheating, because it can warp surfaces and turn a small leak into a repeat-leak cascade.
A critical prevention habit: if you overheat once, assume seals were stressed—and inspect for new leaks afterward.
Contextual Border: At this point, you can prevent most future coolant leaks with correct parts, installation, and verification. Next, we’ll expand into the less obvious causes that keep leaks coming back even when the obvious parts have already been replaced.
Which “less obvious” factors cause recurring coolant leaks even after repairs ?
There are 4 less-obvious leak multipliers—overheating history, coolant mixing/contamination, electrolysis (stray current), and installation/bleeding mistakes—because each one quietly damages seals and surfaces until leaks recur somewhere new.
More importantly, these factors explain why two identical cars can have very different leak outcomes after the “same” repair.
How do overheating events warp sealing surfaces and trigger new leaks?
Overheating is a leak multiplier because extreme heat can:
- Warp thermostat housings and flanges
- Distort plastic radiator tanks and reservoir seams
- Harden hose ends (reducing elasticity)
- Stress gaskets and O-rings beyond their recovery range
Prevention steps after any overheating event:
- Re-check coolant level and look for new residue trails within a week.
- Pressure test the system once it’s repaired and stable.
- Replace suspect plastic housings and aged caps proactively.
One overheating event can be the hidden reason your “new gasket” starts weeping later.
Can mixing coolant types create sludge that forces leaks?
Yes, mixing coolant types can create deposits or sludge that reduce heat transfer and interfere with proper circulation—raising temperatures and pressure stress that can force leaks at weak points.
Besides, it can also disrupt additive packages that protect metals and seals. According to a review in the journal Combustion Engines, blending inconsistent coolants can cause additives to “drop out” of solution and form radiator sludge or slime—exactly the kind of condition that drives overheating and repeat leak behavior.
Prevention actions:
- Use the correct coolant spec for your vehicle (type matters more than color).
- If the coolant history is unknown, do a proper drain/refill or full service as needed (not a random top-off cocktail).
- Use distilled water if dilution is required (tap water minerals can accelerate deposits).
How does electrolysis/stray current accelerate pinholes and corrosion?
Stray electrical current in coolant (electrolysis) can accelerate metal loss, leading to pinholes in radiators/heater cores or corrosion at fittings.
Signs that raise suspicion:
- Repeated pinhole leaks despite good coolant
- Rapid corrosion around metal fittings
- Unexplained degradation when the coolant otherwise looks normal
Prevention steps:
- Ensure engine and chassis grounds are clean and secure.
- Avoid mixing tap water and unknown additives.
- Use the correct coolant with the right inhibitor package.
According to a study by Chonnam National University’s Department of Materials Science and Engineering, in 2023, adding an organic corrosion inhibitor (SDBS) to a 1:1 ethylene glycol-water coolant (including a simulated contaminant level of 100 ppm chloride) supported robust passive film formation and improved pitting resistance in tested aluminum alloys—showing how chemistry and contamination control can directly affect corrosion-driven leak risk.
What installation mistakes (o-rings, quick-connects, bleeding) create phantom leaks?
Phantom leaks are often “new leaks” created during repair, not old leaks returning.
Common mistakes:
- Pinched O-rings on thermostat housings, pipes, or quick-connect fittings
- Dry O-ring installs (a light coolant film helps prevent rolling/cutting)
- Mis-seated quick-connects that click but don’t fully lock
- Improper bleeding that leaves air pockets → hot spots → pressure spikes → leaks
- Overtightened fasteners that warp plastic housings or strip threads
Prevention checklist after any cooling system work:
- Confirm full seating and locking of every connection
- Follow the correct bleed procedure for your engine design
- Pressure test after repair (even if “it looks dry”)
- Re-check after two full heat cycles (cold engine inspection)
If you combine these micro-prevention habits with the main checklist, you’ll stop treating coolant leaks as random—and start treating them as preventable system behavior.