


If your car won’t start because the battery is dead, you can safely jump-start it with jumper cables by following a correct clamp order, using a solid ground point, and keeping sparks away from the battery area—steps that reduce damage and injury risk.
Next, you’ll prevent the most common jump-start problems by doing a quick safety checklist before you connect anything, because many “failed jumps” come from simple issues like corrosion, loose clamps, or a risky setup.
Then, you’ll learn what to do once the cables are connected: which car to start first, how long to let it idle, and how to confirm the jump actually worked—plus what an Alternator check after a jump start can tell you about why the battery died.
Introduce a new idea: once you know the safe method, you’ll also be able to choose between traditional booster cables and Jump starting with a portable booster pack, and you’ll know exactly when to stop troubleshooting and call for help.
What does “safe jump-start with jumper (booster) cables” mean, and why does clamp order matter?
A safe jump-start with jumper (booster) cables is a controlled way to transfer power from a good battery to a dead one using a specific connection order that minimizes sparks, prevents reversed polarity, and protects the vehicles’ electrical systems.
To better understand why this matters, focus on one idea: electricity always follows a path, and your clamp order decides whether that path is predictable and safe—or risky and expensive.
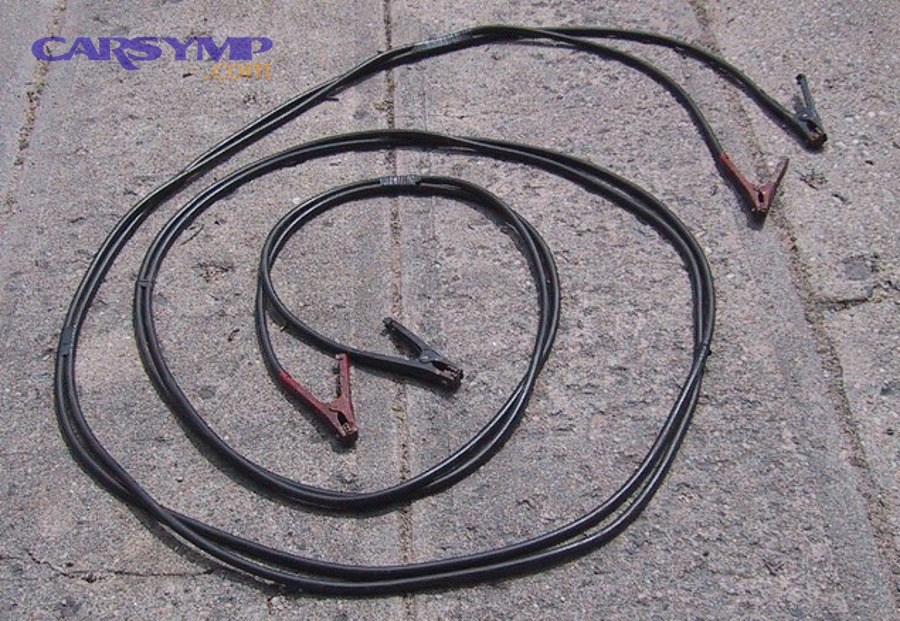
What are jumper cables (booster cables), and what do the red and black clamps connect to?
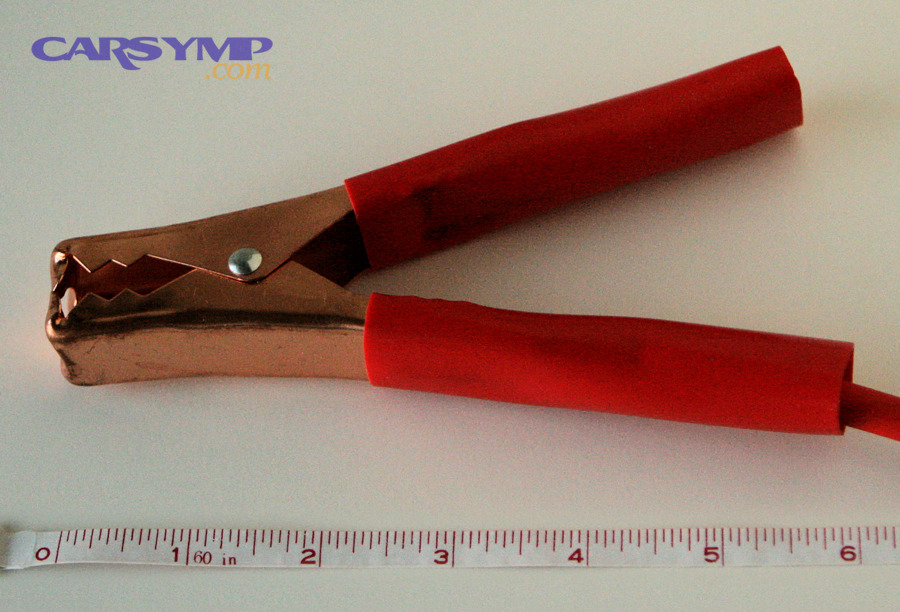
Jumper cables (also called booster cables) are heavy-gauge cables with insulated clamps designed to carry high current from a charged 12-volt battery to a vehicle with a discharged battery.
Specifically, the color coding is your first safety lock:
- Red clamp = positive (+) connection
- Black clamp = negative (–) connection or ground connection (depending on the step)
That sounds basic, but beginners get hurt when “basic” gets rushed. A clear jump start guide always slows you down at the same two checkpoints:
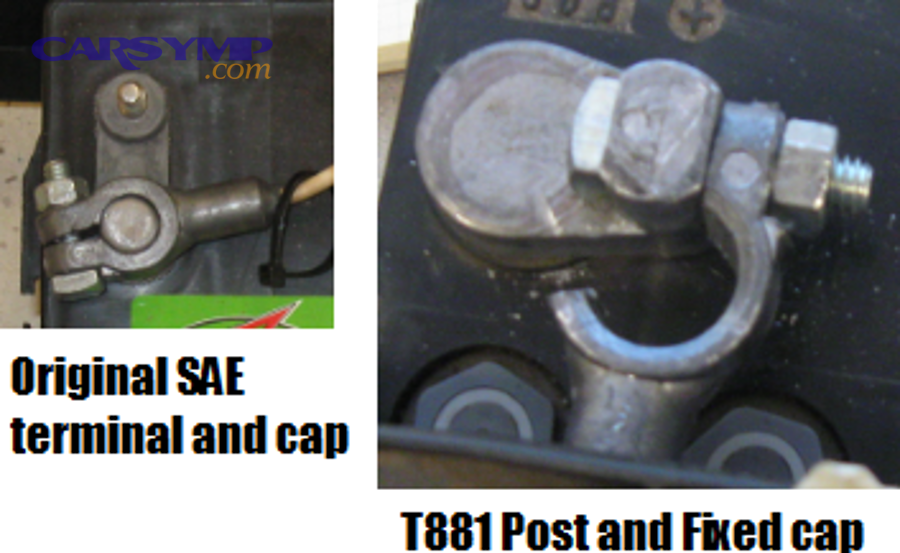
- Confirm the terminals: the positive terminal is typically marked + and often has a red cover; negative is marked –.
- Confirm clamp placement: clamps must grip clean metal firmly—not plastic, paint, or a loose bracket.
If the battery is under a cover, do not guess. You lift the cover, find the markings, and proceed only when you can clearly identify + and –.
Is it dangerous to attach the black (negative) clamp directly to the dead battery’s negative terminal?
Yes—connecting the black (negative) clamp directly to the dead battery’s negative terminal can be dangerous because it increases spark risk near the battery, it can ignite battery gases in rare cases, and it raises the chance of a mistake when you’re working in a tight space.
Then, the practical concern is simple: the last clamp you attach is the one most likely to spark. If that final spark happens right above the battery, you’re putting the ignition source closest to where gases may vent.
That is why many major roadside instructions tell you to connect the final black clamp to unpainted metal on the engine block or chassis on the car with the dead battery, instead of the negative terminal itself. (consumerreports.org)
Grounding on engine metal vs negative battery terminal: which is safer and why?
Grounding on engine metal wins on spark safety, while connecting to the negative battery terminal is sometimes simpler but puts the final connection closer to the battery’s venting area—so engine/chassis ground is generally the safer default for first-time drivers.
However, the best ground is not “anything metal.” A good ground point has three features:
- Unpainted metal (paint is an insulator)
- Thick, solid part (engine block ear, major bracket, or dedicated ground post)
- Away from moving parts and fuel lines (avoid belts, fans, and obvious fuel routing)
If your car has a dedicated grounding bolt or jump-start post, use it—manufacturers include those points because they are designed for this task.
What should you check before connecting jumper cables? (Safety checklist for first-time drivers)
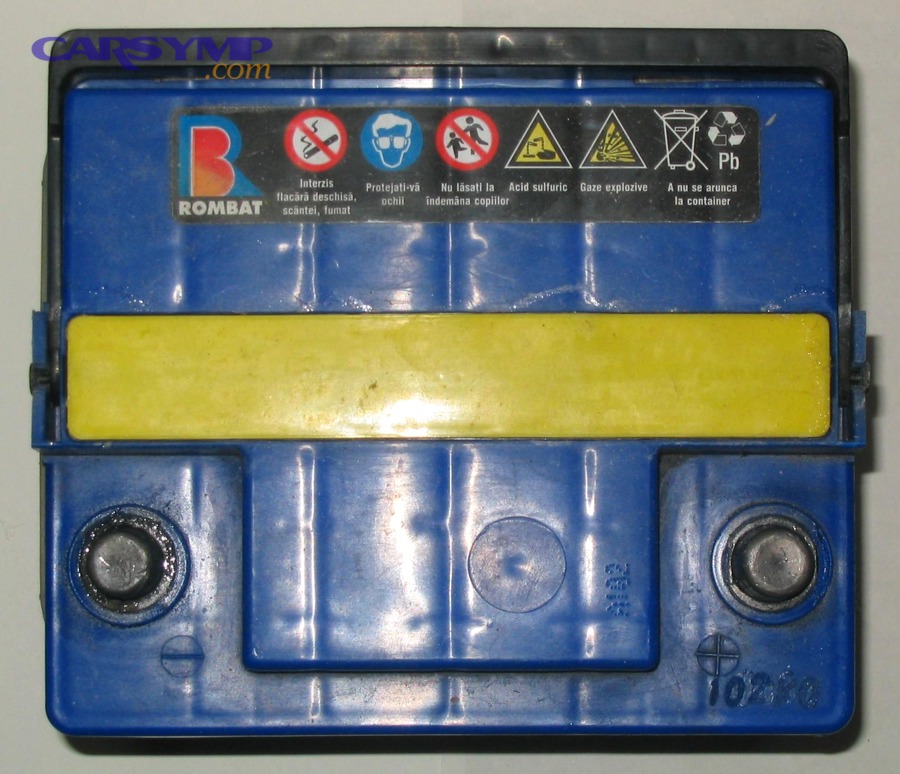
There are 7 safety checks to do before connecting jumper cables: confirm no battery damage, position vehicles safely, turn both ignitions off, set parking brakes, switch off accessories, identify terminals clearly, and inspect the cables for damage.
Next, treat this checklist as your “no surprises” system—because the safest jump is the one you don’t have to redo under stress.
Should both cars be turned off before you connect the cables?
Yes—both cars should be turned off before you connect the cables because it reduces arcing at the clamps, protects sensitive electronics from sudden spikes, and prevents moving components (like fans) from starting unexpectedly while your hands are in the engine bay.
Then, make the shutdown complete:
- Put transmissions in Park (or Neutral for manual)
- Set parking brakes on both vehicles
- Turn off headlights, blower fan, heated seats, defrost, and unplug chargers
- Keep keys in your pocket so no one “helpfully” turns the ignition while you’re clamping
This is one of the easiest “Correct cable order and common mistakes” fixes: most mistakes happen when someone tries to rush, leaves a car on, and then fumbles a clamp.
What tools and conditions do you need for a safe jump-start?
You need five practical things: a working donor vehicle (or charged jump pack), quality jumper cables, safe positioning, clear terminal access, and a calm, well-ventilated environment away from flames or smoking.
More specifically, set up like this:
- Cars close enough for cables to reach but not touching
- Flat ground if possible (avoid rolling risk)
- Good visibility (use a flashlight at night)
- Cables with intact insulation (no exposed copper, no cracked clamp covers)
Cable quality matters more than many people think. Thin, bargain cables can struggle to deliver enough current—especially in cold weather—so the jump may “half work,” leading to repeated attempts and more risk.
Can you jump-start a car if the battery is cracked, leaking, bulging, or frozen?
No—you should not jump-start a car if the battery is cracked, leaking, bulging, or frozen because the case may rupture, acid can burn skin and eyes, and a spark can trigger an explosion or spraying electrolyte.
Then, choose a safer alternative:
- Step away from the battery area
- Do not lean over it or touch leakage
- Call roadside assistance or replace the battery safely
Battery hazards are not just theoretical. In a study context focused on lead-acid battery environments, researchers at Lodz University of Technology, Faculty of Process and Environmental Engineering, reported in 2021 that hydrogen produced during lead-acid battery charging can create an explosive atmosphere without adequate ventilation—showing why ignition sources and poor conditions matter around batteries. (publications.ibpsa.org)
What is the correct clamp order to jump-start a car with jumper cables?
There are 4 main connection steps for jumper cables: red to dead positive, red to donor positive, black to donor negative, and black to a clean unpainted metal ground on the dead car—this order helps prevent sparks near the battery and polarity mistakes.
To illustrate why this works, notice the logic: you build a stable positive path first, then you complete the negative path last—away from the dead battery.
What are the 4 connection steps for jumper cables (in the safest order)?
There are 4 connection steps for jumper cables based on polarity and spark control:
- Red clamp to the dead battery’s positive (+) terminal
- Red clamp to the donor battery’s positive (+) terminal
- Black clamp to the donor battery’s negative (–) terminal
- Black clamp to an unpainted metal ground on the dead car (engine block or heavy bracket)
Then, do two quick “sanity checks” before anyone starts an engine:
- Clamps are not touching each other
- Cables are routed away from belts, fans, and pulleys
This is the heart of any jump start guide, and it’s also where most people fail. They remember red-to-red—but forget that the last black clamp should go to metal ground, not the dead battery.
Do the vehicles need to be touching or extremely close for the jump to work?
No—vehicles should not be touching because metal-to-metal contact can create unintended grounding paths, increase shock risk, and cause damage if a car shifts; you only need them close enough for the cables to reach securely.
Next, aim for “close but separated”:
- Leave a visible gap between bumpers
- Do not let hoods touch or flex into each other
- Keep cables slack enough to avoid pulling clamps loose, but not so slack they can drop into moving parts
If your cables barely reach, that’s a sign to reposition the cars rather than stretching the cable across sharp edges or hot engine components.
Where is the best grounding point on the dead car (engine block vs chassis bolt)?
Engine block grounding wins for consistent current flow, while a chassis bolt can work well if it’s truly clean, solid, and unpainted—either is acceptable, but the best point is the one that clamps firmly and stays away from moving parts.
More specifically, choose a ground point that meets this checklist:
- Bare metal contact (scrape light corrosion if needed)
- Thick, fixed metal (not a thin bracket that bends)
- Safe location (not near the battery vent area; not near the fan)
If you see a factory-marked ground post or a dedicated jump-start point, use it—those are made for reliable, repeatable grounding. (consumerreports.org)
How do you start the cars after the cables are connected (and what order works best)?
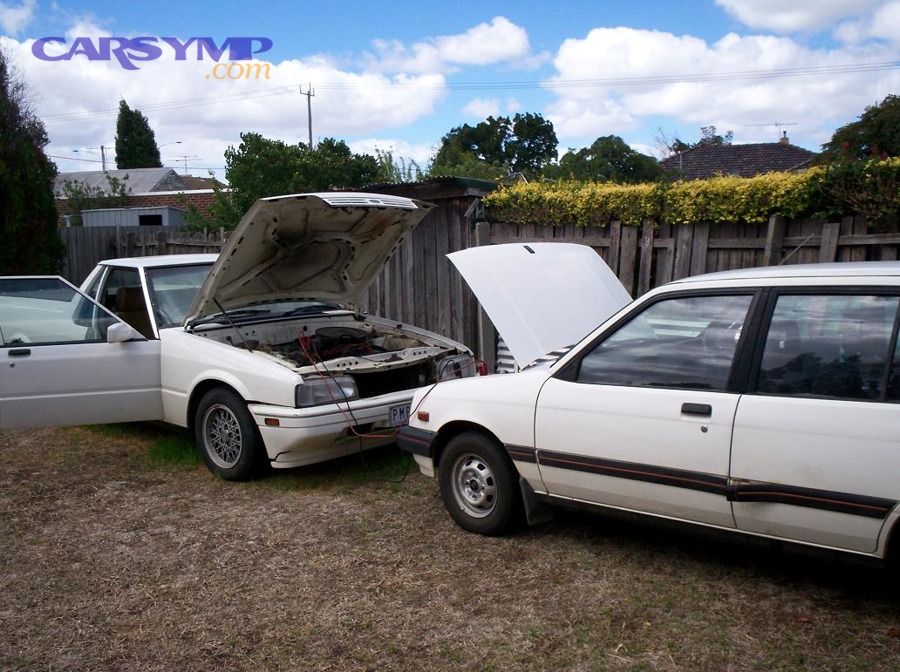
Start the donor car first, let it idle for a few minutes, and then start the dead car—this order gives the dead battery time to accept a surface charge and reduces repeated cranking that can overheat the starter.
Then, keep your process simple: one stable donor, one calm start attempt, and a short waiting window if the first try is weak.
Should you rev the donor car to charge faster?
No—you generally should not rev the donor car aggressively because sudden RPM changes can create voltage spikes, increase belt load, and add risk without guaranteeing a faster, safer start; a steady idle (or mild, steady RPM) is usually enough.
However, what you can do is stabilize the situation:
- Let the donor idle smoothly
- Keep accessories off
- Confirm clamps remain tight after the first minute
The goal is not to “charge the dead battery fully” in two minutes. The goal is to supply enough current to crank the dead car safely—then let the vehicle recharge properly afterward.
How long should you wait before trying to start the dead car?
There are 3 common waiting windows: 30–60 seconds for a slightly weak battery, 2–5 minutes for a truly discharged battery, and longer in cold weather—because chemical reactions slow down and batteries deliver less power when cold.
Then, decide based on what you hear and see:
- If the dead car cranks strongly, start it and proceed
- If it cranks slowly, wait 2 more minutes and re-check clamp tightness
- If it doesn’t crank at all, stop and troubleshoot connections instead of cranking repeatedly
A consumer-friendly step guide also notes waiting a few minutes before attempting the start, and emphasizes grounding the negative clamp on the dead vehicle away from the battery.
If the dead car doesn’t start, should you keep trying repeatedly?
No—you should not keep trying repeatedly because it can overheat the starter, drain the donor battery, and increase arcing risk; instead, make 1–3 controlled attempts with checks in between.
Next, follow a “stop-and-check” loop:
- Attempt start for no more than 5 seconds
- Stop for 30–60 seconds
- Check clamps (tightness and correct placement)
- Try again once or twice
- If it still fails, move to troubleshooting steps later in this article
This is a key part of “Correct cable order and common mistakes.” Most failures come from a bad ground or a loose clamp—not because you needed attempt #9.
What is the safe removal order for jumper cables (so you don’t spark or short anything)?
There are 4 safe removal steps, and they are the reverse of installation: remove the ground clamp first, then donor negative, then donor positive, then dead positive—this order reduces the chance of clamps touching and shorting.
Next, think of removal as “protect the live clamps.” Once the cars are running, the system is active, so you handle clamps like they are live tools.
What are the 4 removal steps (reverse order) and the “don’t let clamps touch” rule?
There are 4 removal steps for jumper cables, and you follow them in reverse:
- Remove black clamp from the grounded metal on the dead car
- Remove black clamp from the donor battery negative (–)
- Remove red clamp from the donor battery positive (+)
- Remove red clamp from the dead battery positive (+)
Then apply the single most important handling rule:
- Never let the clamps touch each other while any clamp is still connected to a battery
To make that easy, you keep removed clamps separated in your hands, or place them on dry pavement away from metal—never on the engine or battery cover.
After a successful jump, how long should you drive or idle to recharge safely?
After a successful jump, you should drive for about 20–30 minutes (or longer) or use a proper charger, because short idling may not replace the energy used to start the car and the battery can die again at the next stop.
Then, use two practical habits:
- Avoid shutting the engine off immediately after the jump
- Keep electrical loads moderate at first (don’t turn on everything at once)
If the battery was simply discharged, driving can help. If the battery is old or failing, driving may only postpone the next no-start—so pay attention to symptoms like slow cranking later that day.
Jumper cables vs a portable jump starter: which is safer for beginners?
Jumper cables win when you have a willing donor car and space to work, while a portable jump starter is safer for beginners who want a self-contained option with fewer moving parts and fewer coordination errors—especially in bad weather or busy parking lots.
However, safety depends on how you use the tool, so the best choice is the one you can operate correctly under stress.

A quick comparison helps you decide:
| Feature | Jumper Cables (Donor Car) | Portable Jump Starter (Booster Pack) |
|---|---|---|
| What you need | Another vehicle + access | Charged pack + access |
| Beginner friction | Coordinating two cars | Single device workflow |
| Common failure | Bad ground / weak donor | Pack not charged / wrong mode |
| Convenience | Lower | Higher |
| Best for | Driveways, friends nearby | Solo drivers, emergencies |
This is where “Jump starting with a portable booster pack” becomes more than a phrase—it becomes a practical choice. If you commute alone or park far from help, a jump pack can prevent long waits.
Are portable jump starters “foolproof,” or can you still damage your car?
No—portable jump starters are not foolproof because wrong polarity, damaged batteries, and incorrect device settings can still cause sparks or electrical damage; they only reduce risk when used correctly.
Then, the safe workflow for a booster pack mirrors the cable workflow:
- Confirm + and – terminals
- Connect clamps firmly
- Keep the device stable
- Start the car, then disconnect in a controlled way
Some university safety guidance also warns against using a jump box on a damaged battery and emphasizes correct clamp connections, reinforcing the idea that device convenience does not remove basic risks. (safety.uoregon.edu)
What should you do if a jump-start doesn’t work (and when should you stop)?
If a jump-start doesn’t work, you should stop after a few controlled attempts and troubleshoot in a sequence: check clamp tightness, check grounding quality, check terminal corrosion, confirm the donor power source, and then consider battery, starter, or alternator issues.
More importantly, you need a clear “stop line,” because repeated guessing creates more risk than progress.
What are the most common reasons a jump-start fails even with correct clamp order?
There are 6 common reasons a jump-start fails even when you think the order was right:
- Loose clamps (partial contact, slipping, clamp on plastic edge)
- Bad ground (painted metal, thin bracket, oily surface)
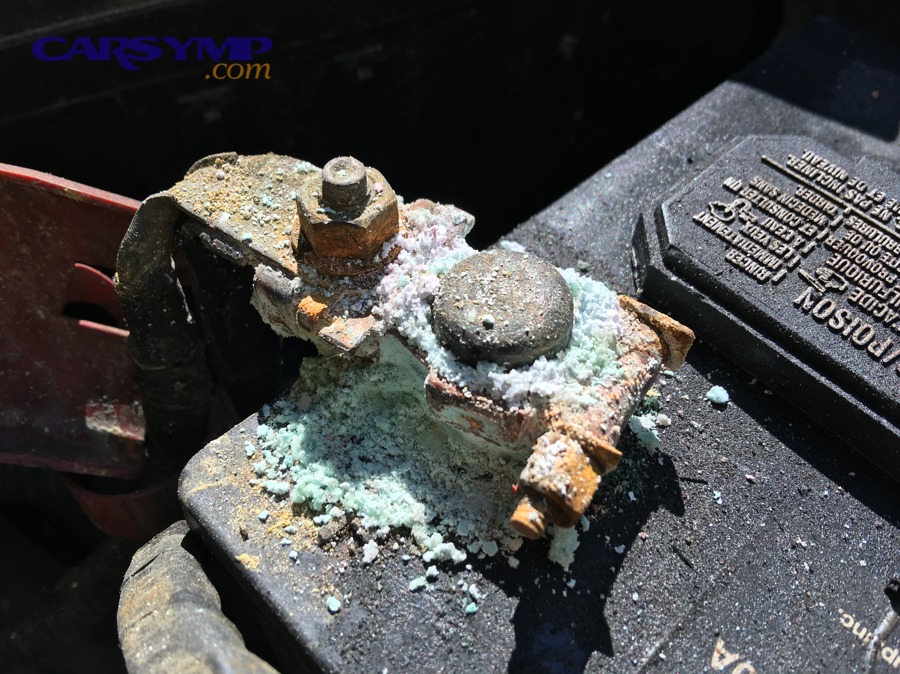
- Corroded terminals (white/green buildup blocks current)
- Weak donor source (donor battery not strong, donor car has its own issues)
- Too-thin/too-long cables (high resistance reduces current)
- Battery internally failed (won’t accept charge, shorted cells)
Then, do one correction at a time so you know what fixed it. For example, move the ground clamp to a cleaner engine bolt, tighten both red clamps again, and try one controlled start attempt.
Dead battery vs bad alternator vs starter problem: how can you tell the difference quickly?
Dead battery wins as the most common cause when you get weak cranking or clicking after sitting, a bad alternator is likely when the car dies while driving or the battery keeps dying after being charged, and a starter problem is likely when lights stay bright but the engine won’t crank.
However, you can do one simple confirmation step after a successful start: an Alternator check after a jump start.
- With the engine running, a typical healthy charging system often shows roughly 13.8–14.5 volts at the battery terminals, which suggests the alternator is charging.
- If voltage stays near ~12 volts while running, charging may be weak and the battery may not recover.
This quick voltage check does not diagnose every issue, but it helps you avoid the common trap: assuming the battery is “bad” when the alternator is actually the cause of repeated no-starts.
What does clicking, rapid ticking, or complete silence mean when you try to start?
Clicking usually means low battery power or poor cable connection, rapid ticking often points to insufficient current reaching the starter (weak battery or bad contact), and complete silence can indicate a severe connection issue, a blown fuse link, or a starter/ignition control problem.
Then, tie the sound to the simplest next action:
- Single click: tighten clamps, clean terminal contact, improve ground
- Rapid ticks: wait 2–5 minutes, confirm donor source strength, re-seat clamps
- Silence: verify you’re in Park/Neutral, check immobilizer/security indicators, and stop if you suspect deeper electrical issues
If you are unsure, step back and prioritize safety over persistence.
Should you call roadside assistance instead of trying again?
Yes—you should call roadside assistance instead of trying again if you see battery damage, you smell sulfur/rotten eggs, the cables get hot, the jump fails after basic corrections, or you’re in an unsafe location—because these conditions raise injury risk and can damage electronics.
In short, a safe jump-start is not measured by how stubbornly you keep trying. It’s measured by how consistently you follow the method, avoid sparks near the battery, and stop when warning signs appear.
Evidence (sources used)
- Safe grounding away from the dead battery and step-by-step clamp order guidance are described by Consumer Reports, Kelley Blue Book, and AAA resources. (consumerreports.org)
- Hydrogen emission and explosion hazard in lead-acid battery environments are discussed in research from Lodz University of Technology (Faculty of Process and Environmental Engineering). (publications.ibpsa.org)
- Typical charging-system voltage range used as a quick alternator output check is commonly cited as roughly 13.8–14.5V with the engine running.