


Most spark-related incidents are preventable when you treat every spark as a potential ignition source and remove what it needs to become a fire: fuel, oxygen flow, and time. This guide breaks down the most common spark hazards (including electrical arcing and static discharge) and shows exactly what to avoid so you can reduce fire and injury risk fast.
Next, if your “spark risk” comes from hot work—welding, cutting, grinding, or torching—you’ll learn the specific controls that stop sparks and molten slag from finding hidden combustibles, traveling through gaps, or smoldering until they flare up later.
Then, if your spark risk is at home—outlet arcing, overheated cords, power strips, or a buzzing panel—you’ll get clear warning signs and practical prevention steps so you know what’s safe to check and what’s a “shut it down and call a pro” situation.
Introduce a new idea: beyond electricity and hot work, static discharge can ignite vapors and dust in garages, workshops, labs, and industrial spaces—so we’ll also cover grounding, bonding, and specialized controls after you’ve mastered the core hazards.
What counts as a “spark hazard” and why can a tiny spark start a fire?
A spark hazard is any situation where an electrical arc, static discharge, hot-work spark, or friction spark provides enough energy to ignite nearby fuel—often invisibly—especially when ventilation, vapors, dust, or hidden combustibles let heat build undetected.
To better understand spark hazards, start with the ignition logic: sparks are rarely the only problem; they become dangerous when they meet the right fuel in the right place for long enough to smolder or flash.
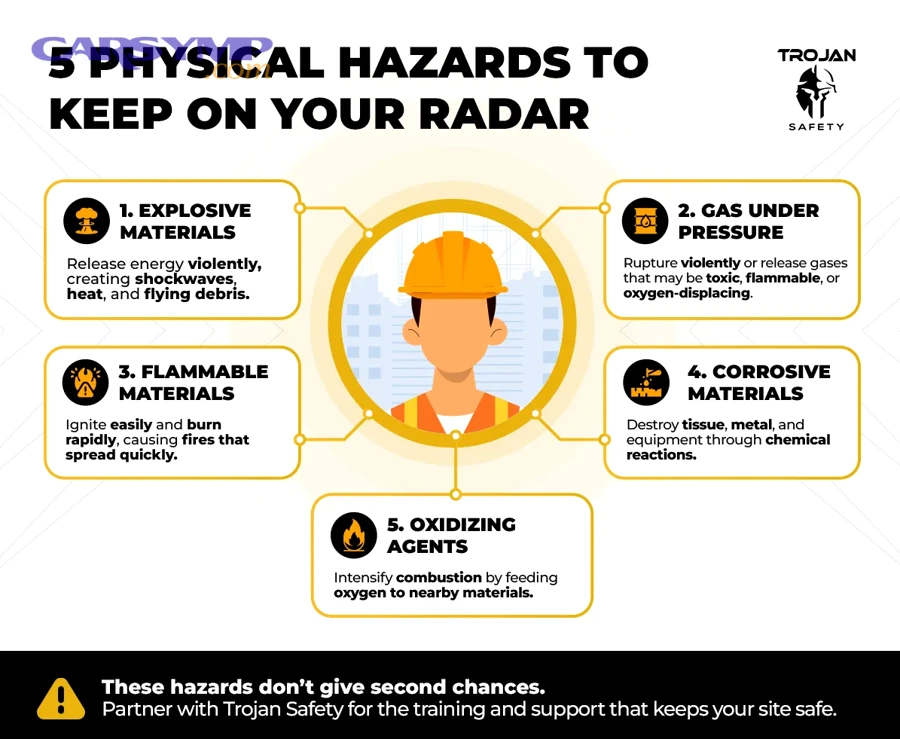
In practical terms, “fuel” can be obvious (paper, cardboard, gasoline, sawdust) or sneaky (solvent vapors, oily rags, dust layers, insulation inside walls). Oxygen can come from normal air—or from airflow that feeds embers and spreads sparks. Time is the part many people underestimate: the same spark that doesn’t ignite anything now can land in debris, start smoldering, and flare later when nobody is watching.
Key spark sources you should keep in mind throughout this article:
- Electrical arcing (arc faults): a sustained “spark bridge” caused by loose connections, damaged insulation, or failing components.
- Static discharge: a spark created when built-up charge jumps to a different surface—common during liquid transfer, dust movement, and low-humidity handling.
- Hot-work sparks and slag: sparks from grinding/cutting plus molten metal droplets that can roll, bounce, and lodge in cracks.
- Mechanical/friction sparks: impact or friction sparks from tools, bearings, metal-on-metal contact, or malfunctioning equipment.
What is electrical arcing, and how is it different from a normal “small spark”?
Electrical arcing is a continuous or repeating electrical discharge that jumps across a gap—often due to a loose, corroded, or damaged connection—and it can generate sustained heat that ignites nearby materials, unlike a brief harmless static snap.
More specifically, arcing is dangerous because it can keep feeding itself as long as the circuit remains energized. A “small spark” you see when plugging in a device can be a momentary inrush event; arcing is typically persistent, hotter, and accompanied by warning signs like buzzing, crackling, a burning odor, discoloration, or repeated breaker trips.
Common causes of arcing include:
- Loose terminals on outlets/switches
- Worn receptacle contacts that no longer grip plugs tightly
- Damaged cords or pinched wiring
- Poor splices or overloaded connections
- Moisture intrusion inside boxes or panels
What arcing does to safety: it doesn’t just “spark”; it heats. Heat degrades insulation, increases resistance, and can turn a minor defect into an ignition source inside a wall cavity where you cannot see it.
According to a study by Johns Hopkins University Applied Physics Laboratory from the Applied Physics Laboratory, in 2004, researchers reported that a predominant cause of arcing in shipboard power systems was faulty connections that create localized high-resistance heating and can sustain an arc until power is removed.
What is static discharge, and when does it become an ignition risk?
Static discharge is a spark caused by a charge imbalance that suddenly equalizes—often between a person, container, hose, or tool—and it becomes an ignition risk when flammable vapors, mists, or combustible dust are present in the air.
Specifically, static becomes dangerous when two conditions overlap: (1) a spark can occur and (2) the atmosphere contains ignitable fuel (vapors from solvents or fuel, or a dust cloud). Low humidity, synthetic clothing, dry air, fast-flowing liquids, and plastic containers all increase static buildup.
Static discharge risk shows up in places people don’t expect:
- Pouring gasoline into portable containers (especially if the container is plastic and not properly placed)
- Transferring solvents in a workshop or lab
- Dusty woodworking spaces with airborne sawdust
- Grain, sugar, flour, or plastic powder environments
- Vacuum systems and dust-collection ducting
The safe baseline is simple: assume static can spark, and don’t give it fuel in the air.
Are sparks always dangerous, or only in specific conditions?
No—sparks are not always dangerous, because a spark needs the right fuel, oxygen flow, and proximity to become an ignition event; the main reasons sparks become hazardous are hidden combustibles, flammable vapors/dust, and smolder time that lets heat grow unseen.
Let’s explore why that matters: if you only fear “big sparks,” you miss the real risk—small sparks in the wrong environment.
Here’s the practical rule set:
- Low risk: no fuel nearby, no vapors, no dust cloud, spark contained, area monitored, power controlled.
- High risk: combustibles within reach, vapors present, dusty air, confined spaces, hidden voids, poor housekeeping, or no post-work monitoring.
Is it safe if there are “no visible flames” and the area looks clean?
No—an area can look clean and still be spark-dangerous, because the three biggest hidden hazards are vapors you can’t see, dust layers that can loft into air, and combustibles inside gaps/voids that can smolder before flaming.
For example, a garage floor can appear clear, while vapors from fuel cans or solvents sit near ground level. A workshop bench can look tidy, while fine dust has settled on rafters, inside outlets, or along baseboards. A wall can look solid, while a spark enters a penetration and lands on insulation or debris.
Use a “hidden fuel scan” before spark-producing work:
- Smell check: any solvent/fuel odor?
- Dust check: run a finger along ledges; fine dust means ignition potential
- Void check: openings in floors/walls/ducts where sparks can travel
- Rag check: oily rags in open bins or piles
- Aerosol check: sprays, paints, and degreasers nearby
Does ventilation reduce spark fire risk or can it make it worse?
Ventilation helps when it dilutes vapors below ignition range, but it can make risk worse when it feeds oxygen to embers or pushes sparks and hot particles into hidden areas.
However, the right takeaway is control—not guesswork. Use ventilation intentionally:
- Reduce vapors: open doors/windows or use local exhaust when vapors are possible (solvents, fuel, paint).
- Control airflow direction: keep airflow from carrying sparks toward combustibles or into penetrations.
- Avoid creating dust clouds: strong airflow can lift settled dust into an ignitable cloud.
In other words, ventilation is a tool—safe when planned, risky when uncontrolled.
What are the 15 most common spark (arcing/static) safety hazards to avoid?
There are 15 main spark hazards to avoid—grouped into home electrical arcing hazards, hot-work hazards, and static/mechanical spark hazards—based on the criterion of where the spark is generated and how easily it can reach fuel.
Below, you’ll see each hazard with a clear “avoid it” action so you can audit your home or job site quickly.

Which home electrical arcing hazards cause the most fires?
There are 7 main home electrical arcing hazards—A through G—based on the criterion of loose contact, damaged insulation, and overloaded connections:
A. Loose outlets and switches
Avoid: outlets that wobble, feel warm, or don’t hold plugs tightly. Tight mechanical fit matters because loose contact increases resistance and heat.
B. Backstabbed or poorly terminated connections (where applicable)
Avoid: quick push-in connections that can loosen over time. A loosened conductor can arc under load.
C. Damaged appliance cords and extension cords
Avoid: frayed insulation, crushed cords, cords under rugs/doorways, and “repaired” cords with tape. Replace cords instead of patching.
D. Overloaded power strips and daisy-chained extension cords
Avoid: plugging high-wattage devices (space heaters, microwaves, hair dryers) into strips or thin-gauge extensions.
E. Loose plugs and worn receptacles
Avoid: outlets that spark repeatedly when plugging/unplugging or that intermittently power devices.
F. DIY splices outside electrical boxes
Avoid: hidden splices in walls, ceilings, or behind furniture without proper enclosures.
G. Moisture near electrical connections
Avoid: using damaged outdoor cords, outlets exposed to water, or wiring in damp areas without proper protection.
Practical “arcing clue” checklist (home):
- Crackling/buzzing from outlet or switch
- Scorch marks or discoloration
- Burning odor (plastic/insulation)
- Warm wall plates
- Flickering lights when a device starts
- Breakers that trip repeatedly
When you see these signals, the safest move is not to “try again”—it’s to reduce load, de-energize if needed, and escalate.
Which workplace/hot-work spark hazards are most common?
There are 5 main hot-work spark hazards—A through E—based on the criterion of spark travel distance, hidden ignition points, and lack of monitoring:
A. Grinding/cutting near combustibles (within reach)
Avoid: doing hot work near cardboard, insulation, stored materials, or debris without clearing and shielding.
B. Unsealed floor and wall penetrations
Avoid: leaving gaps around pipes, conduits, ducts, and floor openings where sparks can fall into voids.
C. No fire watch during and after hot work
Avoid: walking away immediately after work ends. Smoldering fires often start after the visible work stops.
D. No spark shielding or containment
Avoid: working overhead or near sensitive areas without spark curtains, fire blankets, or barriers.
E. Poor housekeeping (dust, debris, oily residues)
Avoid: sparks landing in piles of dust, shavings, or oily materials that ignite easily.
And 3 cross-context hazards that people forget:
F. Static discharge during fuel/solvent transfer
Avoid: pouring from plastic to plastic without bonding/grounding controls in vapor-prone environments.
G. Mechanical sparks from impact/friction
Avoid: metal-on-metal contact in dusty or vapor-rich environments, especially with malfunctioning equipment.
H. Battery sparks in garages and shops
Avoid: creating sparks around lead-acid batteries, charging stations, or hydrogen venting.
This last one matters more than people think—because cars create sparks too, especially during battery work.
How do you prevent spark hazards using a simple control checklist?
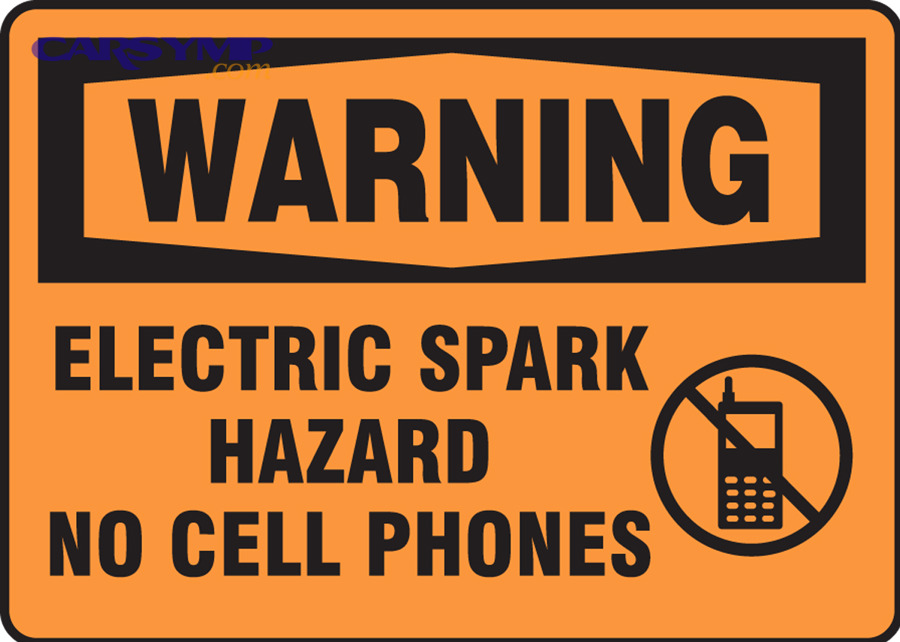
You prevent spark hazards by using one practical method—a three-phase control checklist (before, during, after)—with 9 essential steps that remove fuel, contain sparks, and ensure smoldering doesn’t turn into a fire.
To better understand prevention, treat this as an “operating system” you can apply whether you’re a homeowner plugging in a heater or a worker running a grinder.
What should you do *before* work to prevent sparks from finding fuel?
Before spark-producing activity, there are 5 key steps—A through E—based on the criterion of fuel removal and spark isolation:
A. Identify the spark source and its “throw zone”
Grinding sparks and hot particles travel farther than most people expect. Assume sparks can bounce, roll, or drop into edges.
B. Remove combustibles and reduce clutter
Move paper, rags, wood, cardboard, and aerosols away. If you can’t move items, cover them with suitable fire-resistant protection.
C. Cover or seal openings
Block floor gaps, wall penetrations, and ducts that allow sparks to enter hidden spaces.
D. Confirm you have suppression ready
Stage an appropriate extinguisher and ensure someone knows how to use it.
E. Control the energy source
For electrical tasks, reduce load and avoid “temporary fixes.” For hot work, ensure equipment is in good condition to avoid unexpected arcing or spatter.
For car-related spark work (battery / jump starting): a spark near a battery can ignite hydrogen gas, especially in damaged or poorly ventilated conditions. If your “spark hazard” scenario is actually a car that won’t start, treat jump starting as spark work. Use a jump start guide mindset: control sparks, control polarity, and keep ignition sources away from venting gas.
What should you do *during and after* spark-producing work?
During and after the work, there are 4 key steps—A through D—based on the criterion of spark containment and smolder detection:
A. Contain sparks as you create them
Use spark shields/curtains, angle grinding away from openings, and keep a clean landing area.
B. Monitor continuously (don’t “set and forget”)
A second person watching for spark escape is often the best prevention tool on a job site.
C. Perform a deliberate post-work check
Look for smoke, odor, unusual heat, and glowing particles in corners, voids, and debris.
D. Continue monitoring long enough
Smolder is the silent starter. Post-work monitoring is not “extra”; it’s the step that prevents delayed ignition.
If your sparks come from car battery work, apply the same logic. Use Safe jump start steps with jumper cables that minimize battery-near sparks:
- Connect positive to positive first (good battery and dead battery).
- Connect the negative clamp to the engine block/ground on the dead vehicle away from the battery, not directly to the battery’s negative terminal when possible.
- Start the donor vehicle, then start the dead vehicle.
- Remove cables in reverse order, starting with the engine block ground clamp.
If you’re troubleshooting What to do if jump start doesn’t work, don’t keep “sparking and retrying.” Stop and check for underlying issues like incorrect cable placement, weak donor battery, corroded terminals, failed starter, or a battery that cannot accept charge—because repeated attempts increase heat and spark exposure. For more symptom-driven diagnostics, some drivers use resources like carsymp.com to match “no crank” vs “clicking” vs “dims then nothing” patterns before deciding whether to continue.
How can you tell “dangerous arcing” from harmless static or normal contact sparking?
Dangerous arcing is indicated by repeatable sparking plus heat, odor, noise, discoloration, or breaker behavior, while harmless static is typically brief, isolated, and not associated with heat or ongoing electrical symptoms.
However, it’s the pattern that matters most: a one-time static snap is annoying; repeating arcs from a connection are an ignition pathway.

Use this comparison to decide quickly:
- Static discharge (usually lower fire risk)
- One quick snap when touching a metal surface
- No burning smell, no heat, no buzzing
- Happens more in dry air / certain clothing
- Not tied to a specific outlet/device heating up
- Electrical arcing (higher fire risk)
- Repeats at a specific outlet, switch, plug, or panel area
- Crackling/buzzing, flicker under load
- Warm/hot faceplate, discoloration, scorching
- Burning smell or melted plastic
- Breaker trips, device failure, or intermittent power
What warning signs mean you should shut off power and call an electrician immediately?
There are 6 major warning signs that justify immediate shutdown and professional help—based on the criterion of heat damage and persistent arcing behavior:
- Burning odor (plastic, fishy smell, insulation smell)
- Heat at an outlet, switch, cord, or panel (warm to the touch is not normal)
- Scorch marks or discoloration around outlets/switches
- Buzzing/crackling sounds from outlets or panel
- Repeated breaker trips after resetting (especially under normal load)
- Visible melting of plugs, outlets, or cords
If you detect any of these, the safest sequence is: reduce load → de-energize the circuit → keep people away → call a qualified electrician. You prevent fires by removing energy before the arc escalates.
What spark-related problems can be DIY-inspected safely, and what should never be DIY?
DIY can be safe for non-invasive observation and load reduction, while it should never include opening panels, rewiring, or tightening live connections, because those actions can create arcs, shock hazards, and arc-flash risks.
On the other hand, there are safe steps homeowners and workers can do immediately without tools:
Safe DIY checks (generally acceptable):
- Unplug high-load devices and stop using the suspect outlet
- Inspect cords and plugs for visible damage
- Move combustibles away from the area
- Check if heat or odor persists after unplugging
- Document what happened (which device, what sound/smell, which breaker)
Not DIY (escalate):
- Opening a panel cover and touching conductors
- Tightening lugs or connections without training
- Replacing outlets when you’re unsure about wiring condition
- Bypassing breakers or using oversized fuses
- “Fixing” cords with tape or makeshift splices
If you need a rule: if the solution requires exposing energized parts, it’s no longer DIY—it’s risk creation.
What PPE and safety equipment reduce spark injuries and fires the most?
There are 6 essential PPE and safety equipment categories that reduce spark injuries and fires—eye/face protection, gloves, flame-resistant clothing, spark containment, extinguishers, and monitoring tools—based on the criterion of blocking injury pathways and stopping ignition early.
More importantly, the best equipment is the equipment that matches the hazard type: arcing hazards need different gear than grinding sparks.

Start with the core kit:
- Eye/face protection: safety glasses minimum; face shield for grinding/cutting
- Gloves: heat-resistant for hot work; appropriate insulated gloves only for trained electrical work
- Flame-resistant (FR) clothing: reduces burn injury and prevents clothing ignition
- Spark containment: curtains, blankets, shields, welding screens
- Fire suppression: correct extinguisher type, accessible and charged
- Monitoring: a dedicated fire watch, thermal awareness, and post-work check discipline
Which fire extinguishers work for electrical or solvent fires, and which don’t?
ABC extinguishers are best for most mixed hazards, CO2 is strong for electrical equipment in certain settings, and water-based extinguishers are unsafe for energized electrical equipment; the right choice depends on the fire class and whether electricity is still present.
However, the practical action is “match the extinguisher to the fuel”:
- Electrical/energized equipment: use an extinguisher rated for that scenario; avoid spraying water on energized sources.
- Solvent/vapor-related fires: prioritize shutting off the source and using appropriate suppression; vapor fires can re-flash if vapors remain.
- Ordinary combustibles (paper/wood): standard suppression can be effective if applied early.
A key principle stays constant: remove energy (turn off power, stop flow, isolate fuel) because suppression alone is not always enough—especially for arcing, which continues until power is removed.
When do spark shields, fire blankets, and “spark containment” matter most?
Spark containment matters most when sparks can travel into hidden spaces or land on combustible surfaces—especially during overhead grinding, near penetrations, in cluttered areas, or anywhere you cannot fully clear combustibles.
Specifically, containment is a “layer” that reduces failure modes. If a spark escapes your tool path, a curtain prevents it from reaching fuel. If molten slag drops, a blanket stops it from rolling into debris. If you work near an opening, shielding blocks the spark route.
Containment is not just about sparks you can see. It’s about the sparks that bounce, roll, and smolder where you won’t notice until it’s too late.
What specialized spark risks and controls apply to hot work, fuel vapors, and dust hazards?
There are 3 specialized spark-risk zones—hot work systems, flammable vapor transfer, and combustible dust environments—based on the criterion of how easily sparks meet fuel in air, and each zone requires additional controls beyond basic housekeeping and “be careful.”
To illustrate why this matters: specialized environments don’t forgive small mistakes. A small static spark that’s harmless in a living room can become a flash fire in a vapor-rich workshop.

What is a hot work permit, and when is it required (or smart) to use one?
A hot work permit is a formal safety process that authorizes spark- or flame-producing work only after verifying controls—clearance, shielding, monitoring, and emergency readiness—and it’s smart whenever sparks could ignite combustibles, travel through openings, or smolder unnoticed.
More specifically, a permit system forces discipline:
- It identifies the work area and nearby exposures
- It requires combustibles to be removed or protected
- It assigns a fire watch and defines monitoring duration
- It confirms suppression readiness and escalation steps
- It documents that controls were verified before work begins
Even when a permit is not legally required in a given setting, using a permit-style checklist is one of the simplest ways to prevent hot-work fires—because it prevents “we thought it was fine” assumptions.
What’s the difference between grounding and bonding for static control during fuel/solvent handling?
Bonding connects objects together so they share the same electrical potential, while grounding provides a path for charge to dissipate to earth; both reduce static ignition risk during liquid transfer by preventing a voltage difference that could create a spark.
However, the practical misunderstanding is common: people “ground” one container but forget that the receiving container is isolated, so a potential difference still exists at the pour point. Bonding addresses that by tying the two containers together electrically.
Use these rules in vapor-risk settings:
- Bond dispensing and receiving containers together during transfer.
- Ground the bonded system when required by your environment and procedures.
- Reduce vapors by keeping containers closed and using ventilation that doesn’t spread vapors toward ignition sources.
- Avoid plastics that accumulate charge unless your procedure specifically addresses them.
If you want the simplest mental model: bonding prevents a spark between containers; grounding helps drain charge away over time.
Can dust really explode, and what spark controls reduce dust ignition risk?
Yes—dust can explode when fine combustible particles disperse into air at the right concentration, because a spark or hot surface can ignite the dust cloud and the rapid combustion creates pressure; the best controls are dust housekeeping, dust collection, spark source control, and preventing dust clouds.
Specifically, dust risk rises when dust is fine, dry, and easily suspended—wood dust, flour, sugar, grain dust, and some plastics are common examples. The most dangerous moment is often not “when the shop is dusty,” but when dust is disturbed and becomes airborne.
High-value controls include:
- Housekeeping routines that remove dust layers from high surfaces and hidden ledges
- Dust collection that reduces airborne dust and prevents accumulation in ducting
- Tool maintenance to prevent friction sparks from failing bearings or rubbing components
- No ignition sources near dust handling—avoid open flames and uncontrolled sparks
- Avoid blowing dust with compressed air in ways that create a dust cloud
According to a study by Purdue University from the Process Safety and Assurance Center (P2SAC), in 2018, researchers highlighted that the minimum ignition energy of dust clouds can be low enough that a relatively small spark can ignite an ideal dust-air mixture under lab conditions—reinforcing why controlling dust clouds and ignition sources is critical.
Are “non-sparking” tools and intrinsically safe devices worth it, and in what settings?
Yes—non-sparking tools and intrinsically safe devices are worth it when your environment can contain ignitable vapors, gases, or dust clouds, because they reduce ignition sources and limit energy release; they matter most in fuel handling, chemical storage, and industrial dust settings.
On the other hand, they are not a substitute for fundamentals. If combustibles are piled around a grinding station, “non-sparking” tools won’t fix housekeeping failure. If vapors are present because containers are left open, intrinsically safe gear won’t solve vapor management.
Use them where they create real value:
- Fuel-transfer zones and solvent rooms
- Confined spaces with potential vapors
- Industrial dust processes (collection, transfer, milling)
- Areas classified as hazardous by facility safety programs
In short, specialized tools are strongest when they support strong processes—not when they try to rescue weak ones.
Evidence (sources used sparingly, domains not repeated)
- NFPA Research reports that arcing is a major heat source in many home fires involving electrical distribution and lighting equipment.
- OSHA guidance documents emphasize that fire watch duties must continue after hot work ends to catch delayed ignition.
- University and research safety materials on grounding/bonding explain how static discharge can ignite flammable vapors and how conductive pathways reduce that risk.