


A portable booster pack can safely start most dead-battery cars when you connect the clamps in the correct order, choose a solid ground point, crank in short bursts, and remove the clamps safely after the engine runs. This guide walks you through the exact sequence so you can start the car without guessing.
Then, you’ll learn the key checks that prevent the most common problems—reverse polarity, poor clamp contact, and hidden battery damage—so you know when it’s safe to proceed and when it’s smarter to stop.
Next, you’ll get a practical troubleshooting path for the moments when the engine still won’t start, including how to interpret error lights on smart clamps and how to separate “bad connection” from “weak pack” from “failing battery.”
Introduce a new idea: after you can reliably start the car, we’ll expand into choosing and maintaining a booster pack (including special cases like start-stop vehicles) so you’re prepared before the next dead-battery surprise.
What is a portable booster pack (jump starter/jump box), and how does it start a car?
A portable booster pack is a compact, high-current battery device that delivers a short burst of power to crank your engine when the car’s 12V battery can’t, using clamps to connect directly to the battery terminals.
To better understand why the steps matter, it helps to know what the pack is actually doing—and what it is not doing.
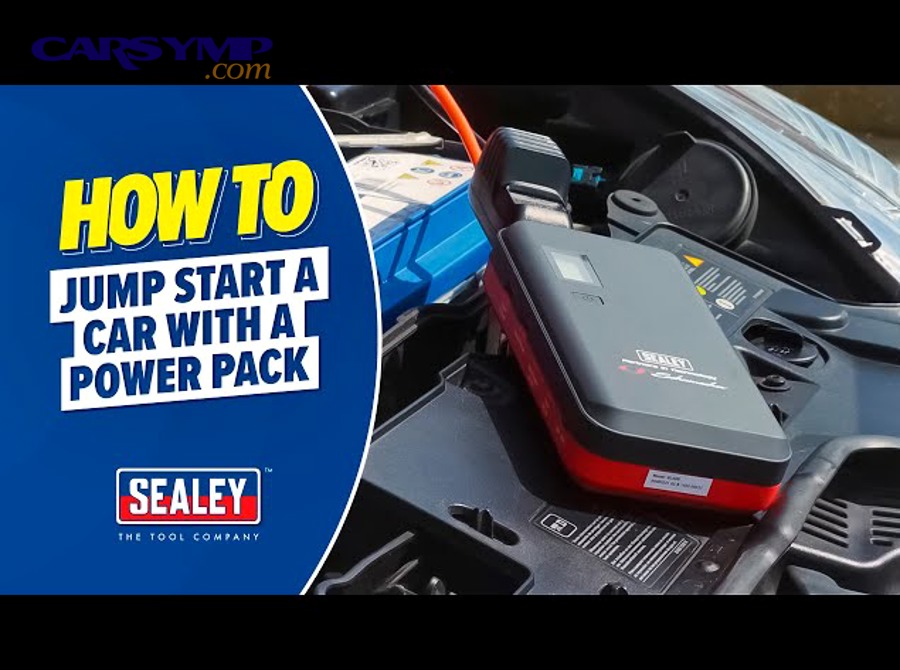
What do “peak amps” and “cranking amps” mean for jump starting?
“Peak amps” is the highest burst current a jump starter may claim under ideal conditions, while “cranking amps” (often closer to real-world starting power) reflects the sustained current needed to crank an engine for a few seconds.
Specifically, the difference explains why a small pack can sometimes start a small engine but struggle on a cold morning with a larger engine.
How to interpret these numbers without overthinking
- Cranking current is the practical metric. Starting an engine is not a single instant—it’s a short event (usually a few seconds). Packs that can hold output for that event tend to perform more consistently than “peak only” marketing.
- Cold weather raises the demand. Thick engine oil and slower battery chemistry increase the load the starter motor sees, so you need more available current.
- Your battery still plays a role. Many jump starters don’t “replace” the battery; they “assist” it. A severely damaged or internally shorted battery can prevent a stable start.
Why your pack can seem weaker than expected
- Your pack may be at 60–70% charge when you thought it was full.
- The clamps may be touching corrosion instead of clean metal.
- The vehicle may have a bigger-than-expected starter load (cold, high-compression engine, or mechanical drag).
According to a study by Lodz University of Technology from the Faculty of Process and Environmental Engineering, in 2021, researchers modeled hydrogen accumulation during lead-acid battery charging and noted the lower explosive limit at 4% by volume, showing why spark avoidance and ventilation are critical around batteries.
Can you jump-start a car safely with a portable booster pack?
Yes—jump starting with a portable booster pack is safe when you confirm the battery is not damaged, connect the clamps with correct polarity, and prevent sparks near battery vents, but it’s unsafe if the battery is leaking, swollen, frozen, or you can’t confirm terminal polarity.
More importantly, “safe” depends on the checks you do before the first clamp touches metal.

What should you check before connecting a booster pack to a battery?
You should check five categories—battery condition, terminal identity, connection quality, vehicle state, and environment—because each one prevents a different failure mode.
Then, you can connect with confidence instead of relying on luck.
1) Battery condition (stop signs vs proceed signs)
- Stop immediately if you see:
- A swollen battery case (bulging sides or top)
- Cracks, leaks, or wetness that looks like acid
- A rotten egg smell (possible gas release)
- A battery that appears frozen (common in extreme cold)
These conditions increase risk and can turn a routine jump into a hazard.
- Proceed only if:
- The case looks intact
- The terminals are not loose
- There’s no active leaking or damage
2) Terminal identity (don’t assume—verify)
- The positive (+) terminal is usually marked with +, often under a red cover, and connected to thicker cables that lead to the starter and fuse box.
- The negative (-) terminal often connects to the chassis/engine ground.
- If markings are obscured, wipe carefully and look again—guessing polarity is the fastest path to an error or damage.
3) Connection quality (metal-to-metal contact)
- Clean away heavy corrosion if you can do so safely.
- Clamp jaws must bite bare metal—not plastic caps, not powdery corrosion, not a loose clamp-on terminal cover.
- A “good-looking” connection that’s actually poor is a top reason jump starts fail.
4) Vehicle state (reduce load, reduce risk)
- Turn the ignition fully off.
- Turn off accessories: headlights, HVAC fan, radio, heated seats.
- Put the vehicle in Park (or neutral with parking brake) and set the parking brake.
5) Environment and positioning
- Work in a ventilated area.
- Place the booster pack on a stable surface away from moving parts.
- Keep cables clear of belts and fans.
A simple safety rule that prevents most mistakes
If you cannot clearly identify + and – and cannot get a solid clamp bite, stop and don’t “try anyway.”
How do you jump-start a car with a portable booster pack step by step?
Jump-starting with a portable booster pack follows a predictable sequence—prep, connect, power, crank, and disconnect—and when you follow the steps in order, you maximize your chance of starting the engine while minimizing sparks and errors.
Below is the practical step-by-step flow that turns a portable pack into a reliable tool instead of a stressful experiment.
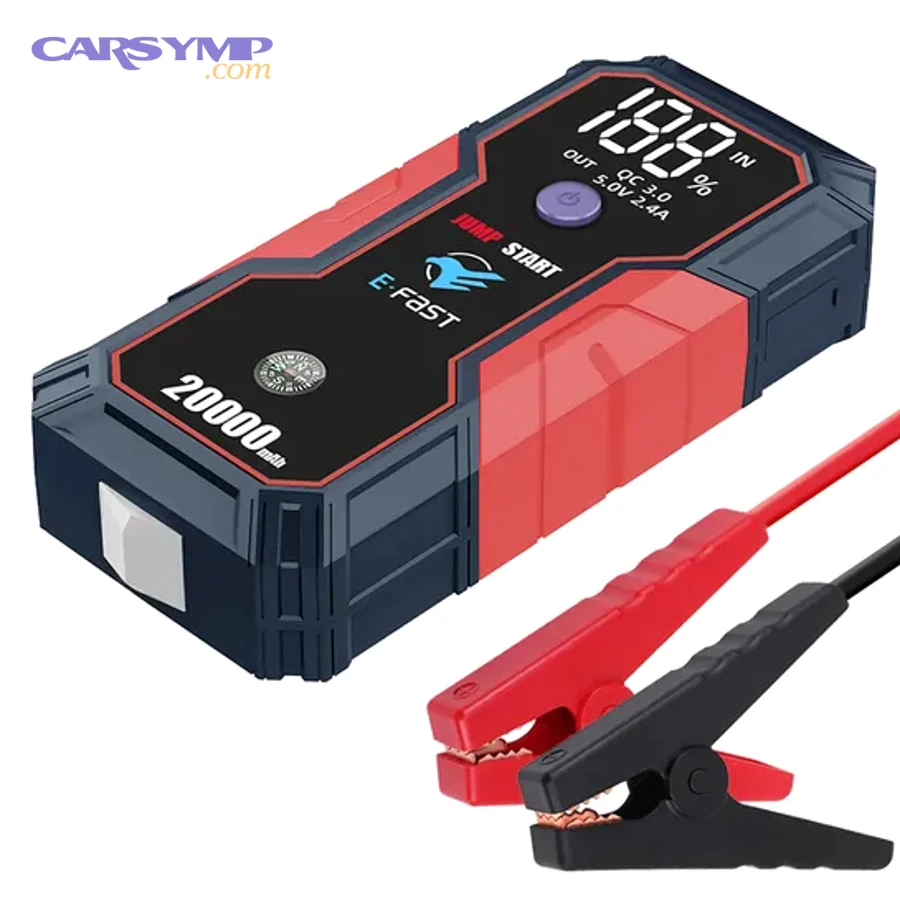
What is the correct clamp order (positive first or negative first) and where should the negative clamp go?
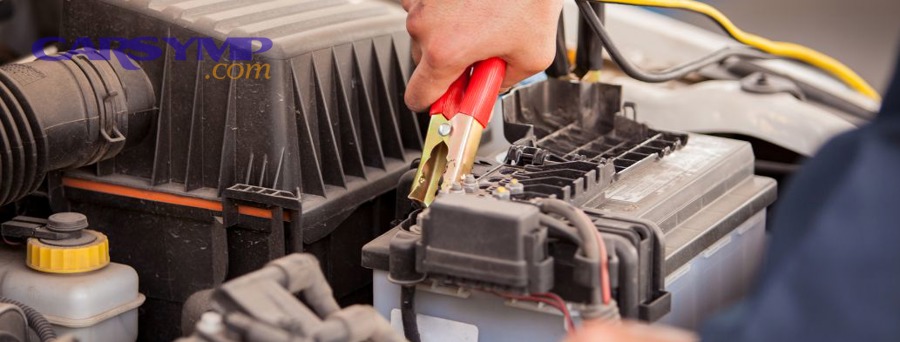
Connect positive first to the battery’s + terminal, then connect negative to a solid chassis/engine ground point away from the battery, because this order reduces the chance of accidental shorting and keeps the final connection (where a spark could occur) away from battery gases.
To illustrate the logic, think of the final clamp as the moment most likely to spark—so you want it away from the battery.
Step-by-step clamp order (most common safe method)
- Red clamp → battery positive (+)
- Confirm the + mark.
- Make sure the clamp is stable and not slipping.
- Black clamp → chassis/engine ground
- Choose an unpainted metal bolt/bracket on the engine block or chassis.
- Avoid thin sheet metal, painted surfaces, and moving parts.
If your vehicle has remote jump posts
Some vehicles provide designated + and – points under the hood even when the battery is in the trunk. Use those posts—manufacturers provide them for a reason.
If your booster pack manual instructs black to battery negative
Some packs and some vehicle layouts specify black to battery negative. Follow the pack and vehicle instructions when clearly stated—especially on vehicles with special grounding layouts. When unclear, the chassis ground method is the widely recommended approach for reducing spark risk near the battery.
How long should you crank, and how many attempts are safe before you stop?
You should crank in short bursts—typically a few seconds per attempt—with rest periods between tries, and stop after a small number of attempts if the pack warns of heat or error, because repeated long cranks can overheat cables, stress the starter, and drain the pack.
More specifically, controlled cranking is the difference between a clean start and a cascade of failures.
A practical cranking rhythm
- Attempt 1: Crank for a short burst.
- Rest: Pause briefly to let the starter and cables cool and let voltage stabilize.
- Attempt 2: Crank again if needed.
- Stop if you see smoke, smell burning, cables feel hot, or the pack shows an error.
What you should not do
- Don’t crank continuously for a long stretch hoping it “catches.”
- Don’t ignore repeated clicking—clicking often means low voltage, poor connection, or a failing starter.
Quick check between attempts
- Ensure the red clamp is on clean metal at +.
- Move the ground clamp to a better spot if you suspect paint or poor contact.
- Confirm the pack is actually turned on (some require a button press after clamping).
What is the safest disconnect order after the engine starts?
Remove the negative/ground clamp first and the positive clamp second, because disconnecting the ground first reduces the chance of a short if the positive clamp accidentally touches metal while you’re moving it away.
Then, you complete the jump start without creating a final accidental spark.
Safe disconnect sequence
- Confirm the engine is running steadily.
- Turn the pack off if your model requires it.
- Remove black clamp from ground point.
- Remove red clamp from battery positive.
- Keep clamps from touching each other or the battery while removing.
Where this becomes a “jump start guide” people actually follow, the key is consistency: if you always connect positive first and remove negative first, you reduce errors even when you’re stressed.
What should you do immediately after the car starts?
After the engine starts, keep it running, reduce electrical load, and plan a recharge strategy, because a jump start fixes the symptom (no crank) but doesn’t automatically fix the cause (low battery charge or underlying charging/battery issues).
In addition, your goal is to prevent an immediate stall or a second no-start five minutes later.
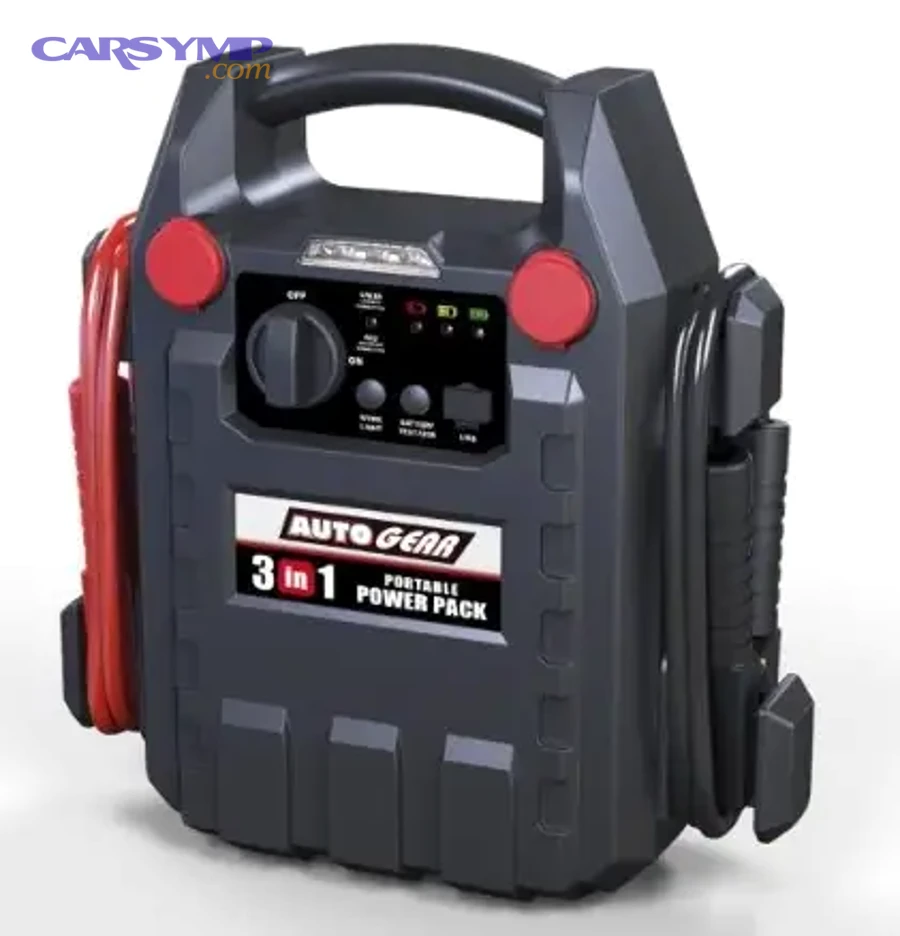
How long should you keep the engine running to reduce the risk of stalling again?
Keep the engine running long enough to stabilize and begin recharging—often at least long enough to confirm idle stability and then drive if safe—because alternator output and battery recovery improve when the engine runs under normal conditions rather than shutting off immediately.
Moreover, the right “run time” depends on how depleted the battery was and whether it is still healthy.
Do this in the first 2–3 minutes
- Let the engine idle smoothly.
- Turn off non-essential loads (heated seats, high fan speeds).
- Watch for warning lights that suggest charging system issues.
Then choose the best recharge action
- Best: Drive normally if conditions allow. Driving typically spins the alternator faster than idle, improving charging rate.
- Okay: Let it idle for a period if you cannot drive yet, but don’t assume a short idle fully restores the battery.
Signs the car may die again soon
- Rough idle that gets worse with electrical loads
- Dimming lights at idle
- Battery/charging warning light staying on
According to a study by Lodz University of Technology from the Faculty of Process and Environmental Engineering, in 2021, researchers reported that hydrogen levels can reach the 4% lower explosive limit without adequate ventilation, reinforcing why you should avoid sparks near the battery and work in open air.
Why won’t the car start even with a booster pack, and what should you try next?
When a car won’t start even with a booster pack, the cause is usually one of three buckets—poor connection, insufficient jump power, or an underlying vehicle/battery fault—and you can identify the right fix by checking symptoms in a simple order.
Especially in the moment, a structured plan prevents you from repeating the same failing attempt.
Which problems are most common: weak pack, bad connection, or a failing battery?
Bad connection is most common, a weak pack is next, and a failing battery becomes more likely when the car repeatedly dies or shows severe voltage sag, because clamp contact and corrosion issues happen instantly while true battery failure shows up as recurring behavior.
However, you can differentiate them by what the car does when you try to crank.
Use this symptom-to-cause map
- Nothing happens (no click, no crank): Pack may not be on, clamps not conducting, or safety lockout triggered.
- Rapid clicking: Voltage is too low at the starter—often poor clamp contact or severely depleted battery.
- Single click (then silence): Starter solenoid engages but doesn’t crank—could be low current delivery, poor ground, or starter issue.
- Cranks slowly: Weak pack, cold conditions, or failing battery with high internal resistance.
- Cranks normally but won’t fire: Not a battery/jump issue (could be fuel/ignition)—a booster pack won’t fix a non-electrical no-start.
Fast fixes that solve most “it still won’t start” situations
- Re-clamp the red jaw directly on clean metal of the + terminal.
- Move the ground clamp to a thicker, unpainted engine bolt.
- Confirm the pack charge level is adequate.
- Turn everything off and try again with a short crank.
What do reverse-polarity or error warnings mean, and how do you correct them safely?
Reverse-polarity or error warnings mean the pack’s smart protection detects an unsafe connection (wrong polarity, short risk, or poor contact), and the safest fix is to disconnect immediately, verify terminal markings, and reconnect with clean, stable clamps.
Then, you avoid turning a simple correction into electrical damage.
What to do the moment you see an error
- Stop cranking and power off the pack if applicable.
- Remove black clamp first, then red clamp.
- Re-check that the red clamp is on + and that you have a reliable ground point.
- Clean or reposition clamps to ensure metal-to-metal contact.
What to avoid
- Don’t force “boost/override” mode to bypass a safety warning unless your pack and vehicle documentation explicitly allows it for deeply discharged batteries—and you understand the risk of bypassing protection.
- Don’t keep “wiggling” clamps while the pack is energized; disconnect first, then reposition.
What to do if jump start doesn’t work (a repeatable troubleshooting path)
- Attempt with improved connections.
- Attempt with a fully charged pack.
- If still no start: suspect battery failure, starter issue, or non-battery no-start and escalate accordingly.
When should you stop and call roadside assistance or a mechanic instead?
Yes—you should stop and call roadside assistance or a mechanic when you see battery damage, repeated failures, or signs of a deeper electrical problem, because continuing can be unsafe and can mask issues like a failed alternator or a battery that is beyond recovery.
Moreover, stopping early often saves time and money compared to repeated jump attempts.
What are the “do not attempt” warning signs for a battery or electrical system?
There are several “do not attempt” warning signs—swelling, leaks, cracks, burning smell, repeated immediate failure, and unstable electrical behavior—because these signs point to explosion risk, acid exposure risk, or a charging system fault that a booster pack cannot solve.
In short, these signs are your boundary between DIY and professional help.
Stop and get help if you notice
- Physical battery danger
- Bulging or swollen case
- Leaking fluid or wetness around battery
- Cracks in the case
- Strong sulfur/rotten-egg odor
- Electrical danger
- Smoke, melting, or hot cables
- Repeated reverse polarity warnings even when you’re sure polarity is correct
- Sparks that seem excessive or persistent
- Repeated no-start pattern
- The car starts but dies quickly every time
- The battery is dead again the next morning
- Charging system red flags
- Battery/charging warning light remains on after start
- Lights dim significantly at idle
- Multiple electrical systems behave erratically
Jump start vs battery replacement decision (a simple rule set)
- Choose jump start when the battery is likely healthy but temporarily discharged (lights left on, car sat for weeks, cold snap) and the vehicle runs normally after starting.
- Choose battery replacement when the battery is old, repeatedly dies, struggles even after being charged, or fails a test—because “jumping” becomes a repeating patch, not a solution.
- Choose mechanic diagnosis when the battery is new-ish but still dies, because alternator output, parasitic draw, or wiring faults may be the real cause.
According to a study by Lodz University of Technology from the Faculty of Process and Environmental Engineering, in 2021, researchers quantified hydrogen thresholds up to the 4% lower explosive limit, supporting the safety practice of avoiding sparks near the battery during jump starting and charging.
Contextual Border: At this point, you can safely connect a booster pack, start the vehicle, handle post-start steps, and troubleshoot the most common failures. The remaining section expands your semantic coverage into selecting and maintaining the right tool, including special vehicle cases.
How do you choose and maintain the right portable booster pack for your vehicle and edge cases?
You choose and maintain the right portable booster pack by matching it to your engine’s real cranking needs, prioritizing safety features like smart clamps, and storing it so it stays charged and ready—because a perfectly executed jump-start process still fails if the pack is underpowered or empty.
Next, we’ll widen the lens from “how to use” to “how to prepare,” so the tool works when you need it.

Which booster pack size and rating should you buy for your engine (gas vs diesel, small vs large)?
A higher-capacity pack is typically best for larger engines and cold climates, while a compact pack can be sufficient for small gasoline engines in mild conditions, because diesel engines and larger displacements generally require more cranking power and longer sustained current.
However, the “best” choice is the one that matches your most demanding scenario, not your average day.
A practical way to match pack to your vehicle
- Small gasoline engines: often work with mid-range packs when warm and the battery isn’t totally dead.
- Large gasoline engines / high-compression engines: benefit from higher cranking capability and stronger clamps/cables.
- Diesel engines: typically demand more cranking current; choose a pack designed for diesel starting, especially in winter.
- Cold-weather drivers: add headroom. Cold can turn a “barely adequate” pack into a “no-start” pack.
What to look for beyond the number
- Thick, well-insulated cables and strong clamp jaws
- Clear indicator lights and straightforward error messaging
- Good support documentation that explains normal vs abnormal behavior
What unique features matter most (smart clamps, boost/override mode, USB/air compressor), and when do they help?
Smart clamps matter most for preventing polarity mistakes, boost/override mode can help in special deeply discharged scenarios, and extras like USB or air compressors are convenience features, because only safety and starting performance determine whether the pack will actually crank your engine.
On the other hand, extra features can still be valuable when they match your driving reality.
Feature-by-feature: what helps jump starting vs what helps convenience
- Smart clamps / reverse-polarity protection: High value for most drivers; reduces error risk.
- Boost/override mode: Situational value; useful when a battery is deeply discharged and the pack requires a manual override. Use carefully and only as documented.
- USB power bank / flashlight: Useful for emergencies but not a substitute for strong starting power.
- Air compressor: Great for tire issues; unrelated to jump starting but valuable in an emergency kit.
How should you charge, store, and test a booster pack so it’s not dead when you need it?
Charge, store, and test your booster pack on a routine schedule, keep it within safe temperature ranges, and confirm it holds charge, because lithium and lead-acid packs both lose readiness when left untouched for long periods or stored in extreme heat/cold.
More specifically, maintenance is what turns a purchase into a dependable tool.
A simple maintenance routine
- Monthly quick check: confirm charge level and indicator function.
- Top-up charging: follow your manufacturer’s guidance; don’t assume it stays full forever.
- Storage: keep it in a stable, moderate environment when possible; avoid baking in direct sunlight for months.
- Cable care: inspect clamp jaws and cable insulation; replace if cracked or damaged.
The most common “my jump starter failed me” causes
- The pack was stored at very low charge.
- The pack degraded from heat exposure over time.
- The clamp jaws were damaged or weak, reducing real current transfer.
What rare vehicle situations change the process (AGM/start-stop, trunk batteries, hybrids/EV 12V systems)?
Certain vehicles require different connection points or extra caution—especially AGM/start-stop setups, trunk-mounted batteries with remote posts, and hybrids/EVs that still use a 12V system—because battery placement, management electronics, and designated jump points change what “safe connection” means.
Especially here, you should prioritize the vehicle’s owner manual jump-start section.
Remote battery posts / trunk-mounted batteries
- Many cars provide dedicated under-hood jump points.
- Use those posts to avoid routing clamps awkwardly into a trunk.
AGM and start-stop systems
- Start-stop vehicles often use AGM or EFB batteries and battery management logic.
- A jump start may work, but repeated low-voltage events can trigger warnings or require system relearn procedures.
Hybrid and EV jump start precautions
- Hybrids and EVs typically have a 12V battery that powers computers and contactors—even though propulsion comes from a high-voltage battery.
- Jump starting is often possible only at designated 12V points, with extra caution to avoid high-voltage components.
- If you’re uncertain about access points, stop and use the manual or professional help—misidentifying systems is not worth the risk.
Where this connects back to real search intent, you came here to learn how to jump-start safely—and now you also know how to prevent the most common failure: being unprepared with an underpowered or empty pack, or using the wrong connection points for your specific vehicle.
According to a study by Lodz University of Technology from the Faculty of Process and Environmental Engineering, in 2021, hydrogen concentrations were analyzed against the 4% lower explosive limit, supporting the practice of spark control and ventilation during jump starting and charging.