Replace Filters the Right Way: HVAC, Refrigerator Water, and Cabin Air Filter Replacement Guide for Homeowners & Drivers (Avoid Wrong Fitment)
Filter replacement is one of the simplest ways to protect a system’s “breathing” and “drinking” pathways—your HVAC airflow, your refrigerator’s water line, and your car’s cabin ventilation. Done correctly, it keeps performance steady, reduces strain, and prevents small issues from turning into expensive ones.
In a home, the most common filter replacement mistakes are choosing the wrong size or installing the filter backward, which can create bypass gaps and push dust deeper into the equipment. The good news is that once you know the filter type and the correct fitment rules, you can make every replacement predictable.
In a car, cabin air filter replacement is often overlooked because the symptoms creep in slowly—odor, weak airflow, and fogging. If you treat it like routine auto maintenance, you’ll typically get better comfort and fewer HVAC complaints without paying for unnecessary add-ons.
Introduce a new idea: Below, you’ll learn what “filter replacement” really means across these systems, how to pick the right filter, and how to replace each one safely with a repeatable checklist.
What does “filter replacement” mean across HVAC air, refrigerator water, and cabin air?
Filter replacement means removing a used filtration element that has reached its effective limit and installing a correctly sized, correctly oriented new one so the system can maintain designed flow and filtration performance. Next, it helps to see which filters we mean, what they protect, and why timing matters.
Which filters are we talking about, and what do they protect?
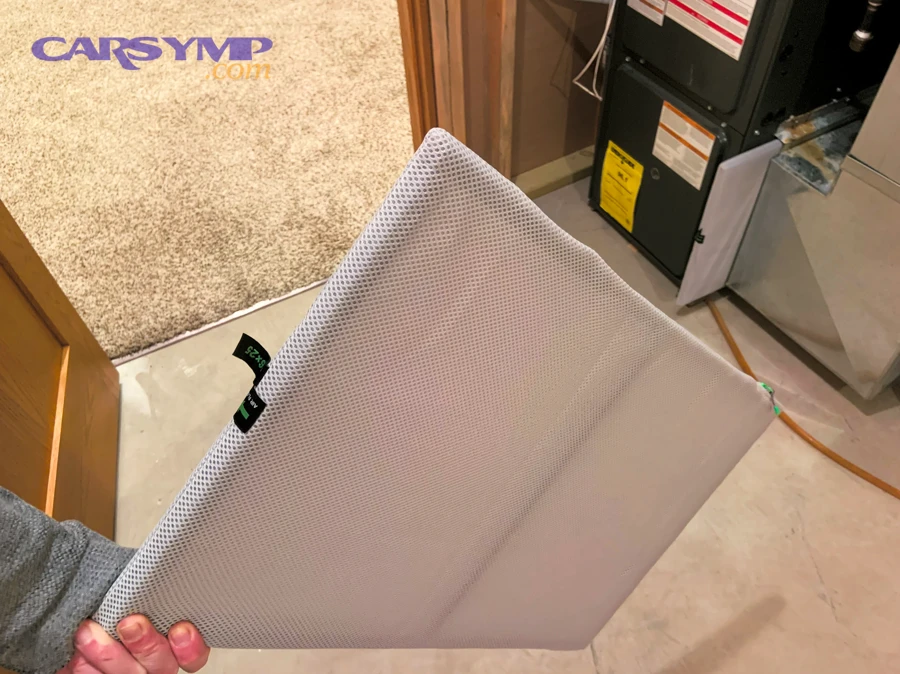
Filter replacement usually refers to three everyday filters that act like “gatekeepers,” each protecting a different part of your life:
- HVAC air filter (home): Protects the blower, evaporator coil, and ductwork from dust buildup while reducing airborne particles in circulating air. It supports stable airflow and helps keep the system cleaner over time.
- Refrigerator water filter (home): Protects your drinking water and ice quality by reducing certain contaminants and improving taste/odor, depending on the filter and certification. It also prevents sediment from affecting valves and dispensers.
- Cabin air filter (car): Protects passengers by reducing dust, pollen, and fine particles entering the cabin through the HVAC system, while also helping keep the blower and evaporator area cleaner.
More importantly, these are meronymic parts of bigger systems: the filter is a component that keeps the entire system working smoothly, which is why correct replacement matters more than people expect.
What happens when a filter is clogged or overdue?
A clogged or overdue filter usually causes restriction, bypass, or contamination, and the “damage pattern” depends on the system:
- HVAC: A loaded filter can increase resistance and reduce airflow, which can contribute to uneven temperatures, longer run times, and more dust accumulation where you don’t want it—especially if the filter is installed with gaps that allow bypass.
- Refrigerator water: Overused filters can trap debris and become a place where biofilm can develop in certain conditions, especially if maintenance is ignored and water sits stagnant for long periods. (pmc.ncbi.nlm.nih.gov)
- Car cabin: A clogged cabin filter can reduce vent airflow, worsen odors, and increase fogging because the HVAC struggles to move air efficiently. It can also make the blower work harder.
Specifically, the “Performance and MPG impact of clogged filters” is most obvious with engine-related filters (like engine air filters) rather than cabin filters; cabin filters mainly affect comfort and HVAC workload, while engine air filters can affect how efficiently the engine breathes under certain conditions.
Is “filter replacement” the same as cleaning, washing, or resetting?
No—filter replacement is not the same as cleaning, washing, or resetting, for three practical reasons:
- Media design differs: Many disposable filters are designed to be replaced, not washed; washing can damage the fibers and reduce filtration performance.
- Loading behavior matters: As filters load, their pressure drop changes. Cleaning may not restore the original structure or seal, especially for pleated media.
- Indicators are not filters: Resetting a light (like a refrigerator filter indicator) only resets a timer—it does not confirm the filter is actually fresh or correctly installed.
In addition, you can treat “cleaning vs replacement” as an antonym-style contrast: cleaning is maintenance of a reusable component, while replacement restores a consumable component to baseline.
How do you choose the right replacement filter for your system and model?
You choose the right replacement filter by matching fitment first, then choosing media and ratings that balance filtration needs with airflow and system design. Then, you can avoid the two biggest problems—wrong size and wrong quality.
How do you confirm the exact size, part number, and fitment?
Avoiding incorrect filter fitment starts with one rule: match what the system requires, not what “looks close.” Use this quick process:
- HVAC filters (return grille or air handler):
- Read the size printed on the old filter (example: 16×25×1) and measure the slot because printed sizes can be “nominal.”
- Confirm thickness (1", 2", 4", 5")—thickness affects fit and pressure drop.
- Check whether your system uses a filter rack, media cabinet, or a return grille filter.
- Refrigerator water filters:
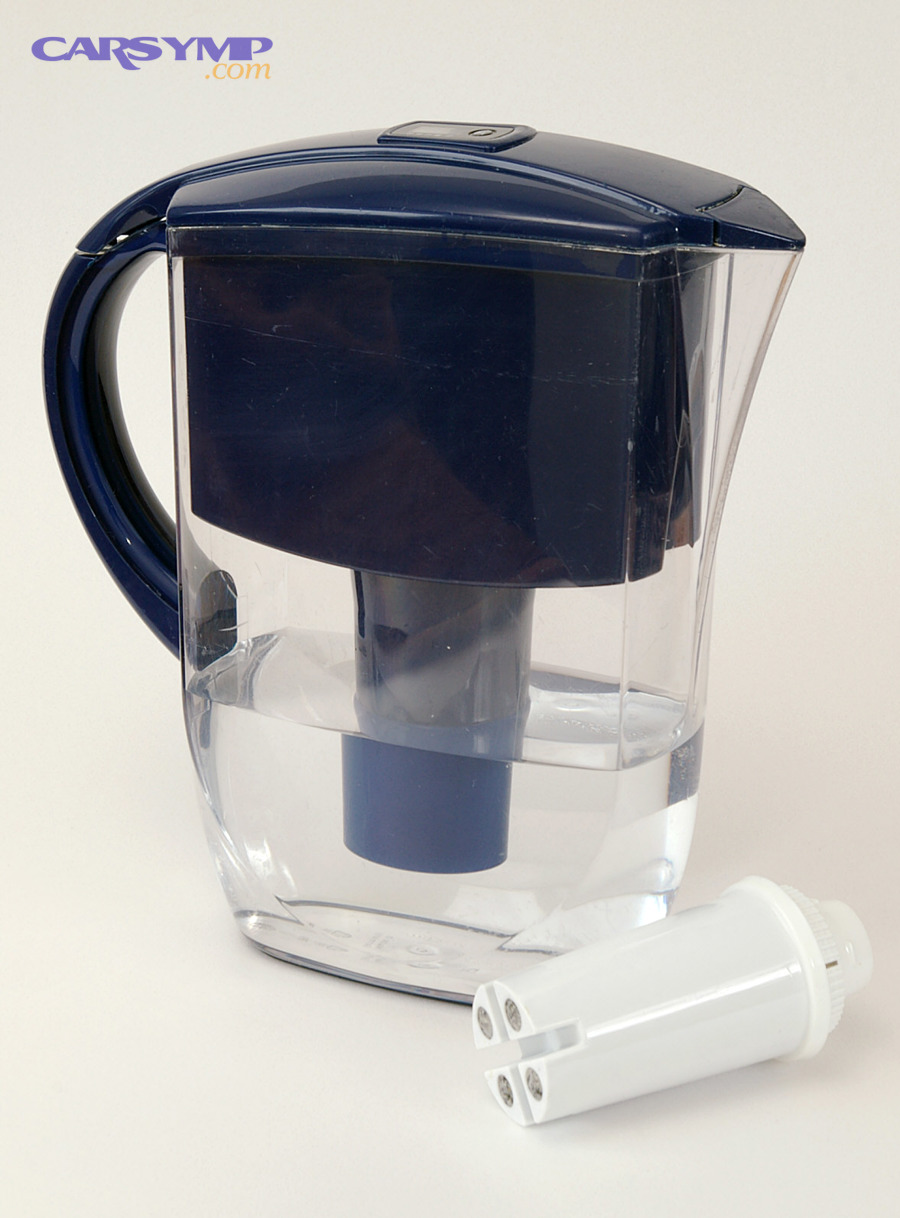
- Use the fridge model number and the filter part number from the manual or the existing cartridge label.
- Confirm whether your filter is a “twist-in,” “push-in,” or “inline” style and whether it uses an RFID/chip system (some models do).
- Cabin air filters (cars):
- Check the owner’s manual or an OEM parts lookup by VIN.
- Confirm if your vehicle uses a standard particulate filter or an activated carbon cabin filter.
A simple rule for all three: fitment is a binary requirement—either it fits correctly and seals, or it doesn’t. A near-fit often creates bypass gaps, rattles, leaks, or warning lights.
How do ratings and media types affect filtration and airflow?
Ratings and media types determine what gets captured and how much resistance the system sees.
- HVAC:
- Higher-efficiency pleated filters often capture more fine particles but can increase resistance if the filter area is small or if the system already struggles with airflow.
- If allergies or smoke are a concern, you may choose higher efficiency, but you should prioritize proper sizing and sealing so the system doesn’t pull air around the filter.
- Refrigerator water:
- Performance depends on the specific contaminants the filter is certified to reduce (taste/odor chlorine, lead, etc.). Certification (like NSF standards) is more meaningful than vague marketing claims.
- Cabin air:
- Standard cabin filters catch dust/pollen; carbon versions help with odors and some gaseous irritants, while high-efficiency variants can reduce fine particle exposure depending on design and ventilation settings.
In other words, filtration is a trade-off between capture and flow. You want “enough filtration” without choking the system.
How do you avoid counterfeit or low-quality filters?
To avoid counterfeits and low-quality filters, use three checkpoints:
- Buy from reliable channels: OEM, reputable retailers, or well-known aftermarket brands with clear certifications.
- Verify packaging and part numbers: Misspellings, missing seals, or mismatched labels are red flags.
- Inspect build quality: Poor pleat spacing, flimsy frames, or off-smell plastics (for water filters) can signal a low-quality unit.
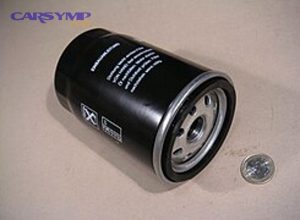
For cars, this is also where “Oil filter selection basics” is a helpful analogy: with any filter, you’re trusting the media, the seal, and the housing. If the seal is wrong, filtration performance becomes irrelevant.
How do you replace an HVAC air filter correctly at home?
To replace an HVAC air filter correctly at home, turn the system off, remove the old filter, install the new filter in the correct direction with a snug fit, and document the date so you can maintain a Preventive maintenance filter schedule. Next, location and airflow direction are the two details that prevent 90% of mistakes.
Where is the HVAC filter located and which way should it face?
Most HVAC filters are located in one of two places:
- Return grille filter: A large grille on a wall/ceiling that opens to reveal the filter.
- Air handler/furnace filter slot: A slot near the blower compartment, often on the return side.
The filter should face the direction of airflow. Most filters have an arrow on the frame; the arrow should point toward the blower/air handler (toward the equipment, not into the room). This matters because the media is often supported to handle airflow from the correct direction.
What are the step-by-step replacement steps (and a quick safety checklist)?
Here’s a practical DIY filter replacement checklist for HVAC:
- Turn off the system at the thermostat (and ideally the air handler switch) to prevent the blower from pulling in debris while the filter is out.
- Open the return grille or filter slot carefully.
- Slide out the old filter slowly to avoid dumping dust.
- Check the filter size and note it (take a photo of the label).
- Inspect the slot and gasket areas for gaps or bent rails.
- Insert the new filter with the airflow arrow pointing toward the blower.
- Confirm the fit: it should sit flush without bowing, and there should be no obvious bypass gaps.
- Close the panel/grille fully.
- Write the date on the filter frame and set a reminder.
To illustrate a safe, visual process, here’s one general walkthrough video:
What mistakes cause airflow problems or dust bypass?
Most airflow complaints after filter replacement come from a few repeat offenders:
- Wrong size or thickness: Creates gaps or forces the filter to bend.
- Backward installation: Can collapse the media or reduce effectiveness.
- Leaving the slot unsealed: Even a good filter can’t help if air bypasses around it.
- Upgrading efficiency without considering airflow: If the system is marginal, a much higher-resistance filter can reduce airflow and comfort.
Evidence: According to a study by UC Berkeley (Lawrence Berkeley National Laboratory), in 2002, typical residential evaporator coils were estimated to foul enough to double pressure drop in about 7.5 years, and reduced airflow can degrade efficiency and capacity—highlighting why controlling dust with proper filtration and fitment matters. (aceee.org)
How do you replace a refrigerator water filter step-by-step and reset the indicator?
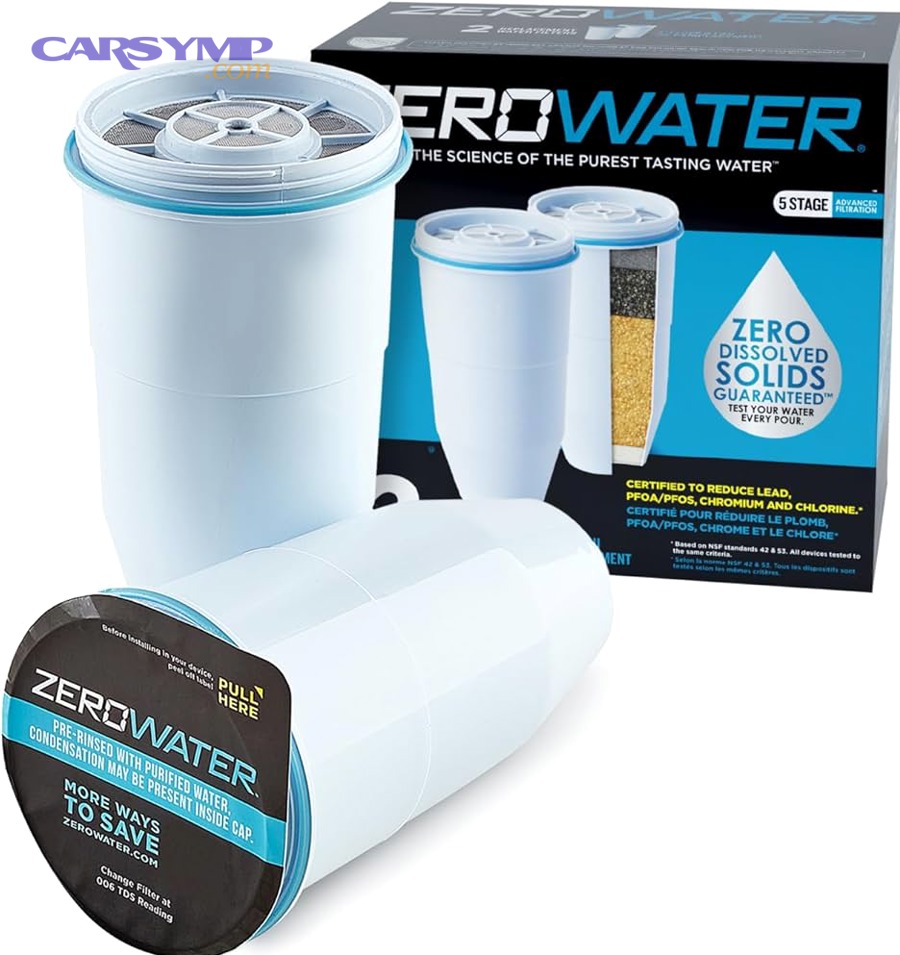
To replace a refrigerator water filter, install the correct cartridge, flush the system until water runs clear, and reset the indicator so the reminder matches the new filter’s service life. Then, focus on location and flushing so taste and flow return to normal quickly.
Where is the water filter, and do you need to shut off water?
Most refrigerator water filters are located:
- Inside the fridge (top right corner, upper compartment, or base grille area)
- In the base grille (front bottom)
- Inline behind the fridge (less common in newer models)
In many designs, you don’t need to shut off the household water because the filter housing has a valve that closes when the filter is removed. Still, it’s smart to:
- Dispense a little water first to reduce pressure
- Place a towel under the housing area
- Have the new filter ready to minimize open time
What are the steps to install and flush a new filter?
Use this repeatable process:
- Confirm the part number (match the manual or the old filter label).
- Remove the old filter (twist or push-release, depending on the style).
- Inspect the housing for debris or damaged O-rings (don’t force a new filter into a damaged housing).
- Install the new filter firmly (twist until it locks or push until it clicks).
- Flush the filter by dispensing water for several minutes or the equivalent volume recommended by the manufacturer.
- Check for leaks around the housing and behind the fridge.
Flushing matters because it clears trapped carbon fines and air pockets, which otherwise cause cloudy water, sputtering, or off taste right after replacement.
How do you reset the filter light and confirm water tastes normal?
Reset methods vary by brand, but the common patterns are:
- Press and hold a “Filter Reset” button for 3–5 seconds
- Use a menu option on the display (“Reset Filter”)
- Press and hold a combination of buttons (varies by model)
After resetting, confirm results with three quick checks:
- Flow consistency: no sputtering after initial flushing
- Taste/odor: returns to expected baseline
- No leaks: dry housing after 10–15 minutes
Evidence: According to a study by the University of Michigan from the Department of Environmental Health Sciences in 2018, point-of-use filters can act as traps/reservoirs for deposits that promote microbial growth and biofilm formation if not maintained and replaced regularly. (pmc.ncbi.nlm.nih.gov)
How do you replace a cabin air filter in most cars (and know when it’s overdue)?
Cabin air filter replacement usually takes 5–20 minutes, requires minimal tools, and can restore airflow and reduce odors when the filter is overdue. Next, you’ll focus on access points, clip safety, and symptoms so the job stays quick instead of frustrating.
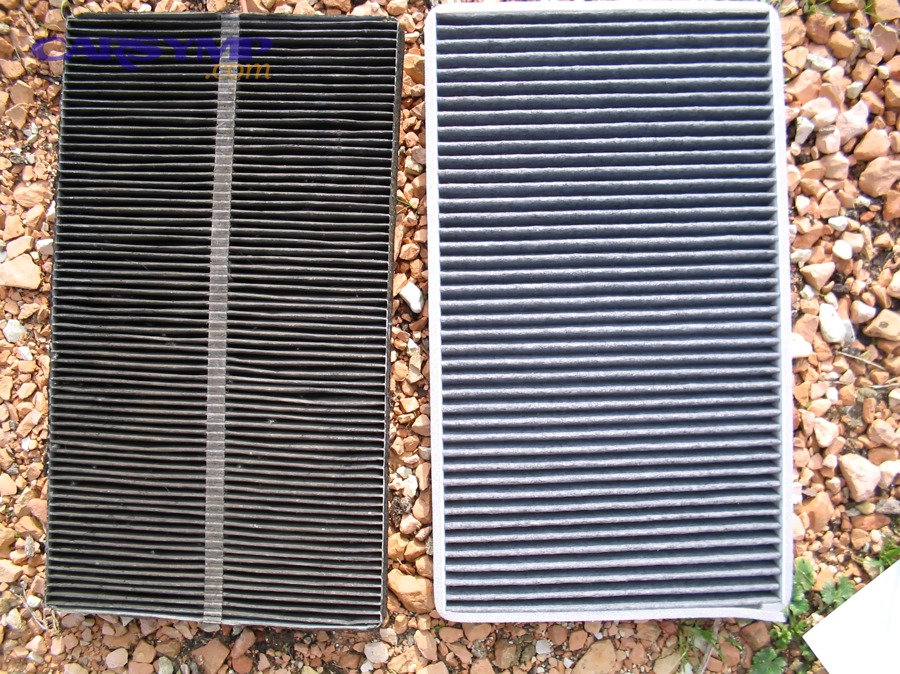
Where is the cabin filter located and what tools do you need?
Most cabin air filters are located in one of these areas:
- Behind the glove box (most common)
- Under the dashboard on the passenger side
- At the base of the windshield/cowl (some models)
Tools are usually simple:
- None (many glove-box designs use tabs)
- A screwdriver or trim tool (some covers use screws/clips)
This is also the moment to remember Engine air filter vs cabin filter differences: cabin filters clean the air you breathe inside the car; engine air filters feed combustion air to the engine. They’re different parts, different locations, and different symptoms.
What are the steps to replace it without breaking clips or tabs?
Use this safe sequence to protect plastic tabs:
- Clear the glove box (so nothing falls out).
- Release the glove box stops by gently pushing inward on the sides (if applicable).
- Locate the filter access door and open it carefully—don’t pry aggressively.
- Note airflow direction on the old filter (arrows matter here too).
- Slide out the old filter keeping it level to avoid dumping debris into the blower area.
- Vacuum loose debris around the slot if needed (lightly; avoid pushing debris deeper).
- Insert the new filter in the correct direction and seat it evenly.
- Reinstall the access door and reattach glove box stops.
If you want a quick visual reference, this video shows a typical glove-box style change:
What symptoms suggest it’s clogged (odor, weak airflow, fogging)?
A clogged cabin filter often shows up as comfort problems rather than drivability problems:
- Musty or sour odor when the fan starts
- Weak airflow even on higher fan settings
- Windows fog more easily because airflow is reduced
- More dust on surfaces in some cases
- Noisy blower as it works harder to move air
Evidence: According to a study involving McGill University from the Department of Epidemiology, Biostatistics, and Occupational Health in 2023, cabin air filtration reduced in-vehicle particulate exposures by about 28–32% for several measured pollutants during commutes, reinforcing why timely cabin filter replacement can matter for air quality. (pmc.ncbi.nlm.nih.gov)
When should you replace each filter, and how can you set a simple reminder system?
You should replace each filter based on time, usage, and conditions—then use one simple reminder method so you don’t rely on memory. In addition, replacement intervals only work if they flex with real-life factors like pets, smoke, and traffic exposure.
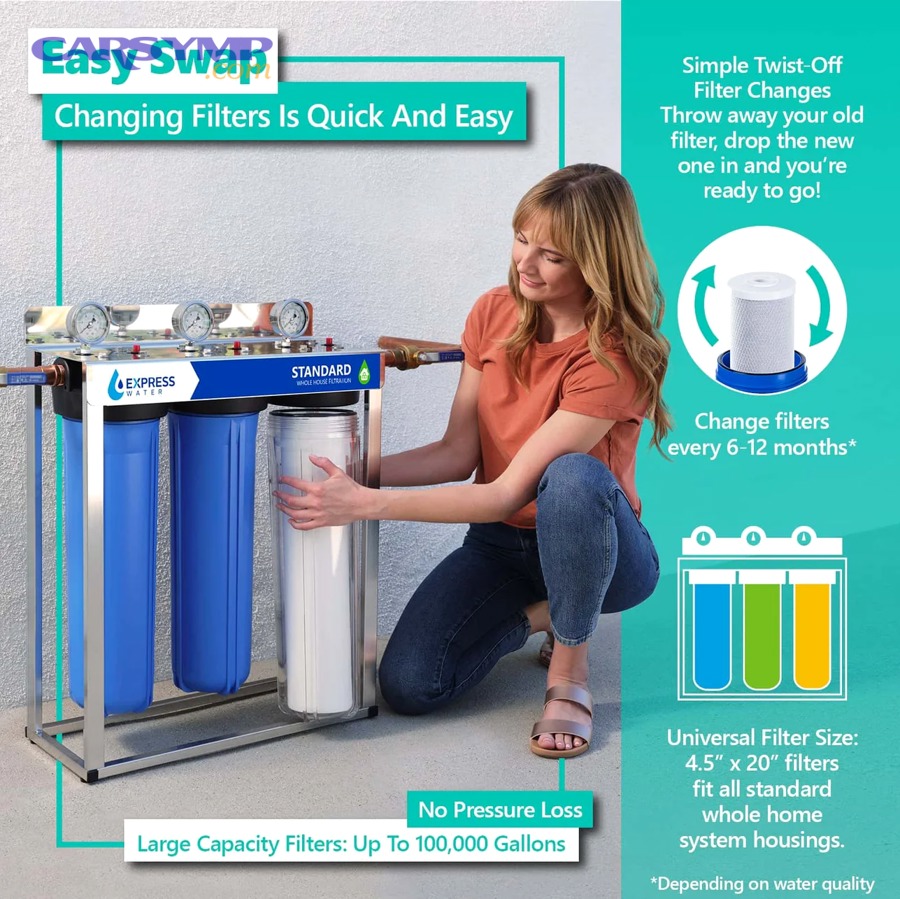
What’s a realistic replacement interval for HVAC, fridge, and cabin filters?
A practical baseline looks like this:
- HVAC air filter: often every 1–3 months for 1" filters, longer for thicker media cabinets (depending on load and system design).
- Refrigerator water filter: commonly around 6 months, but water quality and usage can shift that.
- Cabin air filter: often yearly or every 12,000–15,000 miles as a general rule, adjusted for dust, pollen, wildfire smoke, and heavy urban driving.
For drivers, “How often to replace common car filters” can be expanded into a basic habit: inspect cabin and engine air filters at oil-change intervals, even if you don’t replace them every time.
How do driving conditions, pets, smoke, or water quality change timing?
Conditions change filter loading dramatically, so you adjust timing by looking for load accelerators:
- HVAC load accelerators: pets, renovations, dusty climates, frequent fan-on operation, wildfire smoke, and older duct leakage.
- Water filter load accelerators: heavy ice/water use, sediment in water, high particulate content, or long periods of stagnation.
- Cabin filter load accelerators: construction zones, high-pollen seasons, smoke events, rideshare/high passenger load, and frequent recirculation changes.
A simple rule: if symptoms appear early (odor, weak airflow, taste change), treat it as a signal to inspect—not as a reason to ignore the schedule.
What’s a simple preventive maintenance filter schedule you can actually follow?
Below is a simple table that summarizes a preventive maintenance filter schedule you can use as a starting point; it ties replacement timing to a quick check so you don’t overthink it.
| System | Filter Type | Baseline Replace Timing | Quick “Check Now” Trigger |
|---|---|---|---|
| Home HVAC | Air filter | 1–3 months (typical 1") | Dusty filter face, reduced airflow, more dust indoors |
| Refrigerator | Water filter | ~6 months (common baseline) | Slow dispenser, taste/odor change, indicator light |
| Car | Cabin air filter | 12 months or 12k–15k miles | Musty smell, weak vents, fogging, allergy flare-ups |
To make it automatic, pick one reminder method:
- Put a recurring reminder on your phone labeled “Filter replacement: HVAC / fridge / cabin”
- Write the date on each filter and set the reminder for the earlier end of your interval range
- Sync it with a monthly home checklist and a seasonal auto maintenance review
Introduce a new idea: once the schedule exists, the next decision is whether you should do the work yourself or pay for service.
Should you DIY filter replacement or pay for service?
You should DIY filter replacement when access is easy and the task is low-risk, but you should pay for service when fitment is complex, leaks are possible, or you’re already troubleshooting performance issues. More importantly, cost is only “cheap” if the outcome is correct.
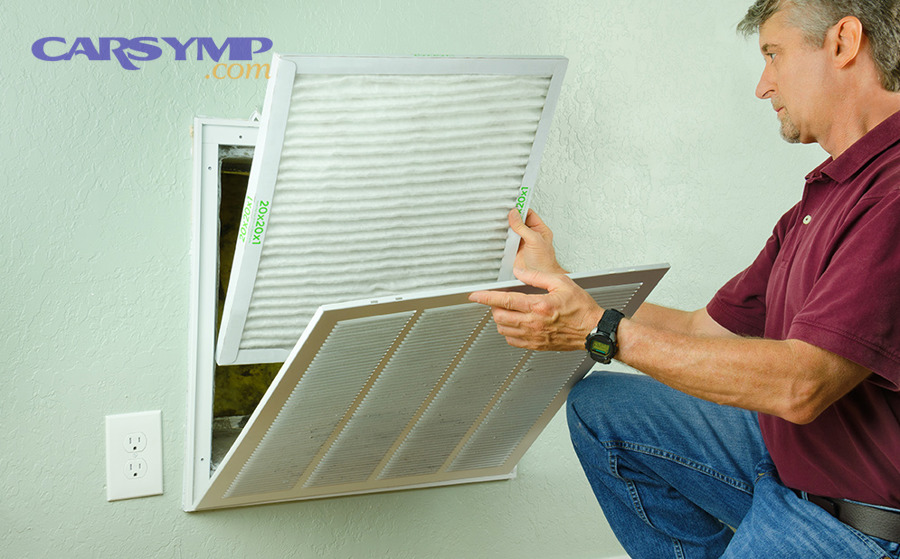
When is DIY safe and cost-effective?
DIY is usually the best option when:
- The filter is easily accessible (return grille HVAC, simple fridge housing, glove-box cabin filter)
- You can confirm the correct part number and size
- You can inspect the seal and reinstall panels correctly
- You’re comfortable following a basic DIY filter replacement checklist
DIY also helps you avoid upsells and keeps the work aligned with your real needs. For example, cabin filters are often marked up heavily at service counters even though replacement is straightforward.
When should you call a pro or visit a shop?
You should call a pro or visit a shop when:
- HVAC: the filter slot is damaged, airflow is already poor, the coil may be dirty, or you suspect duct leakage/bypass
- Refrigerator water: you see persistent leaks, cracked housings, or repeated warning lights that don’t reset
- Car: access requires major trim removal, you break clips easily, or there’s persistent odor that suggests evaporator/condensation issues beyond the filter
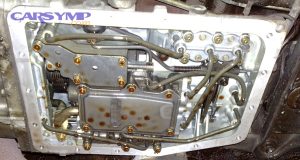
This is also where “Transmission filter service overview” belongs in your mental model: some filters (like transmission filters) are not simple drop-in items and are better handled during a proper service procedure. Cabin filters are usually easy; transmission filters often are not.
What does filter replacement cost, and what value do you get?
Costs vary widely by brand and access, but here’s how to think about value:
- DIY cost: mostly the filter price plus a few minutes of time.
- Shop cost: filter price + labor + possible “inspection” fees.
“Cost of filter replacement at a shop” becomes worth it when the service includes something you can’t easily do (diagnostics, leak repair, housing replacement, airflow testing), not when it’s just swapping a part you can reach in 5 minutes.
If you like tracking symptoms before you spend money, a quick habit is to keep a short log (odor, airflow, taste) and check a known symptom guide like Car Symp as a starting point—then confirm with your manual and actual inspection.
What are the edge cases and advanced considerations that affect filter replacement performance and safety?
Edge cases matter because they’re where filter replacement fails—wrong fitment, leaks, unexpected warning lights, or conditions like wildfire smoke that change the “best” filter choice. Especially, a few advanced checks can prevent wasted money and repeated replacements.
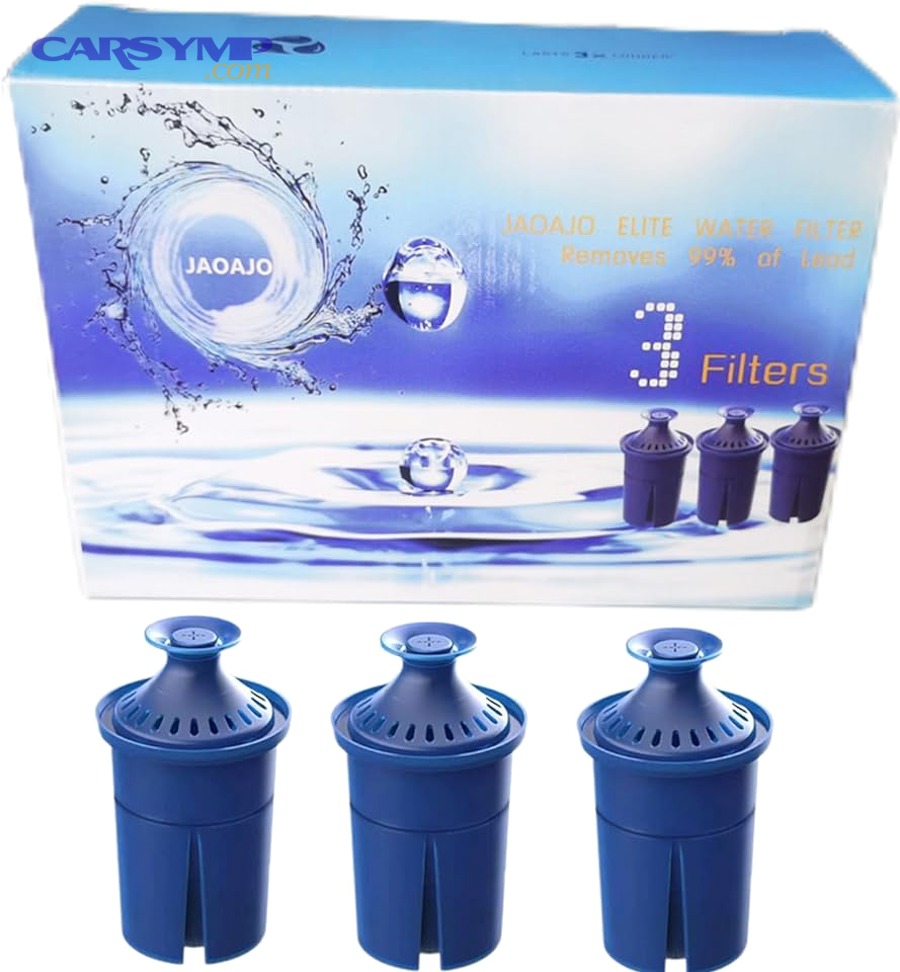
What if the filter doesn’t fit, leaks, or triggers warning lights?
Use this troubleshooting sequence:
- Doesn’t fit (HVAC/cabin):
- Re-check thickness and exact dimensions (nominal vs actual size)
- Confirm you’re not forcing a slightly oversized filter into a warped slot
- Make sure the frame isn’t buckling
- Leaks (refrigerator water):
- Remove and reinstall to confirm proper lock
- Inspect O-rings for damage or mis-seating
- Check for cracks in the housing or filter head
- Warning lights persist (refrigerator):
- Confirm the reset method for your exact model
- Some models require a specific button sequence or a long press
- If your model uses chip/RFID authentication, confirm you bought a compatible filter type
The key idea is the same across all systems: a filter must seal and seat correctly or you don’t get the intended protection.
How do allergies, wildfire smoke, and high pollution change filter strategy?
When air quality is poor, you may prioritize higher-efficiency options, but you should do it strategically:
- HVAC during smoke/allergy season: Use a higher-efficiency filter only if your system can handle it without starving airflow; thicker media cabinets usually handle higher efficiency better than a tight 1" slot.
- Car during heavy pollution: A quality cabin filter (often with improved particle capture, sometimes with carbon) can help reduce particulate exposure, especially when combined with sensible ventilation settings for short periods (without letting CO₂ build up excessively on long drives).
This is a semantic “hyponym” expansion: filter replacement is the broad category, and smoke-season filtration is a specialized case where you optimize for fine particles.
What are the related filters people forget (engine air, oil, fuel, transmission), and when do they matter?
People often treat cabin filters as “the” car filter, but cars have multiple filtration points that affect performance, reliability, and drivability:
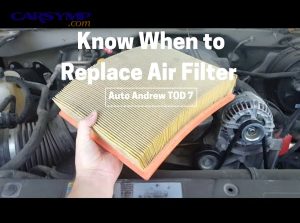
- Engine air filter: Impacts engine breathing; a clogged one can reduce performance, especially under load.
- Oil filter: Central to lubrication protection—this is where “Oil filter selection basics” matter because bypass valve behavior, media quality, and correct fitment are critical.
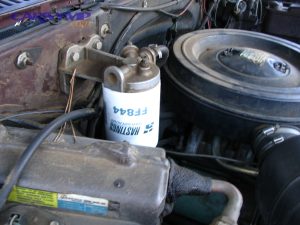
- Fuel filter: Relevant when symptoms point to restriction (hesitation, power loss) and when service intervals call for it—think “Fuel filter symptoms and replacement timing.”
- Transmission filter: Often tied to a broader service; not always a simple swap, which is why a “Transmission filter service overview” belongs in your maintenance planning rather than quick DIY.
In short, filter replacement is a system-level habit: you’re swapping consumable protection parts at the right time, with the right fitment, so airflow and fluid flow stay within design—whether it’s your home, your fridge, or your vehicle.