


Brake pad material transfer explanation starts with a simple truth: most modern disc brakes stop best when a thin, even “transfer layer” of pad material lives on the rotor face. That film is not dirt—it’s part of how friction becomes stable and predictable.
Many drivers first notice the topic when the brake feel changes—pulsation, uneven bite, or a “grab-release” sensation—especially after new pads/rotors, a long downhill, or repeated hard stops. The transfer layer is often the missing link between “new parts” and “smooth braking.”
A clear explanation also matters because the symptoms can mimic other issues: runout, thickness variation, glazing, heat spots, or even tire/wheel problems. Understanding what transfer is—and what it is not—helps you choose the right fix instead of replacing parts that aren’t actually the cause.
To introduce a new idea, the sections below walk from definition to formation, then to diagnosis, and finally to practical fixes you can apply safely and logically.
What is brake pad material transfer, and why is it normal?
Brake pad material transfer is the controlled deposition of microscopic pad compounds onto the rotor so the pad mainly rubs against a compatible film, improving friction consistency and reducing erratic bite.
To begin, think of the rotor as the “canvas” and the pad as the “paint” that must be applied evenly for smooth braking.
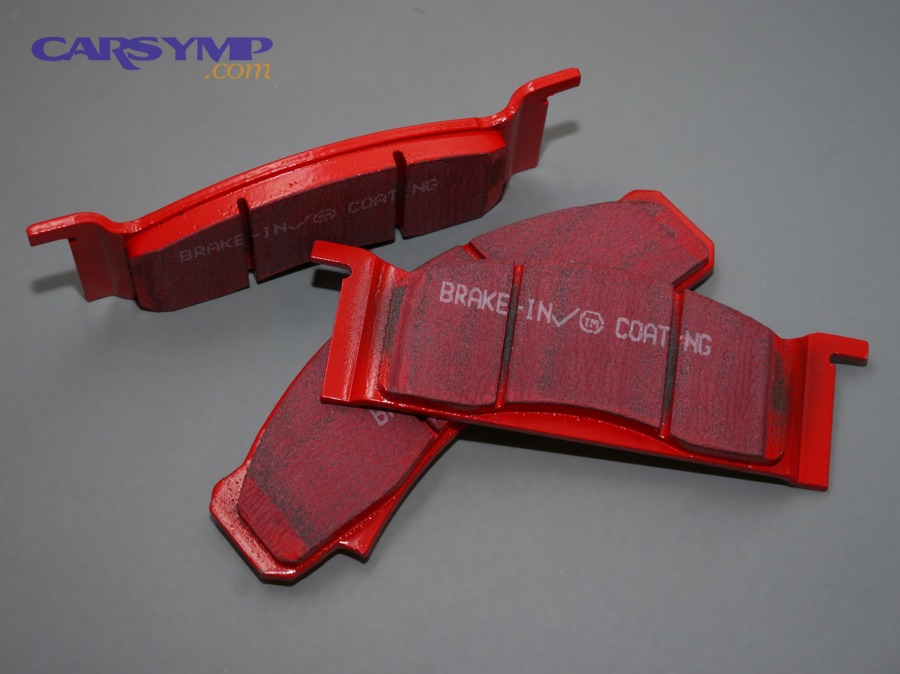
When a pad contacts bare cast iron, friction can be unstable because the surface chemistry and roughness are still changing. As braking repeats, tiny wear particles and resin-derived components create a third-body interface: not pure pad, not pure rotor, but a working layer that stabilizes friction.
When transfer is even, you typically feel:
- Smoother modulation (less “on/off” feel).
- More consistent bite from stop to stop.
- Lower tendency for noise that comes from stick-slip behavior.
When transfer is uneven, the brake system can create localized high-friction patches. Those patches heat differently, wear differently, and can set up a repeating torque variation you feel through the chassis and steering as the wheel rotates.
In July 2022, “Theo nghiên cứu của University Politehnica of Bucharest từ Department of Machine Elements and Tribology, vào 07/2022, hệ số ma sát có thể dao động khoảng ±10% quanh giá trị danh nghĩa theo điều kiện vận hành và trạng thái bề mặt,” which is a practical reminder that surface state strongly affects feel.
How does the transfer layer form during bedding-in?
The transfer layer forms by gradually heating pads and rotors through controlled stops so pad ingredients shear, smear, and bond evenly across the rotor face without overheating or stopping with hot pads clamped in one spot.
Next, treat bedding-in as a temperature-and-pressure “training cycle” rather than a single aggressive event.

During early use, the pad surface conforms to the rotor and begins leaving a uniform film. Too little heat can leave the rotor patchy and inconsistent; too much heat can melt binder resins, glaze the pad, and create smeared deposits that feel like a warped rotor.
Here is a practical way to understand the physics without overcomplicating it:
- Pressure brings surfaces into intimate contact, encouraging transfer.
- Temperature activates the pad’s binders and friction modifiers so the film becomes stable.
- Cooling and rotation prevent “printing” one hot pad-shaped patch onto the rotor.
In September 2021, “Theo nghiên cứu của Apec Automotive từ TechMate Guides, vào 09/2021, việc hình thành lớp vật liệu bám đều có thể cải thiện quãng đường phanh lên đến khoảng 20% khi điều kiện bề mặt được thiết lập đúng,” highlighting why the process matters to real-world stopping performance.
If you want a visual walkthrough, this video demonstrates a typical bedding approach and the reasoning behind it:
Important safety note: always follow the pad/rotor manufacturer’s bedding instructions if provided, because friction materials vary. What works for one pad compound can be too mild or too aggressive for another.
After bedding, normal commuting finishes the job by smoothing the film—provided you avoid panic stops on brand-new parts and avoid sitting at a stoplight holding heavy pedal pressure immediately after a hard stop.
What causes uneven material transfer in the first place?
Uneven transfer usually comes from heat imbalance, inconsistent contact, or contamination—each one can create rotor “hot spots” of higher friction that repeat every wheel rotation.
After that, you can diagnose faster by sorting causes into three buckets: heat, contact geometry, and surface chemistry.
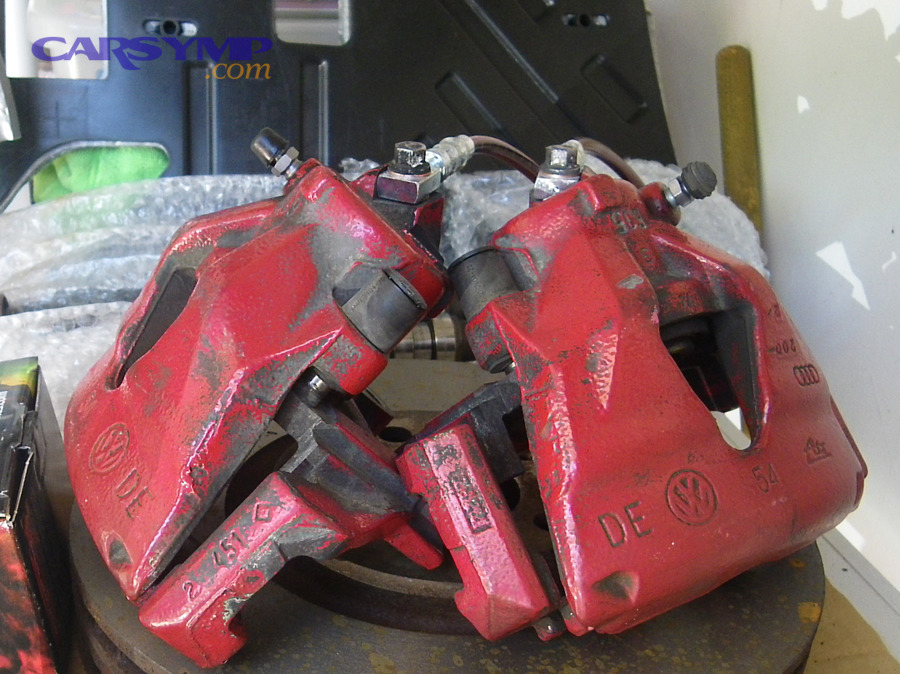
Heat-related triggers
Heat triggers uneven transfer when the pad compound partially melts or decomposes in patches, then re-bonds to the rotor in thicker “islands.”
In other words, a few overheated moments can create weeks of vibration if the deposits set in.
- Repeated hard stops with no cooldown.
- Long downhill braking that keeps temperature elevated.
- Track-day style use with street pads not designed for sustained heat.
Contact and hardware triggers
Contact triggers happen when the pad does not press evenly across the rotor, so one region transfers more material than another.
Next, look for anything that prevents smooth sliding and equal clamp force.
- Sticking caliper piston or seized slide pins.
- Uneven pad backing plate support or mis-seated pad ears.
- Rotor runout that “wipes” the film unevenly each rotation.
Chemistry and contamination triggers
Chemical triggers occur when oils, cleaners, rust films, or incompatible coatings interfere with the formation of a stable transfer film.
Beyond that, small contamination can create a big friction difference because braking amplifies surface changes under pressure.
- Grease fingerprints on rotor faces or pad friction surfaces.
- Improper cleaner residue that bakes onto hot rotors.
- Old pad material left behind when swapping to a very different compound.
When these factors stack—say, a slightly sticky caliper plus a few overheating stops—the result is often a “pulse” that feels like a bent rotor even when the rotor is mechanically straight.
How can you recognize transfer-related vibration by feel?
Transfer-related vibration often shows a speed-linked pulse that changes with brake pressure, may fade when brakes are hot, and can improve temporarily after several medium stops that recondition the film.
To understand why, connect the sensation to a repeating friction difference rather than a literal rotor “wobble.”

Drivers describe transfer issues in consistent ways:
- Light braking feels grabby, then it smooths under heavier braking.
- Pulsation is worse after sitting (overnight rust + patchy transfer), then improves after a few stops.
- Steering shake appears mainly at certain speeds, often 40–70 mph, because chassis resonance amplifies the repeating torque variation.
However, it’s crucial not to jump to conclusions. Similar sensations can come from tire flat-spotting, loose suspension parts, or wheel imbalance, so you want at least one rotor-surface check (visual) and one installation check (hardware) before deciding.
Also, be careful with language: many people say “warped rotor,” but a large share of “warp-like” complaints trace back to disc thickness variation driven by uneven friction material distribution.
How do you visually spot uneven transfer on the rotor face?
Uneven transfer typically looks like patchy dark bands, blotches, or a “shadow” that matches the pad sweep area, sometimes paired with a glossy mirror-like sheen that signals glazing or overheated resin.
Next, inspect with good light and a slow rotation so you see patterns rather than random discoloration.
Here’s what to look for and what it usually means:
- Even gray “washed” look: generally healthy, uniform film.
- Dark patches or stripes: likely thicker deposits (higher local friction).
- Blue/purple heat tint: temperature spikes; not automatically “bad,” but it signals the rotor saw high heat.
- Glossy pad surface (if you remove pads): glazing, often from overheating or too gentle bedding.
If you see obvious patchiness, don’t immediately sand everything aggressively. The smarter move is to confirm the mechanical basics first (runout, caliper sliding, torque), then choose a correction method that restores an even film without creating new surface problems.
Why does material transfer get blamed on “warped rotors”?
Material transfer gets blamed on rotor warp because uneven deposits can create disc thickness variation and brake torque variation that feel identical to a bent disc, even when the rotor is not physically warped.
However, separating mechanical distortion from frictional distortion is the key diagnostic step.
Mechanical distortion is shape; transfer distortion is friction
Mechanical distortion involves measurable runout or thickness issues that persist regardless of pad compound. Transfer distortion can change with conditioning stops, pad swaps, or resurfacing that resets the film.
Next, compare what changes the symptom: temperature and conditioning tend to affect transfer problems more than true bending.
Why “hot stopping” makes it worse
Holding the vehicle stopped with firm pedal pressure immediately after a hard stop can “print” a thick deposit in one rotor spot, because the pad is hot and stationary against the disc.
To introduce a new idea, this is why some vibration begins right after a brake job even when parts are new: the film was formed unevenly in the first heat cycles.
Why resurfacing sometimes helps—and sometimes doesn’t
Resurfacing can remove deposits and restore a uniform surface, but if the root cause remains (sticky caliper, runout, poor bedding), the deposits can return quickly.
So, the fix must match the cause, not just the symptom.
In practical conversations, you may hear terms like “judder,” “pulsation,” or “torque variation.” These are symptom labels; the underlying physics often comes back to whether the rotor face is carrying a uniform, stable transfer film.
How do pad compounds and driving style change transfer behavior?
Pad compounds and driving style change transfer behavior because each material has a preferred temperature window and film chemistry; outside that window, it may smear, glaze, dust excessively, or fail to deposit evenly.
Next, match the pad to the duty cycle so the transfer layer forms naturally rather than fighting your use case.
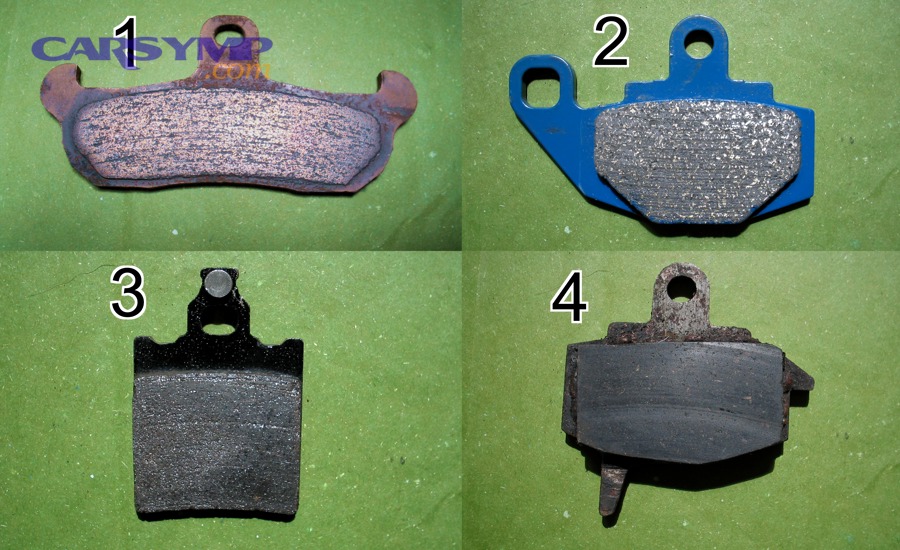
Think in temperature ranges rather than brand names:
- Low-temp focused pads build film easily in commuting but can overheat and smear under repeated hard stops.
- High-temp focused pads resist fade but may feel dull and inconsistent when cold because the film isn’t “activated” yet.
- Mixed-use pads try to cover both, but they still have a preferred window where transfer is most stable.
Driving habits that tend to create stable transfer:
- Moderate decels repeated with short roll time between (heat + rotation).
- Avoiding panic stops on brand-new pads unless safety requires it.
- Allowing cooldown after heavy braking (coast, avoid holding pedal clamped).
Driving habits that tend to create uneven transfer:
- Very gentle braking for long periods after installation (film never becomes uniform).
- One or two extreme stops early on (localized overheating and smear).
- Frequent stop-and-hold behavior right after hard braking (pad imprinting).
When the pad and your driving style are mismatched, the rotor can become a patchwork of film types—some abrasive, some adherent—which is a recipe for inconsistent friction and vibration.
What installation mistakes amplify uneven transfer after brake service?
Installation mistakes amplify uneven transfer when they create runout, uneven clamping, or uneven pad release, causing the film to build thicker in certain rotor zones instead of forming uniformly.
Besides that, many “new brake problems” are not defective parts—they’re geometry and friction management issues introduced during assembly.
Start with the basics that control geometry:
- Hub cleanliness: rust flakes behind the rotor can create lateral runout.
- Rotor seating: a rotor that isn’t fully seated can wobble and scrub the film unevenly.
- Caliper slide freedom: binding slides cause tapered wear and patchy transfer.
Then check the “release” side of braking, not just the “clamp” side:
- Dragging pads (from sticky pistons or seized hardware) keep heat elevated and over-transfer material.
- Anti-rattle hardware installed incorrectly can prevent full pad retraction.
- Pads that don’t fit freely in the bracket can hang and create hot spots.
At this point in the article (not in headings), it’s worth calling out a common contributor that people miss: Wheel lug torque issues after brake work can distort the rotor hat and create runout, which then encourages uneven material transfer and a repeating pulse.
If the vibration began immediately after service, treat it like a process audit: verify seating surfaces, verify torque practices, and verify caliper movement before assuming the rotors are “bad.”
How do you correct uneven transfer without guessing?
You correct uneven transfer by confirming mechanical basics first, then choosing either a re-bedding approach, a controlled surface refresh, or part replacement only when measurements show runout/thickness problems beyond limits.
To begin, use a “measure, then correct” mindset so you don’t chase symptoms in circles.
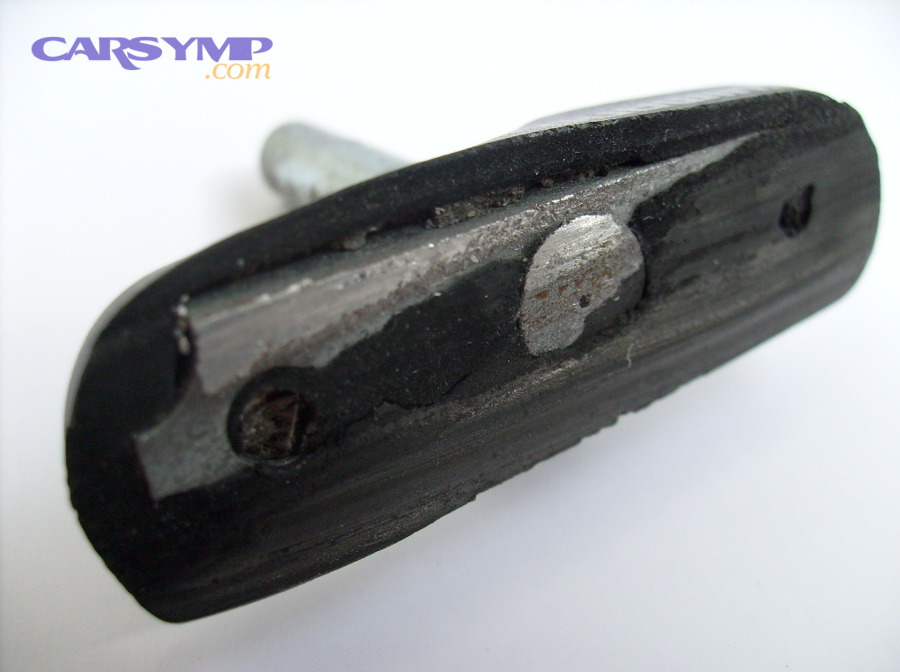
Step 1: Verify the mechanical foundation
Confirm that the rotor sits true and the caliper releases properly; otherwise, any new transfer film will become uneven again.
Next, focus on repeatable checks that isolate the cause.
- Inspect hub face and rotor mating surfaces for rust scale.
- Check caliper slide pins for smooth travel and correct lubrication (no grease on friction surfaces).
- Look for tapered pad wear that signals uneven contact.
Step 2: Recondition the film (when it’s safe and appropriate)
If parts are otherwise healthy, a controlled sequence of moderate stops can smooth light deposits and rebuild a uniform transfer layer.
In other words, you’re trying to “even out” friction rather than grind away metal.
- Choose a safe, traffic-free area.
- Perform repeated moderate decels with short roll time between.
- Avoid coming to a complete stop while brakes are very hot.
Step 3: Surface refresh (only when needed)
If deposits are heavy or the rotor face is badly patchy, you may need a rotor surface reset via machining or replacement, followed by correct bedding.
Beyond that, replacing rotors without fixing the root cause often recreates the same deposits on the new rotor.
Many owners ask about money at this stage, so here’s the plain-language reality: the Cost to fix brake vibration swings widely because it depends on whether you need only reconditioning, hardware service, machining, or full rotor/pad replacement plus correcting runout and sticking calipers.
If the vehicle is unsafe (severe shaking, pulling, grinding, or warning lights), stop driving and have a qualified technician inspect it. Brakes are safety-critical; do not take risks with unknown defects.
Contextual Border
Up to this point, the focus was the main mechanism of brake pad material transfer and the most direct diagnosis/fix path. After this border, the content zooms in on micro-level nuances that often decide whether the same fix works on one car but not another.
Micro-level factors that quietly decide success
Micro-level factors matter because transfer films are sensitive to humidity, corrosion, coatings, and small geometry errors that don’t look dramatic but can destabilize the film over time.
Next, use these nuances to “fine-tune” your diagnosis when the obvious fixes don’t fully solve the issue.
Humidity, light rust, and the first stop of the day
Overnight moisture can create a thin corrosion layer that interacts with the existing transfer film, so the first few stops may feel rough or pulsed until the surfaces clean and stabilize.
In practical terms, if symptoms mostly appear in the morning and fade later, transfer and surface condition deserve extra attention.
Rotor coatings and “bedding through paint” myths
Some rotors arrive with protective coatings on hats and edges, but the friction face should be clean metal. If anything contaminates the friction surface, the first heat cycles can bake that contamination into the film and create uneven transfer.
So, correct cleaning and proper early heat cycling are not optional details.
Pad swaps and incompatible film chemistry
Switching from one compound type to a very different one can leave behind an old film that the new pad does not “like,” creating inconsistent friction until the old layer is removed and replaced with a compatible film.
This is why some performance pad upgrades feel worse before they feel better—film compatibility is part of the story.
Small geometry errors that become big at speed
Tiny runout can “wobble-wipe” the film and build thickness variation gradually, especially if lug tightening is inconsistent or the hub face isn’t flat and clean.
When a vibration returns slowly after a seemingly successful fix, geometry is often the reason.
FAQ
Why does the brake feel smooth at high pressure but pulsy at light pressure?
Light pressure often makes friction differences more noticeable because the pad is operating in a sensitive regime where small film thickness changes alter bite. With heavier pressure, the system “averages out” friction and can feel smoother—until deposits become severe.
Is it safe to keep driving if the vibration is mild?
Mild vibration can sometimes be a surface/transfer issue that is correctable, but you should not assume it’s harmless. If the symptom worsens, if stopping distance increases, or if there’s noise/grinding/pulling, get it inspected immediately.
Also, note that brake pedal vibration is a symptom label, not a diagnosis; it can come from transfer deposits, thickness variation, caliper issues, or even wheel/tire factors.
How can I avoid repeating the same problem after new pads and rotors?
Preventing repeat issues comes down to three habits: clean and flat mating surfaces, correct torque practices, and a proper bedding process matched to your pad compound. Avoid panic stops during the first heat cycles when possible, and avoid holding the car stopped with hot pads clamped on the rotor.
When people say “it’s ABS,” how do I tell the difference?
ABS typically feels like rapid pulsing during hard braking on low traction and is often accompanied by ABS activation cues (sound, sensation, sometimes a warning event). A transfer/deposit issue tends to be speed-linked and repeatable in the same way even under gentle braking.
In real diagnostics, technicians may describe this as Warped rotors vs ABS activation diagnosis: one is a friction/geometry repeat pattern, the other is a control-system event triggered by wheel slip signals.
What usually drives the repair bill up the most?
Costs rise when the problem is not just surface film but includes sticking calipers, worn hardware, hub corrosion causing runout, or repeated overheating that damages pads and rotors. In those cases, the work expands from “recondition the film” to “correct the system.”
That’s why the Cost to fix brake vibration can range from inexpensive corrective steps to a more involved repair if underlying hardware and geometry issues must be addressed.