


If you’re searching for a Safety check if pedal pulsates, treat it like a short, structured triage: confirm you still have safe stopping power, decide whether it’s normal ABS feedback or a mechanical problem, and choose the lowest-risk next move.
After that first safety decision, the next goal is practical: identify the conditions that trigger the pulsing (speed, pedal pressure, road surface, temperature) so you can avoid repeating the same risk and shorten the diagnosis time.
Finally, a good safety check includes “what not to do” — like repeated hard stops that overheat components — and a simple communication plan for a technician if you need help.
To begin, here’s the step-by-step flow that drivers use to move from uncertainty to a safe, confident decision.
Safety check if pedal pulsates: should you keep driving?
No if pulsation is sudden, violent, or paired with warning signs; do a safety check first and only continue cautiously if braking power is unchanged and the feel matches normal ABS feedback during a traction-limited stop. To start, you’re deciding “safe to proceed” vs “stop now.”
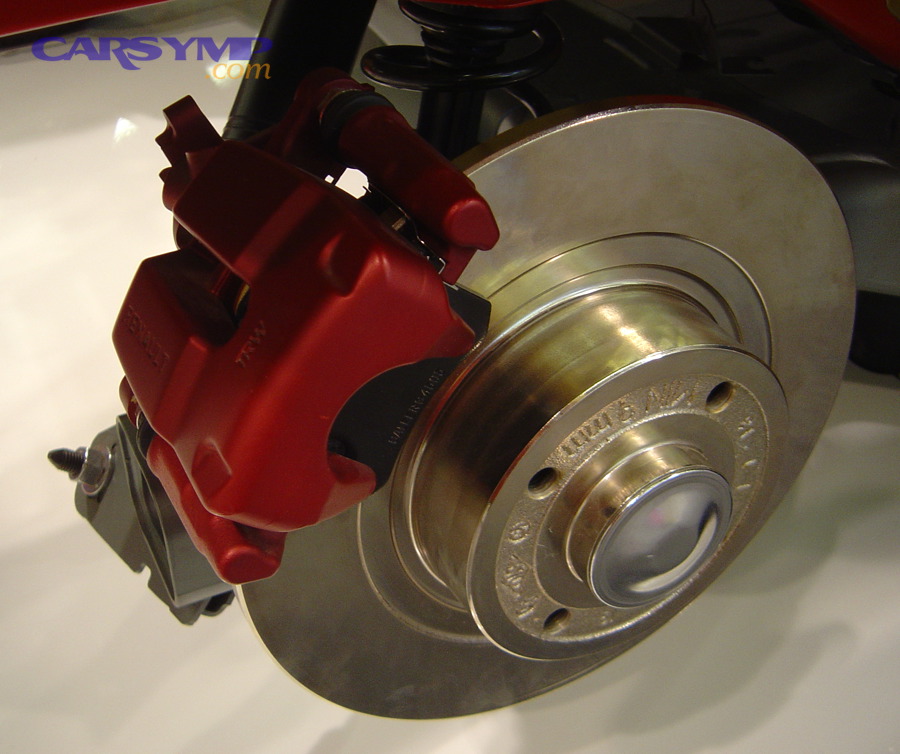
Specifically, pull over and do not continue driving if you notice any of these “stop-now” signals:
- Red brake warning light (not just an amber ABS light) or any “BRAKE” message.
- Pedal sinking, spongy feel, or the need to pump the pedal to get braking.
- Vehicle pulling sharply to one side under braking (possible caliper, hose, or friction imbalance).
- Grinding/metal-on-metal, loud scraping, or burning smell/smoke near a wheel.
- Steering instability or a wheel that feels loose, wobbly, or “clunks.”
- Longer stopping distance than normal, even at low speeds.
Next, if none of the above are present, do a controlled low-speed test in a safe area (empty lot or quiet side street): light brake → medium brake → firm brake. You are checking whether the pulsation is tied to hard braking on low-traction surfaces (often normal ABS behavior) or whether it appears with light/moderate braking on dry pavement (more suggestive of a mechanical issue).
According to a study by NHTSA from the Evaluation Division, Office of Strategic Planning and Evaluation, in 12/1994, ABS reduced fatal multi-vehicle crashes on wet roads by 24% (while showing mixed effects in other crash types), reinforcing why “traction + hard braking” is the context where pulsing can be normal ABS feedback.
Is pedal pulsation always ABS activation?
No—ABS pulsation is a rapid, “machine-gun” feedback that typically appears during hard braking when a tire is about to lock, while mechanical pulsation is often rhythmic and repeats with wheel rotation even on dry roads at light to moderate pedal pressure. However, the feel can overlap, so you’ll confirm with context cues.
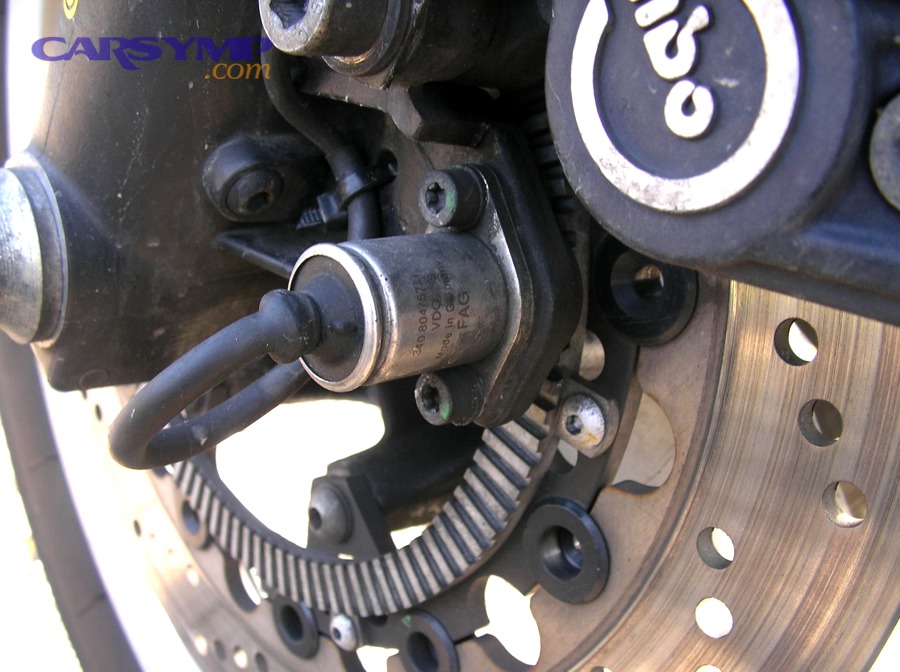
To illustrate, ABS-related pulsation usually has these traits:
- Shows up during panic braking or on slippery surfaces (wet paint lines, gravel, ice, standing water).
- Feels like very fast pulsing with a buzzing sound and sometimes a vibration through the chassis.
- Often coincides with an ABS indicator flashing or a noticeable ABS pump sound.
In contrast, mechanical causes tend to show patterns like:
- Pulsation that repeats once or several times per wheel rotation, changing with vehicle speed.
- Noticeable even with light braking on smooth, dry pavement.
- May be stronger after a few stops as parts warm up (or weaker after heat changes deposits).
When people describe brake pedal vibration, they’re often mixing these two categories—ABS feedback (potentially normal) and cyclic torque variation (often mechanical). Next, use a quick roadside check to separate “normal feedback” from “needs inspection.”
According to a study by NHTSA from the Office of Vehicle Safety Research, in 06/2003, researchers noted many drivers misunderstand ABS behavior and pedal feedback, which is why the safest approach is to assume “unknown” until you verify the context and warning lights.
What is the fastest roadside safety check before the next stop?
A fast safety check is a 6-point scan: warning lights, pedal feel, visual wheel check, odor/heat check, fluid level, then one controlled low-speed stop to confirm you still have predictable braking. Below is the order that minimizes risk and time.
1) Check warning lights and messages
Red brake warnings mean stop and seek help; an amber ABS light may allow careful driving but increases risk on slippery surfaces. Next, confirm the pedal is behaving normally at rest.
2) Press-and-hold pedal test (engine on)
If the pedal slowly sinks while you hold steady pressure, treat it as unsafe because it may indicate a leak or hydraulic fault. After that, do an outside walk-around.
3) Quick walk-around of wheels and tires
Look for fluid sheen, wetness on the inside of the wheel, torn brake hose, or a wheel sitting oddly (possible bearing/fastener issue). Next, use your senses without touching hot parts.
4) Smell and heat comparison (no hand contact)
A single wheel area that smells like burning or radiates much more heat can signal a dragging caliper or stuck parking brake. Then, check the brake fluid reservoir level.
5) Brake fluid level and cap condition
If the level is below MIN or suddenly low, don’t keep driving—loss of fluid can rapidly become loss of braking. Next, do a low-speed functional test.
6) Controlled low-speed stop
At 10–15 mph, brake smoothly and confirm you can stop straight with predictable pedal effort. Afterward, you’ll be ready to isolate the pattern more safely.
According to a study by NHTSA from the Evaluation Division, Office of Strategic Planning and Evaluation, in 12/1994, the safety value of controlled braking increases on wet roads with ABS-equipped vehicles, so confirming whether your pulse matches ABS conditions is a meaningful safety step.
How can you do a controlled test drive to isolate the pattern?
Use a three-variable test: change speed, change pedal pressure, and change road surface—then note whether pulsation tracks wheel speed (mechanical) or traction-limited braking (ABS). To begin, choose a safe area and avoid repeated hard stops.
Specifically, run this sequence on dry, smooth pavement:
- Light brake from ~30 mph to ~10 mph (no panic stop).
- Moderate brake from ~40 mph to ~15 mph.
- Single firm brake only if safe and only once—stop if anything feels unstable.
Next, interpret what you feel:
- If pulsation gets faster as speed increases (and slower as speed drops), it often follows wheel rotation and points toward rotor/hub-related cyclic variation.
- If pulsation appears mainly during very hard braking or on a slick patch, it may be ABS cycling.
- If pulsation is accompanied by a steering shake, note that the same sensation can be described as Vibration at high speed vs low speed clues—high-speed dominance often suggests rotating mass/runout, while low-speed dominance can suggest deposits or caliper release issues.
In addition, document the “when” in one sentence (you can read it to a technician later): road surface + speed range + pedal pressure + whether the car pulls. Keep notes like: “Pulsation starts at 55 mph, strongest at light-to-medium braking, fades below 20 mph, dry road, no ABS light.”
If you’re trying to budget the next step, you’ll see online estimates titled Cost to fix brake vibration; treat those as broad ranges until you identify whether it’s ABS behavior, friction deposits, rotor/hub runout, or a hydraulic release issue. Next, we’ll map the mechanical families that commonly create cyclic pulsation on dry roads.
What mechanical problems can make the pedal pulse on dry roads?
There are four main mechanical families behind pedal pulsation on dry pavement: rotor geometry variation, friction layer variation, hydraulic/piston release issues, and hub/fastener alignment errors. To start, the goal is to identify which family matches your pattern.
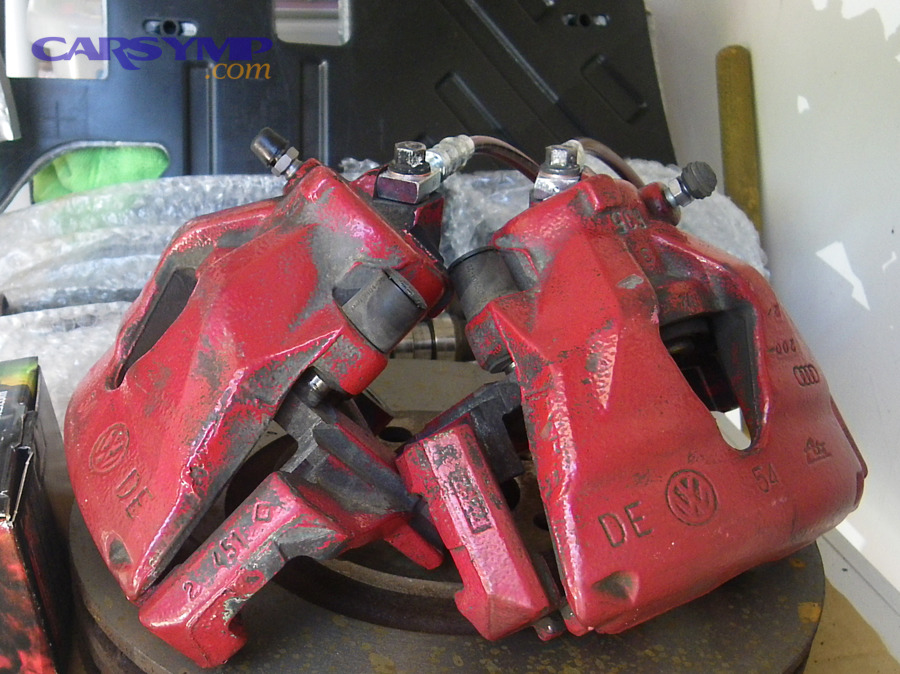
1) Rotor geometry variation (runout and thickness variation)
The most common mechanical pathway is cyclic torque variation caused by lateral runout that develops into disc thickness variation, producing hydraulic pressure changes you feel at the pedal. Next, connect the feel to how it repeats with wheel rotation.
More detail: Runout can start from rust on the hub face, debris between rotor and hub, bent hub/rotor, or uneven wheel fastener torque. Over time, the pads contact high spots more, creating thickness variation that “pushes back” the caliper pistons once per rotation.
2) Friction layer variation (pad deposits/material transfer)
Uneven friction film on the rotor can create a “high-friction patch” that feels like pulsation even if the rotor is dimensionally acceptable. After that, ask whether it worsens after overheating or improves after a gentle bedding procedure.
To illustrate, repeated hard stops, riding the brakes downhill, or holding the pedal firmly at a stop when rotors are extremely hot can create uneven deposits that mimic a “warped” rotor feel.
3) Hydraulic/piston release issues (drag and uneven clamp force)
A sticking caliper piston, seized slide pins, or an internally collapsed brake hose can cause one side to drag and create a repeating pulse or surge sensation. Next, compare wheel heat side-to-side after a short drive.
4) Hub/fastener alignment errors (stacked tolerances)
Rust scale, burrs, or uneven lug torque can tilt the rotor and create measurable runout even with new parts. Then, the pulsation may appear soon after brake service.
According to a study by the PHM Society from the Conference Proceedings unit, in 09/2019, researchers noted brake rotor thickness variation creates brake torque variation that can lead to judder and pulsation, and their method detected thickness variations on the order of tens of micrometers.
Next, if your safety check suggests a mechanical pathway, the safest additional checks are the ones that confirm you’re not losing hydraulic function.
How do you check brake fluid, lines, and power assist for safety?
A safety-focused hydraulic check verifies fluid level stability, no active leaks, and normal booster assist; these confirm you still have reliable braking even if pulsation remains. To begin, you’ll do checks that don’t require tools.
Check fluid level and recent change
Fluid should be between MIN and MAX; a sudden drop is a red-flag safety issue. Next, look under the vehicle and behind each wheel for wetness.
Specifically, check for wet trails near:
- Inside wheel barrels (caliper/bleeder/hose area)
- Along brake lines under the car
- Under the master cylinder/booster area
Booster function check (engine off → engine on)
With the engine off, press the pedal a few times until it firms up; then hold pressure and start the engine—if the pedal drops slightly, booster assist is present. After that, confirm the pedal does not sink while holding steady pressure.
ABS and stability system context
If the ABS light is on, you may still have base brakes, but traction-control and stability features can be reduced; treat slick conditions as higher risk. Next, decide whether the situation calls for towing or a careful, limited drive to service.
According to a study by NHTSA from the Office of Vehicle Safety Research, in 06/2003, ABS preserves steering control during extreme braking but many drivers misunderstand system feedback; that’s why confirming base braking integrity (fluid/booster/leaks) is a core part of a safety check.
When do you need towing or immediate professional inspection?
You need towing or immediate inspection if pulsation is paired with loss of braking performance, unsafe noises/heat, warning lights, or vehicle instability; these conditions can escalate quickly and aren’t worth testing on the road. Next, use a clear decision rule.
Specifically, choose towing (or do not drive) if any of these apply:
- Red brake warning or a brake fluid level below MIN.
- Pedal sinking, needing to pump, or braking that fades rapidly.
- Smoke, strong burning smell, or a wheel that is dramatically hotter than the others.
- Grinding that suggests metal contact or a seized component.
- Steering/wheel looseness or loud clunking that could indicate bearing/fastener issues.
However, if pulsation only occurs during aggressive braking on slippery surfaces and your brakes otherwise feel strong and consistent, you may be experiencing normal ABS modulation. Even then, drive conservatively until you can confirm the system has no warnings.
According to a study by the Insurance Institute for Highway Safety from the Director of Statistical Services research program, in 08/2021, ABS on motorcycles was associated with a statistically significant reduction in fatal crash involvement rates, highlighting why ABS-style pulsing during traction-limited stops can be normal—while warning signs outside that context are not.
What should you tell a shop so the diagnosis is fast and accurate?
Tell a shop the exact trigger pattern, what changed recently (parts, tires, wheel work), and what you already checked; that turns a vague complaint into a targeted test plan. To start, you’ll provide a short “symptom sentence” plus a checklist.
Give one clear symptom sentence
Use this structure: “Pulsation happens at [speed range], during [light/medium/firm] braking, on [dry/wet] roads, started after [recent work], with/without warning lights.” Next, add supporting details that speed up inspection.
Provide recent history that changes the odds
Specifically, mention any of the following in the last 60 days:
- New pads/rotors, caliper replacement, brake fluid service
- Tire rotation, wheel swap, stud replacement, impact with pothole/curb
- Wheel bearing, suspension, or hub work
Ask for the right verification steps
Request measurement-based checks like rotor runout at the hub, hub face cleanliness, torque pattern verification, and caliper slide/piston freedom. After that, you’ll get a diagnosis that’s based on numbers rather than guesswork.
If you keep a personal log, you can label it as “Car Symptoms” for your own tracking, but what matters to a technician is the repeatable trigger conditions and what measurements are out of spec. Next, we’ll answer common questions drivers have after completing a safety check.
FAQ about Safety check if pedal pulsates
Yes—there are common scenarios where pulsation is temporary or correctable, but your priority is still braking safety and repeatability of the symptom. Below are the questions drivers ask most often.
Can brand-new pads and rotors cause pulsing?
Yes—new parts can pulse if the hub face wasn’t cleaned, lug torque wasn’t even, or the friction film wasn’t established properly; the fix may be as simple as correcting runout, cleaning mating surfaces, or performing a proper bedding procedure. Next, avoid repeated hard stops while you confirm the cause.
Can uneven wheel fastener torque create pulsation?
Yes—uneven torque can distort the rotor hat or clamp the rotor off-center, introducing runout that later becomes thickness variation. After that, a shop can confirm with runout measurement and correct the torque pattern.
Why does pulsing feel worse after rain or after sitting?
It can be worse because surface rust changes initial friction, or because moisture and temperature shifts alter the friction layer; repeated light braking can “scrub” it off, but persistent pulsing suggests underlying runout or deposits. Next, observe whether it fades after a few gentle stops.
Is it dangerous if it comes and goes?
Sometimes—intermittent pulsing can be benign ABS feedback in specific conditions, but it can also be an early sign of deposits, runout, or a dragging component that worsens with heat. Next, use your safety check triggers (warnings, smell, pulling, sinking pedal) to decide whether to drive.
According to a study by NHTSA from the Evaluation Division, Office of Strategic Planning and Evaluation, in 12/1994, ABS showed measurable benefits in certain wet-road crash types but mixed overall effects, which supports a practical FAQ takeaway: context matters, and the safest interpretation depends on traction, warnings, and braking consistency.
Contextual Border: The sections above focus on immediate safety and primary diagnosis logic. The next section expands into prevention tactics that reduce the chance of pulsation returning after service or seasonal changes.
Extra prevention steps to avoid repeat pulsation
Preventing repeat pulsation is mainly about clean, flat mating surfaces, even clamping torque, and stable friction film; these reduce the conditions that create runout and thickness variation over time. To begin, apply the highest-impact habits first.
Clean the hub face and rotor hat every time
Remove rust scale and debris on the hub face so the rotor sits flat; even a small high spot can create measurable runout. Next, ensure the rotor sits flush before tightening anything.
Use an even torque pattern (and correct torque)
Tighten in a star pattern and use a torque wrench to avoid uneven clamp force that can tilt the rotor. After that, recheck torque after a short drive if the manufacturer recommends it.
Stabilize the friction layer with proper bedding
Follow a controlled bedding procedure appropriate for your pad type to build an even transfer layer and reduce hot spotting. Next, avoid holding the pedal hard at a stop immediately after aggressive braking, which can imprint uneven deposits.
Learn the measurement that ends guesswork
Measuring lateral runout with a dial indicator is the fastest way to confirm whether geometry is driving the pulsation. To illustrate, this video demonstrates the concept and setup for runout and thickness variation:
According to a study by the PHM Society from the Conference Proceedings unit, in 09/2019, measurable thickness variation at very small scales can still correlate with torque variation and pulsation, which is why prevention habits that reduce runout and uneven wear pay off even when parts look “fine” by eye.