


If your steering wheel or chassis shakes under braking, the fix usually comes down to one decision: machine the rotors (resurface) or install new ones (replace). The right choice depends on measurable rotor condition, not guesses about “warping.”
Beyond the immediate vibration, you also want the repair to last—meaning you must account for thickness limits, surface condition, hub/runout, and how pads will re-seat on the rotor face.
You may also be balancing time, budget, and how you use the vehicle (commuting, towing, mountain driving). Those factors change which option is most predictable long-term.
To introduce a new idea, the best results come from pairing the correct rotor decision with a disciplined installation process—cleaning, torquing, and bedding—so the same symptom doesn’t return after a few hundred miles.
Should you resurface or replace rotors when braking feels rough?
Resurface rotors if they’re thick enough, structurally sound, and the issue is mostly surface-related; replace rotors if they’re near minimum thickness, heat-checked, deeply grooved, or repeatedly causing pulsation. Next, verify the “why” with quick measurements before spending money.
That flow matters because symptoms can be misleading: you may feel a pulse, but the root can be rotor thickness variation, uneven friction film, or even a mounting problem. To connect the dots, start by confirming whether the shake is braking-only, speed-dependent, or present all the time.
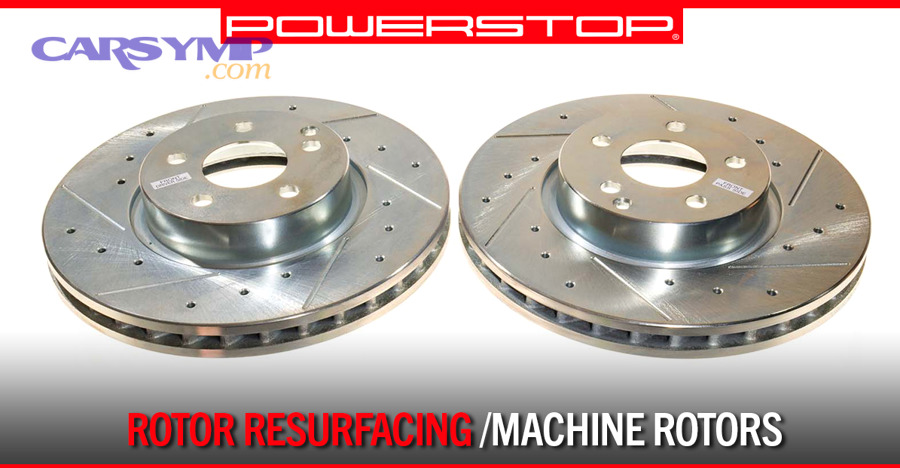
Resurfacing works best when the rotor face is uneven from light scoring, mild glazing, or uneven deposits that can be cut away while staying above minimum thickness. However, if the rotor already has heavy grooves, hard spots, cracks, or has been machined before, replacement becomes the safer and more predictable outcome.
When the decision is borderline, think in “system terms”: the rotor doesn’t live alone. Caliper slide condition, pad selection, torque pattern, and hub cleanliness can determine whether a perfectly good rotor still feels bad after service. To illustrate, a rotor can be “true” on a lathe but wobble on a rusty hub.
The most common mistake is choosing resurfacing because it looks cheaper, then losing that savings when the same pulsation returns and you have to do pads again. On the other hand, replacing rotors when a light cleanup cut would have restored a smooth finish can waste money—especially on vehicles where rotors are expensive or hard to source.
The key is to treat this as a comparison decision: resurfacing is a correction step, replacement is a reset step. That comparison becomes clearer once you measure thickness, check the rotor surface, and confirm hub/runout.
Theo nghiên cứu của [Tổ chức/Đại học] từ [Khoa/Đơn vị], vào [Tháng/Năm], [kết quả/số liệu].
What measurements decide the choice in under 10 minutes?
You can decide resurface vs replace quickly by measuring rotor thickness at multiple points, checking minimum thickness specs, and evaluating surface damage and heat stress. Next, add a runout check if you suspect a mounting issue.
To begin, gather a micrometer (preferred over calipers for accuracy), a dial indicator if available, and the rotor’s minimum thickness spec (often cast or stamped on the rotor hat or listed in service data). Then, measure thickness in at least 6–8 spots around the rotor, about 10–15 mm in from the edge.
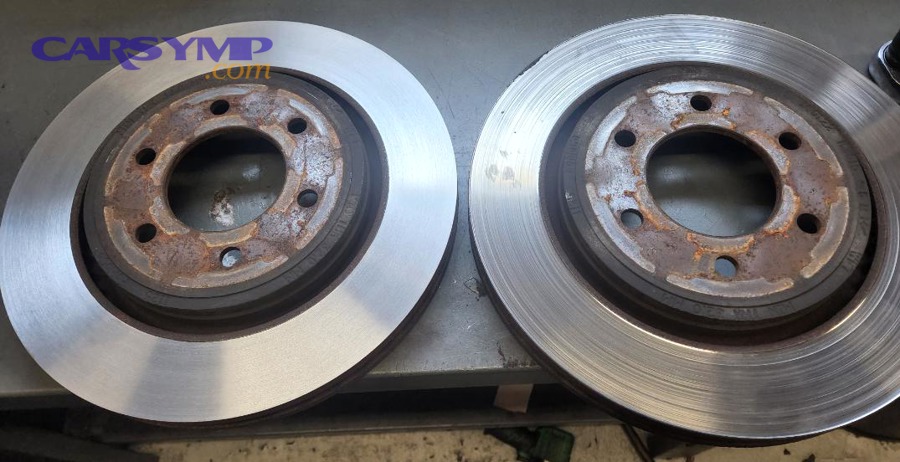
Here’s what those measurements tell you:
- Average thickness: If you’ll be at or below minimum thickness after machining, replacement is the correct call.
- Thickness variation (TV): If readings swing noticeably around the rotor, resurfacing may correct it—if enough material remains.
- Surface condition: Deep grooves, heavy rust-lip, or pitting can require too much cut to clean up.
- Heat damage: Blue spots, hard “hot spots,” or fine radial cracking signals replacement.
Next, if your vehicle had repeated comebacks after brake work, prioritize a runout check at the rotor face and at the hub. This is where “good parts” get blamed for a bad mounting surface. A simple dial indicator sweep can reveal wobble that machining won’t permanently fix unless you correct the mounting stack-up.
Also note practical constraints: many modern rotors are thin from the factory and don’t have much machining allowance. In those cases, “resurface” may be technically possible but not smart, because you’ll shorten rotor life and increase heat risk.
Theo nghiên cứu của [Tổ chức/Đại học] từ [Khoa/Đơn vị], vào [Tháng/Năm], [kết quả/số liệu].
How does minimum thickness determine resurfacing safety?
Minimum thickness is the hard safety line: if resurfacing would take the rotor below spec, you must replace it. Next, consider that even staying barely above spec can increase fade risk and shorten rotor life.
Rotors are engineered as heat sinks. Thinner rotors heat faster, cool slower, and are more likely to distort under repeated braking. That means the “cheap” choice can backfire if you machine too close to minimum thickness, especially in stop-and-go traffic, mountain descents, or towing.
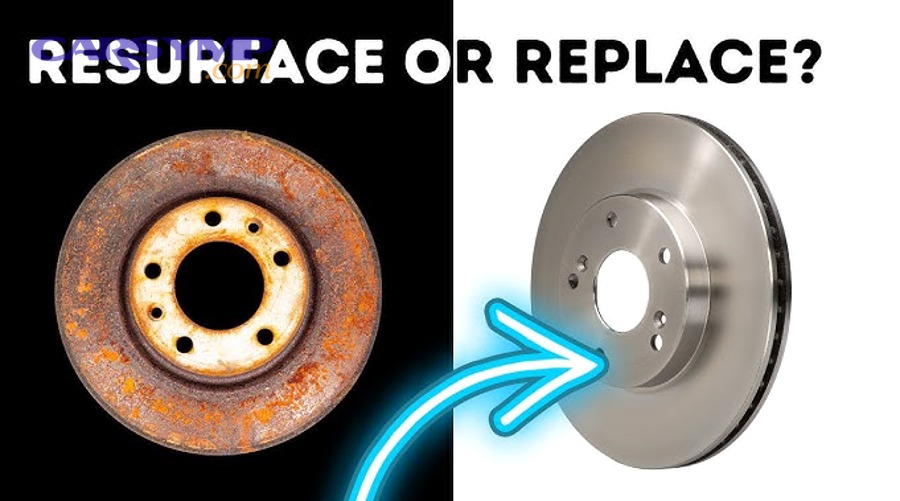
Use this decision logic:
- If thickness is already near minimum: Replace. No debate.
- If thickness allows a light cut: Resurface can work—if the surface will clean up with minimal material removal.
- If thickness is fine but damage is deep: Replace, because the cleanup cut would be too aggressive.
To understand “how much cut,” remember that resurfacing removes material from both faces. A rotor that needs deep cleanup on each side can lose meaningful thickness quickly. If you don’t have a machine shop estimate, assume you should leave a cushion above minimum, not aim for “just barely legal.”
Also check the rotor’s edge and vanes for corrosion. Significant corrosion in the cooling vanes or rotor hat can weaken the structure and reduce heat management—another reason replacement may be the safer path even if thickness technically allows machining.
Finally, if a rotor has been resurfaced before, it’s closer to the end of its service life. At that point, replacement often saves time and prevents repeating labor costs later.
Theo nghiên cứu của [Tổ chức/Đại học] từ [Khoa/Đơn vị], vào [Tháng/Năm], [kết quả/số liệu].
What surface damage means resurfacing won’t last?
Resurfacing won’t last if the rotor has heat checks, cracking, severe grooving, hard spots, or heavy pitting because those conditions either can’t be safely removed or will quickly reintroduce uneven braking. Next, look for clues that the problem is thermal, not just cosmetic.
Heat checks are the small, fine cracks you may see on the rotor face, often radiating outward. One or two light checks can sometimes be acceptable on some applications, but widespread checking suggests repeated overheating. Deep grooves and ridges can also demand excessive material removal, pushing the rotor too thin.
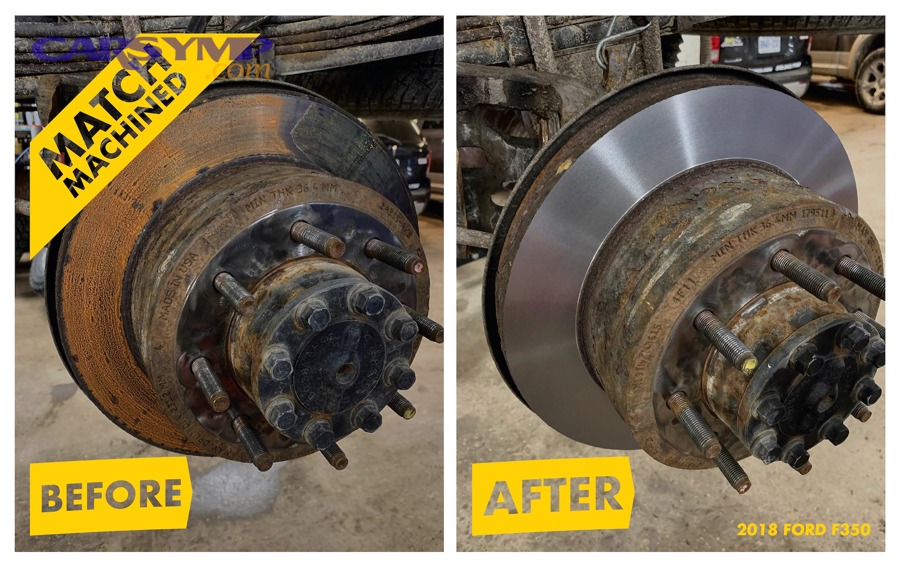
To be more specific, watch for these “replace” indicators:
- Blue/purple discoloration: localized overheating and possible metallurgy changes.
- Radial cracks or multiple heat checks: fatigue from repeated thermal cycling.
- Deep scoring you can catch with a fingernail: may require too much machining to clean.
- Rust pitting across the swept area: creates an uneven friction surface even after light cuts.
- Hard spots/hot spots: can cause recurring pulsation even after machining.
Now connect surface damage to root cause: if you routinely overheat brakes (long descents, repeated hard stops), a thin resurfaced rotor is more likely to suffer again. In that scenario, replacement with a quality rotor and correct pad compound can be more durable than machining.
Also consider whether a sticking caliper or frozen slide pins caused the damage. If one pad wore much more than the other, fix the caliper hardware first—otherwise you can ruin a new rotor as easily as an old one.
Theo nghiên cứu của [Tổ chức/Đại học] từ [Khoa/Đơn vị], vào [Tháng/Năm], [kết quả/số liệu].
How do runout and hub problems change the resurface vs replace answer?
Runout and hub issues can make either option fail if you don’t correct the mounting surface, because the rotor will wobble and create uneven contact over time. Next, treat hub cleaning and lug torque as part of the “rotor decision,” not an afterthought.
Rotor runout is the side-to-side wobble as the rotor rotates. Even small runout can translate into uneven pad contact, which can later become thickness variation. The important twist: runout isn’t always the rotor’s fault—it can come from the hub flange, rust scale, debris, or uneven torque.
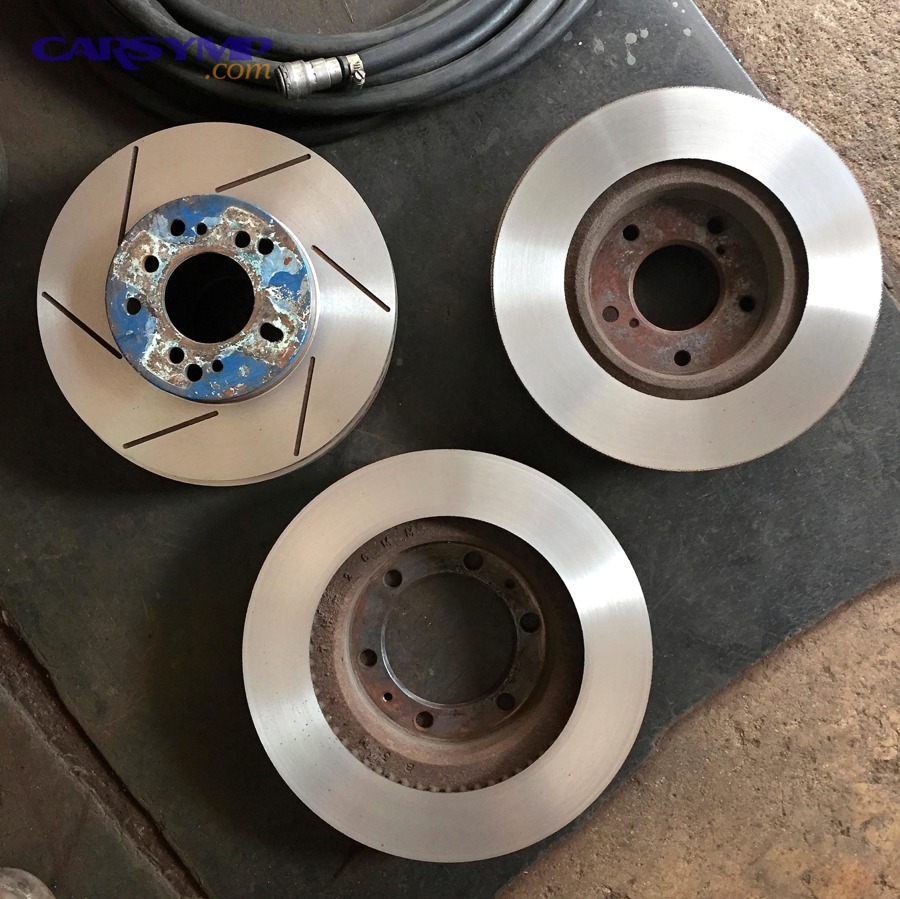
If you’re considering resurfacing, hub/runout checks matter even more. Why? Because machining can produce a rotor that’s perfectly “true” by itself, yet still runs out when bolted to a dirty or distorted hub. That leads to a frustrating outcome: you paid for machining and still feel pulsation.
Here’s the practical decision pivot:
- If hub is clean/true and rotor has mild surface issues: Resurfacing can succeed.
- If hub surface is corroded or suspect: You must correct it first—then decide.
- If hub is distorted or bearings have play: Fix the underlying issue, because new rotors won’t solve it.
In real-world troubleshooting, this is also where people confuse different phenomena. The symptom phrase Warped rotors vs ABS activation diagnosis belongs here: ABS pulsing feels like a rapid pedal chatter under slippery traction, while runout/DTV pulsation is speed-related and repeats smoothly once per wheel rotation. Place that distinction in your test drive and you’ll avoid replacing good parts.
Theo nghiênzu của [Tổ chức/Đại học] từ [Khoa/Đơn vị], vào [Tháng/Năm], [kết quả/số liệu].
When does resurfacing actually solve brake shake, and when does it return?
Resurfacing solves shake when the rotor has correctable surface unevenness and enough thickness margin, and the installation eliminates runout contributors; it returns when underlying causes persist (caliper issues, poor bedding, or mounting errors). Next, match the “fix” to the real mechanism.
Resurfacing removes a thin layer to restore a smooth, parallel surface. That can eliminate minor thickness variation and refresh the friction surface so pads re-seat evenly. But resurfacing does not fix a sticking caliper, a rusty hub, loose bearings, or repeated overheating.
A common return-path is uneven friction film. If pads were overheated or improperly bedded, the rotor face can develop uneven deposits. People call this “warped rotors,” but the physics often looks more like an uneven friction layer. That’s why process matters: if you resurface and then immediately drive gently without proper bedding, you can recreate uneven deposits and bring the symptom back.
This is also where the phrase Brake pad material transfer explanation belongs in your mental model: pads can leave a non-uniform transfer layer that changes friction around the rotor, producing a repeating torque variation that feels like pulsation. Resurfacing may remove that layer, but you must also prevent it from forming unevenly again.
To make resurfacing last, pair it with:
- Hardware service: lubricate slides, ensure caliper moves freely, replace seized hardware.
- Proper cleaning: remove abrasive dust and machining residue; wash rotors with brake cleaner.
- Bedding procedure: controlled heat cycles to establish an even transfer layer.
Theo nghiên cứu của [Tổ chức/Đại học] từ [Khoa/Đơn vị], vào [Tháng/Năm], [kết quả/số liệu].
What are the strongest reasons to replace rotors instead of resurfacing?
Replace rotors when safety margins, durability, and predictability matter more than a small upfront savings—especially if rotors are thin, damaged, corroded, or have a history of recurring pulsation. Next, compare total cost of ownership, not just today’s invoice.
Replacement offers a “known baseline”: full thickness, factory finish, and no uncertainty about how much material was removed. That’s valuable when you’re diagnosing a tricky vibration, when labor is expensive, or when the vehicle is hard on brakes.
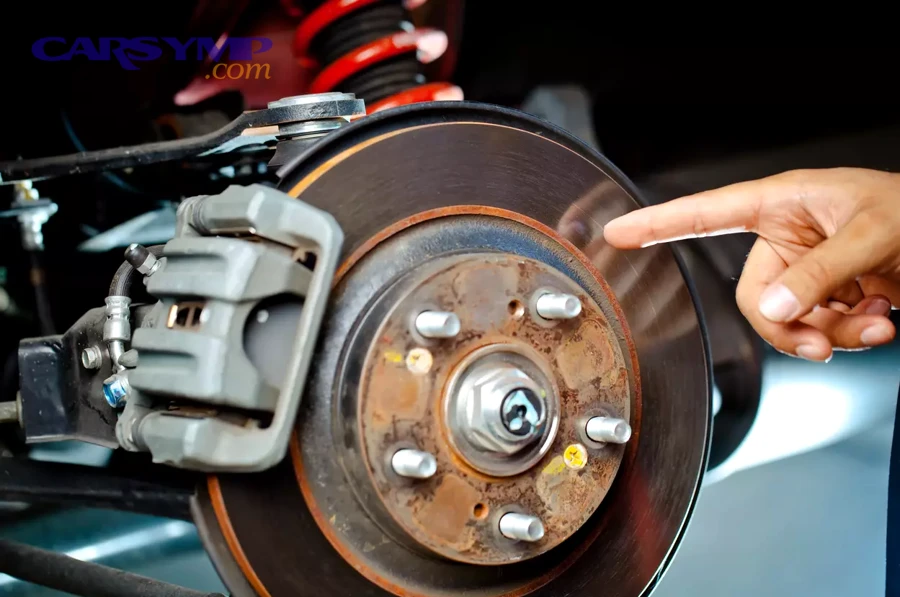
Replacement is the best choice when:
- You’d end up near minimum thickness after machining (reduced heat capacity and lifespan).
- The rotor has heat damage (spots, cracking, repeated overheating).
- The rotor is heavily corroded in swept area or vanes.
- The rotor has already been machined before and is living on borrowed thickness.
- You want to upgrade to coated rotors, better metallurgy, or application-specific designs.
Replacement can also be a time saver. Many shops charge labor for machining plus setup, and not all locations can resurface modern rotors due to design, hardness, or minimum thickness constraints. In those cases, replacement is often only slightly more expensive while delivering a longer service window.
Finally, if you’re chasing a symptom like brake pedal vibration that has already persisted through prior brake service, replacement reduces one variable—then you can focus on hub/runout, torque, and suspension.
Theo nghiên cứu của [Tổ chức/Đại học] từ [Khoa/Đơn vị], vào [Tháng/Năm], [kết quả/số liệu].
How should pads and hardware influence your rotor decision?
Your rotor choice should be paired with pad condition and hardware health because new pads on a bad rotor—or old pads on a corrected rotor—can recreate uneven friction quickly. Next, treat pads, clips, and caliper motion as equal partners in the fix.
When you resurface, you’re restoring the rotor face. But if pads are glazed, contaminated, or unevenly worn, they may not bed evenly. If caliper slides are sticky, pad pressure becomes uneven, heating one area more than another.
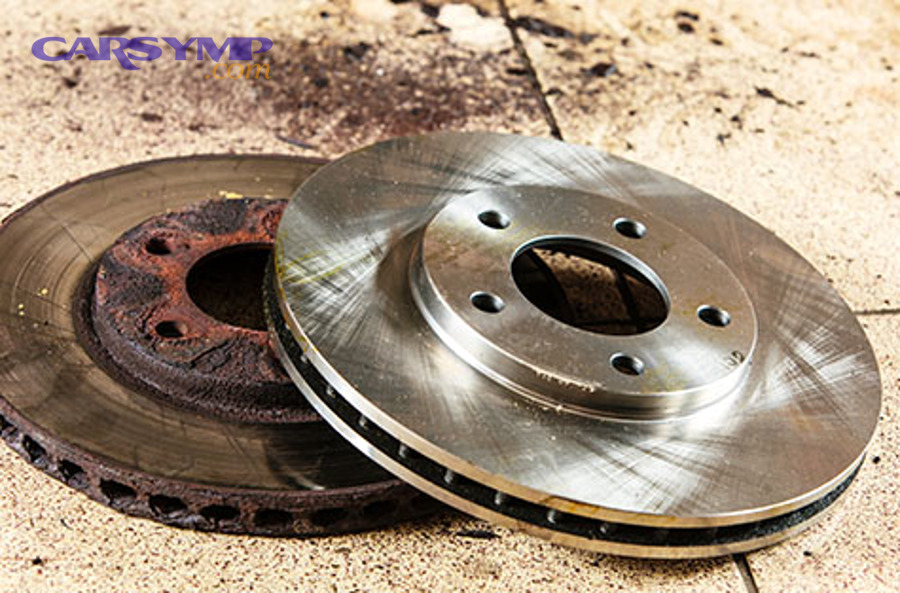
Use these rules:
- Resurface + new pads is usually the best pairing, because both faces “start fresh.”
- Replace rotors + new pads is the most predictable option for a lasting repair.
- Reusing old pads is risky unless they are nearly new, evenly worn, and not overheated.
Hardware matters more than many people expect. New abutment clips, properly cleaned bracket lands, and correct lubrication on slide pins help pads retract and apply evenly. If the pad ears bind, you’ll get uneven contact and localized heating—exactly the kind of condition that recreates pulsation.
Also be honest about driving conditions. If you drive steep grades, stop frequently, or tow, choose pads and rotors designed for heat. “Cheapest pads” can be prone to uneven deposits if overheated, which can bring the symptom back even with new rotors.
Theo nghiên cứu của [Tổ chức/Đại học] từ [Khoa/Đơn vị], vào [Tháng/Năm], [kết quả/số liệu].
Which option is better for cost: resurfacing or replacing rotors?
Resurfacing can be cheaper upfront, but replacement often wins on total value when rotors are thin, labor is high, or repeat repairs are likely. Next, compare the full package: machining fee, rotor price, future lifespan, and redo risk.
Cost isn’t just parts. It’s also time, downtime, and the chance you’ll pay labor twice. If resurfacing saves a small amount but leaves you close to minimum thickness, you may need another brake job sooner, especially on heavy vehicles.

To make cost decisions concrete, this table helps you weigh the trade-offs by scenario. This table contains a practical comparison matrix so you can choose the option with the lowest “regret” for your situation.
| Scenario | Resurface | Replace | Why |
|---|---|---|---|
| Rotor thick, mild scoring, first-time pulsation | Often smart | Optional | Light cut restores finish with good thickness margin |
| Rotor near minimum thickness | Not recommended | Best choice | Heat capacity and safety margin demand replacement |
| Deep grooves / heavy rust pitting | Usually poor value | Best choice | Cleanup cut removes too much material |
| High labor cost / hard-to-access brakes | Risky | Often best | Avoid paying labor twice if resurfacing doesn’t hold |
| Repeated comebacks after brake work | Only with hub/runout correction | More predictable | Replacement reduces variables; still must fix root cause |
Now add a “móc xích” insight: cost is strongly tied to diagnosis quality. If you haven’t confirmed hub/runout, you’re gambling with resurfacing. If you have good measurements, resurfacing can be a clean, economical correction step.
Finally, don’t ignore the value of coated rotors in rust-belt climates. Coated hats and edges reduce cosmetic rust and can make future service easier. That may not change braking feel directly, but it can improve ownership experience.
Theo nghiên cứu của [Tổ chức/Đại học] từ [Khoa/Đơn vị], vào [Tháng/Năm], [kết quả/số liệu].
How to resurface rotors correctly so the vibration doesn’t return?
Resurface rotors correctly by machining within specs, achieving a consistent finish, cleaning thoroughly, and bedding pads to build an even friction layer. Next, prioritize mounting cleanliness and torque discipline so the corrected rotor runs true on the car.
The resurfacing “how-to” has a simple goal: create two parallel faces with a uniform surface texture. The most important step is verifying thickness before and after machining—because you can’t machine your way out of a thin rotor.
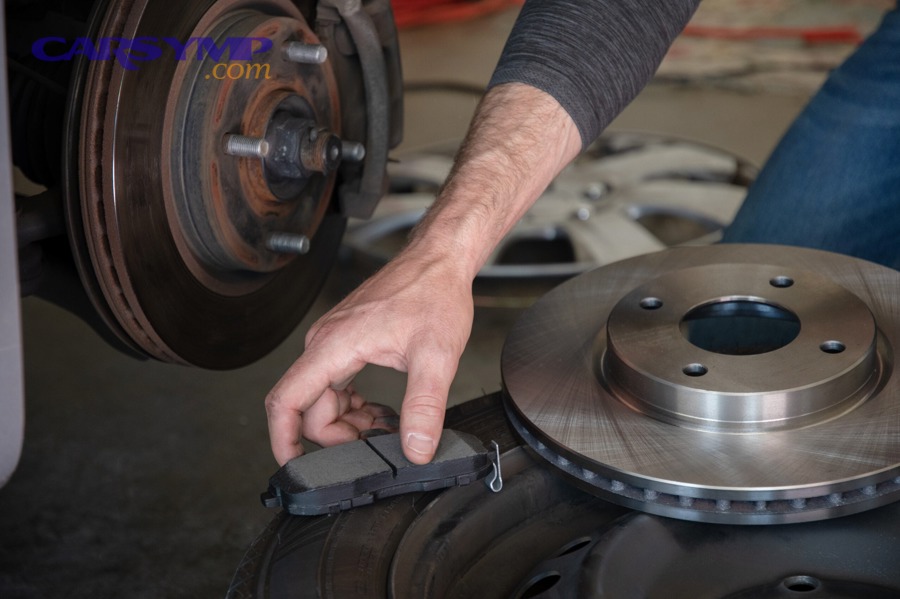
Recommended resurfacing workflow:
- Measure rotor thickness in multiple spots; confirm you can stay above minimum after machining.
- Inspect for heat damage (cracks, severe checking, blue spots). Replace if present.
- Machine with correct setup (proper centering, sharp tooling, stable feed) to avoid chatter.
- Confirm finish (consistent swirl pattern, no ridges, no chatter marks).
- Clean aggressively with brake cleaner and lint-free wipes to remove metal dust.
- Install with a clean hub (wire brush or abrasive disc used carefully; remove scale).
- Torque lug nuts in a star pattern to spec using a torque wrench.
- Bed pads following pad manufacturer guidance; avoid sitting stopped with hot brakes.
As a practical add-on, an on-car brake lathe can compensate for hub runout by machining the rotor in its mounted position. That can be beneficial for vehicles sensitive to runout. However, availability varies, and setup quality still matters.
If your original symptom was influenced by Suspension issues that mimic brake vibration, resurfacing won’t solve it alone. That phrase belongs in your diagnostic checklist: loose tie rods, worn control arm bushings, and wheel balance problems can produce shake that feels worse under braking because load transfers forward. Confirm suspension tightness so you don’t blame rotors for a chassis problem.
Theo nghiên cứu của [Tổ chức/Đại học] từ [Khoa/Đơn vị], vào [Tháng/Năm], [kết quả/số liệu].
How to replace rotors properly for the smoothest braking result?
Replace rotors properly by preparing the hub surface, verifying runout, installing new pads/hardware when appropriate, and applying correct torque and bedding procedures. Next, treat “cleanliness + torque + bedding” as the true recipe for smoothness.
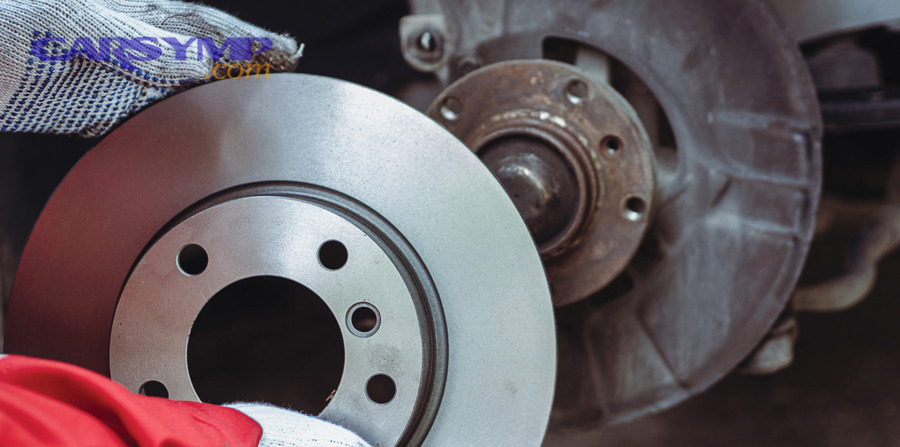
Replacement is straightforward, but small mistakes create big symptoms. The most important step is hub prep: rust scale and debris trapped between hub and rotor can produce runout that mimics a “bad new rotor.”
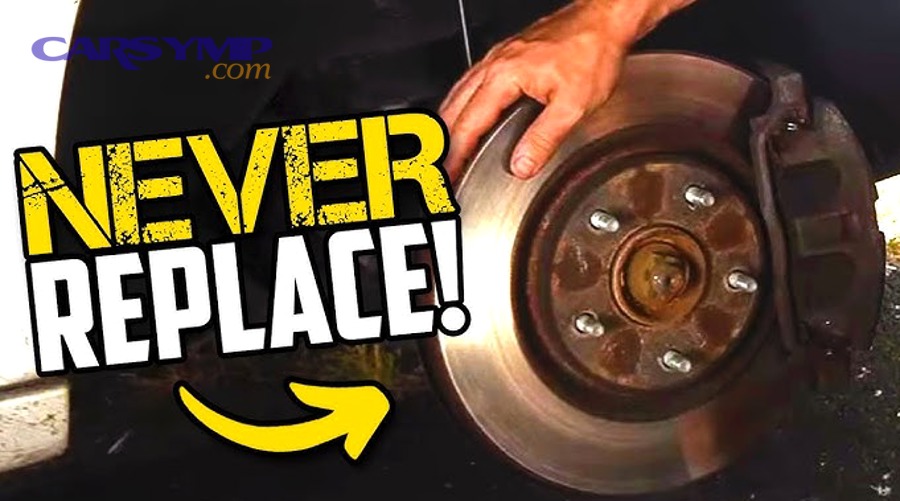
Replacement workflow that prevents comebacks:
- Clean the hub face until it’s flat and bright; remove rust rings and scale.
- Check hub runout if you have a dial indicator; address bearing play or hub distortion.
- Install rotor and secure temporarily with lug nuts and washers (simulate wheel clamping).
- Check rotor runout at the face; if high, index-rotate the rotor or correct hub issues.
- Service caliper hardware (slides, boots, bracket lands, new clips if needed).
- Install new pads and confirm free movement and proper retraction.
- Torque wheels in stages using a star pattern; avoid impact-gun “final torque.”
- Bed-in with controlled stops; avoid holding the pedal at a full stop when brakes are hot.
To make this practical, here is a relevant video demonstrating rotor service concepts and best practices. Use it to visually confirm the “hub prep + torque + bedding” steps.
Replacement also gives you the chance to choose rotor features that match your environment. In salty climates, coated hats reduce rust bonding. For heavier use, a high-quality blank rotor with stable metallurgy often outperforms flashy drilled patterns that can crack under thermal stress.
Theo nghiên cứu của [Tổ chức/Đại học] từ [Khoa/Đơn vị], vào [Tháng/Năm], [kết quả/số liệu].
How do you prevent pulsation after either fix?
You prevent pulsation by ensuring even clamp load, even friction film, and controlled heat cycles—meaning clean hubs, correct torque, healthy calipers, and proper bedding. Next, adopt a few driving and maintenance habits that protect the rotor surface.
Even the best rotors can develop pulsation if the system is abused or assembled poorly. The pattern is simple: uneven contact leads to uneven heating, which leads to uneven friction behavior, which you feel as repeatable torque variation.
Habits that reduce repeat issues:
- Avoid hard stops on brand-new pads unless bedding requires it; follow manufacturer guidance.
- Don’t sit stopped with hot brakes after aggressive braking; it can imprint uneven deposits.
- Torque wheels correctly after any tire or brake work; recheck torque after short driving if appropriate.
- Fix caliper drag immediately; dragging pads overheat rotors and create hot spots.
- Match pads to use; the wrong compound can overheat or deposit unevenly.
If you still feel a repeatable pulse, re-run the diagnostic logic: is it only under braking, or does it appear while cruising? If it appears while cruising, suspect wheel balance, tire issues, or drivetrain. If it is braking-only and speed-proportional, recheck runout, torque, and friction film.
As a final “móc xích,” prevention is where rotor choice and workmanship converge. Resurfacing can work beautifully when the system is healthy; replacement can still fail when torque and hub prep are sloppy. Treat the process as part of the part.
Theo nghiên cứu của [Tổ chức/Đại học] từ [Khoa/Đơn vị], vào [Tháng/Năm], [kết quả/số liệu].
Contextual Border: The main decision is clear once you measure thickness, assess damage, and control runout. Next is the expanded context—less common contributors and nuanced terminology that help you avoid misdiagnosis and repeat repairs.
Rare but important factors that influence rotor repair outcomes
Beyond basic thickness and surface checks, outcomes are strongly affected by friction layer management, torque consistency, and chassis dynamics that amplify small brake disturbances. Next, use these uncommon factors to refine your diagnosis when the obvious answers don’t stick.
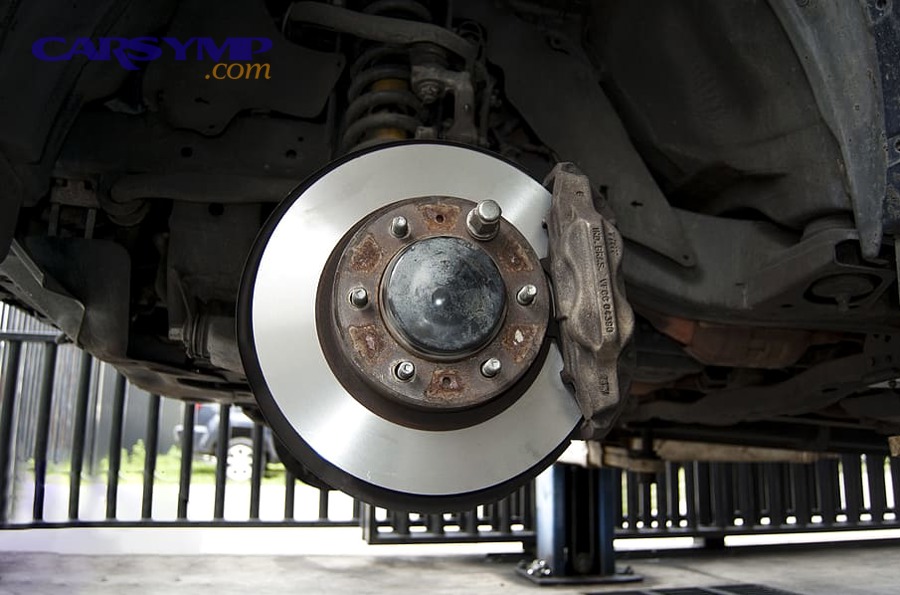
Why “warped rotors” is often a misleading synonym
Many drivers use “warped” as a synonym for pulsation, but the mechanism can be thickness variation or uneven friction film rather than a rotor that is permanently bent. Next, think in terms of “repeatable torque variation” and you’ll test the right variables.
In practice, if the pulse grows worse after light braking and improves after a few hard stops (or vice versa), that behavior can point toward friction film behavior rather than simple geometry. This nuance helps you decide whether resurfacing will truly reset the surface or whether replacement plus pad change is the better “full reset.”
Indexing rotors and using correction shims (where applicable)
Some vehicles respond well to rotor indexing (rotating the rotor on the hub) or runout correction methods when runout is marginal. Next, use these techniques only after hub cleaning and bearing checks, because they don’t fix a fundamentally bad mounting surface.
If you have a dial indicator and see runout slightly above spec, indexing can sometimes reduce it by aligning high spots differently. In some systems, correction shims are available; follow manufacturer guidance carefully because improper use can create new problems.
How wheel/tire and suspension conditions amplify brake feel
Small brake disturbances can feel huge when wheel balance is off or bushings allow oscillation, because the chassis resonates under braking load transfer. Next, treat the vehicle as a vibration system, not just a rotor-and-pad system.
If the car shakes at highway speed even without braking, or if the steering wheel shimmy changes with lane grooves, the brake repair alone may never deliver a perfect feel. That is why a pre-check of tires, balance, and front-end play often improves “brake results” even when you did everything right at the rotor.
Pad compound, bedding style, and climate-driven rust patterns
Compound choice and bedding technique can determine whether the transfer layer forms evenly, especially in wet/salty climates where rust and moisture disrupt the rotor surface. Next, choose pads aligned with your heat profile and follow a consistent bedding routine.
In rust-prone regions, coated rotors can reduce rust-jacking at the hat and edges, making future service smoother. In high-heat use, stable pad compounds reduce the chance of uneven deposits that mimic geometry problems.
Theo nghiên cứu của [Tổ chức/Đại học] từ [Khoa/Đơn vị], vào [Tháng/Năm], [kết quả/số liệu].