


Rotor replacement labor time typically ranges from about 45–90 minutes per axle on many everyday vehicles, but it can stretch to 2–3+ hours when rust, seized hardware, parking-brake designs, or hub/bearing integration slow the job down.
Beyond the clock, the practical question is what you’re paying for: a predictable “book time” estimate, or the real-world steps that protect braking feel, avoid comebacks, and keep the steering wheel smooth after the first test drive.
Many drivers also want to plan the appointment: whether the front and rear take the same time, how much variability to expect, and what decisions (parts, prep, inspection) can shorten labor without cutting corners.
To start, here’s how to think about rotor replacement labor time like a technician does: define a baseline, identify the time multipliers, and then choose a service path that matches your symptoms and your vehicle’s design.
How long does rotor replacement usually take from lift to road test?
On most vehicles, rotor replacement labor time is fastest when the rotor slides off easily, the caliper hardware is reusable, and the hub face is clean—so the job often lands around 0.8–1.5 hours per axle in straightforward conditions.
To begin, picture the work as a sequence where each step either stays “routine” or becomes the time multiplier that changes your estimate.

What “routine time” actually includes (and why it matters)
Routine rotor work isn’t only swapping a disc; it typically includes wheel removal, caliper and bracket removal, rotor removal, hub-face cleaning, rotor installation, reassembly, and a basic brake check before the road test.
Next, the hidden time often comes from cleaning and checking—because that’s where vibration and noise problems are prevented, not “fixed later.”
A flat-rate labor guide commonly expresses time in tenths of an hour (0.1 = 6 minutes), which is why small “extra” tasks can add up quickly when they aren’t included in the base operation.
For planning, a realistic customer-facing schedule usually adds check-in, parts staging, and post-service paperwork—so even a clean 1.0-hour job may occupy a 90–120 minute appointment window.
What makes a “quick” rotor job truly quick
A quick job happens when the rotor isn’t rust-welded to the hub, the caliper bolts cooperate, and there’s no need to chase secondary problems like a sticking slide pin, torn boot, or a seized parking-brake mechanism.
In other words, the fastest jobs are the ones where the vehicle’s condition and design align with the procedure—not the ones where the tech rushes the steps.
What factors increase rotor replacement labor time the most?
The biggest labor-time drivers are rust and corrosion, seized fasteners, and rear brake designs tied to parking brake hardware, because they can turn a simple R&R into a careful extraction and reconditioning process.
After that baseline, the smartest estimate comes from categorizing your car into “easy,” “average,” or “time-multiplier” conditions before work begins.
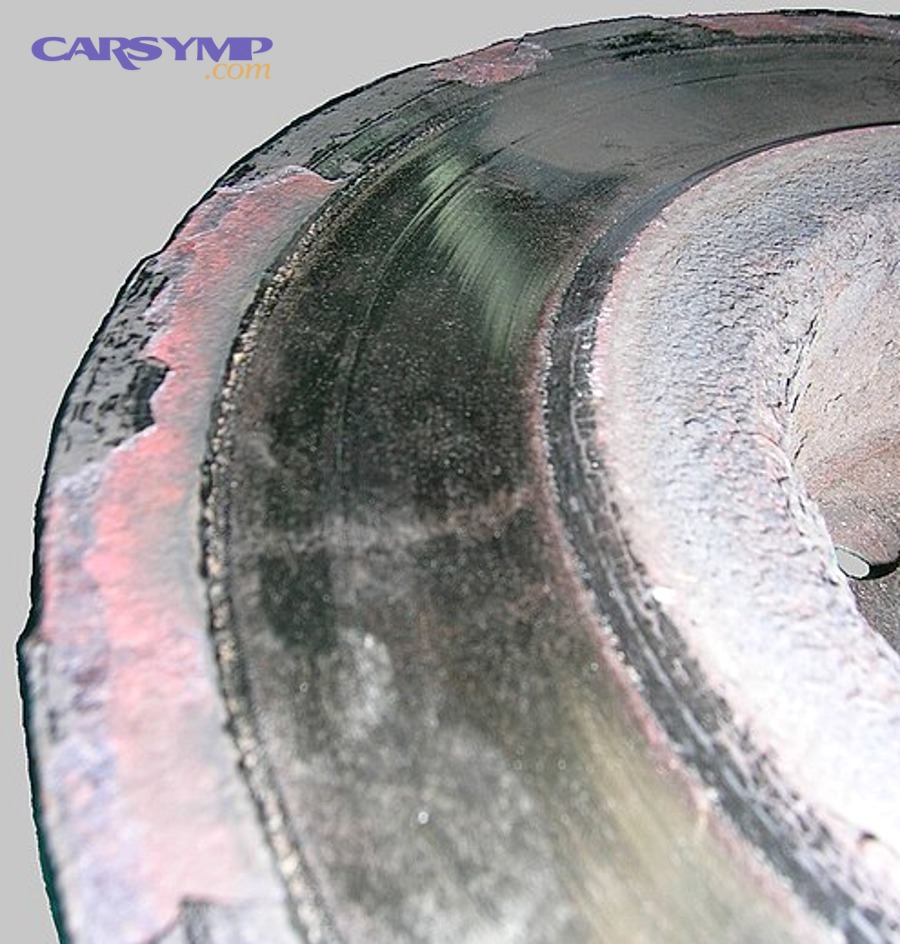
Rust-belt reality: when the rotor won’t separate
In wet or salted climates, the rotor hat can fuse to the hub, forcing time-consuming methods like penetrating oil, controlled hammering, heat, and sometimes dedicated puller tools to avoid damaging the hub or wheel studs.
Next, even after the rotor comes off, the hub face may need extra cleaning so the new rotor sits flat—because uneven mating surfaces can create vibration symptoms that look like “bad rotors” later.
Seized caliper brackets, slide pins, and hardware kits
Caliper bracket bolts that resist removal, slide pins that won’t move, or anti-rattle clips packed with corrosion can add significant time because the work becomes part brake service, part restoration.
In addition, replacing missing or worn hardware may require cleaning bracket channels and verifying pad movement—small steps that prevent uneven wear and squeal.
Rear rotors with integrated parking brake mechanisms
Many rear setups (including drum-in-hat parking brakes) introduce extra steps: backing off adjusters, freeing stuck shoes, or addressing a parking brake that drags—each of which can extend labor time well beyond a front-axle job.
As a result, rear rotor labor time is often more variable than front rotor labor time even when the vehicle looks “simple” at a glance.
How do shops estimate labor time, and why does “book time” differ from real time?
Shops typically estimate labor using a flat-rate guide plus known add-ons, so the quote reflects standardized operations rather than the exact minutes your specific vehicle will take on that day.
To understand the number, it helps to separate “core labor” from the add-ons that a good advisor flags early instead of surprising you later.
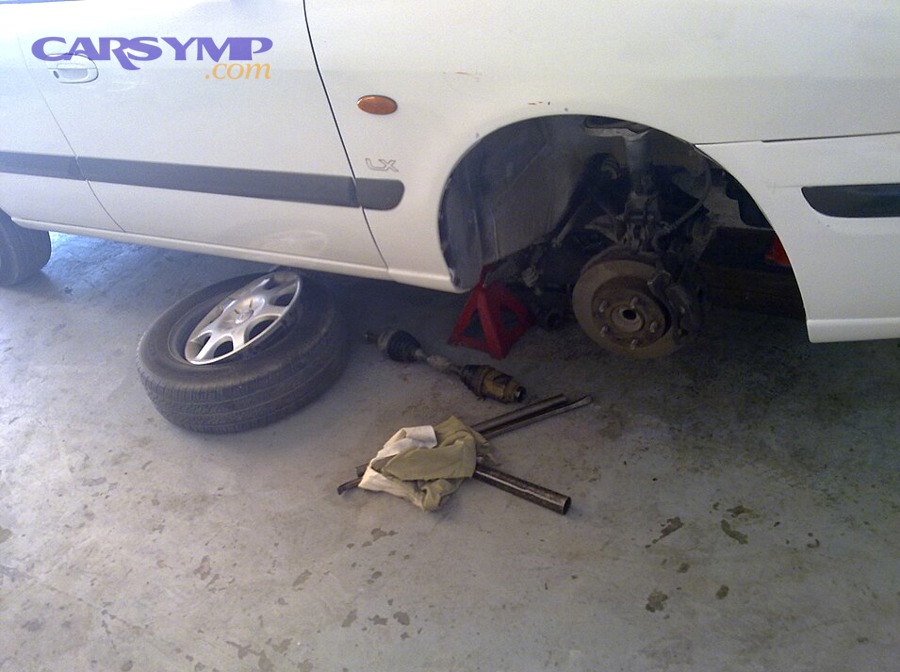
Flat-rate logic in plain English
Flat-rate time is designed so a shop can price consistently and a technician can be paid consistently, even though real-world conditions vary.
However, when the job involves stuck hardware or additional diagnosis, the actual time can exceed the guide—so many shops quote either a range or include “up to” language for known risk factors.
Common add-ons that change rotor labor time
Frequent add-ons include caliper service (slides/boots), hub cleaning and anti-seize application, replacing stripped or swollen lug nuts, and addressing ABS sensor wiring that’s brittle or routed near the work area.
Next, a shop may recommend additional checks (bearing play, ball joint looseness, tire balance) if the original complaint is vibration, because those issues can mimic rotor-related shake.
What you can do before approving work
Ask whether the quote is per axle, whether it includes hardware, and whether it assumes the rotor will come off without extraction time.
Then confirm the plan if corrosion is found: will they call you, is there a cap, and what steps will be taken to prevent future vibration and noise complaints.
How can you reduce labor time without reducing quality?
You can reduce labor time safely by preparing the job for efficiency—using correct tools, organizing hardware, and following a clean reassembly process—because most “extra time” comes from fighting avoidable friction, not from doing the job correctly.
To begin, think of time savings as removing uncertainty: fewer interruptions, fewer re-dos, and fewer post-install issues.
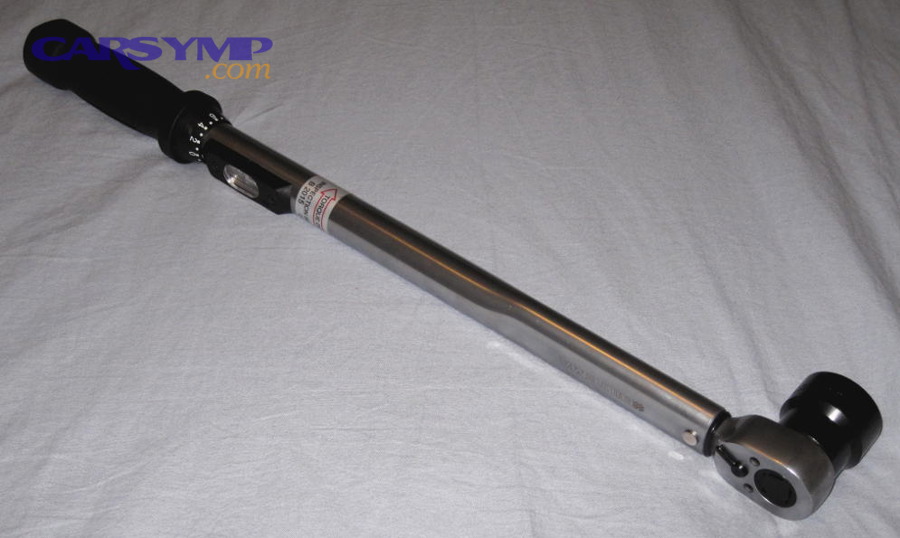
Use the right tools to prevent time-wasting damage
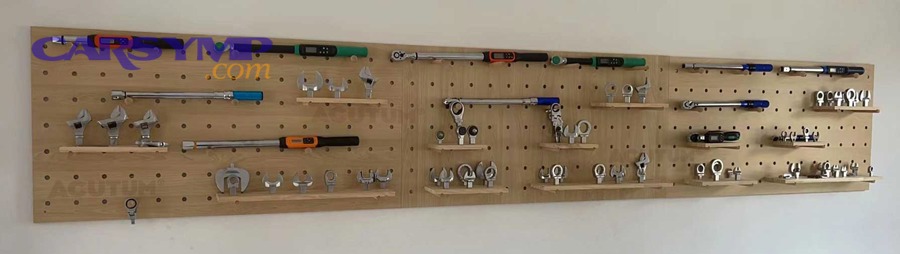
A proper torque wrench, correct sockets, and a breaker bar reduce rounded fasteners, snapped bolts, and repeated attempts—events that explode labor time in minutes.
Next, a piston compression tool (or the correct method for electronic parking brakes) avoids damaged seals and prevents the “why won’t the caliper fit” loop that burns time.
Clean mating surfaces to avoid comeback vibrations
Rotor-to-hub cleanliness is a quality step that also saves time long-term: a rotor that seats flat is less likely to create a vibration complaint that forces a recheck, re-torque, or rework later.
As a habit, technicians often clean the hub face and confirm the rotor sits flush before final assembly—because fixing seating errors after the wheel is back on costs more time than preventing them upfront.
Batch your work: do both sides per axle as a system
Doing both rotors on an axle in a single workflow reduces repetitive setup time: tools, jacking points, wheel removal, and verification steps are shared rather than duplicated across separate visits.
In addition, it improves braking balance, which reduces the risk of pull or uneven pad transfer patterns that can feel like new vibration.
How do runout and thickness variation complaints change labor time?
If the car arrived with vibration during braking, the labor time can increase because the job shifts from “replace parts” to “replace parts plus verify geometry,” often adding measurement, cleaning, and torque-control steps to prevent the vibration from returning.
Next, when the goal is a smooth pedal and steering feel, measurement becomes the time-saving step—because it prevents repeat repairs.
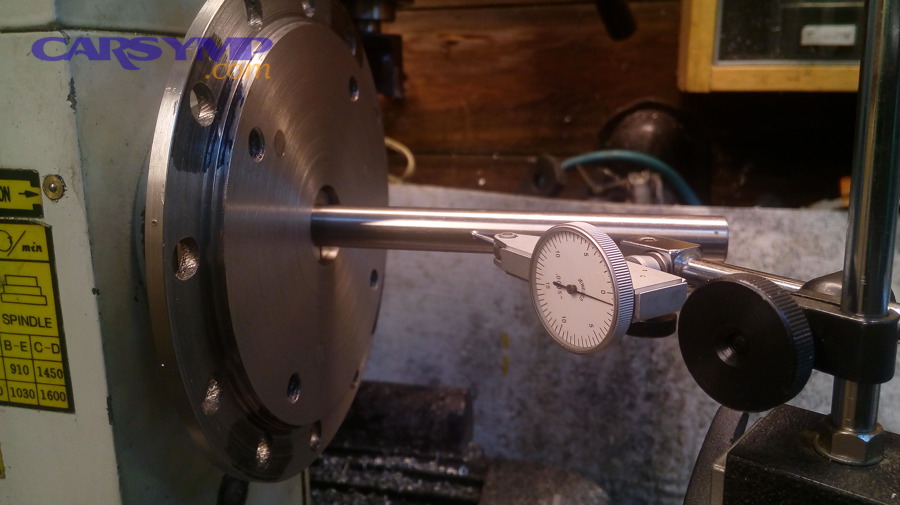
Why measuring matters when the symptom is vibration
Rotor runout (wobble) and disc thickness variation can create a cyclic brake torque that drivers feel as pulsation or shake, so a careful shop may check hub runout, rotor seating, and torque patterns before finalizing the job.
As a result, a “vibration complaint” visit may include extra steps like cleaning rust scale, indexing the rotor to the hub, and rechecking after torqueing the wheel.
The research community studying brake judder often points to very small thickness variation targets in precision contexts—highlighting how sensitive the system can be.
Hub face condition: the overlooked source of “new rotors still shake”
Even a new rotor can act “warped” if it mounts on a hub face with rust lumps or debris, because the rotor becomes tilted relative to the caliper.
Next, if the vehicle is known for corrosion at the hub interface, extra labor for cleaning is not wasted—it’s the prevention step that protects the job’s result.
Wheel torque control: labor time vs. risk trade-off
Careful wheel installation (correct torque and pattern) takes a little time, but it lowers the risk of uneven clamping forces that can distort rotor seating and contribute to future pulsation complaints.
In other words, the fastest wheel install isn’t always the cheapest—because it can convert into diagnostic time later.
Front vs rear rotor replacement labor time: what’s different?
Front rotors are often quicker because access is simpler and there’s no parking brake mechanism, while rear rotors can take longer due to integrated parking brake hardware, caliper designs, and sometimes tighter packaging around suspension arms and ABS wiring.
After that, the best expectation comes from identifying which rear design your vehicle uses before the job begins.
Rear rotor designs that add steps
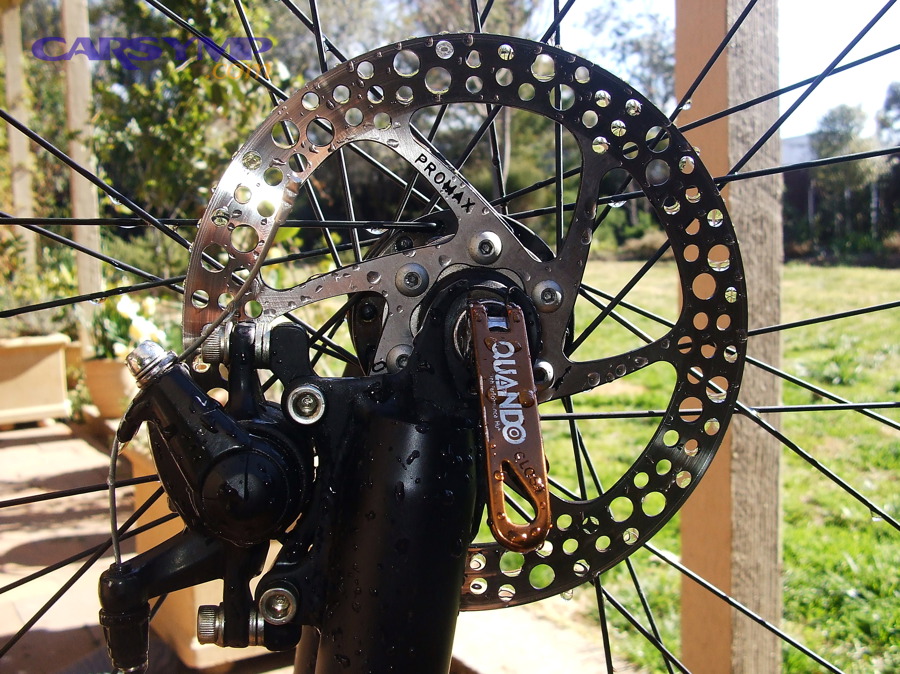
Rear rotors may involve an internal parking brake (shoes inside the rotor hat), or electronic parking brake actuators that require a service mode—both of which add procedure steps and verification time.
Next, if the parking brake hardware is worn or rusty, the technician may need to clean, lubricate contact points, and adjust shoe clearance to avoid drag or noise.
Vehicles with hub/bearing integration or special fasteners
Some vehicles use rotor retaining screws, unusual bracket bolt access, or a rotor-hub interface that’s sensitive to corrosion; these designs aren’t “hard,” but they increase variability.
As a result, two cars that both “need rotors” can have very different labor times even with the same mileage.
Why rear jobs sometimes include extra diagnosis
Rear brake concerns sometimes overlap with wheel bearing noise, tire cupping, or suspension compliance, so a shop may add a short inspection to confirm the braking system is truly the source of the complaint.
That diagnostic time can feel like an add-on, but it often prevents replacing parts that won’t solve the symptom.
Contextual Border: The sections above focus on the main labor-time estimate and the big time multipliers. The next section expands into less obvious factors that influence time, comfort, and long-term results.
Extra details that change the estimate and the driving feel
These extra details can shift rotor replacement labor time by minutes or by an hour depending on your vehicle, your environment, and your goals for noise and vibration control.
Next, use them as a checklist: if several apply to your car, expect a higher-end estimate and a better final result when the shop addresses them proactively.
Parts choice affects handling time and verification steps
Choosing coated rotors can reduce future rust at non-friction surfaces, but some coatings require cleaning friction faces or confirming pad bedding, which adds small but real time.
Also, if you pick a performance-style rotor, technicians may spend extra time confirming fit, hardware compatibility, and post-install behavior—especially if you want quiet, smooth commuting rather than aggressive bite.
In this context, you’ll hear terms like Drilled/slotted vs plain rotor pros/cons discussed at the counter; that decision can affect both installation handling and the likelihood of certain sounds under light braking.
Why combined pad-and-rotor service changes workflow
When pads are replaced along with rotors, the workflow often includes additional steps: hardware reset, slide lubrication, caliper piston retraction verification, and a bedding procedure plan.
That’s why drivers asking When to replace pads with rotors are really asking about total labor and total risk: doing everything together can be more efficient than repeating teardown later.
Similarly, many shops label the work as brake rotor replacement plus associated brake service steps, because the rotor job is part of a system-level service, not a standalone swap.
Noise checks and post-install behavior planning
Brake noise after a rotor job often isn’t a single “bad part” issue; it’s a combination of pad material, hardware fit, lubrication points, and bedding conditions.
That’s why technicians may spend extra time verifying clip seating, pad movement, and contact points—because the cheapest noise fix is preventing it at install time.
If you’re worried about Common rotor noise after installation, ask the shop whether they plan to reuse or replace hardware, whether they’ll clean bracket channels, and what bedding approach they recommend for your driving style.
Rust-belt prevention steps that cost minutes now, save hours later
Applying a thin anti-seize layer at the hub face (where appropriate), cleaning wheel-to-hub contact points, and verifying rotor seating reduce the chance of future rotor “sticking” and repeated extraction time.
Next time you need brakes, those small prevention steps can convert a frustrating job into an easy one—because the parts separate cleanly.
FAQ: Rotor replacement labor time planning
These quick answers help you translate an estimate into a realistic schedule, and they clarify what is “normal variability” versus what signals a separate problem.
Next, use the questions as a script when you call a shop—so the quote matches your vehicle and your expectations.
Is rotor replacement labor time quoted per wheel or per axle?
Most quotes are per axle (both sides), because replacing only one rotor on an axle can create imbalance and doesn’t save much teardown time compared with doing both sides while everything is already opened up.
Should I expect the rear to cost more time than the front?
Often yes, because rear designs may include parking brake steps or tighter access; however, some vehicles have easy rear rotors and time-consuming front corrosion, so the best answer depends on design and condition.
How much does rust typically add to labor time?
Rust can add anywhere from a few minutes to over an hour per axle depending on how stuck the rotor and fasteners are; the big swing happens when extraction becomes careful work to avoid hub, stud, or bracket damage.
What’s the best way to avoid paying twice for vibration issues?
Choose a shop that cleans the hub face, controls wheel torque properly, and will verify seating/runout steps when the original complaint is vibration; preventing a comeback is almost always cheaper than diagnosing after the fact.
Can I drive while waiting for an appointment if I feel pulsation?
If the vibration is mild and braking performance feels normal, many people drive short distances cautiously; but if you have strong steering shake, grinding, pulling, a soft pedal, or warning lights, treat it as urgent and limit driving until inspected.
Does upgrading parts reduce future labor time?
Sometimes: coated rotors and good hardware can reduce corrosion and noise-related rework, but the biggest labor-time saver over the long term is correct installation—clean mating surfaces, correct torque practices, and a bedding plan matched to your driving.