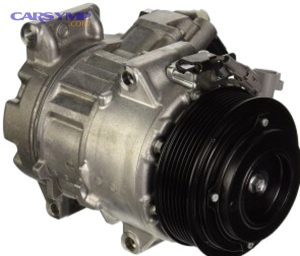
Replace a Car AC Compressor: Symptoms, Cost, vs Clutch
AC compressor replacement is the most direct way to restore cold air when the compressor is seized, internally damaged, or shedding debris that risks contaminating the entire system. In practice, it’s not just “swap a part”—it’s a repair sequence that protects the condenser, expansion device, and new compressor from repeat failure.
To help you decide correctly, this guide explains how to confirm compressor failure symptoms versus a clutch-only issue, and what “good” diagnosis looks like before spending money on parts. You’ll also learn the most important “What parts to replace with compressor” decisions so the new unit survives.
Because cost is usually the biggest stress point, we’ll walk through an AC compressor replacement cost breakdown (parts, labor, refrigerant, and extras), plus typical AC compressor replacement labor time and what makes quotes swing higher or lower.
To connect everything into a complete car AC repair outcome, we’ll finish with Flushing AC lines after compressor failure and the Post-replacement vacuum and recharge steps that prevent leaks, moisture damage, and weak cooling. After that, we’ll cross the contextual border into “New vs reman compressor pros/cons” so you can match budget to reliability.
How do you know you need an AC compressor replacement?
You likely need AC compressor replacement when the compressor is seized, noisy from internal damage, leaking at the front seal, or contaminating the system with metal—because those failures cannot be solved by recharge alone and often worsen quickly. Next, confirm symptoms in a structured way so you don’t replace the wrong part.
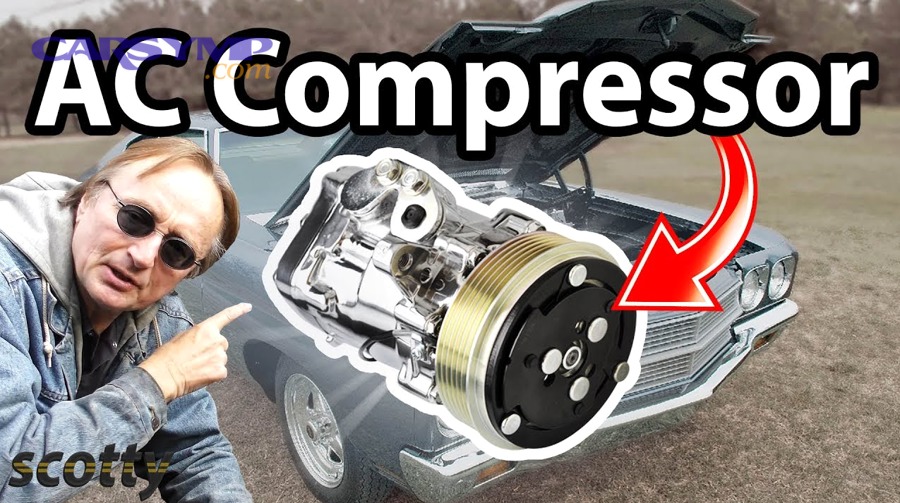
What are common AC compressor failure symptoms?
Yes—there are clear AC compressor failure symptoms: abnormal grinding/squeal, clutch cycling rapidly, warm air with correct refrigerant charge, high-side pressure that’s too high or too low for conditions, and visible oil/refrigerant leaks at the compressor nose. To begin, treat the sound and pressure pattern as a pair, not isolated clues.
- Grinding/metallic noise with clutch engaged often points to internal bearing or piston damage.
- Squeal can be belt slip from a tight/seizing compressor, or a clutch bearing failing.
- Rapid cycling may be low charge, a restriction, or a failing compressor that can’t build stable pressure.
- Warm air with correct charge can indicate weak pumping, a stuck control valve (variable displacement), or internal bypass.
- Oily residue near compressor body/hoses suggests refrigerant/oil leakage.
More importantly, if the compressor failed catastrophically, the system can contain debris that will destroy the replacement unless you address the rest of the circuit. In other words, symptoms guide you toward the right repair scope.
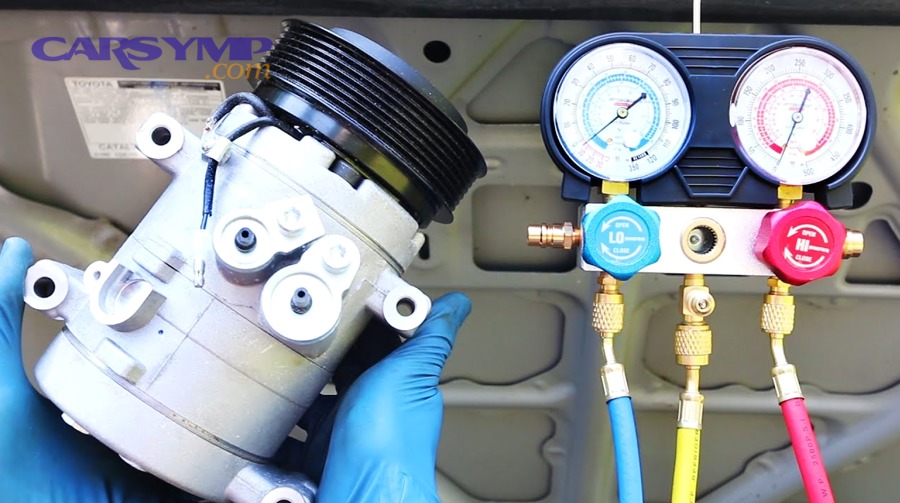
Compressor clutch vs full compressor diagnosis: what’s the difference?
Compressor clutch vs full compressor diagnosis comes down to whether the compressor’s pumping mechanism is healthy: a clutch problem prevents engagement, while a bad compressor may engage yet still fail to compress or may seize and overload the belt. However, modern variable-displacement compressors can “look engaged” while internally failing, so testing must go beyond “clutch clicks.”
- Clutch-only signs: clutch won’t engage, coil has no power/ground, coil resistance is out of spec, excessive clutch air gap, clutch plate slipping/burning smell, bearing noise even when AC is off.
- Compressor-internal signs: noisy only when engaged, abnormal high/low-side pressures, metal flakes in oil, seized shaft, repeated belt squeal, or pressure equalization that’s too fast/too slow for expected operation.
Specifically, check command and power first: if the system isn’t requesting AC (pressure switch, sensor, module logic), you can misdiagnose a “dead clutch.” Next, if command is present and the clutch engages but pressures don’t respond, suspect pumping failure or a control-valve issue.
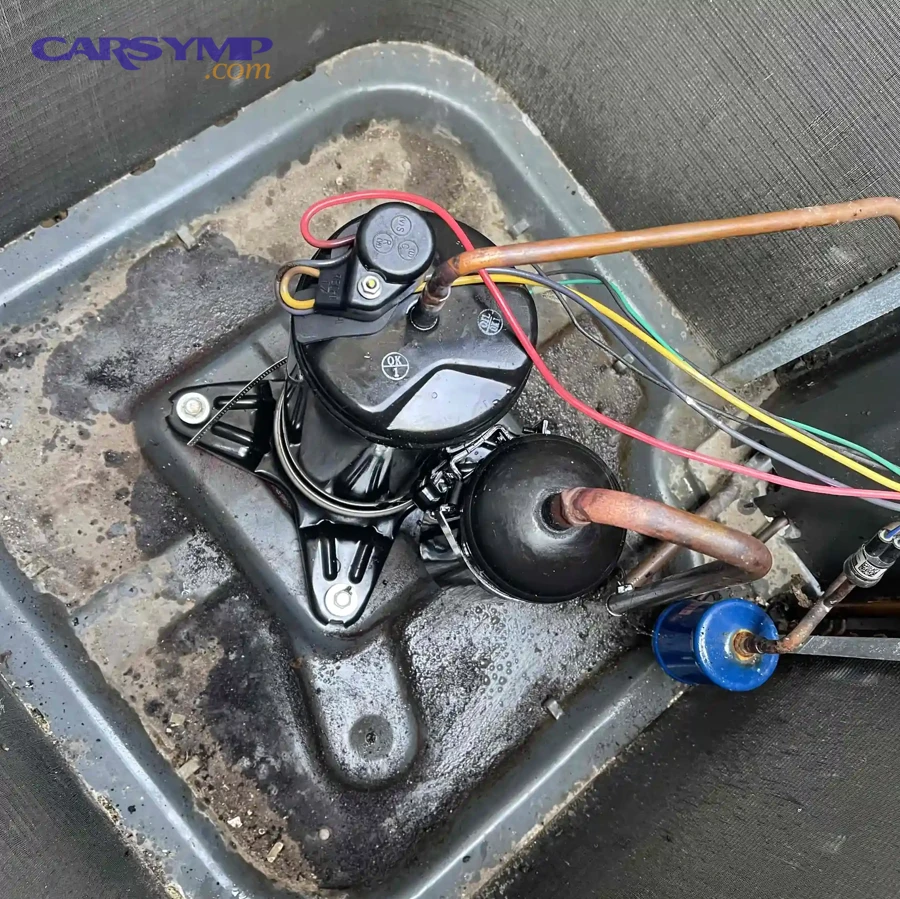
What quick tests reduce the chance of a wrong replacement?
A practical, high-confidence approach uses three checks—visual oil/leak evidence, clutch engagement/power verification, and manifold gauge pressure behavior—because they triangulate mechanical, electrical, and thermodynamic clues. Dưới đây are the most useful fast tests before ordering parts.
- Visual inspection: look for oily grime at the compressor nose seal, hose crimps, condenser, and service ports.
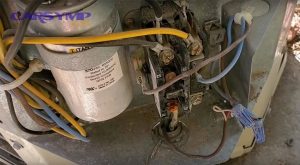
- Electrical verification: confirm the clutch receives correct voltage and ground (or that the compressor control valve gets the proper PWM signal on variable compressors).
- Pressure behavior: compare low/high-side pressures to ambient temperature and fan operation; abnormal patterns point to weak pumping, restrictions, or airflow issues.
To illustrate, a compressor that engages but shows low high-side pressure and higher-than-normal low-side pressure often isn’t compressing effectively. In contrast, very high high-side with very low low-side can indicate a restriction (often at the expansion device or condenser). That distinction helps you decide whether replacement is necessary or whether a blockage is the real culprit.
Can you drive with a seized compressor?
No—you should not keep driving with a seized compressor if the belt also drives critical components, because the seized unit can shred the belt, trigger overheating (if the water pump is belt-driven), or strand you. Next, your safest choice depends on pulley design and belt routing.
What are the real risks if you ignore a seized compressor?
Yes, the risks are concrete: belt failure, smoke/fire hazard from friction, loss of charging or cooling systems driven by the belt, and collateral damage to tensioners and idlers. More importantly, a seized compressor can also indicate internal shrapnel that may already be circulating in the AC system.
- Belt damage: glazing, cracking, shredding, or throwing the belt.
- Tensioner/idler damage: abnormal load can kill bearings or weaken the tensioner.
- Vehicle reliability: depending on the routing, you might lose alternator or water pump function.
In short, “it still moves” isn’t the same as “it’s safe.” Next, consider immediate mitigation options until full car AC repair can be scheduled.
What can you do temporarily if the compressor is seized?
If the compressor is seized, a temporary solution may be to install a shorter bypass belt (on some models) or use an idler/bypass pulley kit if available, because that removes compressor load while maintaining accessory drive. However, bypass feasibility is vehicle-specific and should be verified before you drive far.
- Shorter belt routing (if the vehicle supports a non-AC belt path).
- Bypass pulley kit (replaces compressor pulley path in some applications).
- Tow/limit driving if the belt drives critical systems and bypass isn’t safe.
Even with a bypass, the AC system still needs proper repair—because debris and moisture issues don’t stop just because the clutch isn’t turning. Next, that’s why replacement planning matters as much as the part itself.
What parts to replace with compressor to prevent repeat failure?
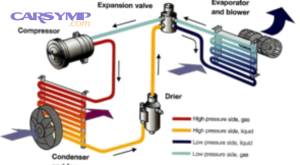
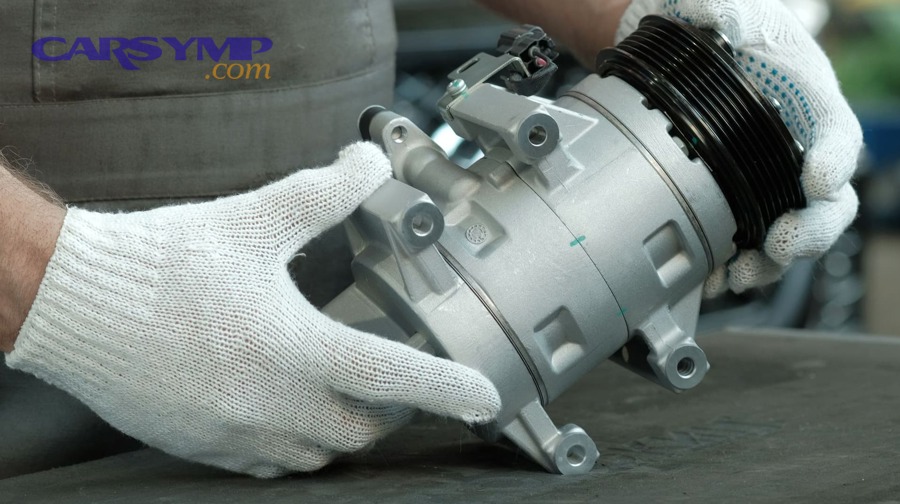
You should replace the compressor plus the components that protect it—typically the receiver-drier/accumulator, the orifice tube or expansion valve, and often the condenser if debris contamination occurred—because these parts trap moisture and metal that can quickly kill a new compressor. Next, choose parts based on failure mode, not guesswork.
Which components are “must replace” vs “inspect and decide”?
There are two categories: must-replace items that manage moisture/debris, and inspect-and-decide items that depend on contamination and system design. Cụ thể, the must-replace list is short but critical.
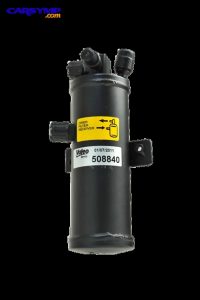
- Must replace: receiver-drier (TXV systems) or accumulator (orifice tube systems), because desiccant saturates and can shed beads; also replace the orifice tube if equipped, because it’s a debris screen.
- Often replace: expansion valve (if contaminated or restricted), condenser (if “black death” or metal debris is present), and any severely degraded hoses.
- Inspect and decide: evaporator core (usually flushed/inspected), pressure switches/sensors, and compressor control valve (if serviceable and diagnosis points there).
In practice, the condenser is a common turning point: many modern condensers are parallel-flow designs that are difficult to fully flush if metal is present. Therefore, replacing a contaminated condenser is often the difference between a lasting repair and a comeback.
When should you replace the condenser with the compressor?
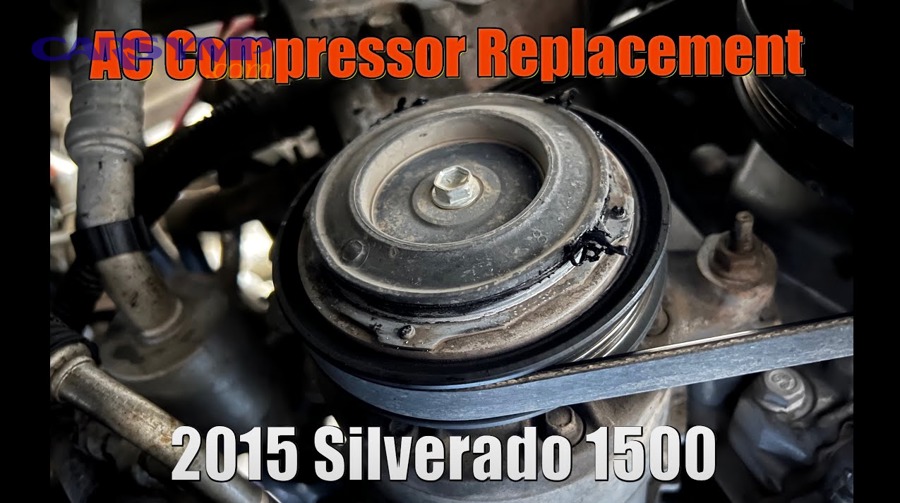
Yes—replace the condenser when the old compressor failed internally and shed metal, when the system oil is glittery/black, or when repeated restrictions persist after flushing attempts, because parallel-flow condensers can trap debris in tiny passages. Next, validate by inspecting the old orifice tube or in-line screens for metallic particles.
- Metal particles found at the orifice tube/screen strongly suggest system-wide contamination.
- Dark/burnt oil suggests overheating and internal wear.
- History of repeat failures suggests debris remains in the circuit.
If you’re optimizing for reliability, condenser replacement is often cheaper than a second compressor. In other words, it’s an insurance decision based on evidence.
Do you need to replace O-rings, seals, and the belt?
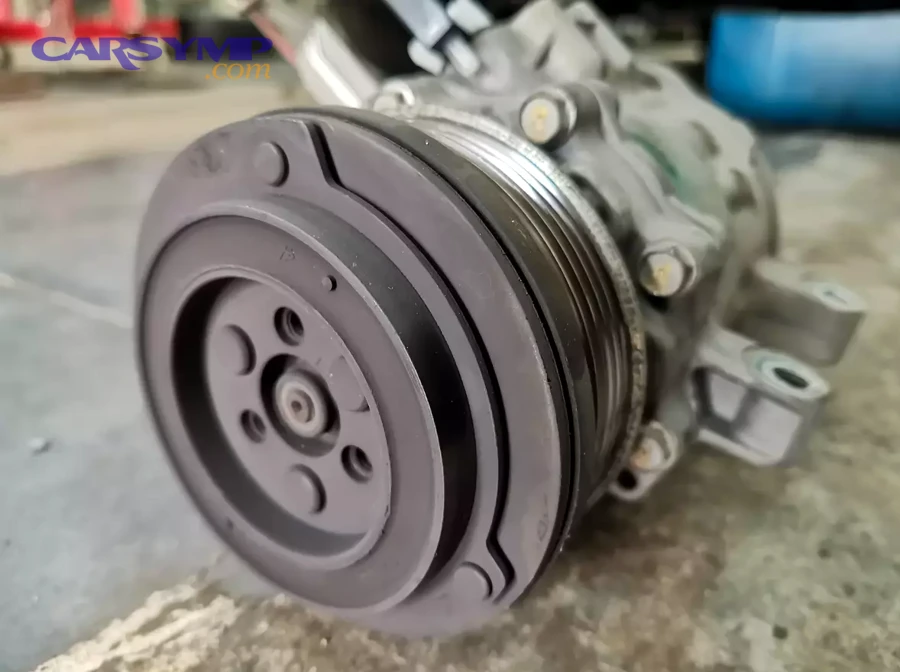
Yes, replacing O-rings/seals disturbed during service is strongly recommended because aged rubber can leak after reassembly, and leaks are the most common reason a “new compressor” still doesn’t cool. Next, consider belt/tensioner condition because a stressed belt system can mimic AC faults.
- Replace any O-rings opened during repairs; use the correct refrigerant-compatible material.
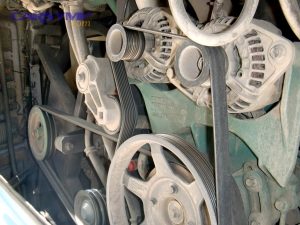
- Inspect the serpentine belt for glazing/cracks and the tensioner for smooth operation.
- Check compressor mounting and alignment to prevent belt squeal and premature clutch wear.
Small sealing parts cost little but prevent the big comeback: “it worked for a week, then got warm.” Next, that leads into the labor and time required to do it correctly.
AC compressor replacement labor time: how long does it take?
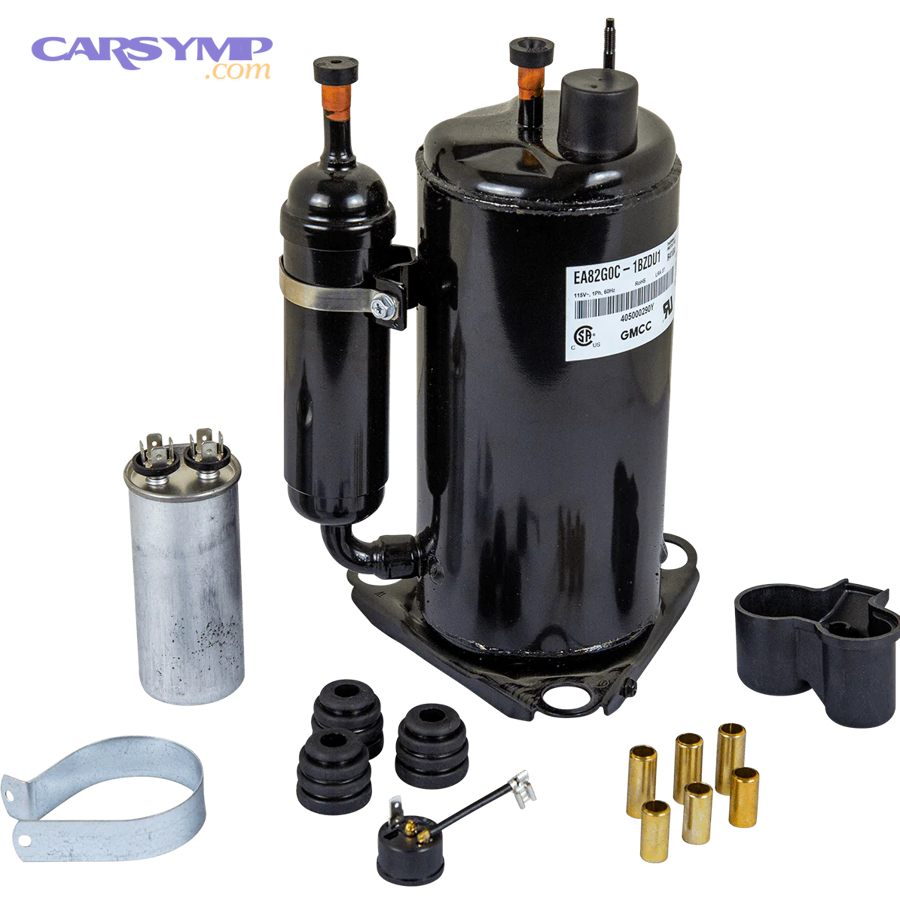
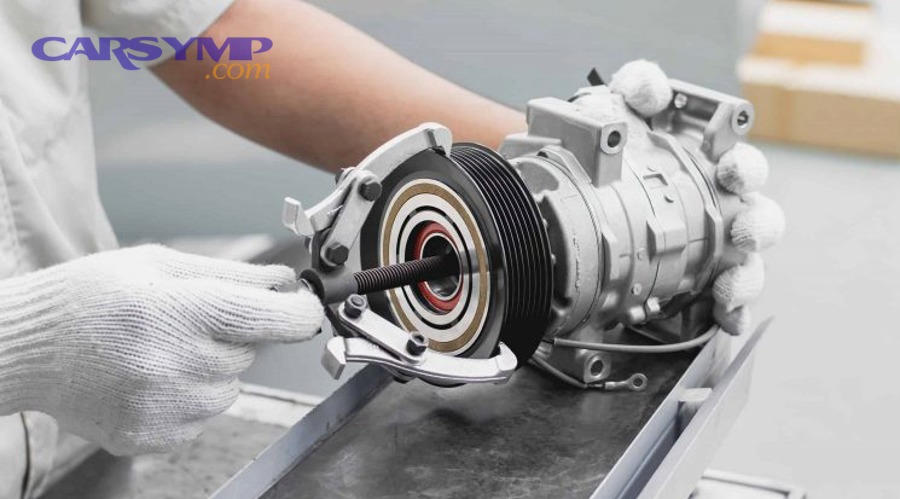
AC compressor replacement labor time typically ranges from about 2 to 6 hours depending on vehicle layout, accessibility, and whether the job includes system flushing, condenser replacement, and a full vacuum/recharge process. Next, the “hidden time” is often diagnostics and contamination management, not just removing bolts.
What makes labor time shorter or longer?
Labor time is shorter when the compressor is easy to access and the system is clean, and longer when the condenser/expansion device must be replaced or when access requires removing the bumper, radiator support, or subframe components. In addition, variable-displacement systems may need extra diagnostic verification before committing to replacement.
- Easy access: top-mounted compressor, minimal disassembly.
- Hard access: compressor buried behind engine mount, under intake, or behind bumper structures.
- Contamination work: flushing, condenser replacement, extra parts installation.
- Process work: vacuum hold test, precise oil measurement, accurate recharge by weight.
If a quote seems “too fast,” ask whether it includes vacuum time and leak verification. Next, we’ll translate time into cost with a detailed breakdown.
Does replacing only the clutch reduce labor time?
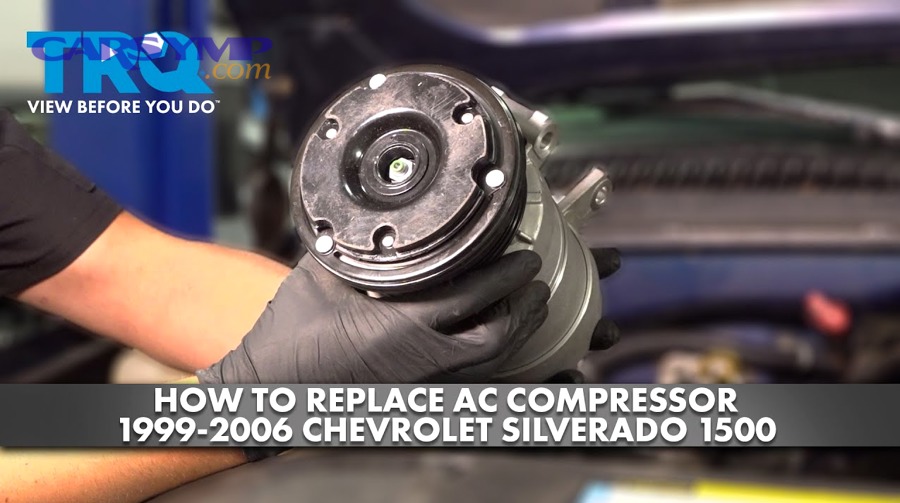
Sometimes yes—clutch-only service can be faster if the compressor can stay in the car, but it only makes sense when diagnosis proves the compressor pumps correctly and only the clutch/bearing/coil is faulty. However, many vehicles make clutch service difficult in-car, and the cost difference can shrink if the compressor is already suspect.
- Best case: clutch/bearing service without refrigerant evacuation (depends on design and access).
- Common case: still needs evacuation or significant disassembly, limiting savings.
- Risk: if the compressor is weak internally, clutch-only becomes a temporary fix.
That’s why “clutch vs compressor” must be decided by data, not hope. Next, let’s unpack the full pricing structure.
AC compressor replacement cost breakdown: what are you paying for?
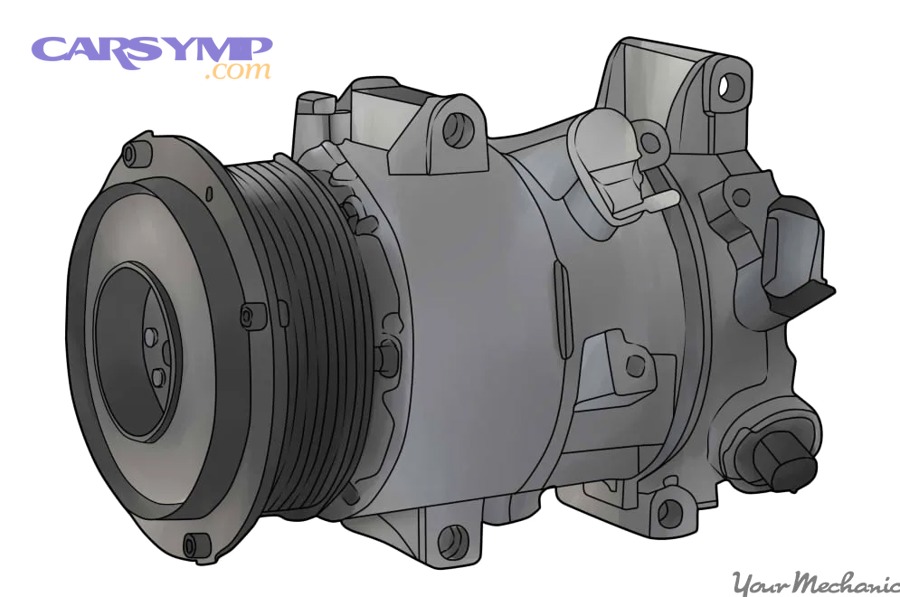
AC compressor replacement cost breakdown usually includes the compressor (new or reman), receiver-drier/accumulator, expansion device or orifice tube, labor, refrigerant/oil, and optional condenser/flush services—because a correct repair restores cooling while preventing contamination-related failure. Next, a line-item view helps you compare quotes fairly.
This table contains typical cost categories so you can see where money goes and which items are optional versus recommended for durability.
| Cost Category | What it Covers | Why it Matters |
|---|---|---|
| Compressor (new/reman) | Main pumping unit | Core component; quality drives reliability |
| Receiver-drier / Accumulator | Moisture control, debris capture | Protects new compressor from moisture and desiccant breakdown |
| Expansion valve / Orifice tube | Metering refrigerant into evaporator | Debris or restriction can mimic compressor failure |
| Condenser (if contaminated) | Heat rejection; potential debris trap | Parallel-flow designs can hold metal; replacement prevents repeat failure |
| Labor | Removal/installation, evacuation/recharge | Quality of process reduces leaks and comebacks |
| Refrigerant + oil | Recharge by weight; oil balancing | Under/overcharge hurts cooling and compressor life |
| Flush / cleaning | Lines/evaporator flushing | Needed after internal failure to remove debris |
Why do quotes vary so widely?
Quotes vary because compressor brand/quality, vehicle access, contamination level, and whether the shop includes a full process (flush, drier, expansion device, vacuum hold test, recharge by weight) all change total cost. In contrast, a “cheap” quote may omit protective parts or skip process steps that keep the new compressor alive.
- Parts quality: OEM-equivalent vs economy units change price and warranty success.
- Scope: compressor only vs compressor + condenser + expansion device can double parts cost.
- Labor complexity: front bumper removal, engine mount access, or tight packaging increases time.
- Process: vacuum time and leak checks are time-based but essential.
A useful way to compare: ask whether the quote includes drier/accumulator replacement and a vacuum hold test. Next, we’ll connect cost to diagnosis so you don’t replace parts blindly.
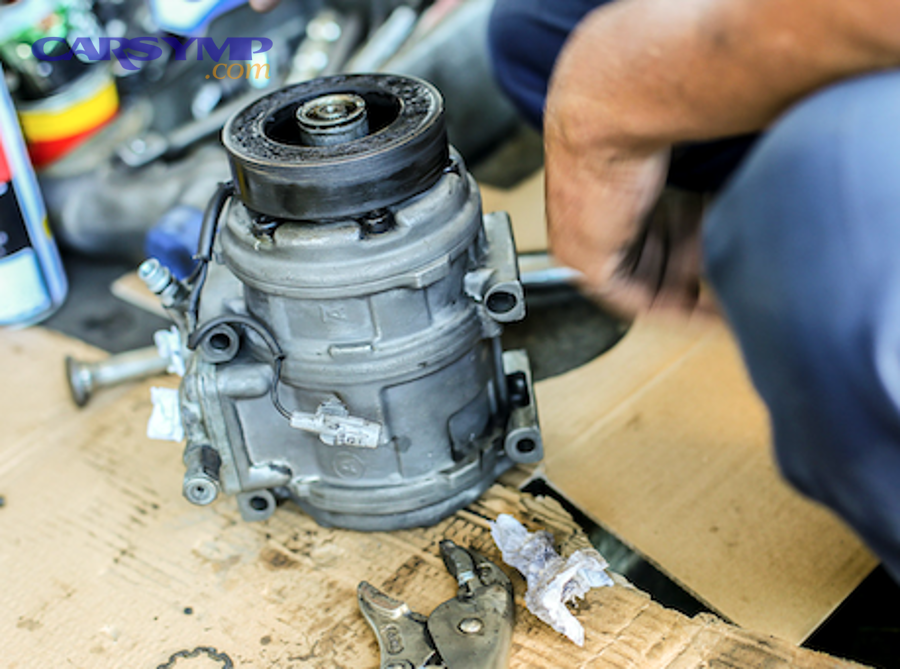
What’s the most common “hidden” cost after compressor failure?
The most common hidden cost is contamination management—especially condenser replacement—because internal compressor failure can spread metal and sludge that cannot be reliably removed from certain components. More importantly, if contamination is ignored, you may pay twice: once for the first replacement, then again after the new compressor fails.
- Condenser replacement when debris is present.
- Expansion device replacement due to clogged screens or restrictions.
- System flush and additional oil balancing.
So the best “savings” often come from getting the scope right the first time. Next, we’ll address flushing and why it’s not optional after certain failures.
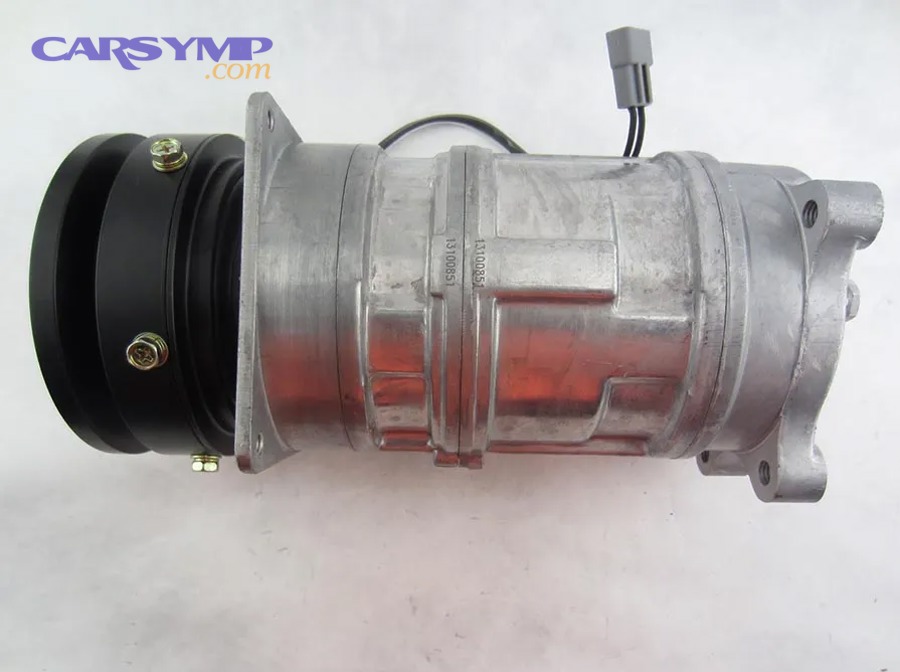
Flushing AC lines after compressor failure: when is it required?
Yes, flushing AC lines after compressor failure is required when internal damage releases metal or degraded oil into the circuit, because leftover debris can clog the expansion device and destroy the replacement compressor. Next, the key is knowing what can be flushed versus what should be replaced.
What can you flush safely, and what should you not flush?
You can typically flush hard lines and some evaporators, but you should not rely on flushing to clean a parallel-flow condenser or a saturated receiver-drier/accumulator—because their internal structures trap debris and chemicals. Specifically, treat the drier and many condensers as “replace” items after catastrophic failure.
- Often flushable: metal lines, some evaporator cores (depending on access and contamination).
- Often not flushable: receiver-drier/accumulator, many parallel-flow condensers, some muffler-style hoses.
- Always replace: the drier/accumulator when the system is opened or contamination is suspected.
Done right, flushing is a contamination-control step—not a shortcut. Next, we’ll connect flushing to vacuum and recharge, which is where many DIY or rushed jobs fail.
How do you know if contamination is present?
Contamination is likely if you see metallic glitter in drained oil, black sludge, a clogged orifice tube screen, or abnormal restrictions indicated by extreme high-side pressure with poor cooling. In addition, a seized compressor that smoked the belt often had internal overheating, which increases contamination risk.
- Metal flakes in oil or screens.
- Burnt smell from oil, indicating overheating.
- Repeated restrictions after partial repairs.
If you confirm contamination, expand scope proactively—because it protects your new compressor investment. Next, the final success gate is the vacuum and recharge procedure.
Post-replacement vacuum and recharge steps: what must be done?
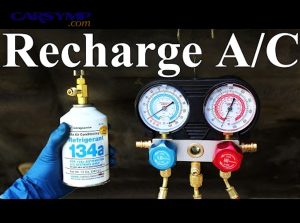
Post-replacement vacuum and recharge steps must include evacuating air/moisture, verifying the system holds vacuum (leak check), then recharging refrigerant by weight with correct oil balancing—because moisture creates acids, and incorrect charge damages compressors and reduces cooling. Next, follow a disciplined sequence for a durable result.
What is a “minimum correct” procedure a quality shop should follow?
A minimum correct procedure is: recover refrigerant, replace parts, add the correct oil amount, evacuate with a vacuum pump, perform a vacuum hold/leak test, then recharge by weight and validate pressures/vent temperature and fan operation. To begin, the vacuum hold test is the most underappreciated step because it catches leaks before you waste refrigerant.
- Recover refrigerant safely (no venting).
- Install compressor + drier/accumulator + metering device as required.
- Add oil correctly (account for oil in replaced components).
- Evacuate the system long enough to remove moisture.
- Hold test vacuum to verify tightness.
- Recharge by weight per spec; avoid “pressure guessing.”
- Verify performance: vent temp, pressure stability, clutch cycling, condenser airflow.
In many repeat-failure stories, the root cause is not the compressor itself—but moisture or an incorrect charge. Next, let’s add practical checkpoints that reflect real-world car AC repair outcomes.
What performance checks confirm the replacement actually worked?
Yes—successful compressor replacement shows stable pressures, strong vent temperature drop, proper condenser fan operation, and no rapid cycling once the cabin stabilizes. In contrast, unstable pressures or weak cooling after correct charge signals a remaining restriction, airflow issue, or sensor/control problem.
- Vent temperature drops significantly versus ambient (exact value depends on humidity and vehicle design).
- High-side pressure rises appropriately with load and airflow; low-side behaves consistently.
- Fans run at correct speeds under AC load.
- No abnormal noise under engagement.
If results are marginal, investigate airflow across the condenser and verify charge by weight before blaming the new compressor. Next, we’ll set a contextual border and then compare new vs reman compressors for the buying decision.
Contextual border: choosing the right compressor option
Now that diagnosis, scope, flushing, and recharge steps are clear, the remaining decision is the compressor you buy—because even a perfect installation can fail early if the unit quality is poor. Next, we’ll compare new vs reman options and how to match them to your reliability goal.
New vs reman compressor pros/cons: which should you buy?
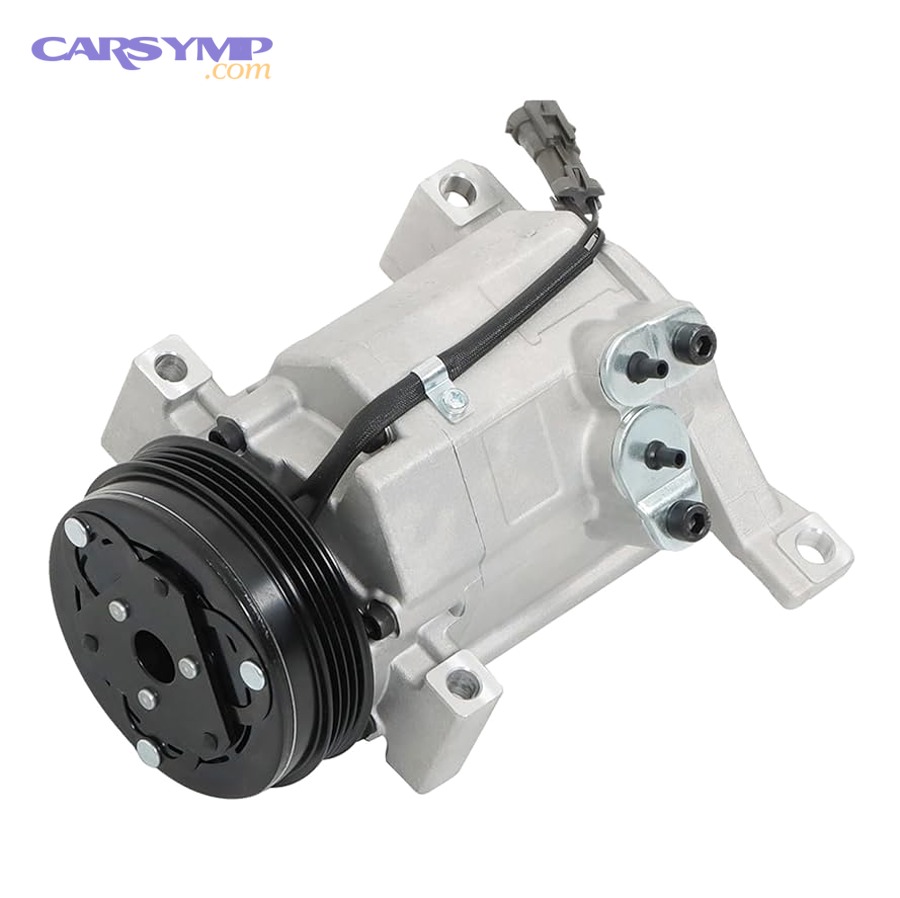
New compressors are typically strongest for long-term reliability and fewer early failures, remanufactured compressors can be best for budget with reputable rebuilders, and used compressors are usually the riskiest due to unknown wear and contamination history. However, your best choice depends on warranty, supplier reputation, and whether the system was contaminated.
When is a new compressor the better choice?
A new compressor is the better choice when you plan to keep the car, when labor access is difficult (so you don’t want to pay labor twice), and when the system had contamination—because a higher-quality unit reduces the chance of another teardown. In addition, new units often have more consistent tolerances than low-end remans.
- Best for: long-term ownership, high labor vehicles, contaminated systems after full cleaning/replacement.
- Tradeoff: higher upfront parts cost.
If you’re buying peace of mind, new is often the simplest decision. Next, reman can still be smart—if you choose carefully.
When does a reman compressor make sense?
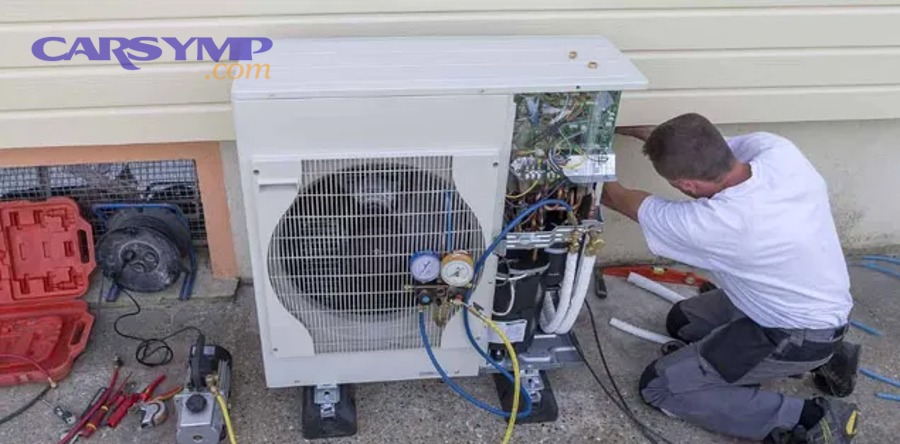
A reman compressor makes sense when the rebuilder is reputable, the warranty is strong, and your system is confirmed clean—because budget savings are real, but only if failure risk is controlled. Specifically, prioritize remans that document new wear components and proper cleaning/testing.
- Best for: older vehicles, moderate labor access, limited budgets with a trustworthy source.
- Watch for: inconsistent rebuild quality, poor oil handling, weak QC.
For many drivers, a quality reman with the correct supporting parts is a balanced path. Next, we’ll define red flags that make reman a bad idea.
What red flags should make you avoid cheaper compressor options?
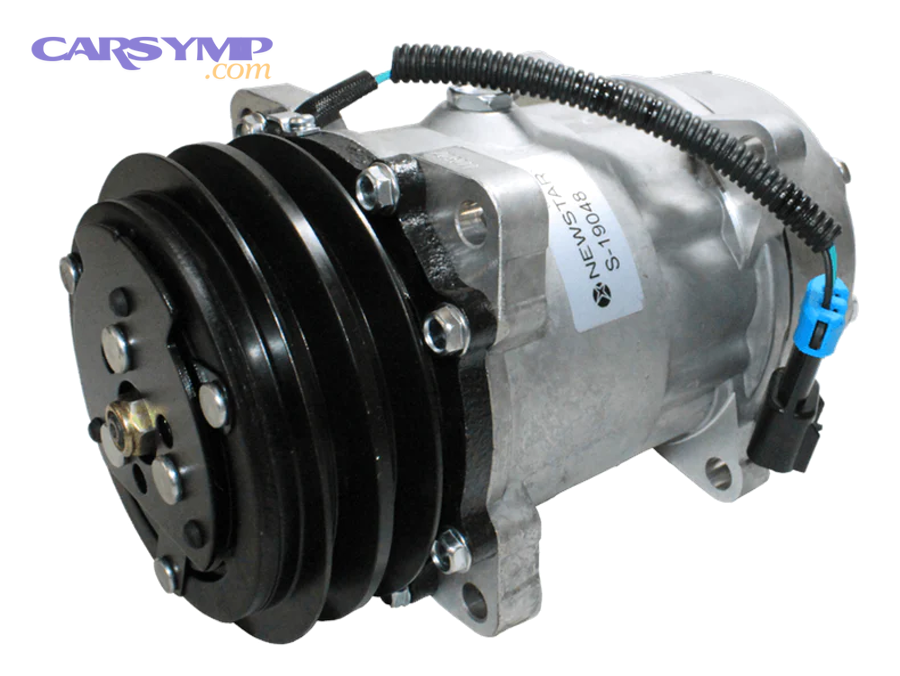
Yes—avoid options with vague warranty terms, unclear oil pre-fill instructions, missing serial/traceability, or sellers that can’t confirm fitment and return policies, because compressor issues often show up only after full vacuum/recharge. More importantly, “cheap” becomes expensive when you pay labor twice.
- No clear warranty or warranty excludes “contamination” without guidance.
- Unknown oil type/amount or inconsistent pre-fill notes.
- Questionable packaging and no protective caps indicating moisture exposure risk.
- Fitment uncertainty for variable-displacement and control-valve variants.
If you see these signs, step up to a better supplier even if the part costs more. Next, let’s answer the most common buyer and diagnosis questions in a quick FAQ.
FAQ: AC compressor replacement
Is it ever okay to replace only the compressor and nothing else?
Sometimes yes, but only when the compressor failed without internal debris (for example, an external leak or clutch-related issue) and you still replace the receiver-drier/accumulator and disturbed seals—because moisture control and leak prevention are baseline requirements. However, if metal or sludge is present, replacing “only the compressor” is a high-risk shortcut.
What causes compressors to fail in the first place?
Common root causes include low refrigerant/oil from leaks, poor condenser airflow leading to high pressures, moisture contamination creating acids, and debris from earlier component wear. In addition, incorrect refrigerant charge by pressure guessing can stress the compressor over time.
Will a recharge fix a bad compressor?
No—recharging can restore cooling only if the compressor is fundamentally healthy and the issue is low charge from a leak; it won’t fix internal wear, a seized shaft, or a contaminated system. Therefore, recharge without leak diagnosis often becomes a short-lived bandage.
What should you ask a shop before approving compressor replacement?
Ask what evidence supports compressor failure (pressures, electrical command, contamination inspection), what parts are included (drier/accumulator, expansion device, condenser if needed), and whether the quote includes vacuum hold testing and recharge by weight. Tóm lại, the best shops can explain the “why,” not just sell the “what.”