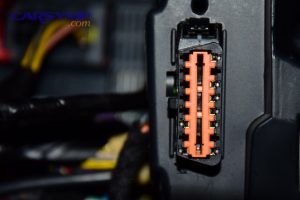
Diagnose Engine Misfires Fast: Step-by-Step P0300–P0308 Troubleshooting Checklist (Spark Plugs vs Coils vs Injectors) for DIY Drivers
An engine misfire diagnosis is fastest when you follow a strict checklist that moves from symptoms to codes to one confirmed root cause—so you stop guessing and start testing the exact cylinder, system, and part that’s failing.
Then, you’ll use Misfire codes P0300–P030x explained in plain English to decide whether you’re chasing a random/multiple misfire (system-wide) or a cylinder-specific misfire (a targeted fault) before you spend money.
Next, you’ll learn the core decision logic for Spark plug vs coil vs injector diagnosis, including what each failure typically feels like, what it looks like on basic scan data, and which quick tests prove the culprit instead of “parts-cannon” swapping.
Introduce a new idea: you’ll also learn when a misfire is urgent, including Can you drive with a misfire safely, and how to handle edge cases like intermittent misfires or Misfire after repairs troubleshooting without losing the thread of the diagnostic flow.
What is an engine misfire, and what does it feel like when it happens?
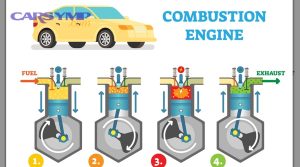
An engine misfire is a combustion failure where a cylinder does not burn the air-fuel mixture correctly (or at all), reducing power and increasing vibration, often with a rough idle, hesitation, and a check engine light.
To better understand the problem you’re solving, you need to recognize what a misfire feels like in real driving—not just what the code says—because the “feel” helps you choose the right first tests and avoid wasted car diagnostics.
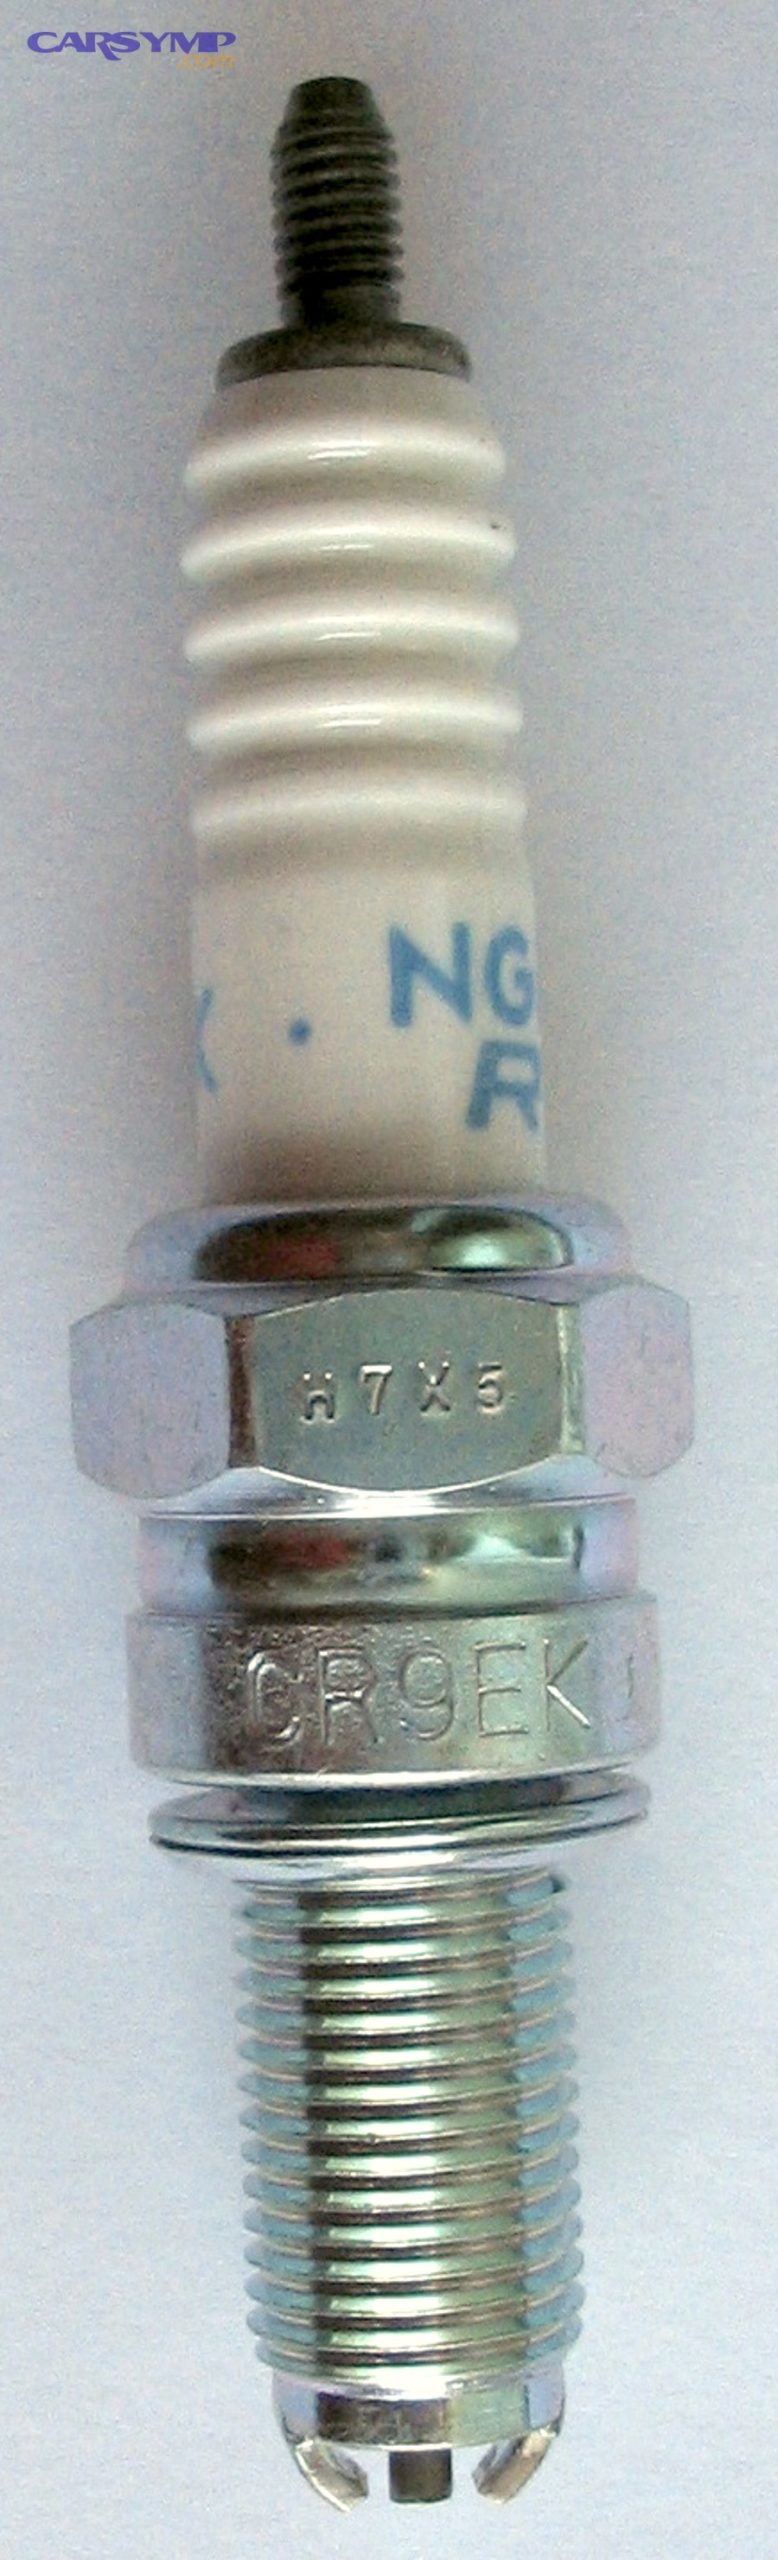
What are the most common misfire symptoms you can confirm in 2 minutes?
The Misfire symptoms and quick checks are the fastest way to verify you’re dealing with a real misfire (not a transmission shudder, mount issue, or fuel quality complaint) before you dig into codes.
Use this 2-minute confirmation list:
- Idle feel: engine shakes or “loping” idle, especially in gear.
- Acceleration feel: stumble on tip-in, hesitation under load, or a “dead spot” at certain RPM.
- Sound: popping through the exhaust, irregular “putt-putt,” or intake backfire (rare but telling).
- Smell: strong fuel smell at the tailpipe (can suggest unburned fuel from a dead cylinder).
- Visual: tach needle flutter, engine rocking more than usual, or exhaust note that sounds uneven.
- Dash: check engine light on; sometimes traction control light also appears as the ECU reacts to misfire.
- Scan clue (if you have a basic scanner): active misfire codes, pending codes, or freeze-frame data showing the exact moment the fault triggered.
A key practical distinction: a “slight” misfire often shows up only under load (hill, highway merge), while a more severe misfire can be obvious at idle. That observation becomes part of your hook chain: symptom pattern → code type → test order.
Should you stop driving if the check engine light is flashing during a misfire?
Yes, you should stop driving when the check engine light is flashing during an engine misfire diagnosis because (1) a flashing MIL commonly indicates a catalyst-damaging misfire condition, (2) raw fuel can overheat the catalytic converter, and (3) continued driving can turn a small ignition or fuel fault into a costly exhaust/emissions failure.
Next, treat this as a safety-and-cost decision:
- Protect the catalytic converter: a severe misfire can dump unburned fuel into the exhaust, raising catalyst temperature rapidly.
- Avoid secondary damage: prolonged misfire can foul plugs, wash cylinder walls (fuel), and stress coil drivers.
- Prevent getting stranded: misfires can worsen suddenly (heat, vibration, moisture), especially under load.
If you must move the car (for example, off a roadway), do it gently, keep RPM low, avoid heavy throttle, and shut it down as soon as you’re safe. Regulatory language around misfire monitoring and catalyst-damaging misfire conditions is explicitly treated as a serious emissions-control issue in OBD requirements. (ecfr.gov)
Evidence: According to a study by South China University of Technology from the School of Mechanical and Automotive Engineering, and Shenzhen University from the College of Mechatronics and Control Engineering, in 2022, misfire conditions measurably change combustion behavior (including reporting about ~10.8% fuel carryover into the next cycle and ~13.8% lower in-cylinder peak pressure), showing why drivability and emissions can degrade quickly when misfire is active. (thermalscience.rs)
What do P0300–P0308 codes mean, and how do they change the diagnostic path?
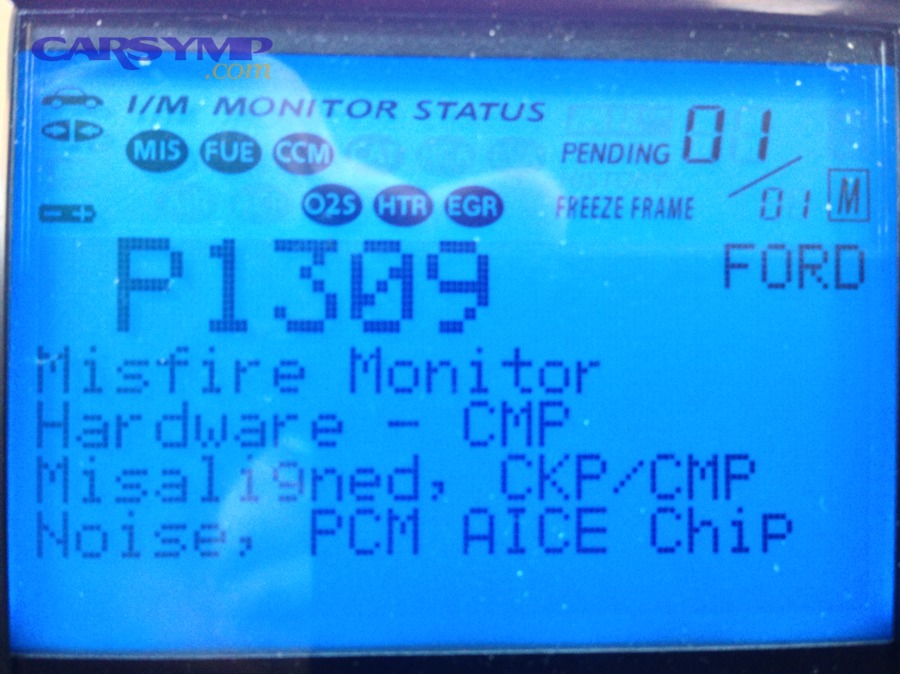
P0300–P0308 codes are OBD-II misfire indicators where P0300 means random/multiple-cylinder misfire and P0301–P0308 identify a specific cylinder misfire, which directly changes whether you diagnose a system-wide cause or a single-cylinder cause first.
Then, instead of treating “a misfire code” as one thing, you’ll use a simple fork in the road: P0300 = broaden your search, P030x = narrow your search. That fork is what makes your car diagnostics fast.
Does P0300 always mean “multiple bad parts,” or can one issue cause it?
No, P0300 does not always mean multiple bad parts because (1) one upstream issue can affect all cylinders, (2) one condition can shift over time and appear “random,” and (3) the ECU may log P0300 when misfires occur across more than one cylinder without a stable pattern.
Next, think in terms of “shared dependencies” across cylinders:
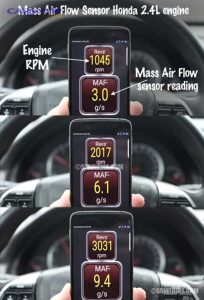
- Air measurement problems: a contaminated MAF or major unmetered air can lean out multiple cylinders.
- Fuel delivery problems: low fuel pressure, weak pump, clogged filter (where applicable), or a failing regulator can cause multiple cylinders to misfire, especially under load.
- Vacuum leak / intake leak: large vacuum leaks impact mixture most at idle, often producing “random” misfire.
- Timing / mechanical distribution: timing issues (chain/belt stretch or slip) can reduce combustion stability across cylinders.
- Ignition supply: a low charging voltage or poor engine ground can reduce coil energy on multiple cylinders.
P0300 is not “harder”—it’s just wider. Your job is to find the first test that collapses the search space: air, fuel, ignition supply, then mechanical.
How do you use “cylinder-specific” codes (P0301–P0308) to pick the first part to test?
You use P0301–P0308 by targeting that cylinder first, comparing it to a neighbor cylinder, and starting with the simplest reversible tests—spark plug condition, coil/boot integrity, and injector function—before moving into vacuum leaks at that runner or compression.
Below is the practical path:
- Confirm the cylinder number: P0304 means cylinder 4 misfire, not “4 random misfires.”
- Look for “paired” evidence: if you also have fuel trim codes or lean codes, don’t ignore them.
- Start with the cheapest confirmation: plug inspection is often fastest and reveals fouling, cracks, or coolant/oil contamination.
- Use swap tests early: if your engine layout allows it, swapping coils (or plugs) can prove the fault in minutes.
- Escalate only when needed: if ignition checks out, pivot to injector checks, vacuum runner leaks, then compression.
This keeps the diagnostic chain tight: code → cylinder → quick checks → one confirmed cause.
What is the fastest step-by-step checklist to diagnose an engine misfire accurately?
The fastest method is a 7-step diagnostic checklist—triage symptoms, scan codes and freeze-frame, identify misfire type (P0300 vs P030x), test ignition first, test fuel second, test air/vacuum third, and verify mechanical last—so you isolate the root cause with minimal rework.
Below, the speed comes from doing tests in an order that eliminates the most likely and easiest-to-confirm failures first. That’s the difference between “guessing” and professional car diagnostics.
Can you diagnose a misfire with just a basic OBD-II scanner and hand tools?
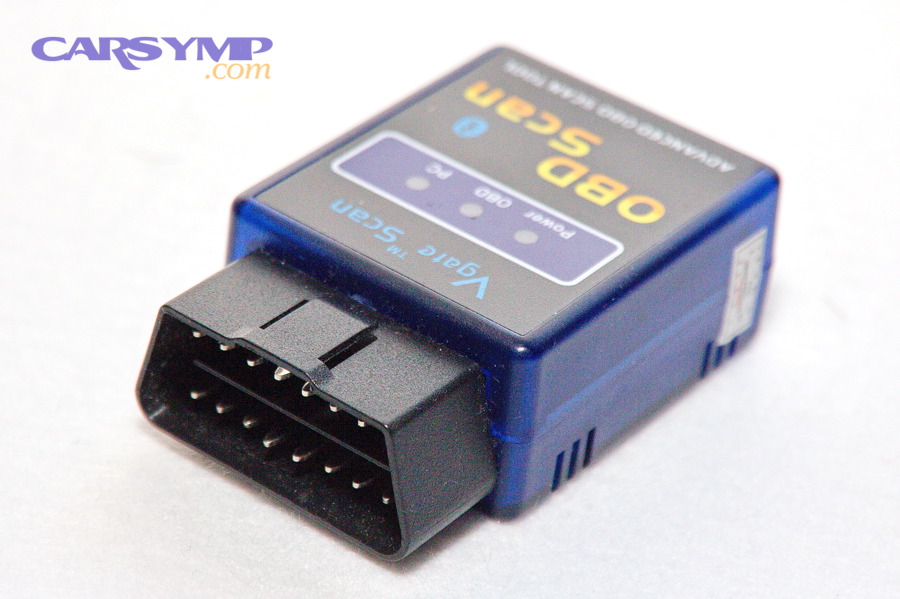
Yes, you can diagnose many misfires with a basic OBD-II scanner and hand tools because (1) P0300–P0308 codes tell you where to start, (2) simple inspections and swaps confirm common ignition faults, and (3) basic checks can identify vacuum leaks and obvious fuel delivery issues.
Then, know what your minimal toolkit can and cannot do.
Minimal toolkit (works for many misfires):
- Basic code reader (reads codes + clears codes; bonus if it shows freeze-frame)
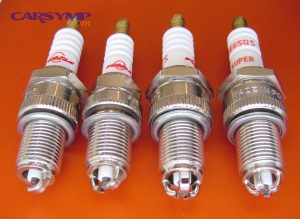
- Spark plug socket + gap tool (or at least a visual plug check)
- Basic hand tools + flashlight
- Dielectric grease (for boots), small mirror
- Optional but helpful: multimeter
What this toolkit can reliably confirm:
- Bad plug (fouled, cracked insulator, worn electrode)
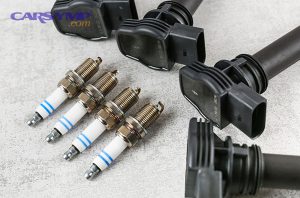
- Bad coil/boot (arcing, misfire follows coil swap)
- Loose connector or broken harness clip
- Major vacuum leak (hissing, obvious split hose)
- Misfire pattern changes between idle and load (a strong clue)
When you should escalate tools:
- If the misfire does not follow swapped parts
- If you suspect fuel pressure issues
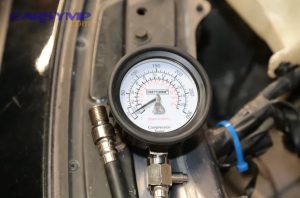
- If compression/mechanical issues are likely (you’ll need a compression gauge)
What is the correct test order: ignition first, fuel second, air/vacuum third, mechanical last?
Ignition-first wins for speed and cost, fuel-second is best when symptoms suggest lean or load-related issues, air/vacuum-third is essential for idle misfires and P0300 patterns, and mechanical-last is optimal when the misfire stays on one cylinder after swaps or compression symptoms appear.
Next, use this “why” to keep your flow consistent:
- Ignition tests are fastest: plugs/coils are accessible on many engines, failures are common, and swap tests are decisive.
- Fuel testing can be efficient when clues point there: long crank, lean codes, misfire under load, or injector-specific symptoms.
- Vacuum leaks can mimic everything: especially at idle, unmetered air can create lean misfire and random codes.
- Mechanical is definitive but slower: compression/leak-down are very informative, but you don’t start there unless evidence points strongly to it.
Here’s the fast checklist you’ll follow in the next sections:
- Confirm symptoms (idle vs load).
- Read codes + freeze-frame (when did it happen?).
- Decide P0300 vs P030x path.
- Inspect ignition on the affected cylinder(s).
- Perform a swap test if possible.
- If ignition passes, check injector and fuel delivery clues.
- If still unresolved, check vacuum leak signs and compression.
This keeps the hook chain intact: “fast checklist” → “plugs vs coils vs injectors” → “swap tests” → “other causes” → “verify and prevent.”
Are spark plugs, coils, or injectors the most likely cause—and how do you tell which one it is?
Spark plugs win as the most common wear-related cause, coils are best explained by misfire under load or moisture/heat breakdown, and injectors are optimal suspects when misfire correlates with fuel delivery symptoms—so your job is to match the symptom pattern to the right confirmation test.
Next, don’t guess based on “most common” alone; combine (1) symptoms, (2) code type, and (3) quick test results. This section is the practical heart of Spark plug vs coil vs injector diagnosis.
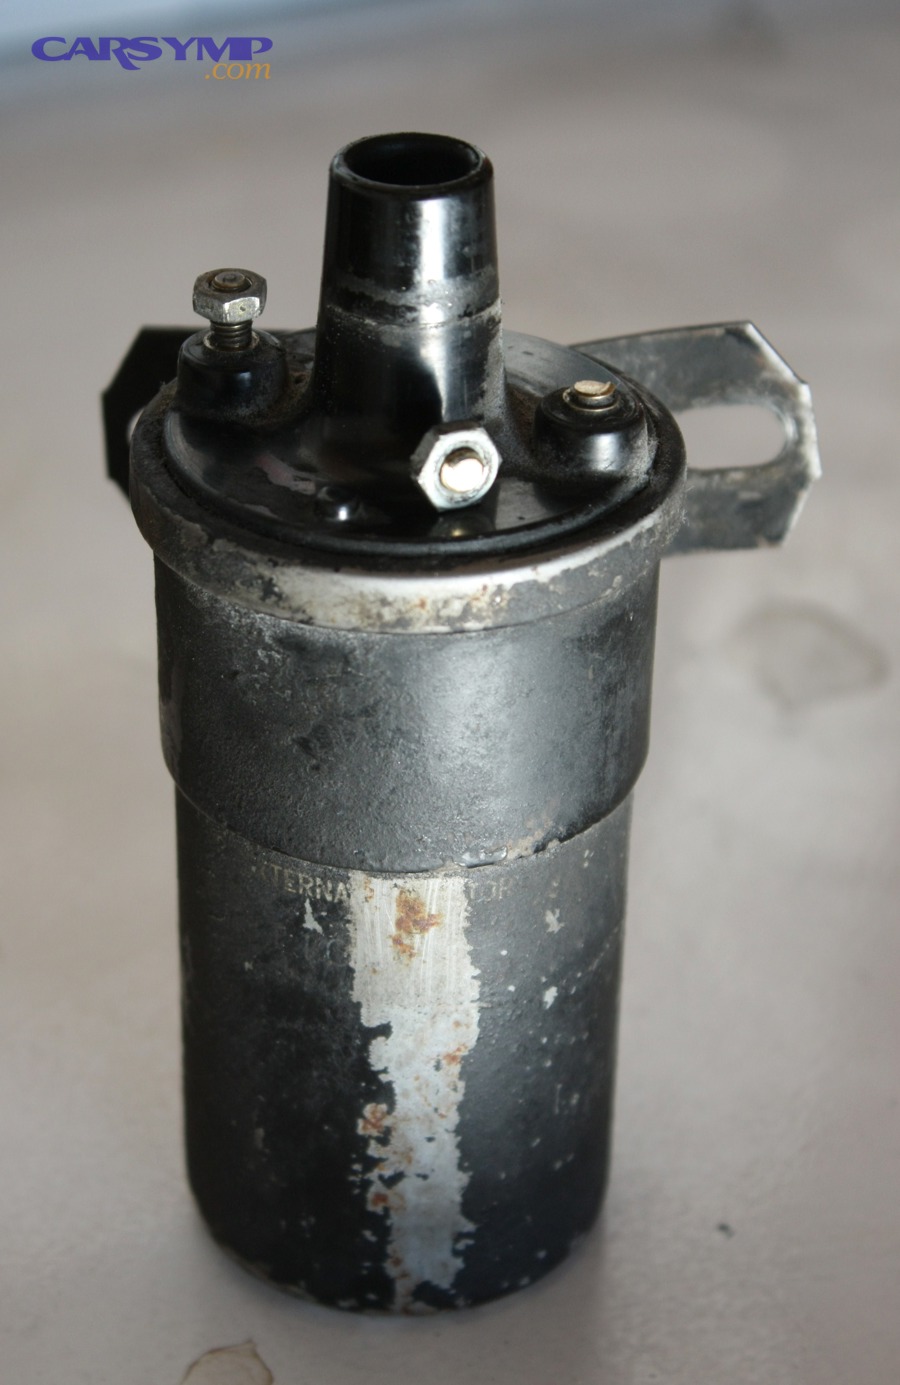
How do you compare spark plug failure vs coil failure based on symptoms and simple tests?
Spark plug failure shows up as consistent misfire on one cylinder with visible plug wear or fouling, coil failure often shows as intermittent misfire that worsens under load or heat, and the best divider is a swap test plus plug condition inspection.
Then, use these comparisons:
Spark plug failure—common tells
- Visual: worn electrode, excessive gap, cracked ceramic, heavy deposits.
- Behavior: misfire may be steady at idle and through the RPM range.
- Related maintenance: plugs overdue by mileage/time; cheap or incorrect plug type installed.
- Quick confirmation: remove and inspect; compare to a neighbor cylinder plug.
Ignition coil / boot failure—common tells
- Behavior: misfire more pronounced under load (higher cylinder pressure needs stronger spark).
- Heat/moisture sensitivity: worse when hot (heat-soak) or wet (rain, car wash).
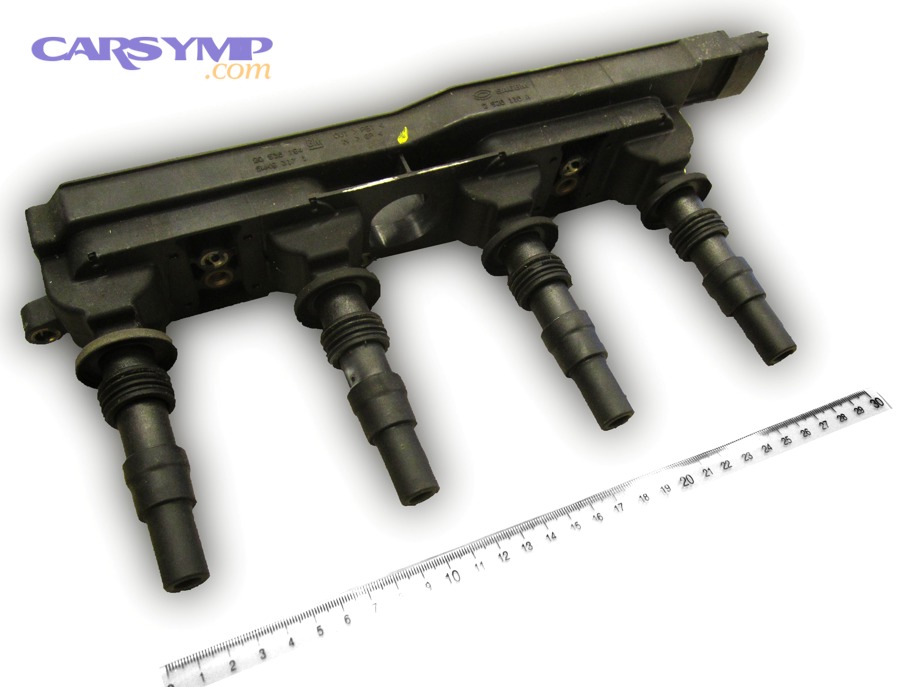
- Visual: carbon tracking on boot, tiny arc marks, oil in plug well (from valve cover leak).
- Quick confirmation: swap coil with another cylinder; if the misfire code moves, you’ve proven the coil/boot.
A simple decision rule: if the plug looks healthy and the misfire is load-sensitive, put the coil higher on your suspect list.
How do you compare injector issues vs ignition issues using misfire behavior and quick checks?
Injector issues tend to produce a leaner combustion signature (often worse under load) and may pair with trim behavior or fuel smell patterns, while ignition issues often “move” with swapped coils or show visible plug/boot evidence; the best divider is swap logic plus fuel/air clues.
Next, use these practical indicators:
Injector-related misfire clues
- Cold-start roughness that improves: injectors can stick or have poor spray until conditions stabilize.
- Cylinder-specific lean misfire: may show subtle hesitation rather than a hard “dead miss.”
- Fuel smell is not always present: a clogged injector can go lean; a leaking injector can go rich.
- Quick checks: listen for injector ticking (mechanic’s stethoscope/screwdriver method), check connector security, and if possible, swap injectors only when accessible (many engines make this non-trivial).
Ignition-related misfire clues
- Misfire follows coil swap: the cleanest proof.
- Plug shows fouling consistent with a dead spark: wet fuel on plug, or heavy carbon from repeated incomplete burn.
- Arcing marks: boot tracking is a dead giveaway.
To keep your diagnostic flow tight, treat injectors as “next in line” once ignition has been reasonably cleared—not as the first expensive guess.
What “swap tests” confirm the culprit part without guessing?
Swap tests confirm a misfire culprit by moving one component (plug, coil, or sometimes injector) to another cylinder and seeing whether the misfire code follows, which turns a vague symptom into a controlled, repeatable diagnostic result.
Then, swap tests become your fastest path to certainty because they replace “maybe” with “misfire moved to cylinder X after swapping part Y.”
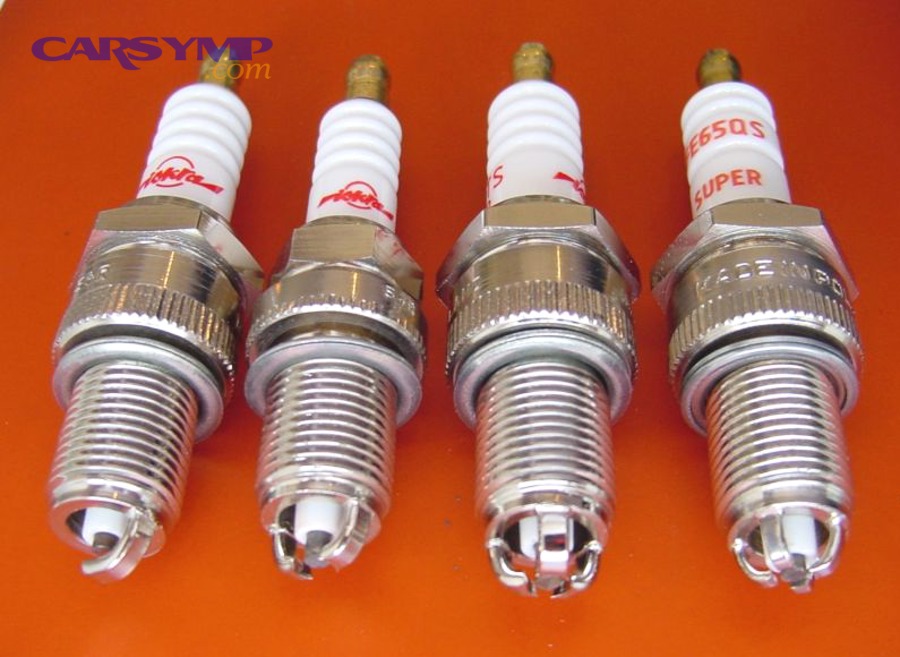
If you swap a coil or plug, should the misfire code move to the new cylinder?
Yes, if the coil or plug is the true cause, the misfire code should move because (1) the fault travels with the component, (2) the ECU detects misfire per cylinder, and (3) the symptom pattern changes in a way you can re-scan and confirm.
Next, apply swap tests correctly so the result is meaningful:
- Start with cylinder-specific codes: P0302 is ideal for swap testing.
- Swap one thing at a time: coil first (easy), then plug (slower), to keep results interpretable.
- Clear codes (optional) and retest: you can clear codes to speed up recognition, but keep freeze-frame data first if your scanner shows it.
- Drive under the same conditions: reproduce the misfire (idle vs load) so the ECU can log it again.
- Re-scan immediately: look for the new cylinder code (e.g., it becomes P0305 after moving coil from 2 → 5).
If the misfire does not reappear quickly, that’s not a failure—it often means the issue is intermittent. That’s where “pattern” matters (heat, moisture, load).
What does it mean if the misfire stays on the same cylinder after swapping parts?
If the misfire stays on the same cylinder after swapping ignition parts, it usually means the cause is not the swapped part and is more likely (1) injector/fuel delivery on that cylinder, (2) a vacuum leak near that runner, or (3) a mechanical/compression issue unique to that cylinder.
Next, follow this escalation ladder:
- Check the easy non-swapped ignition factors: connector fully seated, boot not torn, plug properly torqued, correct plug type.
- Inspect for localized air leaks: intake gasket leak near that cylinder can create a cylinder-specific lean misfire.
- Verify injector basics: connector secure, harness not chafed; listen for injector actuation.
- Move toward mechanical confirmation: if everything else checks out, prepare for Compression test basics for misfires.
This is also where you avoid expensive mistakes: if the misfire did not follow the coil, buying a new coil “just in case” is the classic parts-cannon error.
What other common causes trigger misfires besides plugs/coils/injectors?
There are 5 main types of non-plug/coil/injector misfire causes—air/vacuum leaks, fuel pressure/supply issues, sensor input errors, mechanical compression/timing faults, and exhaust/EGR-related distribution problems—based on which shared system can destabilize combustion.
Besides the big three, this section makes your article authoritative by covering the “missed causes” that frequently produce P0300 or stubborn P030x codes and by surfacing Vacuum leak misfire signs clearly.
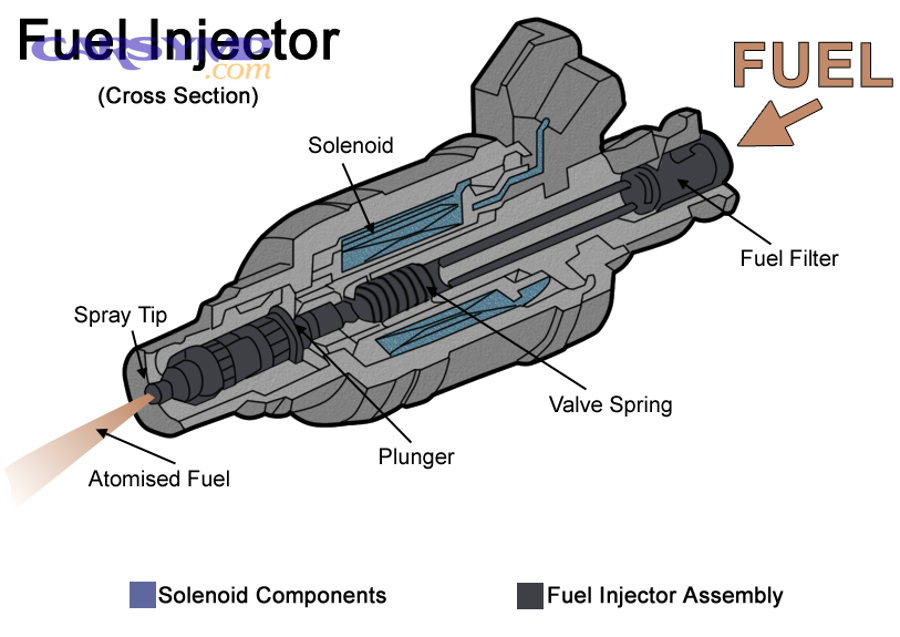
Which air/vacuum problems most often cause a random (P0300) misfire?
There are 4 common air/vacuum leak categories that cause P0300: cracked vacuum hoses, PCV system leaks, intake manifold gasket leaks, and brake booster leaks, based on where unmetered air enters the engine.
Next, use these Vacuum leak misfire signs to aim your checks:
- Idle-only or idle-heavy misfire: vacuum leaks matter most at idle because airflow is low and unmetered air becomes a big percentage error.
- High/unstable idle: unmetered air can raise idle speed or cause hunting.
- Hissing sound: especially near the intake manifold, throttle body, or PCV hose.
- Lean fuel trims: if your scanner shows trims, this is where Fuel trim data interpretation for misfires becomes useful—positive long-term or short-term trims often indicate the ECU is adding fuel to compensate for extra air.
- Misfire improves with slight throttle: sometimes a vacuum leak effect reduces as airflow increases.
Quick DIY checks:
- Inspect and flex vacuum hoses (look for hidden cracks).
- Check PCV hoses and grommets.
- Look for oil residue trails near intake gasket seams.
- Use careful spray testing only with proper safety awareness (many prefer smoke testing in a shop).
Which mechanical problems can mimic ignition or fuel issues?
There are 4 mechanical categories that mimic ignition/fuel misfires—low compression, valve sealing problems, timing errors, and head gasket/coolant intrusion—based on whether the cylinder can compress and burn mixture normally.
Next, watch for these “mechanical leaning” clues:
- Misfire stays on one cylinder no matter what you swap.
- Compression-related symptoms: uneven cranking sound, persistent misfire at idle and load, or misfire that worsens as the engine warms (depending on the fault).
- Fluid clues: coolant loss with no external leak, milky oil, sweet exhaust smell, or a steam-cleaned plug.
- Timing clues: multiple-cylinder misfire with poor power everywhere, sometimes paired with cam/crank correlation codes (vehicle dependent).
When mechanical becomes likely, you move from “parts testing” to measurement—compression testing and, if available, leak-down testing.
How do you confirm the repair and prevent the misfire from coming back?
You confirm a misfire repair by reproducing the original conditions, ensuring misfire counts do not return, and verifying trims and drivability are stable, then you prevent recurrence with correct parts, correct installation, and a quick post-repair inspection routine.
Then, the goal is not only “no code today” but “no misfire pattern next week.” This is where a lot of DIY repairs fail—because the fix was real, but the verification step was skipped.
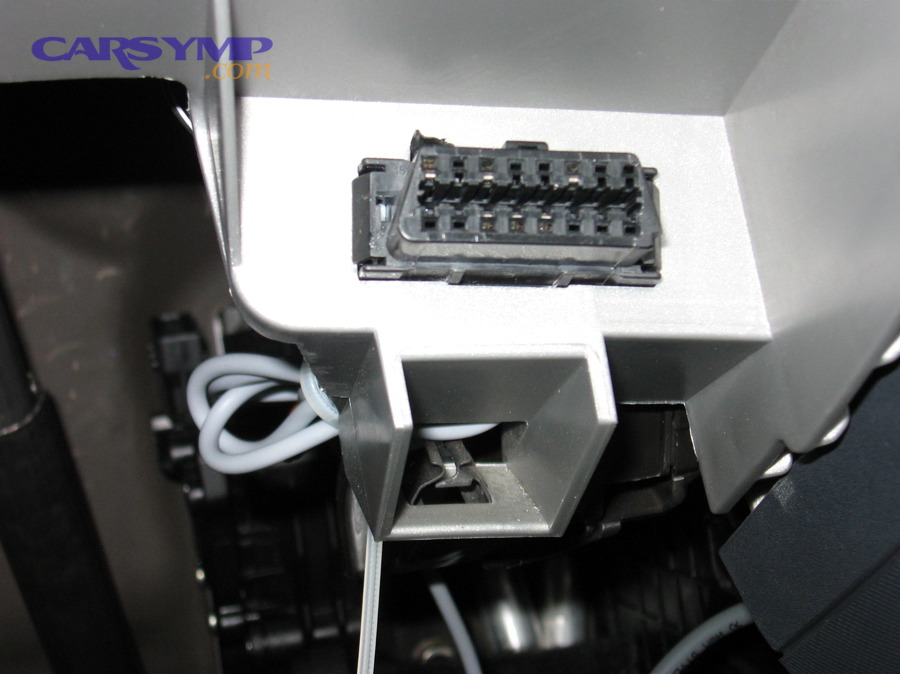
After a fix, should you clear codes immediately or confirm first with data?
No, include confirmation before clearing codes because (1) freeze-frame and pending data can validate the original failure mode, (2) immediate clearing can hide an intermittent pattern, and (3) you can waste time if the misfire returns without the context you just erased.
Next, use this reliable order:
- Save evidence first: write down codes, freeze-frame, and symptom conditions.
- Complete the repair: replace/repair the proven cause (not the “maybe” causes).
- Initial idle verification: confirm smooth idle, no obvious miss.
- Drive verification: recreate the original scenario—idle, light cruise, moderate load hill, highway merge.
- Re-scan: confirm no new pending misfire codes and no returning P0300/P030x.
- Clear codes if needed: after you’re satisfied the fault is gone, clear codes to reset the MIL and confirm it stays off.
If you cleared codes early, it’s not fatal—just means you must be more deliberate recreating conditions and watching for a returning pattern.
What maintenance steps reduce repeat misfires over the next 12 months?
There are 6 repeat-misfire prevention steps—correct plug type and interval, coil boot care, oil leak control, intake leak prevention, fuel quality consistency, and connector/harness inspection—based on the common reasons misfire causes come back.
Next, treat these as “small actions that block big costs”:
- Use the correct spark plug specification: correct heat range, correct gap (where applicable), correct torque.
- Replace boots or seals when needed: torn boots cause arcing; oil in plug wells needs gasket attention.
- Address valve cover leaks early: oil contamination can shorten coil and plug life.
- Inspect vacuum and PCV lines periodically: small cracks become big leaks.
- Don’t ignore early signs: a slight stumble is often a warning before a full misfire.
- Secure connectors: misfires after a repair often happen because a connector wasn’t fully seated.
This is also where the phrase Cost to fix common misfire causes matters for planning: plugs are usually the least expensive, coils are moderate, and injector or mechanical issues can be the most expensive—so early detection and correct confirmation protect your budget.
Why do some engine misfires only happen sometimes—and how do you diagnose intermittent cases?
Intermittent misfires happen because the underlying fault is condition-dependent (heat, load, moisture, or vibration), so the correct diagnostic strategy is to reproduce the condition, log what changes, and test the system most affected by that condition first.
Then, instead of randomly replacing parts, you use “when it happens” as your strongest clue—especially for Misfire at idle vs under load clues, which often points to different categories of root causes.
Is a misfire more likely to show up at idle or under load—and what does each pattern suggest?
Idle misfires most often suggest vacuum leaks or low-energy ignition at low RPM, under-load misfires more often suggest weak coils/plugs or fuel delivery limits, and the pattern tells you which tests to prioritize first.
Next, use this practical pattern map:
Misfire at idle (or mostly at idle) suggests
- Vacuum leak (unmetered air)
- EGR stuck open (on engines where applicable)
- Plug fouling from rich running or oil contamination
- Injector imbalance at low pulse width (less common, but possible)
Misfire under load suggests
- Weak coil that breaks down under higher cylinder pressure
- Excessive plug gap or worn plugs
- Low fuel pressure / weak pump (especially at high demand)
- Restricted injector or fuel delivery imbalance
This pattern-first approach speeds up car diagnostics because it tells you where not to waste time.
Can heat-soak or moisture cause a misfire even when parts test “good”?
Yes, heat-soak or moisture can cause a misfire even when parts test “good” because (1) marginal coils and boots fail only at temperature extremes, (2) moisture can create temporary electrical tracking and arcing, and (3) vibration can open tiny cracks or weak connections only while driving.
Next, look for these telltales:
- Misfire appears after a hot shutdown (restart after 10–30 minutes).
- Misfire appears during rain, fog, or after engine washing.
- Visible carbon tracking lines on coil boots.
- Hairline cracks in plastic housings.
- Misfire disappears once fully warmed or fully dried.
A strong strategy here is to reproduce the condition intentionally (safely): if it happens hot, test it hot; if it happens under load, test it under load.
What quick electrical checks catch wiring or grounding problems that mimic bad coils/injectors?
There are 4 quick electrical checks—connector seating, harness visual inspection, ground integrity inspection, and basic voltage/charging sanity checks—based on the most common electrical failure modes that “look like” a bad component.
Next, keep these DIY-friendly:
- Connector seating test: push until the click; check broken lock tabs.
- Harness rub check: inspect where harness touches brackets or engine edges.
- Ground check (visual + tightness): loose grounds can reduce coil energy and sensor stability.
- Charging system sanity: low system voltage can reduce ignition performance, especially under load with accessories on.
You don’t need to become an electrical engineer; you only need to rule out the “simple electrical lies” that waste time and cause misfire after repairs troubleshooting.
What should you do if you have misfire codes but the car feels normal?
If you have misfire codes but the car feels normal, you should treat it as an early warning by confirming whether the code is pending/intermittent, reproducing the condition that triggered it, and performing targeted quick checks before clearing data and ignoring it.
Then, follow this controlled response:
- Scan and record: note whether it’s pending or confirmed; capture freeze-frame if available.
- Look for pattern: temperature, RPM, load, fuel level, weather conditions.
- Do a focused inspection: plug wells, coil connectors, vacuum lines, intake boots.
- Run a verification drive: similar conditions to the freeze-frame moment.
- Only then decide: monitor vs repair.
If the code returns, you already have a timeline and condition map—so your next test is sharper and faster.
Evidence (if any)
According to a study by South China University of Technology from the School of Mechanical and Automotive Engineering, and Shenzhen University from the College of Mechatronics and Control Engineering, in 2022, misfire conditions were associated with measurable combustion changes (including reported ~10.8% fuel carryover into subsequent cycles and ~13.8% lower in-cylinder peak pressure), reinforcing why prompt diagnosis and verification matter. (thermalscience.rs)