


Speed range is one of the fastest “filters” for narrowing vibration causes, because different components create shake at different rotational frequencies and loads.
If your vibration shows up mostly at highway speeds, you’ll usually chase tires, wheels, and alignment geometry first—then confirm if braking changes the feel.
If the vibration is stronger at low speeds or appears only during braking, you’ll often focus on brake rotor geometry, caliper hardware, and hub mounting surfaces next.
To tie everything together, Giới thiệu ý mới: below is a speed-based diagnostic flow that turns “it shakes” into actionable tests and repairs.
Does the speed range alone pinpoint the most likely vibration source?
Yes—speed range can strongly narrow the suspect list because the vibration’s frequency usually scales with wheel/driveline speed, while load- or brake-only vibration follows different triggers.
Tiếp theo, we’ll turn that idea into a simple map you can apply in a test drive.
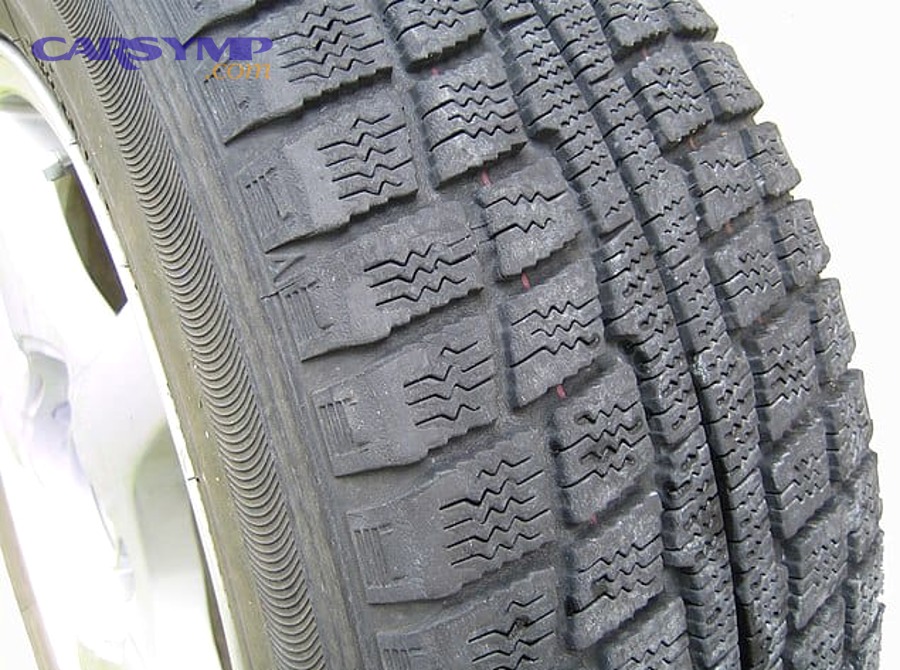
The core logic is this: when the vibration grows smoothly with road speed (especially 50–75 mph), suspect rotating assemblies (tires/wheels) first. When it’s tied to braking events or happens in a narrow speed band, suspect geometry or component interaction (rotors, hubs, suspension compliance).
Before you chase parts, use a short, repeatable “A/B test”:
- A: Hold the problem speed steady on a smooth road.
- B: Lightly apply the brakes at the same speed (no hard braking).
- C: If safe and automatic transmission allows, briefly shift to neutral while maintaining speed (engine load removed).
This quick split (steady-speed vs braking vs load) is widely used in OEM troubleshooting workflows. Theo nghiên cứu của Cơ quan An toàn Giao thông Đường cao tốc Hoa Kỳ (NHTSA) từ bộ phận ODI, vào February 2014, quy trình road test khuyến nghị so sánh rung khi giữ ga, khi chạm phanh nhẹ và khi chuyển về neutral để tách nhóm “brake concern” và “powertrain concern”.
Below is a practical matrix that converts “high vs low speed” into first checks. This table contains a speed-symptom-to-test cheat sheet to help you pick the right starting point and avoid replacing good parts.
| When you feel it | Most common bucket | Fast confirmation test | What usually fixes it |
|---|---|---|---|
| 50–75 mph steady cruise | Tire/wheel balance or road force | Does it change with tire rotation front↔rear? | Balance / road-force match / replace tire |
| 55–75 mph, steering wheel shake | Front wheel/tire or front alignment | Lightly change lane left/right (load each front tire) | Balance + alignment + check bent wheel |
| 20–45 mph, repeats once per wheel revolution | Tire out-of-round / broken belt / wheel runout | Watch tread “hop” on a lift; check runout | Replace tire / repair wheel / correct mounting |
| Any speed, only during braking | Brake torque variation / rotor geometry | Does vibration rise only when pedal is pressed? | Correct runout/DTV, hardware service, sometimes rotors |
| Under acceleration (load), disappears coasting | Driveline/CV/U-joint/engine mount | Neutral test at speed (if safe) | Repair driveline component or mount |
What do high-speed vibrations usually mean compared with low-speed vibrations?
High-speed vibration most often points to tire/wheel imbalance or road-force issues, while low-speed vibration more often points to out-of-round tires, wheel runout, or brake/suspension interactions.
Cụ thể, let’s break “high speed” and “low speed” into repeatable patterns you can recognize.
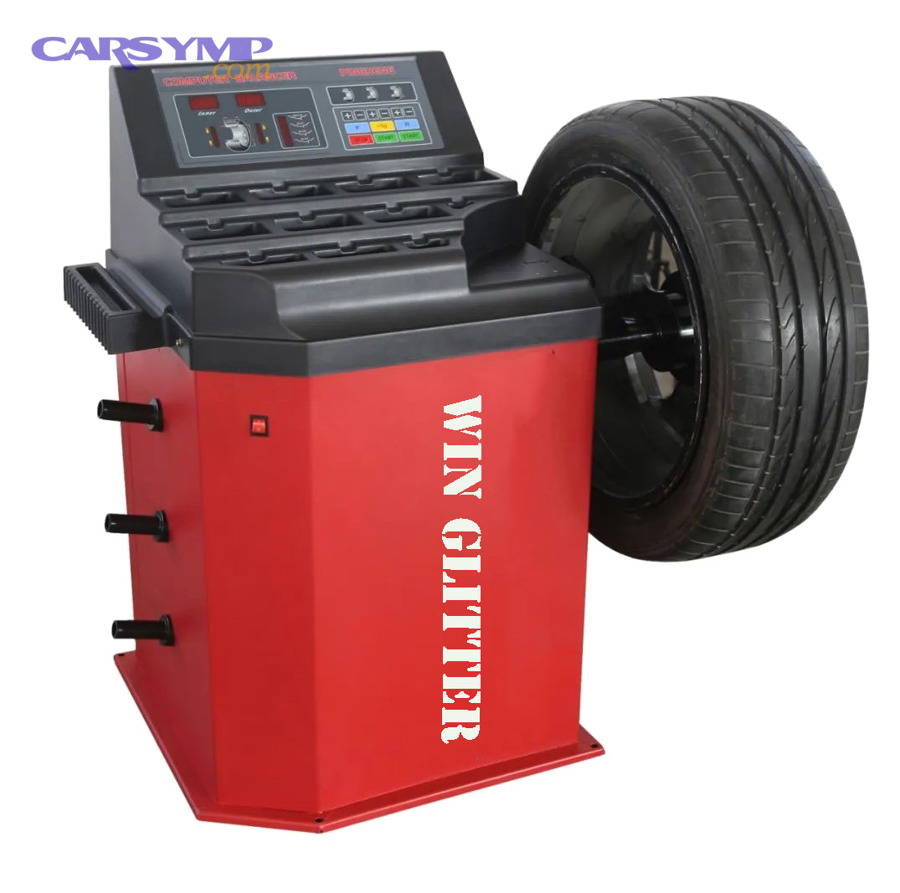
High-speed clue pattern: smooth road, narrow speed band, gets worse above a threshold
This is the classic balance/road-force signature: the car feels fine at 35–45 mph, then a shake appears around 55–65 mph and may fade slightly if you go much faster or slower.
Để minh họa, why it happens: small mass imbalance that’s “invisible” at low speed becomes a larger centrifugal force at high speed, so the shake suddenly becomes noticeable.
- Steering wheel shake suggests the issue is biased toward the front rotating assemblies.
- Seat/floor shake suggests the issue is biased toward the rear rotating assemblies.
- New tires, immediate vibration often indicates balance, mounting, or road-force match—not “bad brakes.”
The February 2014 OEM-style diagnostic bulletin also emphasizes balancing and, when available, checking tire road force variation as a primary step for vibration at designated speeds.
Low-speed clue pattern: shake you can “count,” hop, or thump
If you can feel a rhythmic thump at 10–30 mph (especially in the seat) or see the tire “hop,” suspect out-of-round tire, bent wheel, or a shifted/broken belt.
Tiếp theo, the key is that low-speed vibration is easier to isolate visually—on a lift you can often see a tire that isn’t perfectly round.
Mixed clue pattern: vibration that changes when you brake lightly at speed
If the vibration appears at highway speed and clearly changes the moment you touch the brake pedal, your “high-speed” shake may be blending with brake torque variation—so you must test both buckets before buying parts.
The brake-judder literature describes how brake torque variation and disc geometry faults can manifest as steering wheel oscillations and chassis vibration, with characteristics tied to wheel speed and braking events.
How can you separate tire/wheel vibration from brake-related vibration in a test drive?
Use three quick checks: steady-speed hold, light brake application, and a safe neutral-coast test to see whether the vibration follows rotation, braking torque, or drivetrain load.
Sau đây, here’s a structured way to do it without guessing.
Step 1: Hold speed steady and observe the “channel” of vibration
Feel where the vibration lives: steering wheel (front), seat/floor (rear), pedal (brakes), or whole-body buzz (driveline/body resonance).
Quan trọng hơn, write down the exact speed window (example: “starts at 58 mph, peaks at 64 mph, fades at 72 mph”). That single note often prevents a misdiagnosis.
Step 2: Lightly apply brakes at the same speed
If vibration appears or strengthens when you apply the brakes, you’ve shifted probability toward brake geometry/hardware. If it stays the same, probability stays with tires/wheels.
This is the classic “brake gating” test recommended in OEM vibration diagnosis procedures.
Step 3: Neutral-coast test (only if safe and legal)
If vibration reduces significantly when drivetrain load is removed, suspect driveline or powertrain mounts. If it does not change, tires/wheels/brakes stay on top.
For example, a driveshaft imbalance can be quiet under constant throttle but show up under a specific load and speed. The neutral test helps separate “load-only” from “speed-only” vibration.
What does the “where you feel it” clue reveal at high speed?
Steering wheel shake usually points to front tire/wheel or front-end geometry, while seat/floor shake points to rear tire/wheel or rear suspension compliance—so location helps you pick which axle to test first.
Tuy nhiên, location is a clue, not a verdict—so you still confirm with rotations and measurements.
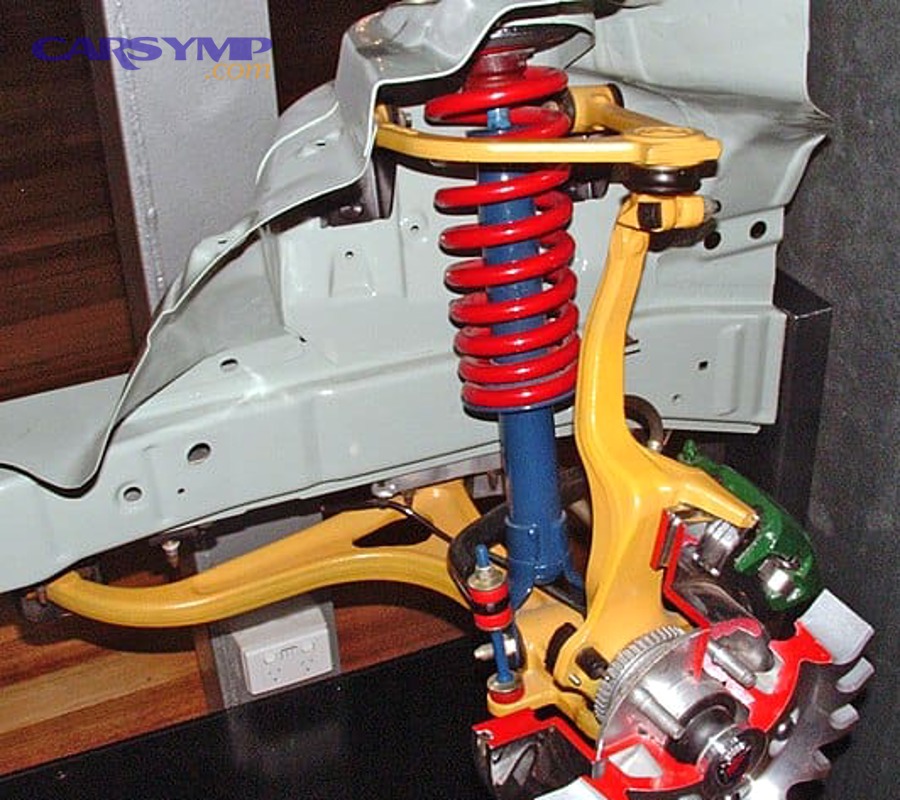
Steering wheel shake: the front axle is “broadcasting” the problem
Front tire issues (imbalance, bent wheel, severe road-force variation) often push vibration into the steering wheel because the steering linkage transmits oscillation directly to your hands.
Để hiểu rõ hơn, the front end’s geometry and compliance matter: worn bushings or loose joints can amplify what would otherwise be a mild tire vibration.
Seat or floor buzz: the rear axle is often the source
Rear tire imbalance can feel like the vehicle’s body is “humming” or the seat is shaking, even when the steering wheel stays relatively calm.
Bên cạnh đó, rear suspension toe changes under load can turn mild tire force variation into a stronger, speed-specific shake.
Whole-body vibration: consider driveline resonance
If the entire cabin feels like it’s vibrating—especially under acceleration—consider driveline components that rotate faster than the wheels (depending on gearing), plus mounts that transmit vibration into the body.
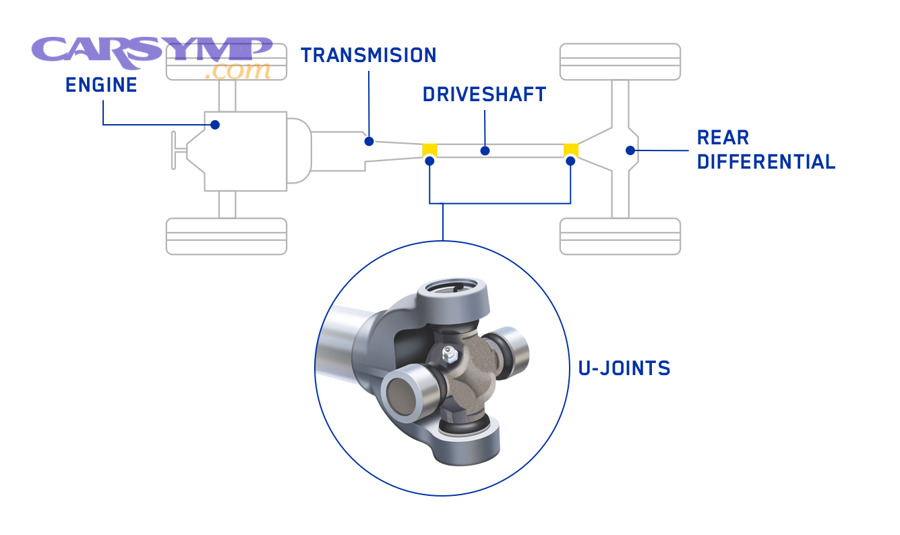
In driveline systems, universal joints allow driveshaft movement while transmitting torque; when worn or binding, they can create vibration that is strongly load-dependent.
How do you confirm a tire/wheel cause before replacing brake parts?
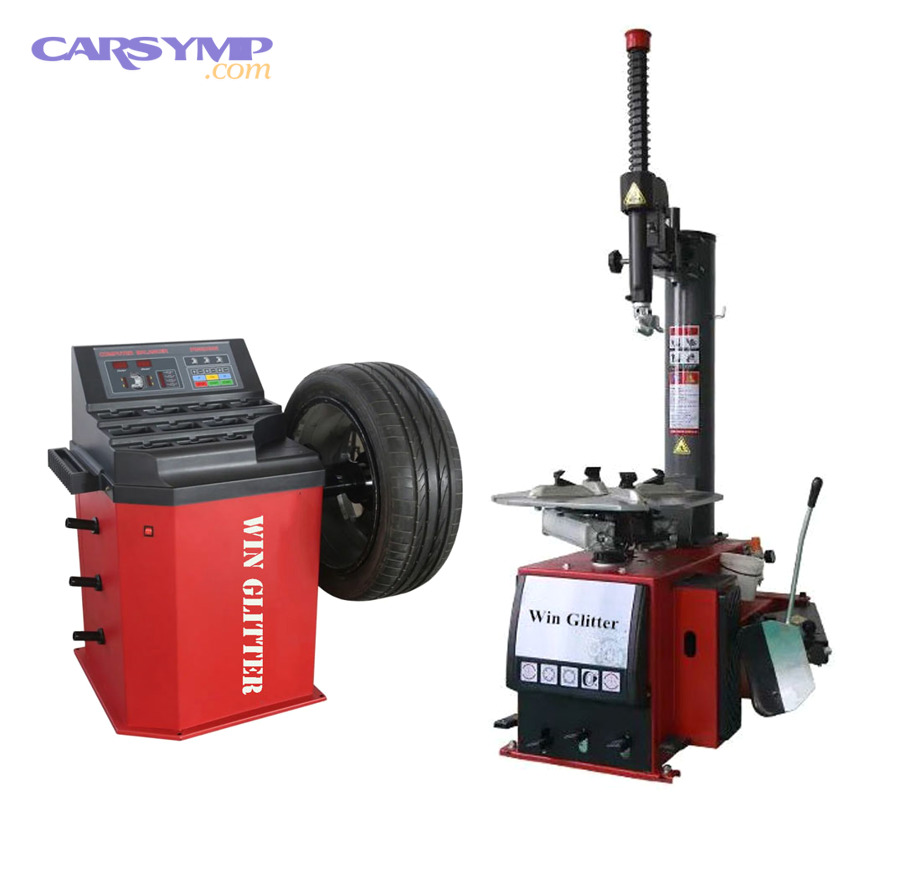
Start with the least invasive proof: tire rotation tests, visual runout checks, and balance/road-force evaluation—because many “brake-like” shakes are actually tire/wheel forces that peak at highway speed.
Tiếp theo, follow this order to avoid paying twice.
Rotation test: the fastest yes/no you can do
Swap front and rear tires (or cross-rotate if allowed). If a steering wheel shake becomes a seat shake (or changes dramatically), you’ve proven the vibration follows the tire/wheel assembly.
Ngược lại, if the vibration doesn’t move at all, you keep tires on the list—but you look harder at brakes, hubs, suspension, or driveline.
Visual checks that catch “low-speed” tire faults
- Out-of-round: look for tread hopping when spun on a lift.
- Cupping/scalloping: feel for alternating high/low spots around the tread blocks (often linked to worn shocks).
- Wheel damage: a bent lip can create radial or lateral runout that masquerades as “warped rotors.”
To measure runout properly you’ll need a dial indicator, but even a careful visual inspection can flag major tire defects before you chase brakes.
Road-force and balance: when “balanced” still isn’t smooth
Standard dynamic balancing fixes many vibrations, but some assemblies still generate high road-force variation due to stiffness changes in the tire structure.
OEM diagnostic guidance explicitly calls out balancing and, when equipment allows, testing road force variation and runout as part of vibration repair verification.
When is braking vibration likely rotor geometry rather than tire imbalance?
If the vibration is clearly gated by brake application—appearing only when you press the pedal or becoming stronger with more brake pressure—rotor geometry, mounting runout, or friction variation becomes the primary suspect.
Để bắt đầu, treat braking vibration as a measurement problem, not a guessing game.
The braking “signature” you should trust
Drivers often describe a pulsing pedal or a shake that matches wheel rotation while decelerating; this is the classic experience of brake pedal vibration caused by brake torque variation.
Cụ thể hơn, the pulsation frequency usually increases as the vehicle slows because it’s tied to rotor/wheel speed.
Rotor thickness variation and runout: what matters most
Brake judder commonly traces back to disc thickness variation (DTV/RTV), lateral runout, or mounting stack-up issues (rust/scale between rotor and hub).
The brake-rotor health monitoring research describes how rotor thickness variation can lead to brake torque variation and perceived pulsation and steering oscillations; it also notes detectability thresholds and how judder characteristics relate to wheel speed.
Measurement pathway: from symptoms to numbers
Here is the practical sequence many technicians follow: clean mating surfaces → verify hub runout → verify rotor lateral runout → verify thickness variation → correct by indexing, machining (if allowed), or replacing components as needed.
To keep wording explicit for DIY learners, the phrase How to measure rotor runout means placing a dial indicator against the rotor face, rotating the hub, and reading total indicated runout to compare with spec—then correcting the mounting stack-up if it’s out of range.
Wagner’s technical guidance on pulsation and disc thickness variation includes a runout measurement procedure using a dial indicator and emphasizes checking lateral runout as part of diagnosing pedal pulsation.
One mistake that creates “new rotors, same vibration”
If you install new rotors onto a rusty or distorted hub face, you can “build in” runout immediately, and it may later develop into thickness variation and pulsation after miles of braking.
So, even when parts are new, the geometry stack must be verified—especially on vehicles that see winter corrosion.
Which steering and suspension faults can feel like a brake problem at certain speeds?
Worn bushings, loose joints, and weak dampers can amplify normal tire forces into a shake that feels like brakes—especially when the vehicle hits a narrow speed band where the chassis resonates.
Ngoài ra, the key is to spot when the chassis is “magnifying” rather than “creating” the vibration.

Compliance steer: why bushings change the feel with speed
Control-arm and subframe bushings allow small alignment changes under load. At highway speeds, tiny toe changes can create a noticeable steering nibble or shake even when tires are “balanced.”
Đặc biệt, this is why an alignment printout alone isn’t always enough—you need to consider bushing stiffness under real driving forces.
Dampers and cupping: the feedback loop
Weak shocks/struts let the tire bounce, and that bounce can create irregular wear (cupping) that then produces its own vibration at both low and higher speeds.
Bên cạnh đó, once a tire is cupped, balancing may reduce but not eliminate vibration because the tire’s contact patch force is no longer smooth.
Steering linkage play: vibration that “floats” or wanders
If the vibration comes with vague steering or requires constant small corrections, check tie rods, ball joints, and steering rack mounting for play.
For foundational understanding of how suspension and steering components keep tires planted and control wheel motion, see the steering/suspension system overview (including common architectures like double wishbone).
Important naming note (avoid miscommunication at the shop)
The phrase Suspension issues that mimic brake vibration refers to cases where worn joints or bushings make a tire or rotor issue feel worse, or where chassis resonance creates a “braking-like” shake even when the brake system is not the root cause.
When you describe your symptom, mention speed window, where you feel it, and whether light braking changes it—those details help a shop test the right system first.
What driveline and powertrain clues appear under load at specific speeds?
Load-dependent vibration—stronger on acceleration and weaker on coast—often points to driveline joints, CV axles, driveshaft balance, or engine/transmission mounts rather than tires or brakes.
Tiếp theo, use “load on vs load off” as your primary divider for this category.
Acceleration-only vibration: classic driveline signature
If the vibration ramps up with throttle and fades when you lift off, focus on components transmitting torque: CV joints (FWD/AWD), U-joints (RWD/4WD), and mounts that allow the drivetrain to shift.
MOOG’s driveline explainer describes u-joints as connecting points that allow the driveshaft to move while transmitting power; wear in these joints can affect ride and handling.
Speed-specific “hum” that changes with gear
If the vibration appears at a particular engine RPM rather than a road speed, or changes noticeably when you shift gears, suspect engine-related resonance or mounts—especially if the tire rotation test didn’t move the symptom.
In contrast, a tire/wheel vibration typically follows road speed, not gear selection.
Neutral test: the safest proof when applicable
If you can safely coast in neutral at the problem speed and the vibration drops, the drivetrain load path is implicated; if nothing changes, you shift back toward wheels/tires or brakes.
This approach aligns with OEM diagnostic logic that uses neutral shifting to help rule in/out a powertrain concern during a vibration event.
Contextual Border: From here, we move beyond “high vs low speed” and use advanced clues—frequency, temperature, mounting stack-up, and a compact FAQ—to resolve edge cases that confuse even experienced drivers.
Advanced diagnostics and FAQs beyond speed clues
When speed alone isn’t enough, combine frequency feel, heat/temperature behavior, and simple measurements to confirm the true cause—and avoid the common trap of replacing rotors for a tire problem (or vice versa).
Hãy cùng khám phá the four advanced lenses below.

Frequency mapping: matching “how it feels” to what’s rotating
A slow, once-per-revolution thump suggests radial force variation or out-of-round tires. A faster buzz that intensifies quickly with speed often suggests imbalance or resonance. Under braking, pulsation frequency tracks wheel speed, which is why the pulse rate changes as you slow down.
The brake-rotor variation research explicitly ties rotor thickness variation to brake torque variation and judder/pulsation perceptions that scale with wheel speed and braking events.
Temperature behavior: cold vs hot clues
If vibration appears only after repeated hard braking or a long downhill, thermal effects (pad deposits, uneven heating) become more plausible. If it’s present from the first stop of the day, mounting runout, mechanical stack-up, or existing thickness variation becomes more likely.
In brake-judder discussions, “thermal” and “cold” behaviors are treated as different mechanisms with different triggering conditions.
Measurement and mounting discipline: making repairs “stick”
When brake vibration is confirmed, the highest-value habit is cleaning and verifying the mounting stack: hub face cleanliness, correct torque pattern, and measured runout after installation.
Wagner’s diagnostic guidance emphasizes measuring lateral runout and relating it to pulsation/variation concerns rather than relying on visual judgment alone.
FAQ quick answers (speed-based vibration edition)
Q: If my car shakes at 65 mph, is it “always” wheel balance?
A: No, but it’s the most common starting point—confirm with a rotation test and check balance/road force before replacing brake parts.
Q: If the shake happens only when I brake, do I automatically need new rotors?
A: Not automatically—first confirm runout/thickness variation and check mounting surfaces and hardware; new rotors installed on a dirty hub can recreate the problem quickly.
Q: Why does the steering wheel shake but the seat doesn’t?
A: That pattern often points to front axle forces (front tires/wheels or front-end geometry) transmitting through the steering system.
Q: Why does the vibration disappear when I lift off the throttle?
A: That load sensitivity shifts suspicion to driveline joints or mounts rather than tires; a safe neutral-coast test can help confirm.
Q: What should I tell a shop so they don’t “guess”?
- Exact speed window (start/peak/fade)
- Where you feel it (wheel/seat/pedal/body)
- Whether light braking changes it
- Whether neutral-coast changes it (if tested safely)
- Recent work (new tires, alignment, brake job)