How to Perform an OBD2 Scan (Diagnostic Code Scan): Read & Clear DTCs for Beginners and DIY Car Owners
An OBD2 scan is the fastest, most practical way for beginners and DIY car owners to pull diagnostic trouble codes (DTCs), capture the conditions that set them, and turn a check-engine warning into a clear next step—without guessing or replacing random parts.
Next, you’ll learn what an OBD2 scan actually reveals and what it does not reveal, so you can interpret results correctly instead of treating codes as “replace-this-part” instructions.
Then, you’ll set up the right scanner and workflow—how to connect, run the scan, and record the information that matters—so your first scan produces usable answers.
Introduce a new idea: once you understand codes and data, you’ll also learn when (and when not) to clear codes, how to confirm a repair, and how to avoid the common mistakes that make DIY scanning frustrating.
What is an OBD2 scan, and what can it tell you about your car?
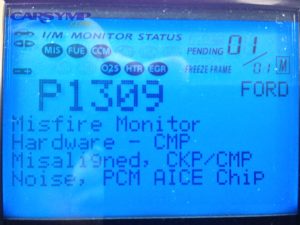
An OBD2 scan is a standardized car diagnostics check that reads your vehicle’s computer-stored information—especially DTCs, their status, and related snapshots—so you can identify which system reported a fault and under what conditions it happened.
To better understand why scanning helps (and where it stops), you need to separate “what the computer detected” from “what actually failed,” because that gap is where most misdiagnoses begin.
Is an OBD2 scan the same as a “check engine light” diagnosis?
No—an OBD2 scan is the starting point of diagnosis, not the full diagnosis, because it tells you what the computer observed (a fault condition) but not always why it occurred (the real root cause).
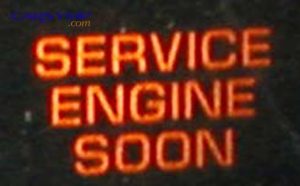
Specifically, the check engine light (MIL) is just a warning indicator, while the scan output is the evidence trail: codes, status, and sometimes a snapshot of operating conditions. That trail can point to:
- A system that’s out of range (fuel/air, ignition, emissions controls)
- A circuit that’s open/shorted (wiring, connectors, sensors)
- A performance issue where readings don’t match expected behavior (airflow, catalyst efficiency, misfires)
Where scanning can’t fully solve the problem is when multiple causes produce the same symptom. For example, a “lean” code can come from vacuum leaks, weak fuel delivery, unmetered air, or bad sensor data. That’s why “What an OBD2 scan can and can’t tell you” matters: the scan narrows your search, then basic tests confirm the cause.
What types of OBD2 codes can a scan show (P-codes vs pending vs permanent)?
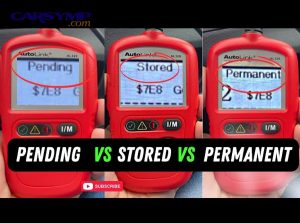
There are 3 main types of OBD2 code statuses—stored, pending, and permanent—based on how confidently the vehicle computer believes the fault is real and repeatable.
More specifically, here’s the beginner-friendly breakdown (this also covers Pending codes vs stored codes explained):
- Stored (Confirmed) codes: The fault met the computer’s criteria strongly enough to be recorded as confirmed, often turning on the MIL. These usually deserve your attention first because they are repeatable or significant.
- Pending codes: The system saw something abnormal, but it hasn’t happened enough times (or under the right conditions) to confirm. Pending codes are common with intermittent issues, borderline sensors, or conditions you can’t easily reproduce.
- Permanent codes: These are emissions-related codes that can remain even after you clear codes, and they typically disappear only after the vehicle completes certain checks and confirms the issue is no longer present.
Also, many code readers display code families like:
- P0xxx (generic powertrain codes) vs P1xxx (manufacturer-specific powertrain codes)
- Other module codes may exist (ABS, airbag, body), but you’ll only see them if your tool supports module scanning.
The key takeaway: code status helps you choose your next action. A stored code plus symptoms gets priority; a pending code may require watching live data and waiting for the condition to repeat.
Can an OBD2 scan detect non-engine issues like ABS, airbag, or transmission problems?
Yes, but only if your scanner supports those modules—basic OBD2 readers often scan the engine/powertrain only, while enhanced tools can scan ABS, SRS/airbag, transmission, and body modules.
However, the “OBD2 scan” most beginners do is the generic OBD2 emissions/powertrain scan. If your brake warning light is on, a cheap code reader may show nothing even though ABS has its own stored codes. In that case, the right move is not to assume “no codes means no problem,” but to confirm what modules your tool can access.
What do you need before you scan (tool, port location, and setup)?
You need an OBD2 scanner (or Bluetooth adapter + app), access to the OBD2 port (DLC), and a stable power/ignition setup—because successful scanning depends on compatibility, communication, and voltage more than “pressing the right button.”
Next, let’s explore the two beginner decisions that determine whether your first scan is smooth or annoying: choosing the tool and setting the vehicle up correctly.
Which OBD2 scanner should a beginner choose (Bluetooth vs handheld)?
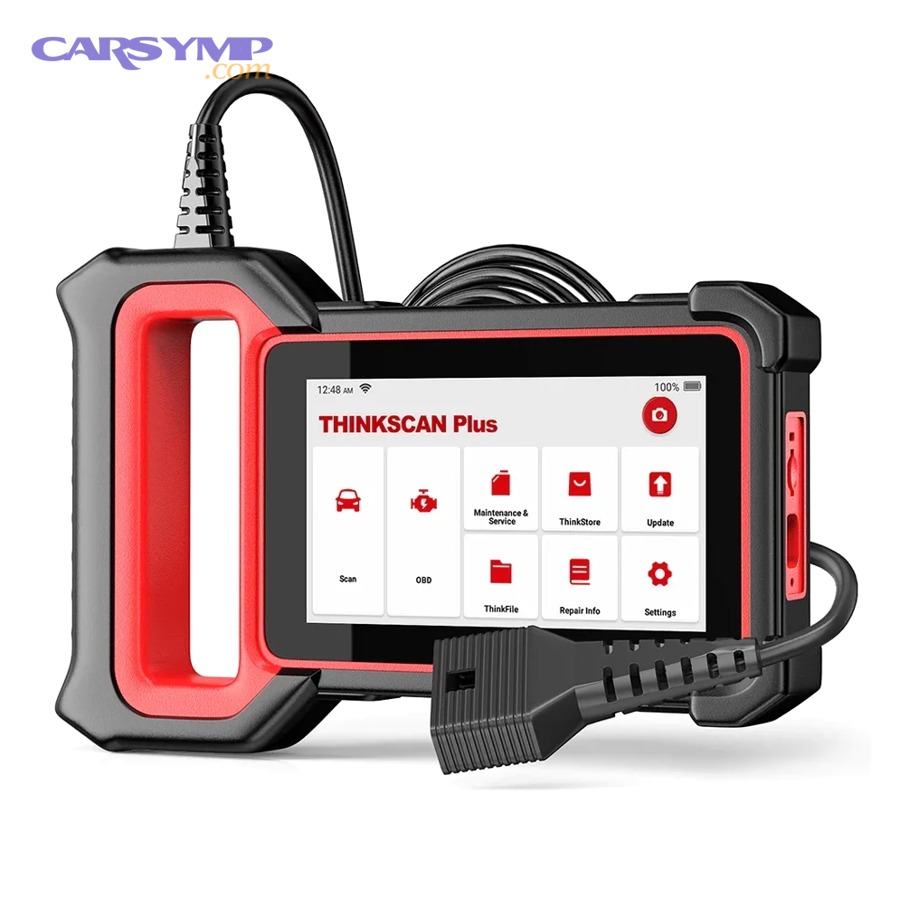
Bluetooth wins in convenience and feature-per-dollar, handheld is best for simplicity and reliability, and an enhanced scan tool is optimal if you need multi-module access and deeper diagnostics.
To illustrate How to choose an OBD2 scanner for DIY, compare them like this:
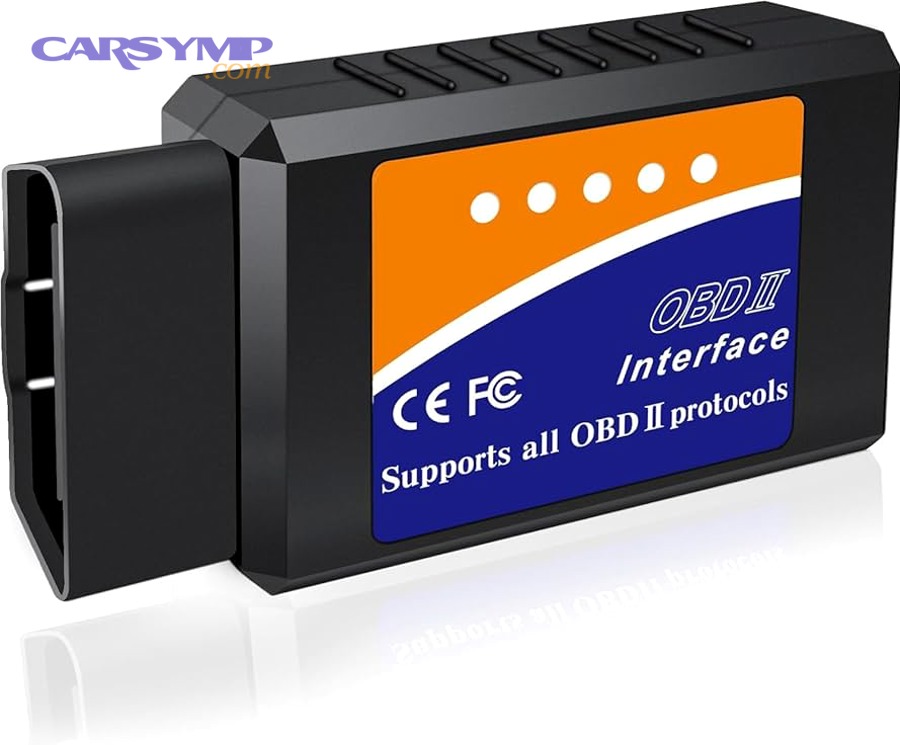
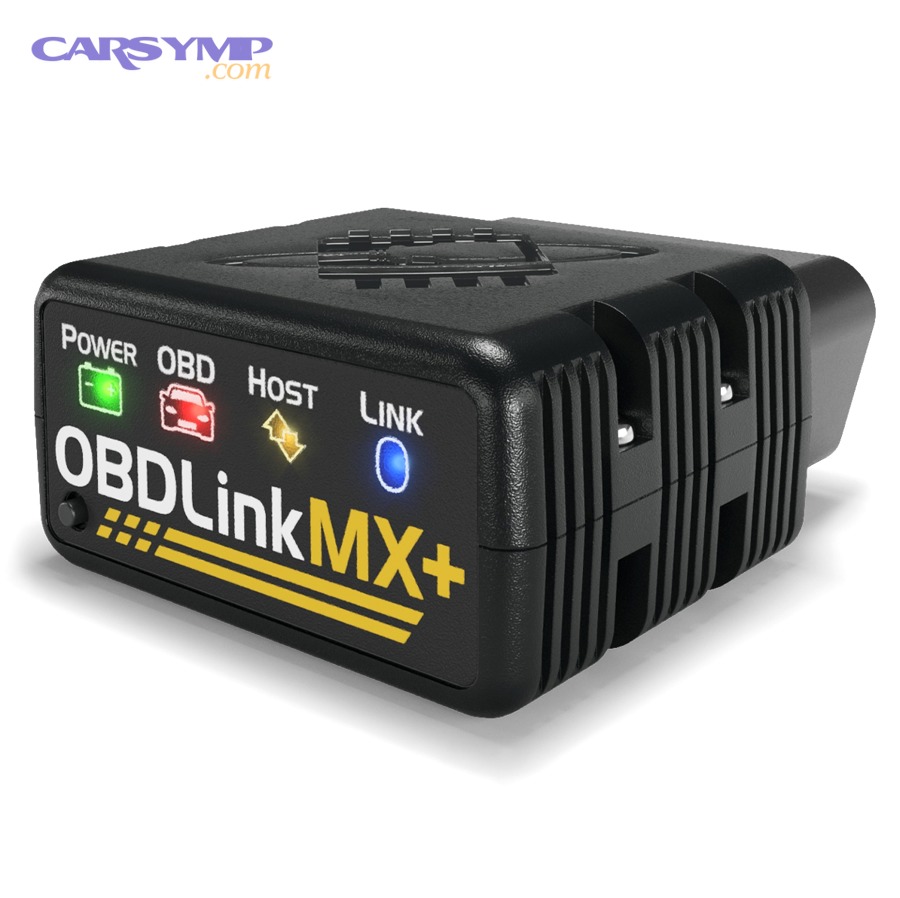
- Bluetooth adapter + app (phone/tablet):
- Pros: cheap entry cost, great UI, easy screenshots/logging, often strong live data graphs
- Cons: pairing issues, app permissions, adapter quality varies widely, some clones are unreliable
- Handheld code reader (basic):
- Pros: plug-and-play, fewer connection failures, easy for quick reads/clears
- Cons: limited live data, limited explanations, often powertrain-only
- Enhanced scan tool (mid/high tier):
- Pros: multi-module scans (ABS/SRS/TCM), better data, sometimes special functions
- Cons: higher cost, updates/subscriptions on some models
If your goal is “read codes, understand them, clear safely, confirm fix,” Bluetooth or a decent handheld is enough. If you also want ABS/airbag diagnostics, buy for that from the start.
Where is the OBD2 port (DLC) and how do you find it fast?
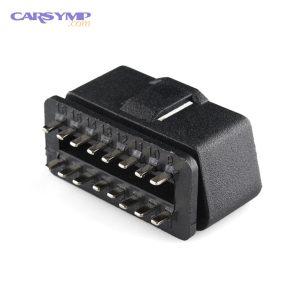
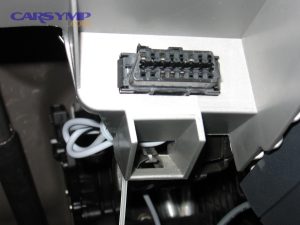
The OBD2 port is a 16-pin diagnostic connector typically located under the driver-side dashboard near the steering column, though some cars place it behind a small panel, near the center console, or by the fuse area.
Then, use a quick “search pattern” instead of crawling around randomly:
- Sit in the driver seat and look below the steering wheel.
- Scan the lower dash edges and knee panel area.
- Check near the hood release, fuse box door, or center console side panels.
The port shape is distinctive: a trapezoid-like opening with two rows of pins. Don’t force anything—if it doesn’t align easily, reposition the plug to avoid bent pins.
Do you need the engine running to scan (KOEO vs KOER)?
KOEO (Key On, Engine Off) is best for reading and clearing codes, while KOER (Key On, Engine Running) is best for checking live data behavior and confirming running-related issues.
More specifically:
- KOEO: Turn the ignition to ON so modules wake up, but keep the engine off. This is ideal for initial scanning because it’s quiet, stable, and reduces moving hazards.
- KOER: Start the engine after you’ve pulled codes and want to observe live sensor values, fuel trims, or misfire behavior under idle and light throttle.
If you’re troubleshooting an intermittent problem, you may scan KOEO first, then run KOER to watch live data for clues.
How do you perform an OBD2 scan step by step to read DTCs?
Perform an OBD2 scan by following 7 steps—connect the tool, set ignition state, establish communication, run the scan, record code status and snapshots, review basics, and save evidence—so you get accurate DTC results you can actually use.
Below is the workflow that produces consistent results even for first-timers, and it’s the same workflow many techs use because it prevents “I cleared it and now I don’t know what happened” mistakes.
What are the exact steps to connect and run a code scan safely?
The safest, most reliable method is: connect with the key off, switch to KOEO, run a full code scan, and only then decide whether you need KOER for live data.
Then follow this step-by-step checklist:
- Park safely and stabilize voltage
- Park on level ground, set parking brake.
- Turn off accessories (HVAC, lights).
- If the battery is weak, consider charging first—low voltage can create communication errors.
- Locate the OBD2 port and plug in
- Plug the scanner/adapter fully into the DLC.
- Don’t wiggle it aggressively; a loose connection causes dropouts.
- Set ignition to the right state
- Turn key to ON (KOEO). Push-start cars: press Start without pressing brake (varies by model), so ignition is on but engine is off.
- Establish communication
- Handheld: wait for it to identify vehicle/protocol.
- Bluetooth: pair the adapter, open app, select correct connection type.
- Run a “Read Codes” scan
- Start with “Read Codes” and capture stored and pending if available.
- If the app/tool offers it, also capture “Permanent” codes.
- Open details for each code
- Record code number (e.g., P0301) and the description.
- Note whether it is stored vs pending.
- Save your results
- Screenshot, export, or write down codes and conditions before you touch anything else.
This sequence makes scanning repeatable and helps you avoid clearing valuable context.
What should you write down or screenshot before doing anything else?
You should record 6 things—code number, code status, freeze frame, readiness monitors, mileage/time, and symptoms—because those details turn “a code” into a diagnosis plan instead of a guess.
Next, here’s the quick “capture list” beginners should treat as mandatory:
- Code number + text (e.g., P0171 “System Too Lean”)
- Status (stored/pending/permanent)
- Freeze frame (if available): RPM, coolant temp, speed, load
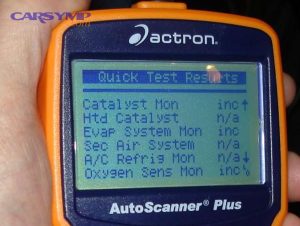
- Readiness monitors and inspection readiness status (ready/not ready)
- Mileage + date/time (or at least current mileage)
- Driver symptoms (rough idle, hesitation, stalling, poor mpg, fuel smell)
If you do only one thing right as a beginner, do this. Once you clear codes or disconnect the battery, you can erase the clues you need most.
Why does the scanner say “no codes” but the problem is still happening?
Because many faults are intermittent, not emissions-related, stored in other modules, or haven’t met the conditions required to set a code—so “no codes” can still mean “a problem exists,” just not one the PCM has confirmed.
In addition, here are the common “no codes” scenarios:
- Intermittent issue: Condition appears briefly and disappears; you may only see a pending code later.
- Wrong module: ABS, SRS, BCM faults won’t show on basic readers.
- Not enough drive cycles: The system hasn’t seen the problem repeat under the right conditions.
- Recently cleared memory: Someone cleared codes; you lost history.
- Sensor values drifting but not failing: Live data may show a borderline condition even without codes.
That’s why scanning should include code status and basic live data checks when symptoms persist.
According to AutoZone’s Fix Finder service description, their free check engine light check provides code-based results and recommended solutions, which is helpful but still not the same as a full diagnostic process performed by a technician.
How do you interpret OBD2 scan results without misdiagnosing the car?
You interpret OBD2 results correctly by treating codes as “system clues,” using freeze frame to understand when the fault occurred, and using a few live data basics to confirm whether the readings make sense—because the most Common mistakes interpreting codes come from skipping verification.
More importantly, interpretation is where DIY scanning becomes real diagnostics: you’re turning data into a test plan, not a shopping list.
What does a trouble code actually mean (system vs part)?
A trouble code means the computer detected a condition outside expected limits in a system or circuit—it rarely means a specific part is definitely bad.
For example, code descriptions often include language like:
- Circuit high/low: could be wiring damage, connector corrosion, sensor failure, or reference voltage issues.
- Range/performance: could be mechanical problems (vacuum leak), sensor drift, incorrect airflow, or fuel delivery problems.
- Efficiency below threshold: could be exhaust leaks, sensor issues, engine misfires, or a failing catalyst.
So instead of “replace the O2 sensor,” a better DIY mindset is: “Why did the oxygen sensor signal look wrong?” That single shift eliminates a huge percentage of wasted parts.
How do you use freeze-frame data to narrow down the conditions of the fault?
Using freeze frame data to diagnose issues means reading the snapshot captured when the DTC set—RPM, coolant temperature, load, speed, and fuel trim—so you can reproduce the exact conditions and test the most likely causes.
Specifically, look for patterns:
- Cold vs warm: Coolant temp tells you if the fault happens during warm-up (common for vacuum leaks, thermostat issues).
- Idle vs cruise: RPM and speed show whether it occurred at idle, steady cruise, or acceleration.
- High load: Engine load can point toward fuel delivery limits or airflow measurement errors.
- Short trip vs long trip: If the snapshot suggests early drive time, focus on conditions that occur quickly (cold start strategies).
Freeze frame is like a photo of the moment the computer raised its hand and said “something’s off.” It doesn’t fix the car, but it tells you where to look first.
According to Innova’s diagnostics education content, SAE J1979 defines many OBD-II PIDs used to request vehicle data, and vehicles are required to support a subset—reinforcing why freeze-frame snapshot fields are standardized enough to be useful across many cars.
Which live data signals are most useful for DIY diagnosis?
There are 7 beginner-friendly live data signals that give the highest value with the lowest confusion: coolant temperature, battery voltage, engine RPM/load, short- and long-term fuel trims, O2/air-fuel sensor signals (as supported), MAF airflow, and throttle position.
To better understand Reading live data basics for beginners, here’s what each tells you in plain language:
- Coolant temp (ECT): Confirms warm-up behavior; bad readings can cause rich/lean running.
- Battery voltage: Low voltage can create false faults and unstable sensor readings.
- Fuel trims (STFT/LTFT): Shows whether the engine is adding/subtracting fuel to hit target mixture.
- MAF airflow: Helps confirm whether airflow measurement matches engine behavior.
- O2/AFR sensor behavior: Shows whether the mixture feedback loop is reacting normally.
- Throttle position: Helps confirm driver demand and throttle response.
- RPM + load: Gives context for everything else; faults often occur in specific load bands.
If your live data and freeze frame agree, you’re on the right path. If they conflict, slow down and verify basics like vacuum leaks, connectors, and voltage.
Should you clear OBD2 codes, and how do you do it safely?
Yes—but you should clear OBD2 codes only after you’ve recorded all scan data and either completed a repair or have a controlled reason to reset the system, because Clearing codes safely and when not to is the difference between confirming a fix and erasing your best diagnostic clues.
However, clearing codes has side effects: it can reset readiness information and temporarily hide problems, which matters a lot if you’re near an emissions inspection date.
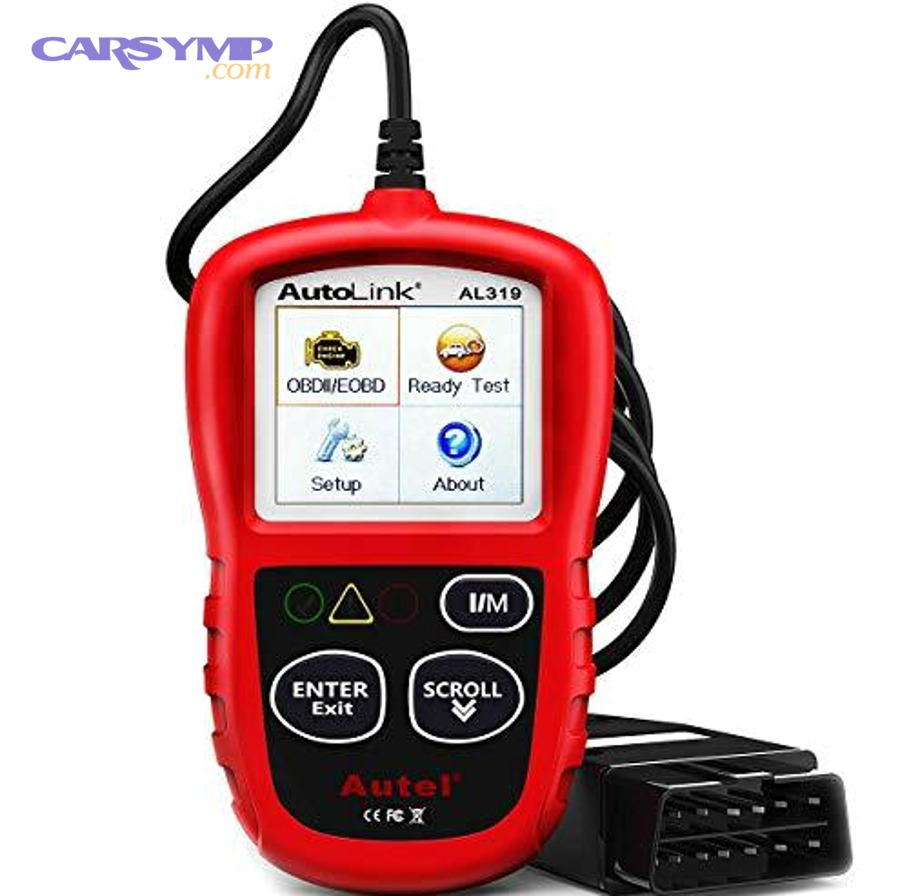
Is it safe to clear codes before repairs?
No, it’s usually not safe to clear codes before repairs because (1) you erase freeze frame and history, (2) you reset readiness monitors, and (3) you risk losing intermittent evidence that helps you diagnose correctly.
Then, here are the few exceptions where clearing can be reasonable:
- You already saved codes, status, freeze frame, and readiness.
- You are testing whether a fix is confirmed (clear → drive → rescan).
- You’re chasing a known false code caused by a temporary event (like a loose gas cap) after confirming no other symptoms.
If you clear first and ask questions later, you may end up driving longer, guessing more, and spending more on parts.
What happens after you clear codes (check engine light, readiness monitors, drive cycle)?
After you clear codes, the check engine light may turn off immediately, but readiness monitors and inspection readiness status typically reset to incomplete—meaning the car needs a drive cycle (or multiple trips) to re-run self-tests and mark monitors “ready.”
In addition, this is why “clear codes right before inspection” often backfires: the car hasn’t had time to prove it’s healthy.
According to Ohio EPA’s OBD readiness FAQ for emissions testing, readiness codes/monitors may not be set after certain events and can affect OBD-based inspection outcomes—highlighting the practical link between clearing codes and readiness status.
How can you confirm the fix after clearing codes?
You can confirm the fix by clearing codes only after documenting data, then completing a structured test drive, re-scanning for pending/stored codes, and checking readiness progress—because a “light off” alone is not proof the problem is solved.
Specifically, use this confirmation routine:
- Clear codes only after saving the original scan report.
- Drive under similar conditions to the freeze frame snapshot (speed/load/temp).
- Re-scan:
- Look for pending codes returning first (early warning).
- Ensure no stored codes return after enough driving.
- Check readiness if inspection matters.
- Confirm symptom changes (idle quality, hesitation, fuel economy).
If the same code returns quickly under similar conditions, you’ve learned something valuable: the original cause wasn’t addressed, or the repair didn’t fully solve the issue.
Before the next section, here’s a quick reference table to help you avoid the most common beginner confusion: the difference between a free scan and a real diagnosis.
| Service type | What you typically get | Best use case | Biggest limitation |
|---|---|---|---|
| Free scan (parts store) | Code readout + basic description | Quick first look when the MIL comes on | Usually code-only, limited context/testing |
| Basic DIY scan | Codes + status + freeze frame + basic live data | Most DIY workflows and post-repair confirmation | Limited module access on basic tools |
| Shop diagnostic | Structured testing + verified root cause | Complex faults, intermittent issues, multi-module problems | Costs money; depends on shop quality |
This table summarizes Free scan vs full diagnosis differences so you can choose the right next step based on how serious and complex your issue is.
How can you get more out of an OBD2 scanner beyond basic code scanning?
You can get more out of an OBD2 scanner by using enhanced module scans, readiness monitor tracking, deeper test modes, and troubleshooting your adapter/app setup—because advanced features often reveal why a code happened, not just that it happened.
Introduce a new idea: these extras are optional, but they expand your capability fast once you’ve mastered the basic scan-read-record workflow.
What’s the difference between a basic code reader and an enhanced scan tool?
A basic reader wins for quick engine code reads, an enhanced tool is best for multi-module coverage, and a pro-level platform is optimal for advanced tests and deeper control functions.
Meanwhile, here’s the practical difference you’ll feel as a DIYer:
- Basic reader: reads/clears powertrain codes, may show limited live data.
- Enhanced tool: scans ABS/SRS/TCM/BCM, provides richer data lists, sometimes special service functions.
- Pro-level tool: deeper OEM data, bidirectional tests, guided diagnostics (varies widely).
If you keep running into “no codes” while warning lights are on, that’s your signal to upgrade—not because you need fancy tech, but because you need access to the correct module.
How do readiness monitors affect emissions testing after you clear codes?
Readiness monitors affect emissions testing because many inspection programs require monitors to be “ready,” and clearing codes often resets monitors to “not ready,” which can cause an automatic fail or an incomplete test.
To illustrate: readiness is the car proving it has completed self-checks on systems like catalyst efficiency, EVAP leaks, and oxygen sensor operation. When you reset memory, the car must re-run those checks under specific conditions, which can take time and varied driving.
This is why planning matters: if inspection is coming soon, don’t clear codes unless you’re prepared to complete sufficient driving and verify readiness before showing up.
Can Mode 06 and on-board test results help find issues before a code sets?
Yes—Mode 06 can help spot borderline components and failing monitors before a DTC becomes stored, because it exposes certain on-board test results that show how close a system is to its threshold.
Especially, Mode 06 is useful when:
- You suspect a catalyst or misfire-related issue
- You see pending codes that come and go
- You want to verify whether a monitor is barely passing or clearly healthy
Not all consumer tools present Mode 06 in a beginner-friendly way, but if yours does, it can be a powerful “early warning” view into emissions-related tests.
According to a 2023 automotive diagnostics cost overview by Telle Tire, a typical diagnostic test is often quoted in a range around $50–$100, and parts stores may offer simple code checks for free—supporting the idea that OBD2 scan cost at shops and parts stores varies based on depth and verification.
Why do Bluetooth OBD2 adapters fail to connect, and how do you fix pairing problems?
Because Bluetooth adapters fail due to (1) low-quality/cloned hardware, (2) incorrect pairing steps, and (3) wrong ignition/app settings—so fixing it usually means validating the adapter, resetting the connection, and matching the app to the adapter type.
Then run this quick troubleshooting sequence:
- Confirm power: Adapter lights on? If not, check DLC power/fuse.
- Use KOEO: Many apps connect more reliably with ignition ON.
- Pair in the right place: Some adapters pair in phone settings first; others pair inside the app.
- Close other apps: Only one app should control the adapter at a time.
- Forget + re-pair: Remove the device from Bluetooth list and reconnect.
- Avoid ultra-cheap clones: Connection instability is common and wastes time.
If your adapter repeatedly disconnects mid-scan, switch to a higher-quality adapter or a handheld reader—reliability is worth more than saving a few dollars.
If you want to go one step further, you can turn your scan results into a simple “DIY diagnostic report” template you reuse every time (codes, statuses, freeze frame highlights, live data notes, and your test plan). Many DIYers post similar workflows on car forums—and you can also build your own reference checklist on carsymp.com so every scan is consistent and comparable across vehicles.