


Replacing a pan gasket and filter is one of the most important maintenance tasks a DIY mechanic can perform to protect their vehicle’s engine or transmission. The process involves draining fluid, removing the oil or transmission pan, scraping away the old gasket, installing a fresh seal and filter, and verifying the repair with a Post-repair fluid level setting procedure. When done correctly, this service restores a proper seal, prevents ongoing fluid loss, and extends the life of critical drivetrain components. Whether you are dealing with an active leak or following a scheduled maintenance interval, this complete guide covers everything you need to carry out the job with confidence.
Before picking up a wrench, it helps to understand what the pan gasket and filter actually do inside your vehicle. The gasket creates a leak-proof barrier between the pan and the engine or transmission housing, while the filter keeps fluid clean and free of debris that could cause internal damage. Recognizing when either component begins to fail is what allows a DIY mechanic to act before a minor seep becomes a costly repair — and understanding the early Car Symptoms of a failing gasket is the first step in that process.
Knowing which tools and parts to gather before starting is just as important as knowing the procedure itself. Gaskets come in different materials — cork, rubber, and silicone — and choosing the wrong type for your specific vehicle can lead to a repeat leak within weeks of completing the job. Sourcing the correct filter and having the right torque specifications on hand will determine whether the repair holds long-term or fails prematurely.
Even experienced mechanics make mistakes during pan gasket and filter replacement, particularly around bolt torque, surface preparation, and sealant application. Understanding the most common errors in advance dramatically improves the odds of a clean, leak-free result on the first attempt. Next, this guide walks through every stage of the process — from identifying failure symptoms to inspecting the inside of the pan — so you can complete the job right the first time.
What Is a Pan Gasket and What Does It Do?
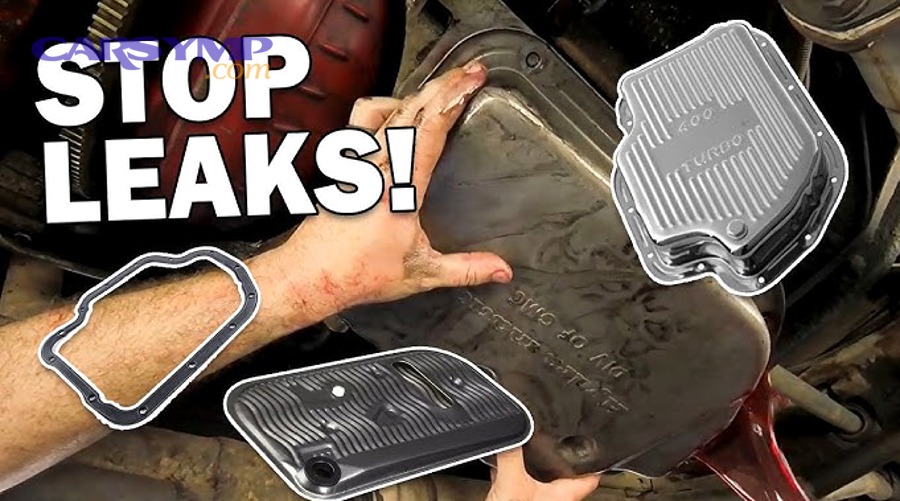
A pan gasket is a sealing component — typically made from cork, rubber, or silicone — that sits between the oil or transmission pan and the engine or transmission housing to prevent fluid from escaping the system.
To better understand why this small part carries such significant responsibility, it helps to look at how the gasket and filter work together during normal vehicle operation.
The pan gasket performs a deceptively simple job: it fills the microscopic gap between two metal mating surfaces, creating a pressure-resistant seal that keeps fluid contained within the pan at all times. Without a functioning gasket, fluid seeps out along the pan’s edges — slowly at first, then progressively faster as the gap widens. The oil filter or transmission filter works in tandem with the gasket by trapping metal particles, dirt, and degraded fluid byproducts before they can circulate through the system. Because the filter sits inside or directly beneath the pan on most vehicles, both components are accessed during the same service interval, making combined replacement the most efficient approach.
What Is the Difference Between an Engine Oil Pan Gasket and a Transmission Pan Gasket?
An engine oil pan gasket and a transmission pan gasket serve the same sealing function but differ in location, fluid type, service interval, and the consequences of failure.
- Location: The engine oil pan gasket seals the oil sump at the base of the engine block. The transmission pan gasket seals the fluid reservoir at the bottom of the automatic transmission housing.
- Fluid type: The engine oil pan contains motor oil, which appears dark brown or black when used. The transmission pan contains automatic transmission fluid (ATF), which is typically bright red when fresh and darkens with age and heat exposure.
- Service interval: Engine oil pan gaskets are generally replaced only when a leak is detected or when the pan is removed for other engine work. Transmission pan gaskets are typically replaced as part of a scheduled transmission service — often every 30,000 to 60,000 miles, depending on the manufacturer.
- Consequence of failure: A leaking engine oil pan gasket risks engine damage through oil starvation. A leaking transmission pan gasket risks transmission failure through fluid loss and resulting pressure drops that affect gear shift quality.
Both types are addressed in this guide, with callouts throughout where the procedure differs between the two applications.
What Does the Oil Filter Do in Relation to the Pan Gasket?
The oil filter or transmission filter removes contaminants from the fluid before they can circulate through the system and cause internal wear to bearings, gears, and other precision components.
In an engine, the oil filter is typically mounted externally on the engine block but is still replaced during an oil pan gasket service because the pan must be dropped to drain the oil completely. In an automatic transmission, the filter is located inside the pan itself, held in place by a small set of bolts. Because accessing either filter requires removing the pan — and removing the pan disturbs the gasket — replacing the filter and gasket together during the same service visit is both cost-effective and mechanically sound. A clogged or degraded filter increases internal fluid pressure, which in turn places additional stress on the gasket seal, accelerating its deterioration. Treating the filter as a secondary item to the gasket replacement — rather than as an optional add-on — is one of the most important decisions a DIY mechanic can make.
How Do You Know When Your Pan Gasket and Filter Need Replacing?
There are four primary warning signs that indicate a pan gasket and filter need replacing: visible fluid puddles beneath the vehicle, a burning smell from leaking fluid, consistently low fluid levels, and — in the case of a transmission pan gasket — slipping or rough gear shifts.
Specifically, catching these car symptoms early is what separates a straightforward gasket replacement from an expensive drivetrain overhaul.
What Are the Signs of a Failing Pan Gasket?
There are five main signs of a failing pan gasket, each identifiable through simple visual inspection or driving behavior:
- Fluid puddles under the vehicle: The most visible sign is a pool or trail of fluid on the ground beneath the car after it has been parked. Dark brown or black puddles indicate engine oil; bright red or pinkish fluid points to transmission fluid — a clear indicator that transmission leak repair is needed.
- Burning smell: When fluid drips onto hot exhaust components beneath the vehicle, it produces a sharp, acrid burning odor that is noticeable from inside or outside the car.
- Consistently low fluid levels: If you find yourself topping off the engine oil or checking transmission fluid more frequently than normal without any external evidence of a large leak, a slow seep from the pan gasket may be the cause.
- Slipping gears or rough shifting: Transmission fluid loss reduces hydraulic pressure inside the transmission, which is required to actuate gear changes. Low pressure causes delayed shifts, rough engagement, or outright gear slipping.
- Oil residue along the pan edges: A visual inspection of the underside of the vehicle will often reveal a film of dirty oil, transmission fluid, or road grime built up along the seam between the pan and the engine or transmission housing.
Is It Safe to Drive with a Leaking Pan Gasket?
No — driving with a leaking pan gasket is not safe, because continued fluid loss leads to insufficient lubrication or hydraulic pressure, which causes accelerating internal damage to the engine or transmission.
However, the severity of the risk depends on how far the leak has progressed. A fresh, slow seep gives a driver some time to schedule a repair, provided fluid levels are monitored daily and topped off as needed. Once a seep progresses to a visible drip or puddle, the risk of running the engine or transmission dangerously low on fluid becomes very real — and the cost of the resulting damage far exceeds the cost of prompt transmission leak repair or a timely gasket replacement. Most automotive professionals agree that any confirmed pan gasket leak should be addressed within days, not weeks.
What Tools and Materials Do You Need for Pan Gasket and Filter Replacement?
Replacing a pan gasket and filter requires 8 categories of tools and supplies: a floor jack with jack stands, a socket set with extensions and torque wrench, a gasket scraper, cleaning materials, a drain pan, a replacement gasket, a new filter, and the correct type and volume of fresh fluid.
More specifically, having everything staged before beginning the job prevents mid-task interruptions and reduces the risk of reassembling the vehicle with missing or wrong components.
What Parts Do You Need to Buy Before Starting?
There are five categories of parts to purchase before beginning a pan gasket and filter replacement, selected based on your specific vehicle’s make, model, and year:
| Part | Notes |
|---|---|
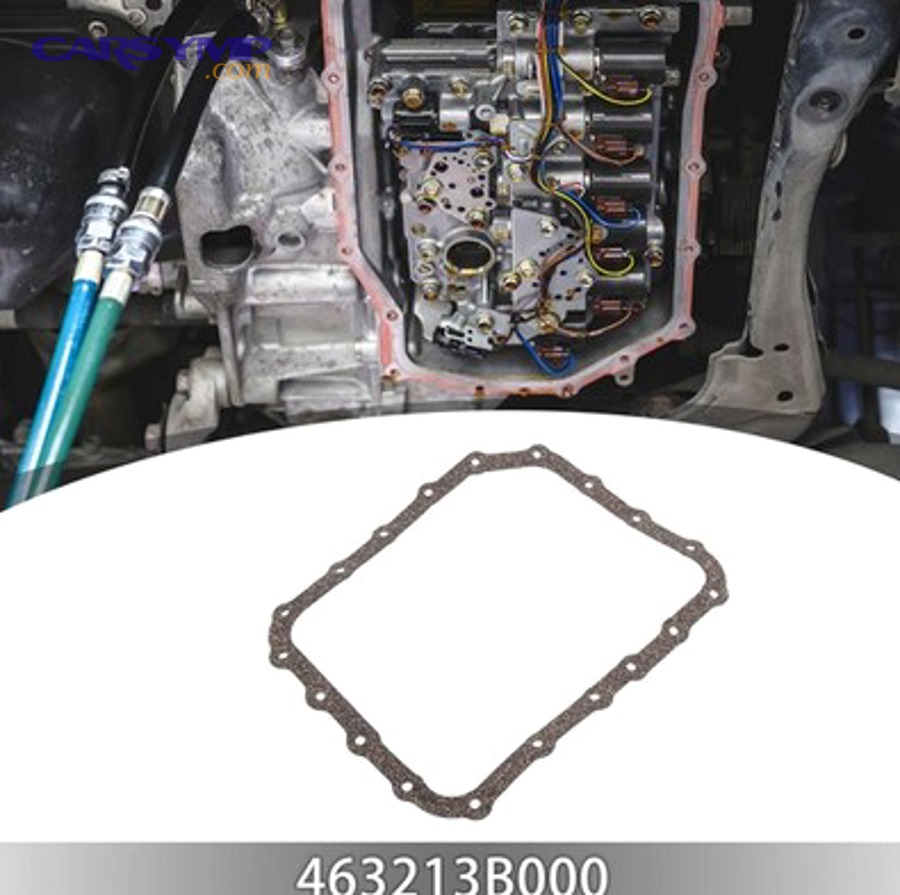
| Replacement gasket | Match to vehicle — cork, rubber, or synthetic; check OEM spec |
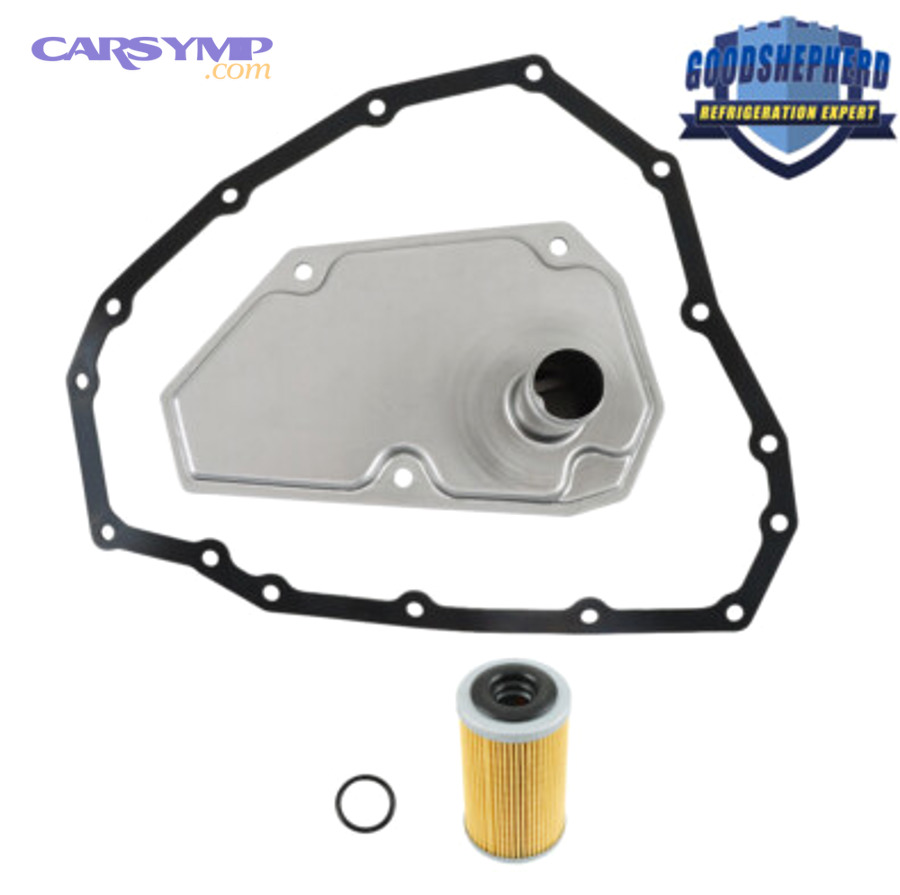
| Oil filter or transmission filter | Confirm compatibility; some transmission filters include a separate filter gasket |
| Fresh fluid | Engine oil (correct viscosity) or ATF (correct specification, e.g., Dexron VI, ATF+4) |
| Drain plug washer | Replace if gasket-style plug is used; reuse if rubber O-ring is in good condition |
| Gasket sealant (optional) | Only if specified by gasket manufacturer — do not apply if not required |
The table above summarizes the five essential part categories and the key considerations for each. Sourcing parts in advance — and confirming compatibility using the vehicle identification number (VIN) or owner’s manual — eliminates the most common cause of repeat leaks: using a gasket or filter designed for a different vehicle.
What Tools Are Required for the Job?
There are eight essential tools required for pan gasket and filter replacement:
- Floor jack and jack stands: Required to safely elevate and support the vehicle. Use the manufacturer-specified lifting points only.
- Socket set, ratchet, and extensions: A 10mm socket covers the majority of pan bolts on most domestic and import vehicles. Extensions allow access to bolts located behind brackets or body components.
- Torque wrench: Non-negotiable for achieving the correct clamping force on pan bolts. Over-torquing crushes the gasket; under-torquing produces an incomplete seal.
- Gasket scraper: A plastic or metal scraper used to remove old gasket material from the mating surfaces of both the pan and the engine or transmission housing.
- Cleaner/degreaser and lint-free rags: Brake cleaner or an equivalent solvent removes residual gasket material, oil, and ATF from mating surfaces before the new gasket is installed.
- Drain pan and fluid catch container: Catches draining fluid for safe disposal and allows measurement of the volume drained for accurate refill.
- Oil filter wrench: Used to loosen the engine oil filter, which is often tightened beyond hand-removal torque during the previous service.
- Flat-head screwdriver or rubber mallet: Used to carefully separate the pan from the housing after all bolts are removed. A mallet tap is preferred over prying with a screwdriver, which risks bending the pan’s sealing flange.
How Do You Replace a Pan Gasket and Filter Step by Step?
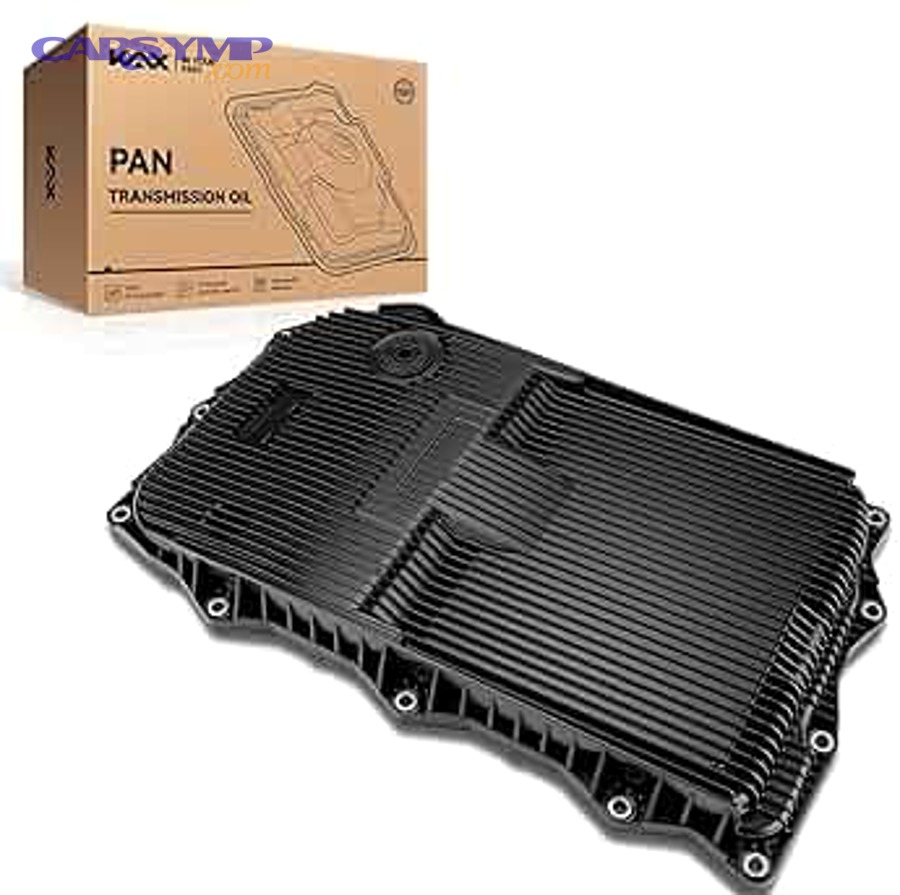
Replacing a pan gasket and filter involves 7 main steps — preparation and lifting, fluid draining, pan removal and cleaning, old gasket removal, new gasket and filter installation, pan reassembly, and fluid refill with leak verification — and when performed correctly, results in a fully sealed, leak-free system.
To begin, the process divides naturally into four phases: drain, disassemble, reassemble, and verify. Each phase builds on the last, and skipping steps within any phase is the primary cause of gasket failures shortly after service.
How Do You Safely Lift the Vehicle and Drain the Fluid?
Begin by driving the vehicle for 5 to 10 minutes to bring the fluid to operating temperature, which reduces viscosity and allows a more complete drain. Then proceed as follows:
- Park on a level, stable surface and apply the parking brake firmly before placing the jack beneath any lifting point.
- Raise the vehicle using a floor jack positioned at the manufacturer-specified lifting point — typically a reinforced section of the subframe or rocker panel as shown in the owner’s manual.
- Place jack stands at the correct support points and slowly lower the vehicle onto them. Leave the floor jack in contact with the vehicle as a secondary safety measure.
- Position the drain pan beneath the oil drain plug or, if no drain plug is present (common on many automatic transmissions), beneath the pan itself.
- Remove the drain plug if present and allow the fluid to drain fully — typically 5 to 10 minutes. Measure the volume drained and set this figure aside for reference during refill.
How Do You Remove the Oil Pan and Old Gasket?
With the fluid drained, remove the pan bolts using the appropriate socket, leaving one bolt loosely in place at each of the four corners to prevent the pan from dropping suddenly.
- Work around the pan in a systematic pattern, removing all interior bolts first, then progressing outward to the corner bolts.
- Once all bolts are loose, support the pan with one hand and remove the final corner bolts with the other.
- If the pan does not release cleanly, tap it gently with a rubber mallet along the seam. Never force a screwdriver between the pan and the housing — even slight bending of the sealing flange will prevent a proper seal with the new gasket.
- Lower the pan carefully. On transmissions, the filter is located inside the pan and will come down with it; note its orientation before removal so the new filter can be installed in the same position.
- With the pan removed, use the gasket scraper to remove all traces of the old gasket from both the pan flange and the engine or transmission housing mating surface. Clean both surfaces thoroughly with brake cleaner and lint-free rags. Any residual gasket material, oil film, or debris will prevent the new gasket from seating correctly.
- While the pan is off, inspect the inside of the pan. Look at the magnet, if present — light metallic dust is a normal byproduct of internal wear, but chunky metallic fragments are a warning sign of gear or bearing damage that warrants further diagnosis before reassembly.
How Do You Install the New Gasket and Filter?
Install the new filter first, then the gasket, then reattach the pan using the correct torque sequence.
- Filter installation: On automatic transmissions, align the new filter with the filter mounting location and secure it with the retaining bolts. If the filter includes a separate filter gasket or O-ring, install that component first before seating the filter body. On engine oil systems, the external oil filter is typically hand-tightened during final reassembly.
- Gasket positioning: Most transmission pans are asymmetrical, meaning the gasket will only fit correctly in one orientation. Confirm alignment before proceeding. If the gasket manufacturer’s instructions specify gasket sealant or a light grease to hold the gasket in position during pan installation, apply it sparingly. If no sealant is specified, do not add any — excess sealant can enter the fluid system and cause internal contamination.
- Pan reattachment: Lift the pan with the gasket seated against it and align the bolt holes. Insert all bolts by hand first to confirm proper thread engagement before applying any torque.
- Torque sequence: Tighten the bolts gradually in a crisscross or spiral pattern — starting from the center of the pan and working outward — to distribute clamping force evenly across the entire gasket surface. Refer to the vehicle’s service manual for the specified torque value. As a general reference, most transmission pan bolts torque to 12–15 ft-lbs; engine oil pan bolts vary more widely by vehicle.
How Do You Refill Fluid and Check for Leaks After Installation?
Reinstall the drain plug with a new washer, refill the system with the correct fluid type and quantity, then verify the repair through a running inspection and a post-repair fluid level setting procedure.
- Refill: Add the same volume of fresh fluid that was drained, using the figure measured during the drain step. Use the fluid type specified in the owner’s manual — incorrect ATF specification is one of the most common causes of transmission damage following a DIY service.
- Initial inspection: Before lowering the vehicle, start the engine (or shift through all transmission ranges for a transmission service) and let it run for 2 to 3 minutes. Inspect the pan edges carefully for any seepage while the system is under operating pressure.
- Post-repair fluid level setting procedure: On engine systems, check the oil dipstick and top off to the correct level. On transmission systems, allow the fluid to reach operating temperature before checking the dipstick or fill level, as ATF expands significantly with heat — checking cold will give a falsely low reading. Top off as needed until the fluid reads within the correct range at operating temperature.
- Follow-up monitoring: Check beneath the vehicle and along the pan edges after the first drive, and again after the first 24 to 48 hours. Monitoring fluid levels over the following days is an important part of Preventing repeat leaks from going undetected.
What Are the Most Common Mistakes to Avoid When Replacing a Pan Gasket?
There are seven critical mistakes that DIY mechanics make during pan gasket and filter replacement, and each one directly causes the repair to fail — resulting in a repeat leak, a damaged gasket, or contaminated fluid.
Moreover, understanding these errors in advance is the single most effective way to ensure the job holds long-term without the need for a costly second attempt.
1. Over-tightening pan bolts. Applying too much torque to the pan bolts crushes the gasket material beyond its design limits, causing it to deform and create gaps in the seal. Always use a calibrated torque wrench and the manufacturer’s specified torque value — never tighten by feel alone.
2. Under-tightening pan bolts. Conversely, bolts that are too loose leave the gasket without sufficient compression to form a complete seal. This is especially common when mechanics tighten by hand and assume the pan “feels snug enough.”
3. Using the wrong gasket material. Installing a cork gasket on a vehicle that specifies a rubber or silicone seal — or vice versa — leads to premature failure. Cork gaskets compress differently than rubber, and using one in an application designed for the other results in an uneven seal.
4. Applying sealant when not required. Excess RTV silicone or gasket maker applied to a joint that does not require it can squeeze into the fluid passages inside the transmission or engine, causing blockages that produce far worse symptoms than the original leak.
5. Skipping the mating surface cleaning step. Old gasket material left on either the pan flange or the housing surface creates high spots that prevent the new gasket from lying flat. Even a thin film of residual material is enough to produce a slow leak that will be misdiagnosed as a new gasket failure.
6. Re-using old self-sealing bolts. On some transmissions — notably several Nissan and Infiniti models — the pan bolts are self-sealing and must be replaced every time the pan is removed. Re-using them compromises the thread seal and can produce fluid seepage through the bolt holes themselves, unrelated to the gasket.
7. Forgetting the filter gasket. Many transmission filters use a separate rubber O-ring or gasket at the filter inlet port. Failing to install this component — or reinstalling the old one — creates a secondary leak path inside the pan that will not be visible until fluid levels begin dropping again.
What Else Should DIY Mechanics Know About Pan Gasket and Filter Service?
Beyond the replacement procedure itself, DIY mechanics benefit from understanding cost comparisons, gasket material trade-offs, reusability considerations, and what the open pan reveals about overall drivetrain health — all of which inform smarter decisions both during and after the service.
In addition, these secondary topics address the practical questions that arise once the technical procedure is complete, including when professional help is the more cost-effective choice and how to use the open-pan inspection as an early diagnostic opportunity.
How Much Does Pan Gasket and Filter Replacement Cost at a Shop?
Professional transmission pan gasket and filter replacement costs between $444 and $588 on average according to RepairPal, while the DIY equivalent typically runs $15 to $60 in parts plus the cost of fresh fluid.
However, professional service becomes the smarter financial choice in several specific situations:
- Lifted or raised-body vehicles where transmission access requires specialized equipment or a vehicle lift.
- Vehicles with no dipstick and undercar-fill transmissions, which require a pump and specific fill-level procedure that is difficult to perform without a lift.
- High-mileage vehicles where the transmission pan removal reveals evidence of internal damage — metal shavings on the magnet, degraded fluid, or valve body debris — that warrants a broader transmission diagnosis before reassembly.
- First-time DIYers who are not yet comfortable with torque specifications or fluid type selection.
For straightforward applications on accessible vehicles, the DIY saving — often $400 or more compared to a shop rate — makes self-service a compelling option when the procedure is followed correctly.
Which Gasket Material Is Best — Cork, Rubber, or Silicone?
Rubber and synthetic one-piece gaskets outperform cork in most applications, while RTV silicone sealant is the correct choice only when no physical gasket is specified by the manufacturer.
The three gasket materials each have distinct performance characteristics:
- Cork gaskets are the traditional material found in older vehicles. They are affordable and adequate for low-pressure applications but compress permanently over time, reducing their sealing effectiveness. Cork gaskets should always be replaced — never reused — because their compression characteristics change after the first torque cycle.
- Rubber and synthetic one-piece gaskets offer superior adhesion, resistance to fluid breakdown, and dimensional stability across temperature extremes. Modern vehicles commonly use this material as the OEM specification, and it is the recommended upgrade even on vehicles that originally came with cork. Preventing repeat leaks is significantly easier with a quality rubber gasket than with a cork alternative.
- RTV silicone sealant is applied as a formed-in-place gasket on transmissions and engines where no physical gasket fits the design. It cures to a flexible, highly adhesive seal that conforms precisely to the mating surfaces. Its disadvantage is that it requires careful application — too much sealant can squeeze into fluid passages — and it must cure for the manufacturer’s specified time before the system is filled with fluid.
Always check the OEM specification for your specific vehicle before purchasing a gasket material. Using the wrong type, regardless of quality, is one of the leading causes of repeat leaks.
Can You Reuse a Pan Gasket or Should You Always Replace It?
No — cork gaskets should never be reused, but high-quality one-piece rubber or synthetic gaskets may be reused if they pass a careful visual and physical inspection.
To evaluate a rubber gasket for potential reuse, check the following criteria:
- No visible cracks, tears, or surface damage along any section of the gasket body.
- No compression set — the gasket should return to its original thickness and cross-section when pressure is released; a permanently flattened gasket has exceeded its useful life.
- No surface contamination — oil-soaked or chemically degraded rubber loses its elasticity and will not seal reliably on reinstallation.
- No distortion or warping along the bolt-hole sections, which are the highest-stress areas of the gasket.
Even a gasket that passes all four criteria carries some risk of failure on reinstallation, because the seal surfaces that the gasket mates with are never perfectly clean or identical between service intervals. For the cost of a replacement gasket — typically $10 to $30 — the risk of reuse rarely justifies the potential outcome of a repeat leak and a second complete disassembly.
What Should You Inspect Inside the Pan While It’s Off?
There are four key items to inspect inside the pan while it is removed: the condition of the fluid collected in the pan, the magnet for metal debris, the pan body for physical damage, and — on transmissions — the visible portion of the valve body for obvious contamination or failure signs.
- Magnet inspection: Most automatic transmission pans include one or more magnets attached to the inner surface to collect ferrous metal particles as fluid circulates. A light coating of fine, powdery metallic dust is a normal byproduct of internal gear and bearing wear. However, chunky metallic fragments, large shavings, or a heavy accumulation of metallic debris are warning signs of abnormal internal wear that should be evaluated by a transmission specialist before the vehicle is returned to service.
- Pan condition: Inspect the pan flange for dents, cracks, or warping — particularly along the sealing surface. A bent or warped flange cannot form a complete seal regardless of gasket quality. Minor distortion on a steel pan can sometimes be corrected with careful straightening; aluminum pans with visible cracks must be replaced.
- Fluid condition: The fluid collected in the pan tells its own diagnostic story. Fresh ATF is bright red and nearly odorless. Fluid that is dark brown, opaque, or carries a burned smell indicates degradation from heat cycling and should be fully flushed rather than simply topped off. Milky or frothy fluid may indicate water contamination, which requires immediate diagnosis.
- Valve body inspection: On automatic transmissions, the lower portion of the valve body — the hydraulic control unit that manages gear shifts — is visible when the pan is removed. While a thorough valve body inspection is beyond the scope of a standard gasket service, a visible inspection for obvious debris, damage, or unusual residue takes only a moment and can flag a developing problem before it escalates into a full transmission failure.
Replacing a pan gasket and filter is a job that rewards careful preparation, methodical execution, and thorough post-repair verification. By understanding what the gasket and filter do, recognizing the car symptoms that indicate failure, selecting the correct materials, following the torque procedure precisely, and using the open-pan inspection as a diagnostic opportunity, any competent DIY mechanic can complete this service with confidence — and with results that hold for the full life of the next service interval.