


A bad radiator cap is one of the most common yet overlooked causes of coolant overflow. When the cap fails to maintain proper pressure — typically between 12 and 16 PSI — it allows coolant to escape prematurely into the overflow reservoir, leading to repeated coolant loss and eventually engine overheating. Despite its small size, the radiator cap acts as the gatekeeper of your entire cooling system, and even a minor seal failure can trigger a chain reaction of radiator problems symptoms that leave drivers stranded.
Understanding why this happens starts with the cap itself. The radiator cap contains both a pressure relief valve and a vacuum valve that together regulate coolant flow between the radiator and the overflow tank. When either valve malfunctions, the system loses its ability to self-regulate, and coolant is forced out under pressure or fails to return as the engine cools. This two-way failure mechanism is the root cause behind most overflow complaints.
Recognizing the warning signs early is critical. From visible coolant puddles and a Sweet smell and steam from front of car to collapsed radiator hoses and erratic temperature gauge readings, the symptoms of a failing radiator cap follow a predictable pattern. Once you know what to look for, diagnosing the problem becomes straightforward — and fixing it is often as simple as replacing a part that costs less than twenty dollars.
However, not every overflow issue traces back to the cap alone. In some cases, a blown head gasket, trapped air pockets, or an incorrectly rated replacement cap can produce identical symptoms. Below, this guide walks through every warning sign of a bad radiator cap, the step-by-step process to fix it, and how to distinguish cap failure from deeper cooling system problems that require professional attention.
What Does a Radiator Cap Do in Your Cooling System?
A radiator cap is a pressure-regulating valve that seals the cooling system, raises the coolant’s boiling point, and controls fluid flow between the radiator and the overflow reservoir. It is far more than a simple lid — it is a precision-engineered component with two internal valves that keep your engine operating within a safe temperature range.
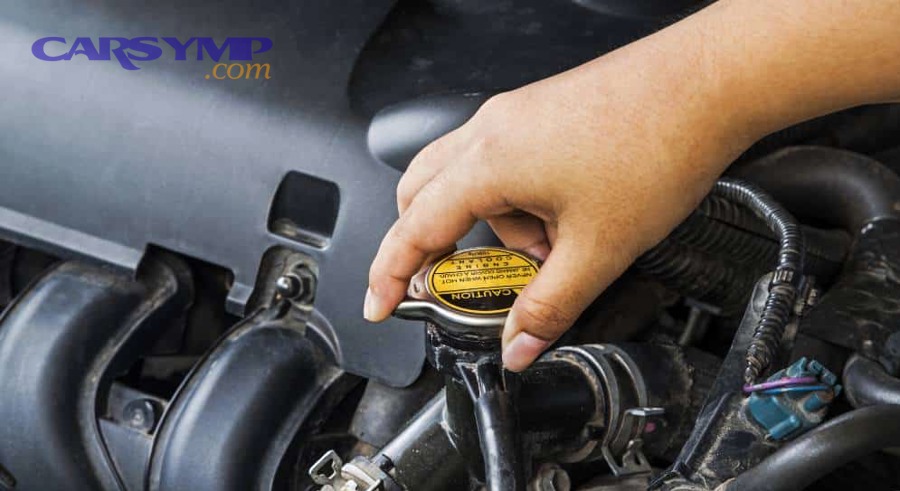
To better understand why a faulty cap creates so many problems, it helps to examine how the cap actually manages pressure and coolant movement under normal operating conditions.
How Does the Radiator Cap Control Coolant Pressure and Flow?
The radiator cap maintains a specific pressure threshold inside the cooling system, typically ranging from 12 to 16 PSI depending on the vehicle. This pressurization serves a crucial purpose: for every pound of pressure added to the system, the boiling point of the coolant rises by approximately 3°F. At 15 PSI, the boiling point of a standard 50/50 coolant mix increases from around 223°F to roughly 268°F, giving the engine a much wider margin before the coolant begins to boil over.
Inside the cap, two valves work in sequence. The pressure relief valve opens when internal pressure exceeds the cap’s rated PSI, allowing excess coolant to flow through a hose into the overflow reservoir. This prevents the radiator and hoses from being damaged by excessive pressure buildup. The second valve — the vacuum valve — activates as the engine cools down. As coolant contracts and creates a partial vacuum inside the radiator, this valve opens inward and draws stored coolant back from the overflow tank, keeping the radiator full and ready for the next operating cycle.
This two-way exchange is what makes the cooling system a closed loop. When both valves function correctly, coolant levels remain stable, the system holds consistent pressure, and the engine stays within its optimal temperature range. When either valve fails, the entire balance breaks down — excess coolant is pushed out and never recovered, or pressure drops below the threshold needed to prevent boiling. According to research published by the SAE International (Society of Automotive Engineers), even a 2 PSI drop below the designed cap rating can reduce cooling system efficiency enough to cause localized boiling near the cylinder head, which accelerates Overheating at speed radiator clues that many drivers initially mistake for thermostat failure.
Can a Bad Radiator Cap Cause Coolant to Overflow?
Yes, a bad radiator cap is one of the most frequent causes of coolant overflow. When the cap’s seal deteriorates or its pressure relief valve sticks open, the system cannot hold its rated pressure, and coolant is pushed into the overflow tank far earlier than it should be.
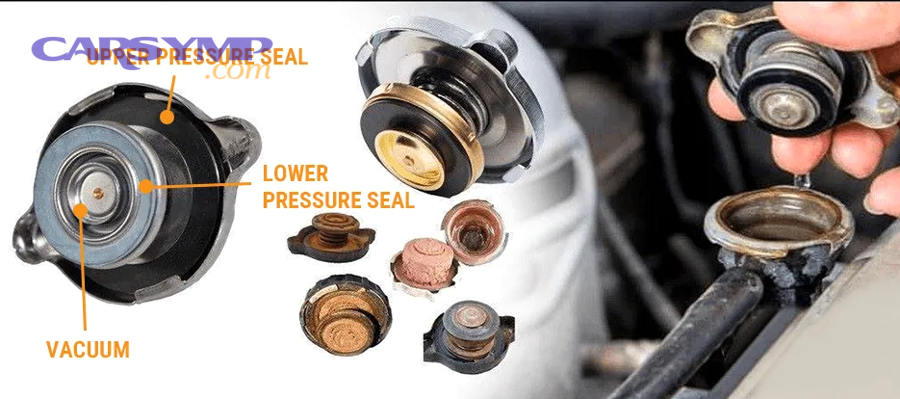
Specifically, this overflow occurs because the cap fails to perform its primary job — containing pressurized coolant inside the radiator until pressure exceeds the design threshold. Let’s examine the mechanics behind this failure.
Why Does a Faulty Radiator Cap Force Coolant Into the Overflow Tank?
Under normal conditions, the pressure inside the cooling system gradually increases as the engine heats up. A properly functioning cap holds this pressure until it reaches the rated PSI — say 15 PSI — before the relief valve opens to release a small amount of coolant into the overflow tank. This controlled release prevents over-pressurization while keeping the majority of the coolant circulating through the engine and radiator.
When the cap’s rubber gasket wears out, becomes cracked, or warps from heat exposure, it can no longer form an airtight seal against the radiator filler neck. Pressure escapes at a much lower threshold — sometimes as low as 5 or 6 PSI instead of the rated 15. This premature pressure loss forces coolant through the overflow hose continuously while the engine is running. The overflow reservoir fills beyond its maximum line, and in many cases, coolant spills onto the ground beneath the vehicle.
A stuck-open pressure relief valve produces the same result. If the spring mechanism inside the valve weakens or corrodes, it remains in the open position regardless of system pressure. Coolant flows freely into the overflow tank from the moment the engine warms up, draining the radiator of the fluid it needs to cool the engine effectively.
The problem compounds over multiple driving cycles. Each time the engine heats up, more coolant is pushed into the overflow tank. Each time the engine cools down, the vacuum valve may or may not draw that coolant back — especially if the vacuum valve has also failed. The result is a radiator that runs progressively lower on coolant, an overflow tank that is constantly overfilled or leaking, and an engine that edges closer to overheating with every trip.
Does a Bad Radiator Cap Always Lead to Overheating?
No, a bad radiator cap does not always cause immediate overheating, but it will lead to overheating if the problem is left unaddressed. In the early stages of cap failure, the cooling system may still contain enough coolant to keep temperatures within the normal range, particularly during short trips or mild weather driving.
However, the gradual loss of coolant creates a ticking clock. As the radiator loses fluid with each heat cycle and the overflow tank fails to return it, the coolant level drops below the point where it can effectively absorb and transfer engine heat. The temperature gauge begins creeping higher than usual, especially under load — highway driving, towing, idling in traffic, or climbing hills. Many drivers first notice overheating at speed radiator clues such as the gauge spiking during sustained highway driving, where airflow alone cannot compensate for insufficient coolant volume.
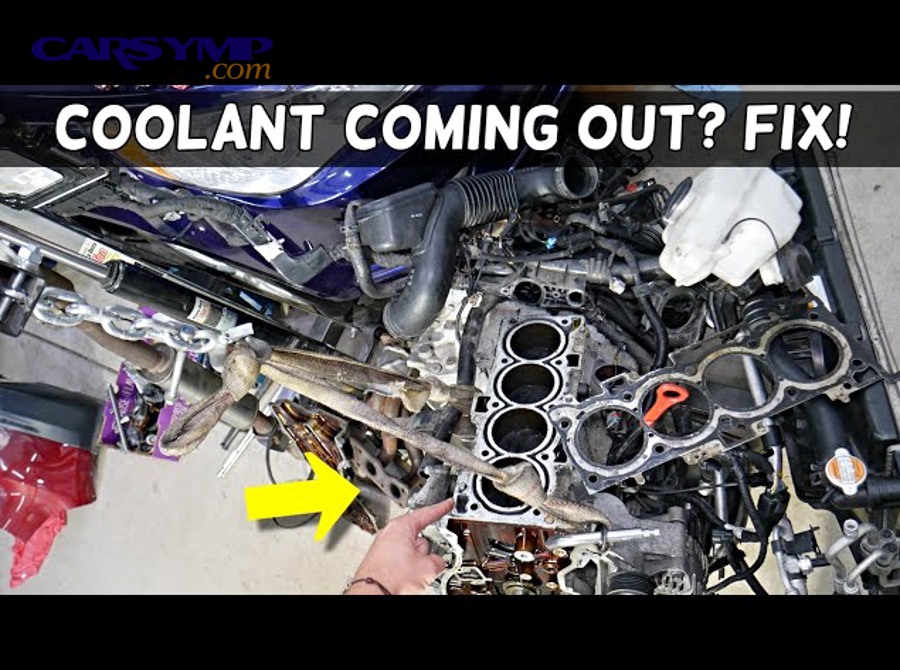
Additionally, because the cap can no longer maintain full system pressure, the coolant’s boiling point drops. Even with adequate fluid levels, coolant can begin forming vapor pockets near hot spots in the engine block, dramatically reducing heat transfer efficiency. This localized boiling often occurs near the exhaust valve seats and around the cylinder head gasket, which are the hottest points in any engine. If left unchecked, this leads to hot spots, warped heads, and potentially a blown head gasket — a repair that can cost thousands of dollars compared to the minimal cost of a new radiator cap.
What Are the 7 Warning Signs of a Bad Radiator Cap?
There are 7 main warning signs of a bad radiator cap, grouped into three categories: visible coolant leaks, overflow reservoir abnormalities, and pressure-related failures affecting hoses and engine temperature. Recognizing these symptoms early can prevent a minor cap issue from escalating into major engine damage.
To illustrate each sign clearly, the following breakdown separates them into observable patterns that any driver can check without specialized tools.
What Does Coolant Leaking Near the Radiator Cap Look Like?
Sign 1: Visible coolant leak or white dried streaks around the cap and radiator neck. When the cap’s gasket fails to seal completely, small amounts of coolant seep out under pressure. This may appear as wet residue around the base of the cap or, more commonly, as white or light-green dried streaks on the radiator housing. These streaks are left behind as leaked coolant evaporates, leaving mineral deposits on the metal surface. A sweet smell and steam from front of car often accompany this leak, particularly after the engine has been running at operating temperature.
Sign 2: Coolant puddles under the vehicle near the front of the engine bay. If the seal failure is more severe, coolant drips onto the ground while the engine is hot. These puddles are typically bright green, orange, or pink depending on the coolant type, and they form directly below the radiator or overflow tank. If you spot recurring puddles after driving, inspect the radiator cap area before assuming a hose or radiator body leak is responsible.
How Do You Know If Your Coolant Reservoir Is Overflowing Because of the Cap?
Sign 3: Reservoir consistently overfilled or spilling over after driving. Under normal operation, the coolant level in the overflow tank rises slightly when the engine is hot and drops back down after cooling. If the reservoir is overflowing or filled well above the maximum line every time you check after driving, the cap is likely releasing coolant prematurely due to a failed pressure seal.
Sign 4: Coolant level drops in the radiator but rises abnormally in the overflow tank. This is one of the clearest indicators of a cap-specific failure. Check the radiator when the engine is cold — if the level is noticeably low while the overflow tank is full or overflowing, the cap is pushing coolant out but the vacuum valve is not drawing it back. This one-directional flow pattern is a signature of dual-valve cap failure.
Can a Bad Radiator Cap Cause Collapsed Hoses or Steam?
Sign 5: Radiator hoses collapsing inward. When the vacuum valve inside the cap sticks shut or fails to open during engine cooldown, the cooling system cannot equalize pressure with the atmosphere. The resulting vacuum physically pulls the rubber hoses inward, causing them to collapse. Collapsed hoses restrict coolant flow on the next startup, which accelerates overheating. You can check for this by squeezing the upper radiator hose when the engine is cold — it should feel firm but pliable, not flattened or sucked inward.
Sign 6: Steam or hissing from the engine bay while driving or after stopping. If the cap cannot hold pressure, coolant may boil at a lower temperature than intended and produce steam that escapes from around the cap or through the overflow hose. A hissing sound near the radiator area, especially when the engine is hot, indicates pressurized coolant or steam escaping past a compromised seal. This is one of the more alarming radiator problems symptoms and should be addressed immediately.
Sign 7: Temperature gauge frequently reading high or fluctuating erratically. A failing cap disrupts the stable pressure environment the cooling system needs to function. As coolant is lost, boils prematurely, or fails to circulate properly due to collapsed hoses, the temperature gauge reflects this instability. Erratic readings — bouncing between normal and high — often indicate air pockets in the system caused by coolant loss, which is itself a downstream effect of cap failure.
The table below summarizes all seven signs for quick reference:
| Sign # | Symptom | What to Check |
|---|---|---|
| 1 | White streaks or wet residue around cap | Inspect radiator cap and filler neck |
| 2 | Coolant puddles under the front of the car | Look for drips below the radiator area |
| 3 | Overflow reservoir overfilled after driving | Compare level to MAX line when hot |
| 4 | Radiator low but overflow tank full (cold) | Check both levels with engine cold |
| 5 | Radiator hoses collapsed inward | Squeeze upper hose when engine is cold |
| 6 | Steam or hissing from the engine bay | Listen and look near radiator cap area |
| 7 | Temperature gauge spiking or fluctuating | Monitor gauge during normal driving |
How Do You Fix a Bad Radiator Cap That Is Causing Overflow?
Fixing a bad radiator cap requires inspecting the old cap, testing it for pressure retention, and replacing it with a correctly rated new cap — a process that involves 3 main steps and typically takes less than 30 minutes. The expected outcome is a fully sealed cooling system that holds pressure, stops overflow, and maintains stable engine temperatures.
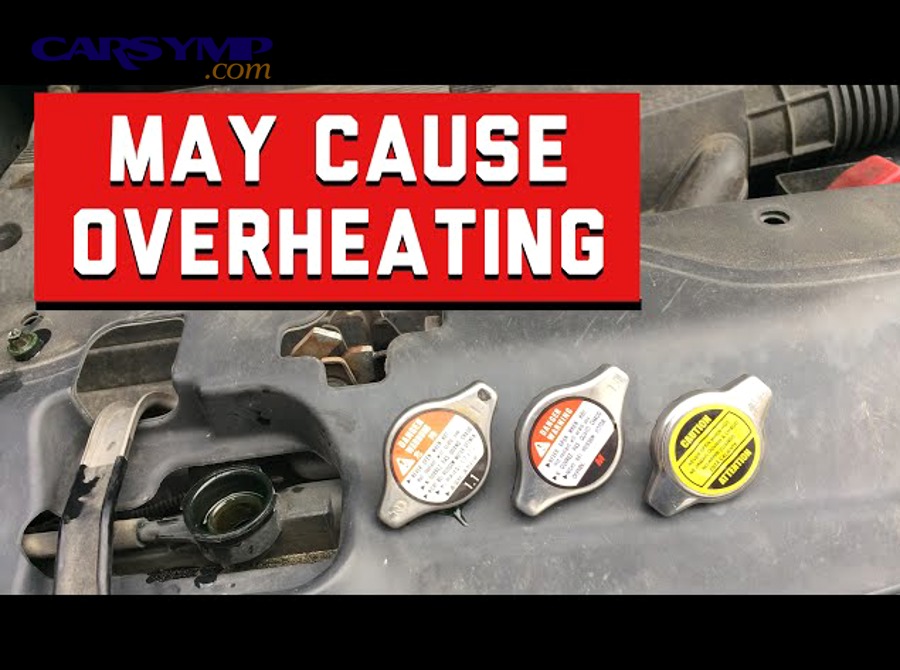
Before beginning any work, however, it is essential that the engine is completely cool. Opening a radiator cap on a hot engine releases scalding pressurized coolant and can cause serious burns.
How Do You Inspect and Test a Radiator Cap at Home?
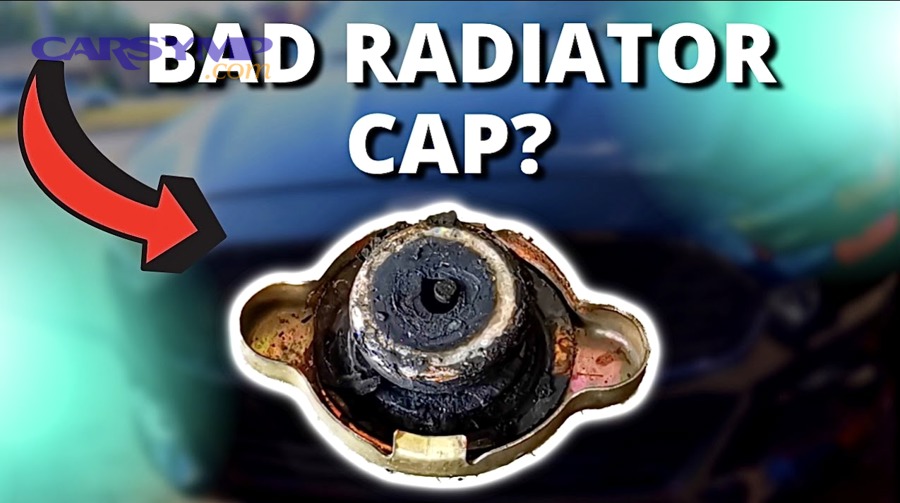
Start with a visual inspection. Remove the cap from the cold radiator and examine the rubber gasket on the underside. Look for cracks, tears, hardening, or any deformation in the seal. A healthy gasket is soft and pliable, with a smooth surface that makes full contact with the radiator filler neck. If the rubber is brittle, flattened, or shows visible gaps, the cap needs to be replaced.
Next, inspect the spring mechanism. Press down on the center of the cap — you should feel firm, consistent resistance. If the spring feels weak, offers no resistance, or the valve moves freely without springing back, the pressure relief valve is compromised.
For a more precise evaluation, use a cooling system pressure tester. This tool attaches to the radiator filler neck in place of the cap and includes an adapter to test the cap itself. Pump the tester to the cap’s rated PSI (stamped on the top of the cap) and observe whether the cap holds that pressure for at least two minutes. If pressure drops steadily, the cap is failing. Pressure test results for radiator failure are the most reliable way to confirm a cap issue versus other cooling system problems. Many auto parts stores will perform this test for free if you bring the cap in.
How Do You Choose and Install the Correct Replacement Radiator Cap?
Selecting the right replacement cap means matching the PSI rating to your vehicle’s specifications. This information is found in the owner’s manual, on the old cap itself, or on the radiator shroud label. Common ratings are 13, 15, and 16 PSI. Installing a cap with the wrong pressure rating — even by a few PSI — can cause overflow issues to persist or introduce new problems such as hose stress.
When choosing between OEM and aftermarket caps, OEM caps from the vehicle manufacturer are the safest bet for an exact fit and correct pressure rating. Aftermarket options from reputable brands like Stant, Motorad, or Gates are generally reliable and more affordable, but double-check the fitment guide to ensure compatibility with your specific radiator neck size and locking tab configuration. Some vehicles, particularly Nissan and Toyota models, use proprietary filler neck designs that require exact-fit caps.
To install the new cap, clean the radiator filler neck thoroughly. Remove any old gasket material, dried coolant residue, or debris that could prevent the new cap from sealing properly. Place the new cap onto the neck and press down while turning clockwise until it clicks or locks into position. The cap should sit flush and feel secure — if it wobbles or does not thread easily, verify you have the correct part number.
What Else Should You Check When Replacing a Radiator Cap?
Replacing the cap alone may not fully resolve the overflow issue if secondary problems exist in the cooling system. After installing the new cap, take the following additional steps:
First, check and top off the coolant level in both the radiator (when cold) and the overflow reservoir. Fill the radiator to the top of the filler neck, and fill the reservoir to the “COLD” or “MIN” line.
Second, bleed the cooling system of trapped air. Air pockets are common after any cooling system work and can mimic the symptoms of a bad cap — erratic temperatures, overflow, and poor heating inside the cabin. Most vehicles have a bleed screw near the thermostat housing. Open it, start the engine, and let it idle until a steady stream of coolant (free of air bubbles) flows from the bleed port. Close the screw and top off the coolant.
Third, inspect the radiator hoses, thermostat, and water pump. Squeeze the upper and lower hoses to check for soft spots, cracks, or swelling. A thermostat that is stuck closed can cause pressure buildup that overwhelms even a new cap, and a failing water pump can reduce circulation enough to cause localized boiling.
Finally, run the engine to full operating temperature and monitor the overflow tank. The coolant level should rise slightly as the engine heats up and stabilize. After the engine cools completely, the level in the overflow tank should drop as coolant is drawn back into the radiator through the new cap’s vacuum valve. If this return flow does not occur, recheck the cap installation and bleed the system again.
A new radiator cap resolves most overflow issues, but if the problem persists after replacement, the cause may lie deeper within the cooling system. The following sections address related concerns that help rule out other failures and broaden your understanding of the overflow system.
What Other Cooling System Problems Mimic a Bad Radiator Cap?
Several cooling system failures produce symptoms that closely resemble a bad radiator cap, including a blown head gasket, trapped air pockets, and an incorrectly rated replacement cap. Distinguishing between these causes requires targeted testing because the surface-level symptoms — overflow, overheating, and coolant loss — overlap significantly.
More importantly, misdiagnosing a head gasket failure as a simple cap issue can lead to catastrophic engine damage if the real problem goes unaddressed. Let’s explore each potential mimic and how to tell it apart from a cap failure.
What Is the Difference Between a Radiator Cap Failure and a Blown Head Gasket?
A radiator cap failure is an external seal problem that affects system pressure, while a blown head gasket is an internal engine failure that allows combustion gases, oil, and coolant to mix across the cylinder head mating surface. Both cause coolant overflow and overheating, but a head gasket failure produces additional symptoms that a cap failure does not.
The key differentiators are combustion gas contamination in the coolant, white exhaust smoke, and oil-coolant mixing. When a head gasket blows, exhaust gases enter the cooling system and create persistent bubbling in the radiator — visible when the cap is removed and the engine is idling. This bubbling is not caused by boiling coolant; it is carbon dioxide and exhaust gas being forced through the breach. A chemical block test kit (which changes color in the presence of combustion gases in the coolant) is the most reliable way to confirm this.
White smoke from the tailpipe — which has a sweet, coolant-like odor — indicates that coolant is being burned in the combustion chamber. Checking the oil dipstick for a milky, chocolate-colored residue confirms oil-coolant cross-contamination. None of these symptoms occur with a radiator cap failure alone. Pressure test results for radiator failure will show the cap holding and releasing at its rated PSI if the cap is not the problem, redirecting diagnosis toward the head gasket.
What Is the Difference Between a Radiator Cap and a Coolant Reservoir Cap?
A radiator cap is a pressurized, spring-loaded valve rated to a specific PSI that actively regulates system pressure, while a coolant reservoir cap is typically a non-pressurized, vented cap whose only job is to keep debris out of the overflow tank. Confusing the two — or installing the wrong one — is a surprisingly common mistake that can cause persistent overflow issues.
In open cooling systems (used in most older vehicles and many current models), the radiator cap sits on the radiator filler neck and handles all pressure regulation. The overflow reservoir is connected by a hose and uses a simple twist-off cap with no spring. This reservoir cap does not need to hold pressure because the overflow tank operates at atmospheric pressure.
However, some modern vehicles — particularly many European and Asian models — use a closed (pressurized) cooling system where there is no radiator cap at all. Instead, the pressurized cap sits on the coolant expansion tank (reservoir), and the radiator has either a plain cap or no cap. In these systems, replacing the expansion tank cap with a non-pressurized reservoir cap from the wrong application will cause immediate and severe overflow because the system cannot build any pressure. Always verify which system your vehicle uses before purchasing a replacement cap.
Can Trapped Air in the Cooling System Cause Overflow Without a Bad Cap?
Yes, trapped air in the cooling system can cause overflow, erratic temperature readings, and poor heater performance even when the radiator cap is functioning perfectly. Air pockets disrupt the normal flow of coolant and create localized pressure spikes that force coolant into the overflow tank.
Air typically enters the cooling system during maintenance — after a coolant flush, hose replacement, thermostat swap, or any repair that opens the system. If the system is not properly bled afterward, air pockets become trapped in high points of the cooling circuit, particularly around the thermostat housing and heater core. These air pockets act as insulators, preventing coolant from absorbing heat in those areas. The engine overheats locally, pressure builds unevenly, and coolant is pushed into the overflow even though the cap is holding its rated pressure.
Bleeding the system resolves this issue. Most vehicles require idling with the radiator cap off (or bleed screw open) and the heater set to maximum until all air bubbles stop rising from the filler neck. Some vehicles with complex cooling circuits require a vacuum fill tool to extract air before adding coolant. If overflow persists after bleeding, move on to testing the cap and checking for head gasket failure.
Does Using a Radiator Cap With the Wrong PSI Rating Cause Overflow?
Yes, using a radiator cap with a PSI rating that is too low for your vehicle will cause premature coolant overflow, while a cap rated too high can stress hoses, gaskets, and the radiator itself. Both scenarios create problems that mimic a failing cap even though the cap may be brand new and mechanically sound.
A cap rated below the vehicle’s specification — for example, a 10 PSI cap on a system designed for 16 PSI — opens its pressure relief valve too early. Coolant flows into the overflow tank under normal operating conditions, and the coolant’s effective boiling point drops, increasing the risk of overheating. Drivers who replace a cap with whatever is available at the parts store without checking the rating often experience this exact issue.
Conversely, a cap rated too high forces the cooling system to operate at pressures it was not engineered to handle. Older radiator hoses, plastic fittings, and even the radiator tanks themselves can fail under sustained over-pressurization. The symptoms may not appear as overflow — instead, you may see a burst hose, a cracked radiator tank, or a failed heater core. Always match the replacement cap to the PSI rating specified in the owner’s manual or stamped on the original cap to avoid introducing new problems into a system you are trying to repair.