Fix (Repair) a Flat Tire Fast: Step-by-Step Spare Change + Plug Kit Guide for Drivers
A flat tire is fixed fastest when you follow a simple decision: get the car safe, then either swap to the spare or seal a small tread puncture long enough to reach a tire shop. The goal is not “perfect repair on the shoulder”—it’s to restore safe mobility without creating a bigger hazard.
If you have a spare, you’ll usually be back on the road sooner by changing the wheel than by trying to repair the puncture where traffic is flying by. The spare path is predictable, repeatable, and works for most “sudden flat” situations.
If the tire has a small puncture in the tread and you can work safely, a plug kit can be an effective temporary fix to hold pressure long enough to drive to professional service. Knowing what you should not plug is as important as knowing how.
Introduce a new idea: once the tire is holding air (or you’re on the spare), the “fix” isn’t finished until you confirm pressure, understand driving limits, and decide what comes next so the problem doesn’t return in 10 miles.
What should you do first when you get a flat tire on the road?
You should first secure the scene and your vehicle before attempting to fix a flat tire—because visibility, stability, and traffic exposure matter more than speed in the first minute. Next, connect every action to one priority: reduce risk while you restore mobility.
Is it safe to keep driving on a flat tire for a short distance?
Yes—sometimes—but only to reach a safer stopping spot, and only for three reasons: stability, visibility, and damage control. Specifically, if you’re in a dangerous location (a blind curve, a narrow shoulder, a bridge, heavy rain), it can be safer to creep forward at very low speed to a wide shoulder, parking lot, or well-lit area.
Reason 1: Stability. A completely flat tire reduces grip and can pull the car toward the flat side, especially under braking or steering. The longer you drive, the worse stability gets—because the tire can unseat from the rim.
Reason 2: Visibility and space. You need room to work without stepping into traffic. A wider shoulder or a parking lot reduces your exposure dramatically.
Reason 3: Damage control. Rolling on a flat can destroy the tire’s sidewall and internal structure and can bend the wheel. That turns a simple puncture into When a puncture can’t be repaired because the tire is now structurally compromised.
Practical rule: if the tire is soft but not fully flat, keep speed very low, avoid sharp steering, and move only as far as necessary to reach safety. If it’s fully flat, you should assume the tire is being damaged with every rotation and keep distance as short as possible.
What tools do you need to fix a flat tire fast?
There are two main tool sets you need to fix a flat tire fast: a spare-change kit and a basic inflation/repair kit, based on whether you’re swapping the wheel or attempting a temporary seal.
Spare-change kit (most common):
- Spare tire (temporary “donut” or full-size)
- Jack that fits your vehicle’s lift points
- Lug wrench (or tire iron) that fits your lug nuts
- Wheel lock key (if you have locking lugs)
- Gloves and a small kneeling pad (comfort = faster, safer work)
- Flashlight or headlamp (hands-free is ideal)
Inflation/repair kit (for slow leaks or tread punctures):
- Tire pressure gauge (or a reliable digital gauge)
- Tire inflator (12V compressor)
- Plug kit (reamer + insertion tool + plugs + rubber cement, depending on kit)
- Valve core tool and spare valve cores (small but useful)
- Spray bottle and dish soap for Finding the leak with soapy water test
Safety add-ons (high value on busy roads):
- Reflective triangle or flares
- High-visibility vest
- Wheel chock (or a sturdy wedge/rock as a last resort)
These are not just “nice to have”—they are the difference between controlled DIY car repair and improvising next to traffic.
How can you tell if you need a spare change vs a plug repair?
A spare change is best for unknown damage, severe loss of air, or unsafe conditions, while a plug repair is only for a small tread puncture you can access safely. However, your decision should follow a simple comparison: damage type + location + safety to work.
Choose a spare change when:
- The tire is fully flat and you can’t find the cause quickly
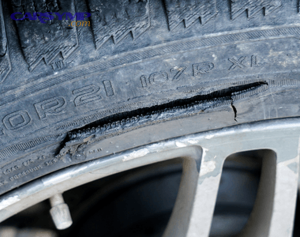
- You suspect Sidewall damage and blowout risks (bulges, cuts, torn sidewall)
- The puncture is near the shoulder/sidewall
- The tire went flat suddenly at highway speed (possible internal damage)
- You’re on a narrow shoulder, in rain, or low visibility (work is unsafe)
- You have a donut spare ready and you just need to get moving
Choose a plug kit only when ALL are true:
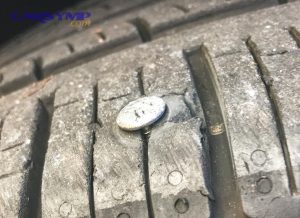
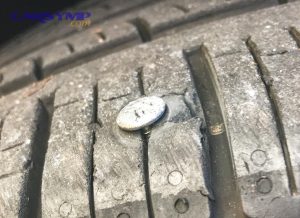
- The puncture is in the tread (the thick “road-contact” area)
- The hole is small and clean (like a nail/screw)
- The tire isn’t shredded or separated
- You can park on a stable surface and work away from traffic
If you’re unsure, treat it like a “Car Symptoms” diagnostic moment: unknown cause = choose the safest, most reliable path (usually the spare), then get the tire professionally inspected.
How do you change a flat tire to a spare step by step?
A spare tire change works best when you follow a strict sequence of steps—loosen, lift, remove, install, tighten—so the car stays stable and the wheel mounts correctly. Then, reconnect each step to safety because “fast” only counts if it’s controlled.
Spare tire change step-by-step (roadside checklist):
- Pull over on firm, level ground; hazards on; parking brake on
- Place a wheel chock (or wedge) opposite the flat tire
- Remove hubcap (if needed) and locate wheel lock key
- Break lug nuts loose (¼–½ turn) while the tire is still on the ground
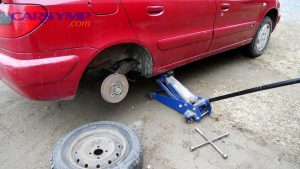
- Position jack on the correct lift point; raise car until tire clears ground
- Remove lug nuts; pull the wheel straight off
- Mount spare; hand-thread lug nuts
- Snug lug nuts in a star pattern
- Lower car until tire touches ground; tighten lug nuts firmly in star pattern
- Set tire pressure (spare too) and stow tools and flat tire securely
Do you loosen lug nuts before jacking the car up?
Yes—loosen lug nuts before jacking up the car for at least three reasons: stability, leverage, and safety. Specifically, the wheel won’t spin freely on the ground, so you can apply force without rocking the vehicle.
Reason 1: Stability. A car on a jack is less stable than a car on the ground. Heavy pulling on a lug wrench can shift the vehicle.
Reason 2: Leverage. You can use your body weight more safely when the tire is planted.
Reason 3: Safety. If a lug nut is seized, you want to discover that before the car is lifted—so you don’t waste time suspended on a jack.
Technique tips:
- Use steady pressure, not bouncing.
- If you have a short wrench, extend leverage with a proper breaker bar (safer than improvised pipes).
- If a lug won’t budge, stop escalating force near traffic—this is a prime moment to call roadside help.
Where do you place the jack to avoid damage?
You place the jack on the vehicle’s designated lift point—usually a reinforced pinch weld area or a marked jacking pad—so the load transfers safely into the chassis. More specifically, your owner’s manual shows the exact point; using the wrong spot can crush rocker panels, damage underbody shields, or slip off entirely.
Common safe locations (varies by vehicle):
- Pinch weld notches behind the front wheel / ahead of the rear wheel
- Frame rails on body-on-frame trucks/SUVs
- Factory jacking pads (some cars have molded pads)
Common dangerous mistakes:
- Jacking on thin floor pans
- Jacking on plastic undertrays
- Jacking too close to suspension arms without guidance
- Jacking on soft shoulder asphalt where the jack can sink
If the ground is soft, put a flat wooden board under the jack base so it doesn’t tilt or dig in.
What is the correct lug nut pattern and how tight should they be?
The correct pattern is a star (crisscross) pattern, and lug nuts should be tightened to “snug + final torque” so the wheel seats evenly without warping the rotor or stretching studs. In addition, the best practice is to tighten in stages: hand-tight, snug on the jack, final tighten on the ground.
To make this concrete, here’s what the star pattern looks like conceptually:
- 5-lug wheel: tighten 1 → 3 → 5 → 2 → 4
- 4-lug wheel: tighten 1 → 3 → 2 → 4
How tight is “tight”?
- Roadside: tighten firmly with the lug wrench using controlled force.
- Proper finish: use a torque wrench to the manufacturer spec as soon as possible.
Re-torque reminder: after driving a short distance, re-check tightness. This is especially important with temporary spares and wheels that were mounted in a hurry.
How do you use a tire plug kit correctly for a tread puncture?
A tire plug kit repair is a temporary tread puncture seal that follows a clear sequence—locate, prep, insert, inflate, verify—so the tire holds air long enough to reach professional inspection. To better understand why this matters, treat a plug as “mobility restoration,” not the final word on tire safety.
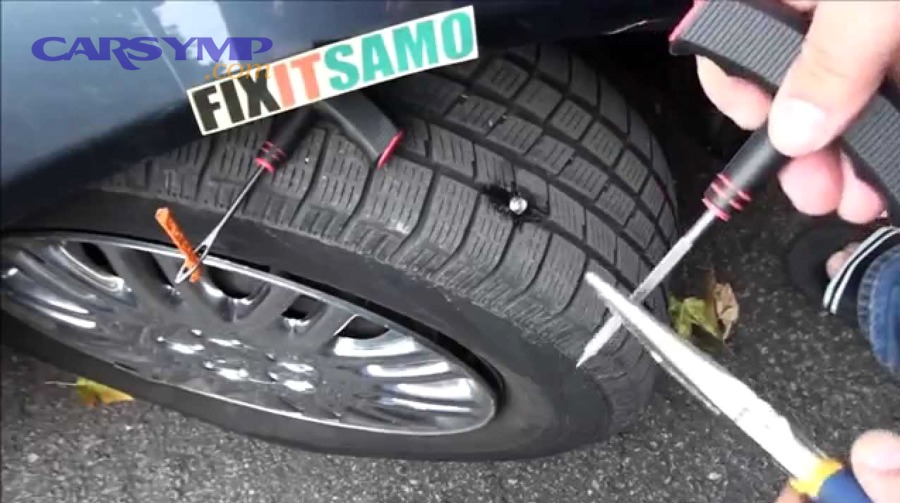
Plug kit mini-guide (safe workflow):
- Park safely, hazards on, parking brake set
- Find the puncture (look for nail/screw)
- Mark the spot; remove the object
- Ream the hole (prep) with the reamer tool
- Load plug into insertion tool (use cement if your kit calls for it)
- Insert plug until only a small tail remains
- Pull tool straight out; trim excess plug
- Inflate to recommended pressure
- Confirm no leaks with finding the leak with soapy water test
- Drive gently to a tire shop for internal inspection
Can a tire plug permanently fix a flat tire?
No—tire plugs usually do not count as a permanent fix, for at least three reasons: internal damage uncertainty, sealing limitations, and heat/stress over time. More importantly, you can’t see inside the tire without dismounting it, and hidden damage can turn into failure later.
Reason 1: Internal damage uncertainty. Driving even a short distance underinflated can damage sidewalls and cords.
Reason 2: Sealing limitations. A plug seals the path through the tread, but it may not fully restore the tire’s internal liner integrity in the same way as an internal repair.
Reason 3: Heat and stress. Tires flex and heat up; a marginal seal can slowly fail under repeated cycles.
That’s why professional standards commonly prefer an internal repair method for long-term use, and why many technicians treat plug-only repairs as “get-you-there” solutions rather than “fixed forever.”
What kinds of punctures should you never plug?
There are four main types of punctures you should never plug: sidewall/shoulder injuries, large or irregular tears, multi-damage events, and structurally compromised tires, based on risk of separation and blowout.
- Sidewall or shoulder punctures
These areas flex heavily, and a plug is far more likely to fail. This is the heart of sidewall damage and blowout risks. - Large holes, slices, or torn cords
If the hole is big, jagged, or you see cords, the tire is not a candidate for a simple plug. This is the practical line for when a puncture can’t be repaired. - Run-flat or driven-flat damage
If you drove a long distance with very low pressure, the sidewalls may be internally destroyed even if the tread puncture looks small. - Multiple punctures close together
The structural strength can be compromised, and repairs can overlap.
When in doubt, choose the spare and get a professional evaluation instead of gambling on a shoulder-side repair.
What should you check after plugging before you drive?
There are five checks you should complete after plugging before you drive, based on whether the tire is sealed, properly inflated, and structurally safe enough to move:
- Pressure check
Inflate to the door-jamb recommended PSI (not the tire sidewall “max”). - Soapy water leak test
Spray a soap-and-water mix over the plug area and valve stem. Bubbles = air leak. This is the simplest version of finding the leak with soapy water test. - Valve stem check
Sometimes the leak is the valve core or stem, not the tread. Check for bubbles there too. - Visual inspection
Look for bulges, sidewall cuts, or tread separation signs. - Short roll + re-check
Roll forward a few feet and re-check pressure if you can do so safely.
If any check fails, stop and switch to the spare (or call for help). A “maybe” seal is not a safe plan.
What should you do after the flat tire is “fixed” so it doesn’t fail again?
After a flat tire is fixed, you should confirm pressure, follow temporary driving limits, and schedule a proper inspection—because the most common repeat failure is driving too far/too fast on a temporary solution. Besides, the real win is restoring reliability, not just stopping the hiss.
Post-fix checklist:
- Set tire pressure (spare or repaired tire) to the vehicle’s recommended PSI
- Put the flat tire and tools securely in the cargo area (avoid loose items)
- Reset your mental “limit”: temporary spare and plug repairs have constraints
- Plan your next stop: tire shop inspection and proper repair decision
- Start thinking about Preventing future flats and punctures once you’re safe
How far and how fast can you drive on a temporary spare (donut)?
A temporary spare is designed for limited speed and limited distance, and you should treat it as a short-range mobility tool that gets you to service—not as a normal tire. Meanwhile, your exact limits depend on the spare’s labeling and your vehicle’s manual, so follow those first.
What changes with a donut spare:
- Less traction and longer stopping distances
- Less stability in curves
- Different diameter can stress differentials/traction systems (especially on some AWD systems)
- Reduced load capacity
Safer driving behavior on a donut:
- Accelerate gently
- Increase following distance
- Avoid sharp lane changes
- Avoid long highway trips if you can
If you notice vibration, pulling, or instability, stop and re-check the spare’s pressure and lug tightness.
Should you get the repaired tire inspected even if it holds air?
Yes—you should still get it inspected for at least three reasons: hidden internal damage, repair correctness, and long-term safety. More importantly, a tire can “hold air” while still being unsafe at highway speed.
Reason 1: Hidden internal damage. Low pressure can over-flex sidewalls, damaging cords you can’t see.
Reason 2: Repair correctness. A plug might seal today but fail after heat cycles.
Reason 3: Long-term safety. A professional inspection can decide whether you need a patch/plug combo repair or replacement.
If you want the most durable fix, ask the shop to evaluate repairability and recommend the best method based on puncture location and tire condition.
When should you call roadside assistance or a tow instead of DIY fixing?
There are six situations where calling help is the best choice, based on personal safety and mechanical feasibility:
- You can’t get far enough from traffic to work safely
- It’s night, heavy rain, snow, or poor visibility (risk spikes)
- The tire shows severe damage (bulge, sidewall cut, shredded tread)
- You’re missing tools (no jack, missing wheel lock key, no spare)
- Lug nuts are seized and won’t loosen safely
- You’re not physically able to safely jack the car and control the procedure
This is still “fixing the flat”—you’re just choosing the safer method to restore mobility.
Evidence: According to a study by Western Carolina University from the Economics discipline, in 2025, the introduction of TPMS was associated with just over 11 fewer tire failure-related deaths per year, highlighting how tire condition and pressure are safety-critical.
What special cases change how you fix a flat tire?
Special cases change how you fix a flat tire because the “standard” plan assumes you have a spare, a normal tire, and accessible hardware—when real life often includes no spare, run-flats, TPMS warnings, or stuck lugs. Next, use these scenarios to choose the right tool and avoid the wrong repair.
How do you fix a flat if your car has no spare tire?
If your car has no spare, you typically rely on an inflator + sealant kit, run-flat capability, or roadside assistance, based on what your vehicle was designed to use. Then, your priority is to restore enough pressure to drive to service without damaging the tire further.
Your three main options:
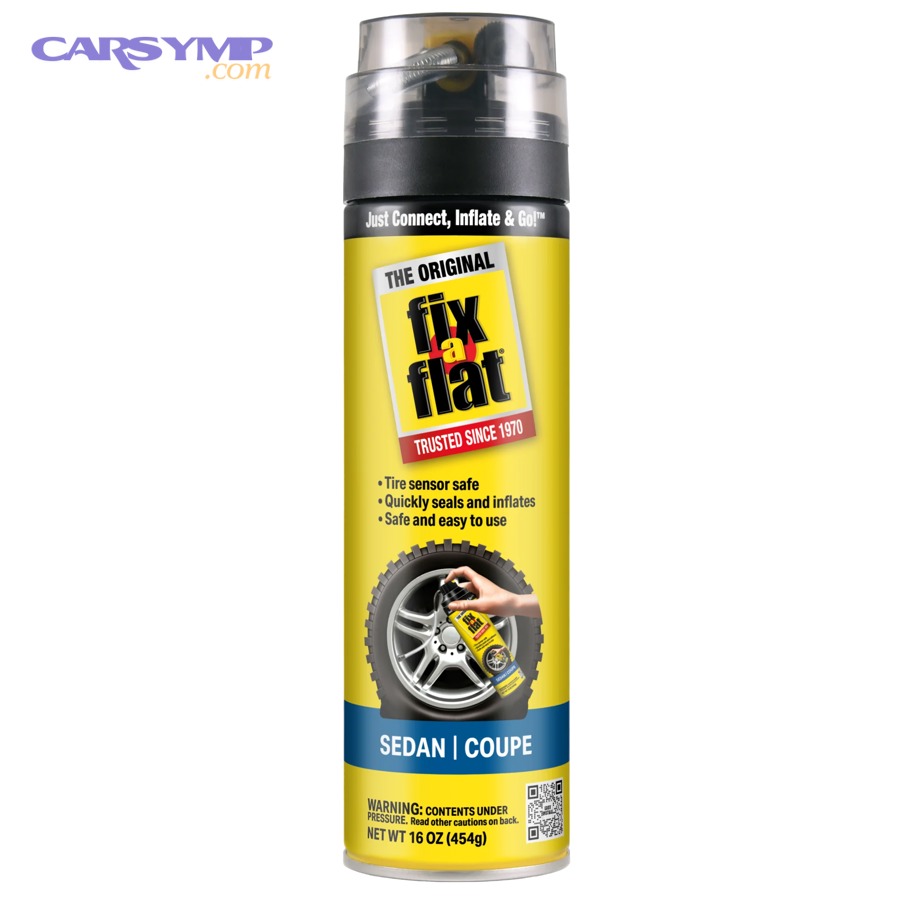
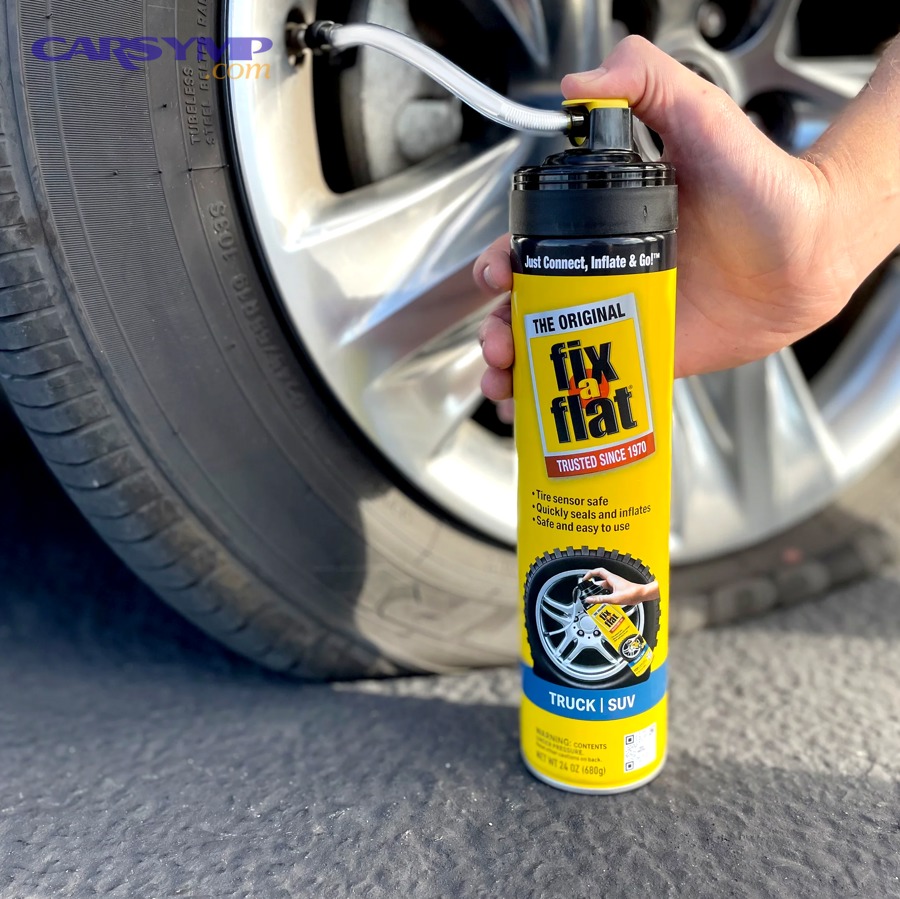
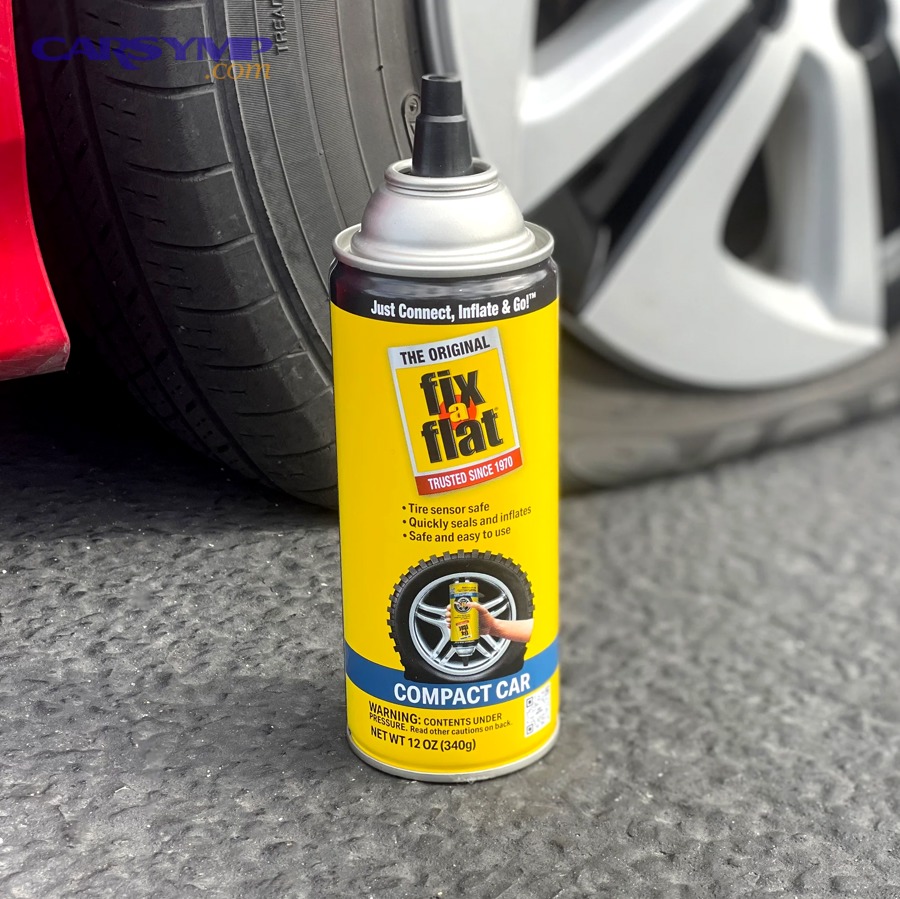
- Mobility kit (inflator + sealant)
This is common in newer cars to save space and weight. - Run-flat tires
Some vehicles can continue for a limited distance after losing pressure. - Call roadside assistance/tow
Best when damage is severe or conditions are unsafe.
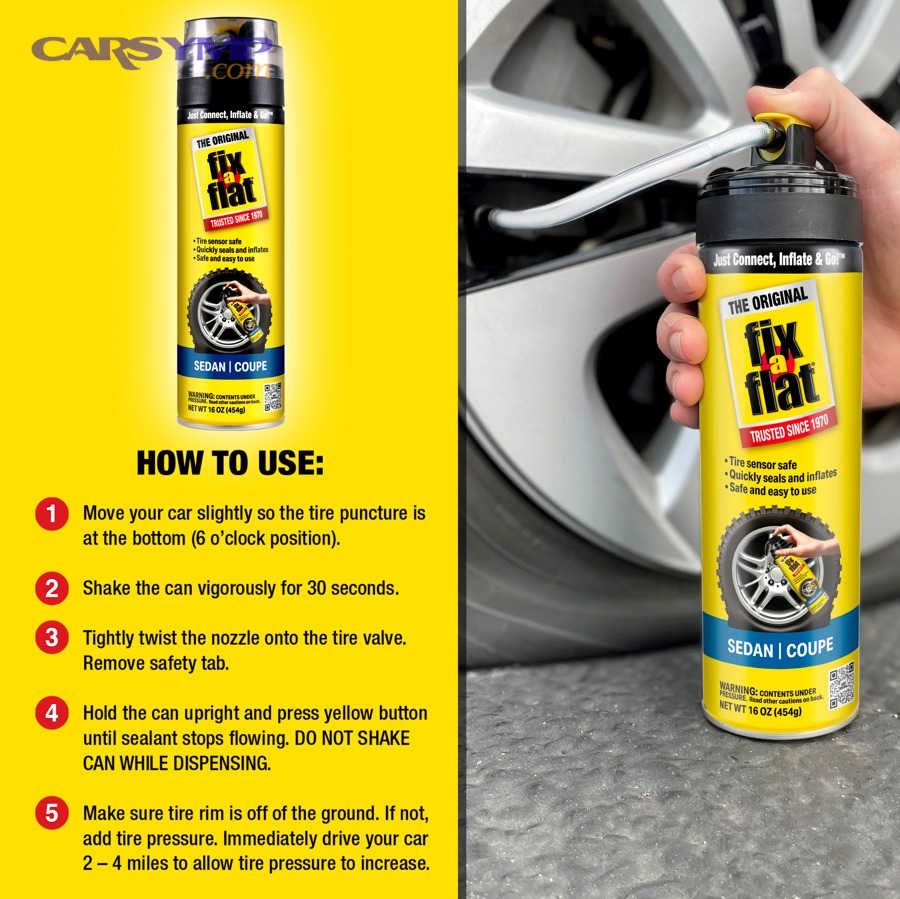
How to use a tire inflator and sealant safely:
- Read the kit instructions first (some are specific to valve position)
- Wear gloves and avoid skin/eye contact with sealant
- Inject sealant, then inflate to target PSI
- Drive a short distance as instructed to distribute sealant
- Re-check pressure, then proceed to a tire shop
Do run-flat tires change the “fix” process?
Yes—run-flat tires change the process because the goal becomes limping to service within the run-flat limits, not repairing the tire on the shoulder. However, run-flats are not magic: they can still be damaged internally when driven without normal pressure, and many manufacturers recommend inspection (and sometimes replacement) after a run-flat event.
Run-flat vs standard tire :
- Run-flat: short-distance mobility after pressure loss, often stiffer ride, higher cost
- Standard tire: may require immediate stop; easier to repair in many cases
If your run-flat warning appears, minimize speed, avoid aggressive steering, and head directly to service.
Why is your TPMS light still on after adding air or changing the tire?
Your TPMS light can stay on after a fix because the system needs time or a relearn, the pressure is still outside the threshold, or the sensor data doesn’t match wheel position. More specifically, TPMS reset after fixing a flat can be as simple as driving for a short period—or as involved as using a reset menu or scan tool—depending on the vehicle.
Common reasons the light stays on:
- One tire is still low (including the spare on some vehicles)
- The repaired tire is losing air slowly
- The TPMS sensor is damaged
- The vehicle requires a relearn procedure after wheel swap
- Temperature drop lowered pressure after you set it
Best practice: set all tires to the door-jamb PSI, then follow your vehicle’s TPMS reset/relearn instructions. If the light flashes or stays on after proper inflation, the sensor may need service.
What do you do if lug nuts are stuck or you have a locking wheel nut?
If lug nuts are stuck or you have a locking wheel nut, you should prioritize controlled leverage and correct tools, and stop before you create a dangerous situation on the roadside. Especially near traffic, “forcing it” can slip the wrench, injure you, or destabilize the car.
Safer steps:
- Confirm you have the correct socket size and the locking key
- Use steady pressure, not bouncing
- If possible, lower the car fully so the wheel can’t spin and the car is stable
- Avoid hammering or heat roadside unless you’re trained and equipped
- If the lock key is missing, call assistance—many shops can remove locks safely with proper tools
Plug kit vs patch vs replace comparison (and a simple tire repair cost estimate)
To make the decision clearer, the table below compares the most common outcomes you’ll face after you’re safe and mobile.
| Option | Best for | Not for | Durability | Typical next step |
|---|---|---|---|---|
| Plug kit (temporary) | Small tread puncture you can access safely | Sidewall/shoulder, large tears, driven-flat damage | Short-term | Drive to shop for inspection |
| Patch/plug combo (professional) | Repairable tread punctures with internal inspection | Sidewall/shoulder damage, severe internal damage | Long-term | Return to normal driving |
| Replace tire | When a puncture can’t be repaired or tire is worn/damaged | — | New tire | Alignment/rotation check |
For a Tire repair cost estimate, plug-and-patch repairs at a shop are often cheaper than a new tire, while replacement costs depend heavily on tire size, type, and vehicle class. Use the table as a decision guide first, then get a quote that matches your exact tire and damage location.
Preventing future flats and punctures
Once you’ve handled the emergency, preventing future flats and punctures comes down to repeatable habits:
- Check tire pressure regularly (including the spare)
- Inspect tread for embedded objects after construction-zone driving
- Avoid curbs/potholes where possible
- Replace worn tires before they reach unsafe tread depth
- Don’t ignore slow leaks—fix them early before they become roadside events
If you treat every flat as feedback—like tracking “Car Symptoms” for your vehicle—you’ll spot patterns (certain routes, repeated valve leaks, underinflation) and reduce the odds of the next surprise flat.