Diagnose Brake Fluid Leak for Drivers: Leak vs Seepage
A brake fluid leak is an urgent safety issue because it can reduce hydraulic pressure and lengthen stopping distance with little warning. If your pedal suddenly feels soft or drops farther than normal, treat it as a “stop-and-check now” situation.
Most drivers want two answers right away: what’s causing the leak and how quickly it can turn dangerous. The right approach is to confirm the leak, protect yourself and others, and then narrow down the most likely components without guesswork.
You also want a practical plan: what you can inspect safely at home, what you should never attempt on the roadside, and when the only safe option is a tow. A good diagnosis is less about tools and more about a fast, methodical checklist.
To begin, you’ll learn how to spot the leak, trace it to a likely source, and decide your next step with confidence. Sau đây is a structured walk-through that connects symptoms to locations and locations to repair decisions.
What is a brake fluid leak, and why is it immediately dangerous?
A brake fluid leak is a loss of hydraulic fluid from a sealed braking circuit, which can quickly reduce braking force or cause partial/total brake failure. Tiếp theo, the key is understanding why “small drips” can become “no brakes” fast.
Brake systems rely on
There are two failure patterns that matter:
- Progressive loss: a slow leak lowers the reservoir level over days/weeks, then suddenly introduces air during a hard stop.
- Rapid loss: a ruptured hose/line or failed seal can dump fluid quickly, causing a pedal that drops toward the floor.
Brake fluid is also chemically aggressive to many paints and finishes. Spills in the engine bay can damage paint and attract dirt that hides the true leak path—so cleaning and rechecking becomes part of diagnosis.
The most important “why it’s dangerous” detail: many vehicles have split circuits (front/rear or diagonal). That can preserve some braking, but it also creates asymmetry—pulling, instability, and longer stops—especially in panic braking.
The science behind fluid condition matters too because contaminated fluid can raise internal corrosion risk and reduce heat margin. Theo nghiên cứu của ASTM International từ Journal of Testing and Evaluation, vào 03/2006, brake fluid moisture reduces boiling point and contributes to brake performance deterioration.
Can a brake fluid leak be “small enough” to ignore?
No—you should not ignore a brake fluid leak, even if braking still “feels okay,” because the same leak can suddenly ingest air or worsen under pressure and heat. Tuy nhiên, you can triage risk by checking a few high-signal indicators.
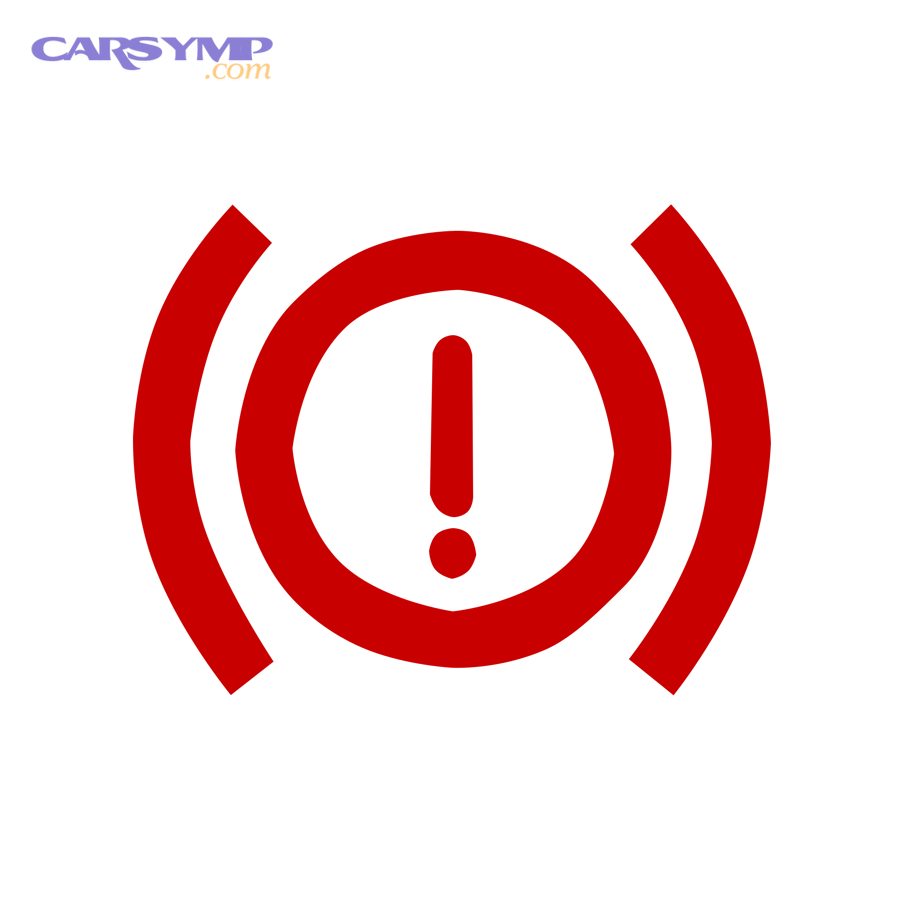
Three reasons a small leak is still a big deal:
- Hydraulic systems amplify consequences: a small volume loss can translate to a large pedal change once air enters a caliper/wheel cylinder.
- Heat and pressure reveal weak points: a seep at rest can become a spray during a hard stop.
- Fluid level can drop below the pickup: once the reservoir is low, braking can fail abruptly—especially on slopes or during cornering.
If you must decide in minutes, prioritize: (1) pedal feel, (2) warning lights, (3) visible wetness near wheels/lines, (4) reservoir level trend. If any of these are abnormal, assume the leak is unsafe until proven otherwise.
Wet boiling point is a reminder that “in-use” braking is harsh. Theo nghiên cứu của ADVICS từ Technical Resources, vào 06/2023, wet boiling point is defined after the fluid has absorbed about 3.7% water by volume, which lowers heat resistance compared with fresh fluid.
What are the most common brake fluid leak symptoms you can spot fast?
There are five common symptom groups for a brake fluid leak: pedal feel changes, warning indicators, visible puddles/wetness, braking behavior changes, and smell/smoke near hot parts. Để bắt đầu, use the grouping below to match what you notice to what to inspect next.
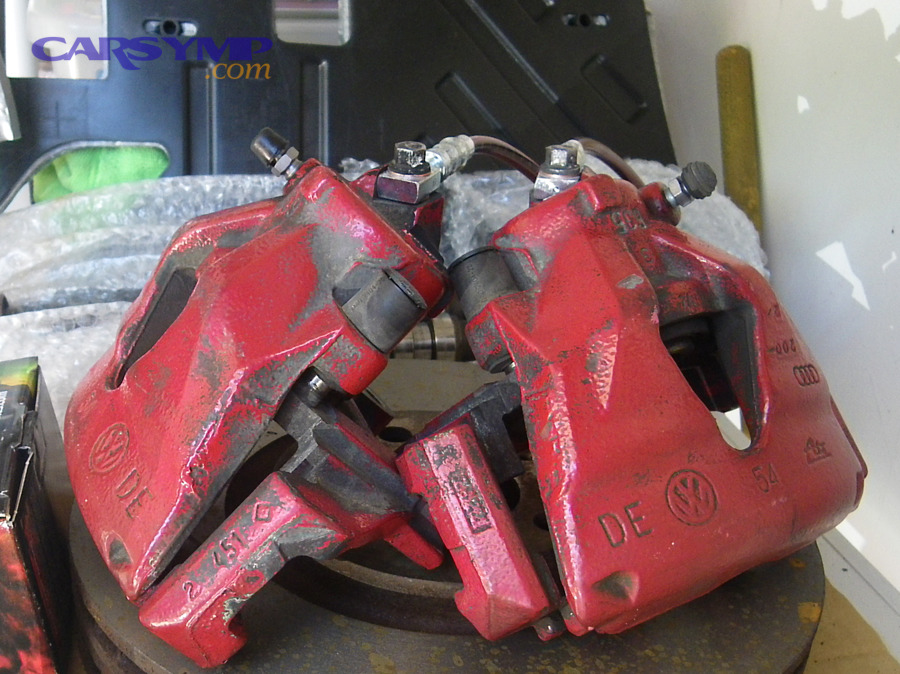
1) Pedal feel changes
A leak often causes a soft or low pedal, longer travel, or a pedal that slowly sinks while holding pressure. Cụ thể, these signals usually mean air is entering the system or pressure is escaping past a seal.
- Pedal feels spongy or requires pumping
- Pedal travel suddenly increases
- Pedal sinks at a stoplight (possible internal bypass or external leak)
2) Warning indicators
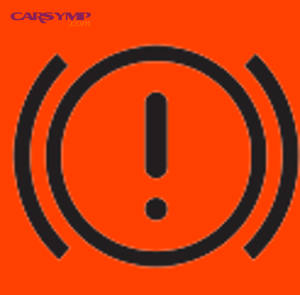
The brake warning lamp may illuminate due to low fluid, pressure imbalance, or parking brake status depending on the vehicle. Ngoài ra, ABS/ESC warnings can appear when hydraulic faults affect stability controls.
3) Visible wetness, streaks, or puddles
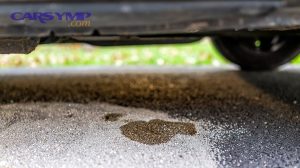
Brake fluid often looks clear to amber and feels slick. It can collect on the inside of a wheel, along a frame rail, or below the master cylinder area. Quan trọng hơn, fluid can travel, so the drip spot isn’t always the source.
4) Braking behavior changes
You may notice longer stopping distance, pulling to one side, or inconsistent brake response. Trong khi đó, a circuit imbalance can make the vehicle unstable during hard braking.
5) Smell or smoke near hot parts
Brake fluid on a hot rotor, pad, or exhaust area can create sharp odors or smoke. Tóm lại, any combination of odor + low pedal + warning light should be treated as a stop-driving event.
Moisture content is a measurable factor that changes performance margins. Theo nghiên cứu của MISCO từ Technical Education, vào 08/2023, 2% water in DOT 4 brake fluid can reduce boiling point by about 45°C (81°F), shrinking safety margin under heat.
How to confirm a brake fluid leak without guessing
The fastest confirmation method is a three-step check: verify reservoir level, identify fluid type/feel at the suspected spot, and recheck after a short, safe pedal press (engine off). Sau đây is a safe, structured approach.
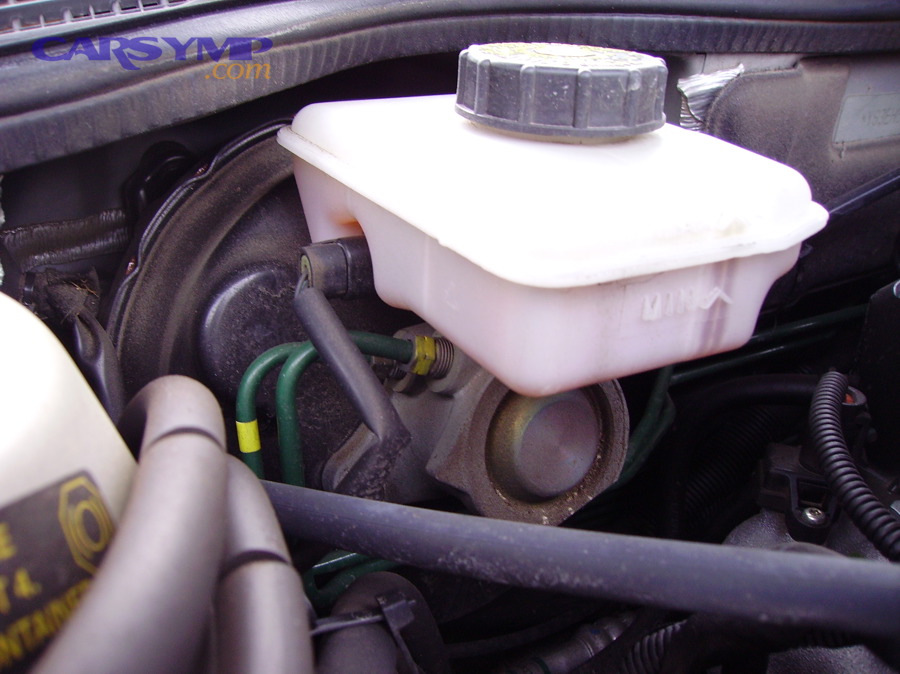
Step 1: Check the reservoir level and cap area
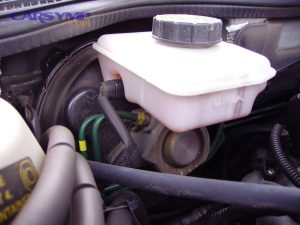
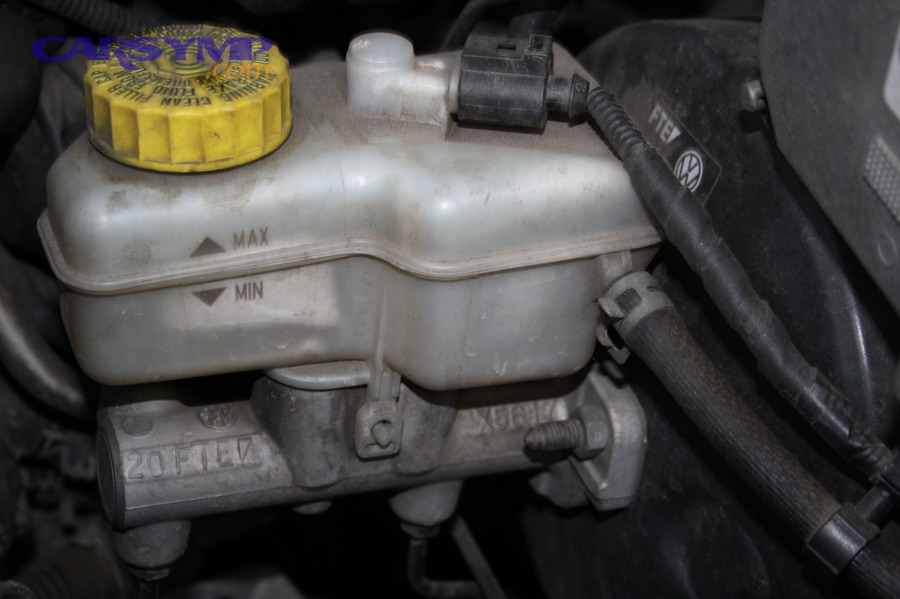
Locate the reservoir, wipe the outside clean, and check level against MIN/MAX. If it’s below MIN, do not assume “top-off fixes it”—it only masks the symptom. Để minh họa, a reservoir that drops again after a day or two points strongly to an external leak.
Step 2: Identify fluid at the suspected drip
Use a white paper towel to dab the fluid (wear gloves). Brake fluid is slick and doesn’t evaporate like water. It can feel thinner than engine oil and may lighten paint. Tuy nhiên, do not taste or smell fluids directly—use visual and texture cues only.
Step 3: Look for fresh wetness under light pressure
With the engine off, have a helper press the pedal slowly while you inspect (from a safe position). You’re watching for new wetness at fittings, hoses, calipers, and the master cylinder area. Bên cạnh đó, avoid crawling under an unsecured vehicle.
Standard definitions exist for brake fluids and their intended performance ranges, which is why using proper fluid matters after you repair leaks. Theo nghiên cứu của NHTSA từ Office of Vehicle Safety Compliance, vào 04/2005, FMVSS 116 defines requirements for hydraulic brake fluids and aims to reduce hydraulic brake failures caused by improper or contaminated fluid.
How to find the leak location quickly in the real world
The best “quick location” method is to follow gravity and airflow: start at the wettest point, then trace upward/backward to the first dry-to-wet transition. Tiếp theo, you’ll narrow the source by zone.
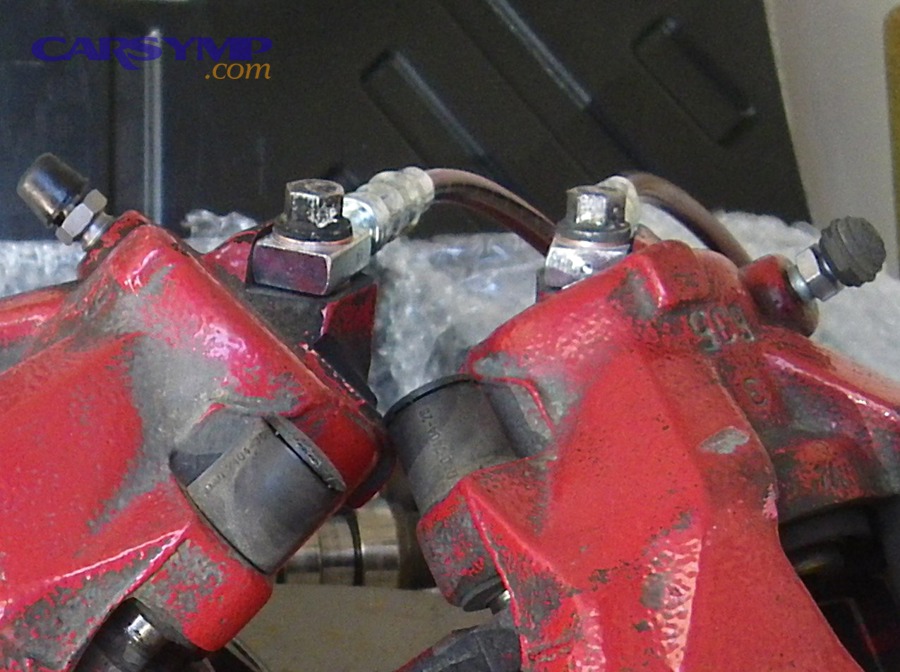
Zone A: Engine bay (master cylinder and booster area)
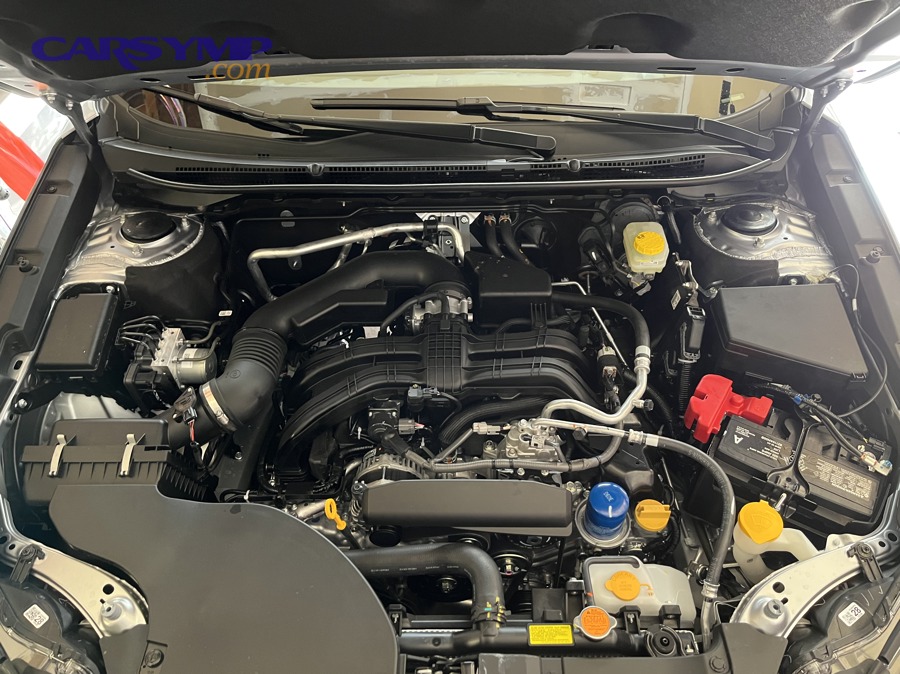
Check around the reservoir grommets, cap seal, and the master cylinder body where it meets the brake booster. Wetness here can drip down the firewall and confuse the trail. Cụ thể hơn, look for peeling paint or wet dust that looks “muddy.”
Zone B: Along the body/frame (hard lines and junctions)
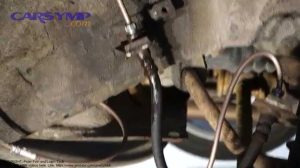
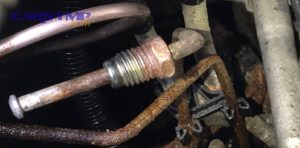
Follow metal lines along the firewall, frame rail, and underbody. Pay attention to clips and bends where corrosion or vibration can weaken the tube. Ngoài ra, check junction blocks and proportioning/ABS module areas for wet fittings.
Zone C: At the wheels (calipers, wheel cylinders, hoses)
Inspect the inside of each tire and wheel. A wheel-area leak often throws fluid outward, leaving a shiny streak pattern. Đặc biệt, check hose-to-caliper connections and bleeder screw areas.
Zone D: Inside the cabin (pedal area)
Some leaks (or seal failures) can present as dampness near the pedal/booster area depending on design. If you smell chemicals or see damp carpet near the pedal, treat it as serious. Tóm lại, the cabin check is quick and often overlooked.
Brake line deterioration has been studied for decades because it can lead to sudden failure. Theo nghiên cứu của SAE International từ technical paper research on hydraulic brake line corrosion, vào 1969, fleet operators reported hydraulic brake tube failures, motivating investigation into corrosion-related problems.
Which components most often cause a brake fluid leak?
Most brake fluid leak sources fall into fourSau đây is how each group fails and what the clues look like.
Wheel-end: calipers (disc) or wheel cylinders (drum)
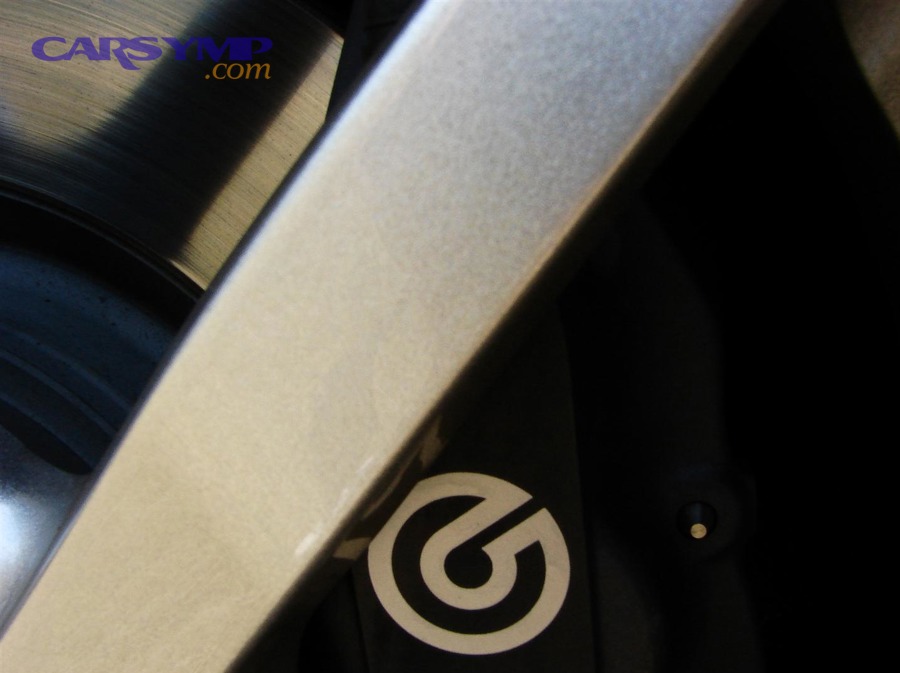
Common failures include piston seal deterioration, torn dust boots allowing corrosion, and bleeder screw seepage. A wheel-end leak often coats the inside of the wheel and can contaminate pads/shoes, reducing friction. Quan trọng hơn, friction contamination can persist even after “fixing the leak.”
Flexible hoses
Hoses can crack with age, chafe at mounting points, or leak at crimped ends. Under pressure, a weak hose can balloon or seep—especially after heavy braking. Tuy nhiên, hoses can look “fine” outside while failing internally, so match inspection to symptoms.
Rigid lines and fittings
Metal lines can corrode, especially in salt regions, and fittings can weep if over-tightened, cross-threaded, or damaged. Look for wetness at unions and distribution blocks. Bên cạnh đó, corrosion can hide under clips where moisture sits.
Master cylinder and reservoir interfaces
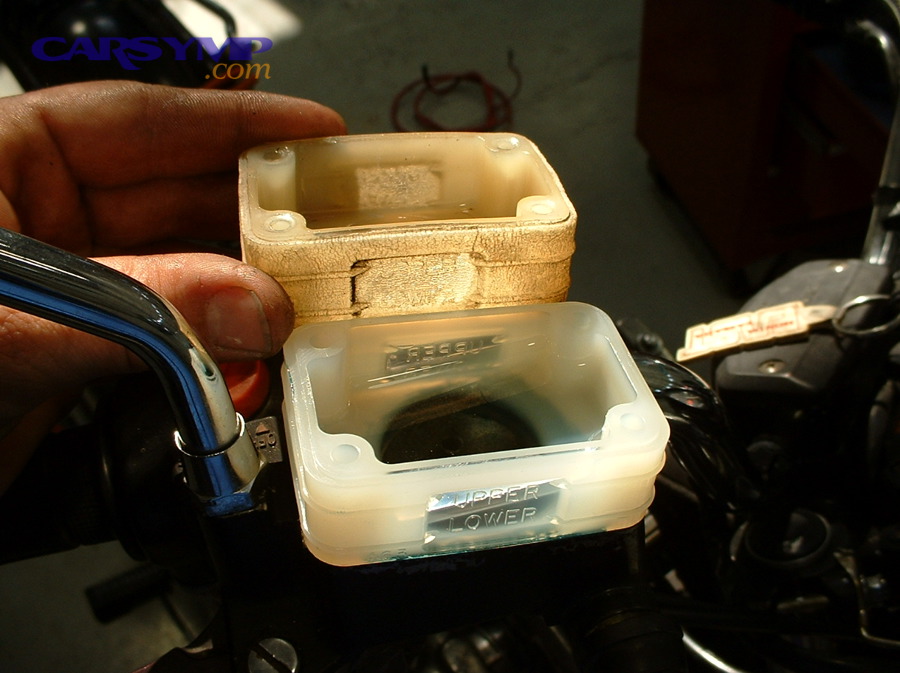
Leaks can occur at reservoir grommets, cap seals, or at the master cylinder body/seals. Fluid here often drips down and collects dirt, making a “dark wet patch.” Tóm lại, if the leak seems centered near the firewall, don’t skip this area.
Moisture and corrosion risks connect: more water content can accelerate internal corrosion conditions over time. Theo nghiên cứu của SAE International từ a DOT 3/DOT 4 water-content measurement study, vào 1997, brake fluid samples were evaluated across water content ranges (0–7%) using measurement methods like Karl Fischer titration.
What should you do right now when you suspect a brake fluid leak?
Use a five-step safety plan: stop driving, secure the car, assess pedal and warning lights, check fluid level, then decide tow vs. careful repositioning. Sau đây is a practical sequence that prioritizes safety over speed.
1) Choose safety over convenience
If the pedal is soft, travel is excessive, or the warning lamp is on, avoid traffic driving. If you’re on a roadway, move to the safest available spot with minimal braking demand. Quan trọng hơn, don’t assume you can “nurse it home.”
2) Do a quick pedal test (engine off)
With the engine off, press the pedal. If it sinks rapidly or feels like it has little resistance, treat it as unsafe. Cụ thể, a sinking pedal can indicate external loss or internal seal bypass.
3) Check reservoir level and look for obvious wetness
If level is below MIN or you see active dripping, plan for a tow. If level is normal but symptoms persist, you may still have an issue—don’t rule it out. Ngoài ra, recheck after a few minutes; some leaks show under repeated pressure.
4) Avoid contaminating braking surfaces
Do not spray lubricants or cleaners onto pads/rotors as a “quick fix.” Brake surfaces must remain clean and dry for predictable friction. Tóm lại, cleanliness and correct repair matter more than improvisation.
5) Decide: tow, or reposition only
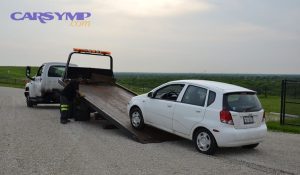
If you must move the vehicle a very short distance (e.g., out of danger), do it at crawling speed with maximum spacing and minimal braking. Otherwise, tow it. Đặc biệt, if you smell burning or see smoke, stop immediately.
Warning signals exist for a reason, and investigations have examined how brake circuit failure signals affect braking behavior. Theo nghiên cứu của NHTSA từ Office of Defects Investigation, vào 2011, analyses of brake pipe corrosion failures included discussion of partial system failure signaling and braking performance conditions.
How a shop diagnoses and repairs a brake fluid leak
A professional repair typically follows fourTiếp theo, you’ll see what “good repair” includes beyond swapping parts.
Stage 1: Pressure-based confirmation
Technicians often use controlled pedal pressure (or pressure bleeders) to reproduce seepage. They’ll clean suspected areas and recheck to avoid false trails. Cụ thể, this step distinguishes residual grime from fresh fluid.
Stage 2: Source isolation and root cause
A good diagnosis answers: what failed and why it failed. For example, replacing a caliper without addressing a torn dust boot history and corrosion risk can lead to repeat failures. Hơn nữa, shops consider whether other lines/hoses are near end-of-life.
Stage 3: Component replacement and correct sealing practices
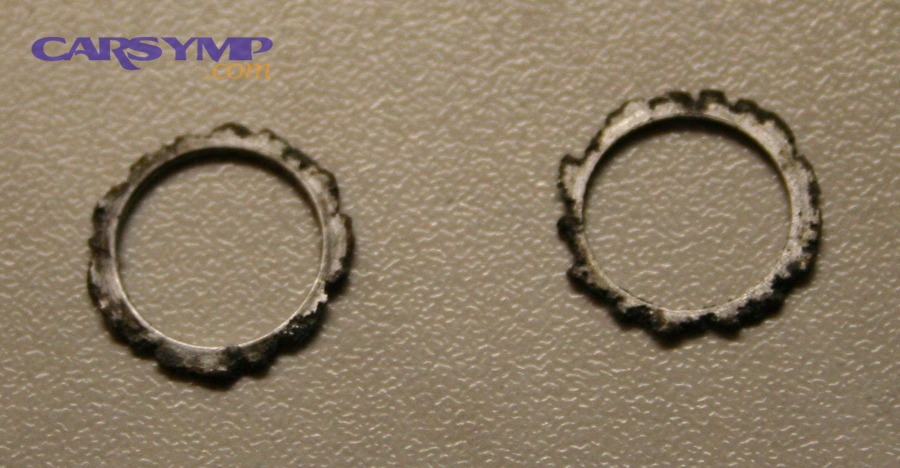
Repairs may include caliper/wheel cylinder replacement, hose replacement, hard line repair/replace, or master cylinder replacement. Proper torque, correct washers/fittings, and clean mating surfaces are crucial. Tuy nhiên, overtightening can create leaks just as easily as undertightening.
Stage 4: System restore, bleeding, and verification
After repairs, the system is bled to remove air and restore pedal feel. A proper verification includes checking for new seepage under repeated pressure and ensuring warning lights are off. Tóm lại, the job is incomplete until it’s proven dry and consistent.
Fluid standards exist because “improper or contaminated fluid” can contribute to failures, so correct refill is part of repair quality. Theo nghiên cứu của NHTSA từ Office of Vehicle Safety Compliance, vào 04/2005, FMVSS 116’s purpose includes reducing hydraulic braking failures associated with improper or contaminated brake fluid.
How to reduce the chance of another brake fluid leak
You can reduce future leak risk by focusing on threeSau đây are practical actions that match real failure modes.
1) Inspect where failures actually start
Check hoses for cracking and rubbing, check line clips for trapped moisture zones, and scan fittings for “wet dust.” Cụ thể, inspection is most valuable at transitions: hose-to-line, line-to-block, block-to-hose, and wheel-end connections.
2) Treat corrosion as a system problem
In salt regions, rinse underbody periodically and pay attention to brake line routing. Replace severely corroded lines proactively rather than waiting for rupture. Quan trọng hơn, corroded lines can fail under a single hard stop.
3) Keep fluid condition within healthy margins
While leaks are often mechanical, fluid condition influences internal corrosion and heat performance margins. Using the correct DOT type and keeping caps sealed helps reduce moisture uptake. Ngoài ra, avoid leaving brake fluid containers open before use.
Moisture reduces boiling point measurably, which is why periodic fluid service is common guidance. Theo nghiên cứu của MISCO từ Technical Education, vào 08/2023, brake fluid moisture accumulation over time can measurably reduce boiling point, shrinking the margin to vapor formation under heat.
Contextual Border — the sections below expand decision-making with costs, edge cases, and related scenarios.
Extra details, costs, and edge cases that change the decision
What real-world repair decisions depend on (money, downtime, and scope)
Repairs vary because leak sources vary: a simple fitting reseal is not the same as replacing multiple corroded lines. This section explains how to think about scope, not just parts.
Here is where you can naturally consider the phrase Brake fluid leak repair cost estimate without treating it as a single fixed number: costs depend on labor access, whether bleeding is required, and whether the leak contaminated pads/shoes (which then require replacement).
The table below contains typical repair scope bands and what they usually include, so you can compare “small leak at a fitting” vs. “multi-line replacement” decisions more clearly.
| Likely Leak Scope | Typical Work Included | What You Should Verify After |
|---|---|---|
| Minor seep at a fitting/bleeder area | Clean, reseal/retorque to spec, replace small sealing hardware if applicable, bleed if air entered | Dry under repeated pressure; stable pedal; no warning lights |
| Single wheel-end leak | Replace caliper/wheel cylinder or rebuild where appropriate; replace contaminated pads/shoes; bleed | Even braking; no pull; clean friction surfaces |
| Hose leak or crimp seep | Replace hose; inspect the opposite side; bleed; verify hose routing and clips | No bulging under pressure; no chafe points |
| Corroded hard line section | Replace affected line section(s); inspect adjacent lines; bleed; ensure correct flares/fittings | No wetness along frame; secure line clips; predictable pedal |
| Master cylinder area leak | Replace master cylinder and seals/grommets as needed; bench-bleed if required; full system bleed | Pedal holds pressure; no firewall wetness; stable reservoir level |
Why rust matters, and what your “line options” really are
Brake lines fail differently from hoses: corrosion can thin metal until it bursts under pressure, sometimes with little external warning besides heavy rust. This is where the phrase Brake line corrosion and replacement options becomes practical: you may choose a section repair, a full-line replacement, or a broader “replace what’s near failure” strategy depending on routing and corrosion extent.
On older vehicles in salt regions, it’s common to find multiple weak spots. A high-quality repair includes looking beyond the first failure so you don’t fix one leak only to have another appear soon after.
Brake line corrosion has long been recognized as a serious reliability issue. Theo nghiên cứu của SAE International từ research on hydraulic brake line corrosion, vào 1969, field concerns about brake tube failures helped drive investigation into corrosion-related failure patterns.
When lights come on: how to interpret it without panic
Dashboard warnings are designed to force attention, but they don’t always tell you the exact cause. This is where What to do if brake warning light is on becomes a decision tree: check parking brake status, check reservoir level, and treat a low pedal or visible leak as tow-now.
If the ABS/ESC lights join the brake warning light, it can mean the stability system detected a hydraulic or sensor-related issue. Even if the car still moves, your emergency stopping and stability margin may be reduced.
Investigations into braking conditions sometimes include how partial failures are signaled and handled. Theo nghiên cứu của NHTSA từ Office of Defects Investigation, vào 2011, documentation on corrosion-related brake pipe concerns discussed partial system failure signaling scenarios.
Quick FAQs (and the “don’t do this” list)
Can you drive with a brake fluid leak? This depends on severity, but for real-world safety you should assume “no” if the pedal feel changed, the fluid level is low, or you see active dripping. This paragraph intentionally includes Can you drive with a brake fluid leak as a common question, while keeping your decision anchored to symptoms and confirmed loss.
What should you do first? Confirm the leak, secure the car, and prevent risky driving. This is also where Brake fluid leak signs and safety steps matters: warning light + low fluid + soft pedal is a high-risk combination.
Which source is most likely? The fastest path is to locate wetness, then decide whether it’s wheel-end, hose, line, or master cylinder related. In practice, you’ll use How to find the leak location quickly by tracing from the wettest point to the first dry-to-wet transition.
How do you separate likely culprits? You compare patterns—wheel contamination suggests wheel-end; frame-rail wetness suggests line; firewall wetness suggests master cylinder area. This is where the phrase Leak at caliper vs line vs master cylinder diagnosis fits naturally as a decision concept: match the leak trail to component zones rather than guessing.
What specific symptom clusters should raise urgency? A low/sinking pedal, fluid below MIN, or warning light illumination. Here you can also consider Master cylinder leak symptoms (wetness at the booster/firewall area, sinking pedal), and Brake hose leak symptoms (wetness at hose crimps, bulging, wheel-area streaks).
What should you NOT do? Avoid improvised sealing methods that can contaminate friction surfaces or fail under pressure. This is where Emergency temporary measures and what not to do belongs: do not clamp brake hoses with tools that damage them, do not add incorrect fluids, and do not continue driving “to see if it gets better.”
Related but not the same: Some people confuse fluid leaks across systems; for example, oil leak repair is a different diagnostic and safety category than brake hydraulics—brake leaks affect stopping ability directly, so they demand faster action.