Plan a Clutch Replacement: Cost, Labor Time, and Clutch Kit Parts for Manual-Transmission Drivers
Clutch replacement is the process of removing a worn clutch assembly and installing new friction-and-release parts so your manual-transmission car can engage gears smoothly again, without slip, chatter, or grinding. If your pedal feel has changed or the engine revs rise without matching acceleration, a properly planned clutch replacement restores drivability and prevents collateral damage.
Next, you’ll want to confirm the problem before you spend money, because “clutch symptoms” can overlap with shifting issues caused by fluids, linkage, or internal gearbox wear. That’s why a clear diagnosis step matters as much as the parts list.
Then, once you’re confident the clutch is the root cause, you can estimate the total job cost by separating parts (clutch kit, hydraulics, bearings) from labor time (transmission removal, installation, testing). This makes quotes easier to compare and helps you decide whether to address related wear items while everything is apart.
Introduce a new idea: the biggest money-saving choice often isn’t “cheap vs expensive parts,” but whether you handle the flywheel correctly and follow the Break-in procedure for a new clutch so the replacement lasts.
What does clutch replacement include?
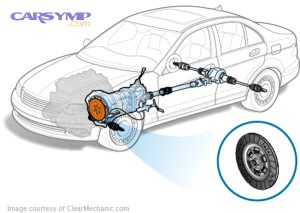
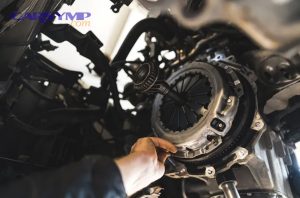
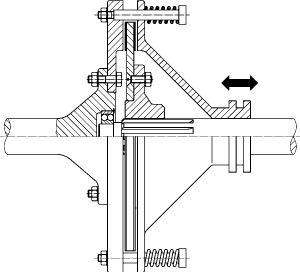
Clutch replacement is a manual-transmission repair that swaps the worn friction interface (disc) and clamping mechanism (pressure plate) and typically refreshes release components so the engine can transmit torque to the gearbox without slipping.
To better understand what you’re paying for, it helps to break the job into “wear parts,” “access parts,” and “while-you’re-in-there” parts.
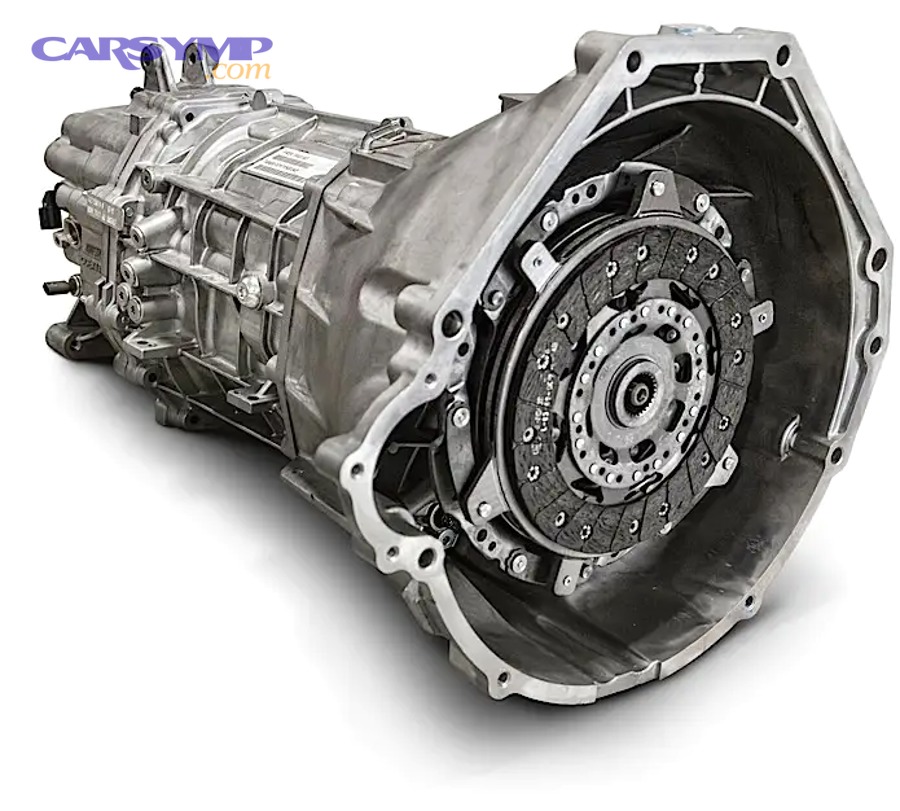
A modern clutch system is a package, not a single part. Most shops and experienced DIYers replace the clutch as a set because mixing old and new friction surfaces increases chatter, uneven engagement, and early failure.
Clutch kit components explained
A typical clutch kit is a grouped set of parts designed to work together at the same clamp load and friction coefficient, and it usually includes the main wear items you’d otherwise buy separately.
Common kit contents (varies by vehicle and brand):
- Clutch disc (friction disc): the sacrificial wear surface that slips during engagement.
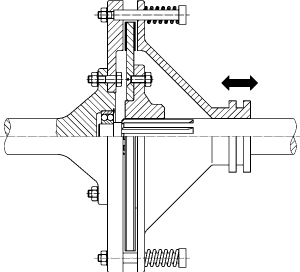
- Pressure plate: the spring-loaded clamping unit that squeezes the disc to the flywheel.
- Release bearing (throwout bearing): the bearing that allows the clutch fork/slave to press the pressure plate fingers smoothly.
- Alignment tool (often included): centers the disc so the transmission input shaft slides in cleanly.
What’s sometimes included or recommended:
- Pilot bearing/bushing (if applicable): supports the transmission input shaft in the crank.
- Clutch fork pivot / clips: cheap hardware that can cause big headaches if reused while worn.
- Hydraulic slave cylinder (common on internal concentric designs): often replaced proactively because it’s trapped behind the transmission.
What extra parts are commonly replaced during clutch replacement?
Clutch replacement often triggers additional replacements because labor is dominated by transmission removal, and small parts become “cheap insurance” when access is wide open.
Typical add-ons:
- Rear main seal (engine): replace if leaking now, or if your engine is known for seepage.
- Input shaft seal (transmission): replace if there’s oil mist or wetness inside the bellhousing.
- Transmission mount and shifter bushings: replace if torn or sloppy to improve shift feel.
- Fluids and gaskets: a basic transmission service is often done at the same time because fresh fluid improves shifting and reduces wear.
What is the clutch replacement labor time and process (in one sentence)?
The Clutch replacement labor time and process is mostly transmission removal and reinstallation, followed by alignment, torque-to-spec fasteners, and a road test to confirm smooth engagement and no leaks.
What are the clutch slipping symptoms and tests that indicate you need a clutch replacement?
Yes—clutch replacement is often needed when you have clutch slipping plus at least three signs: rising RPM without acceleration, a burning smell under load, and a high/changed engagement point with weak pull in higher gears.
Specifically, the goal is to confirm “friction interface failure” rather than guess, because accurate tests prevent unnecessary parts swaps.
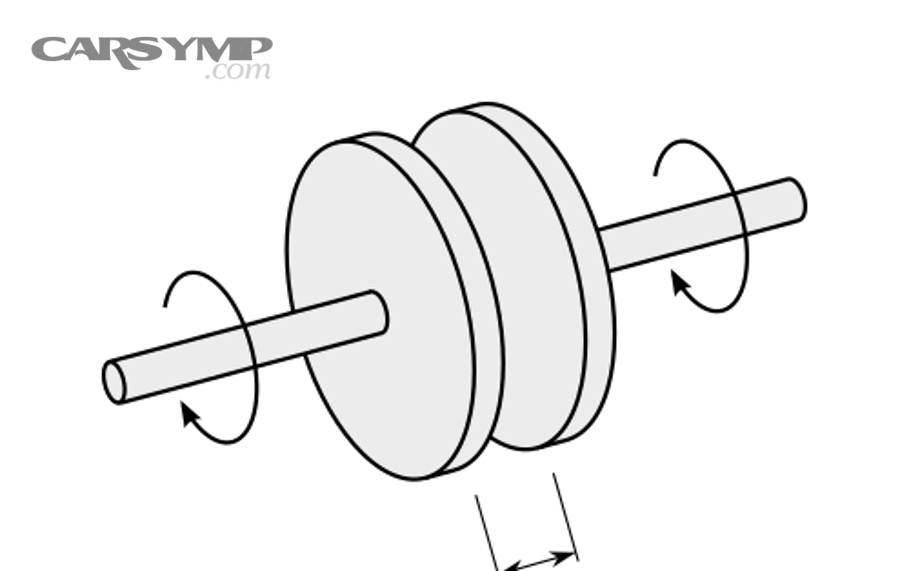
Clutch slip has a recognizable pattern: it gets worse with high torque demand (uphill, towing, hard acceleration) and in higher gears where the engine loads the clutch more aggressively. If you only feel problems during shifting (not under steady throttle), the issue may be linkage, hydraulics, or gearbox synchronizers instead.
Clutch slipping symptoms and tests
Use a quick, safe checklist before you commit to major labor:
Symptoms that strongly suggest clutch slip
- RPM flare: engine revs climb but the car doesn’t accelerate proportionally.
- Burning odor after a hill start or hard pass (overheated friction material).
- Poor acceleration in 4th/5th/6th gear despite normal engine power.
- High engagement point that keeps creeping higher over weeks/months.
- Chatter or shudder on takeoff (can be disc wear, contamination, or flywheel surface issues).
Simple tests (do these in a safe area)
- High-gear roll-on test: cruise at low RPM in a higher gear and apply throttle; if RPM jumps without speed, the clutch is slipping.
- Parking brake stall test (use caution): with the parking brake set and the car secured, attempt a gentle start in a higher gear; a healthy clutch tends to stall the engine, while a slipping clutch may let the engine keep running.
- Visual leak check: look for oil at the engine/trans interface; oil contamination can mimic “worn clutch” symptoms and changes the repair plan.
What to record before you call a shop
- When slip happens (cold vs hot, only uphill, only high gear)
- Any noise at idle that changes when you press the pedal
- Whether the pedal feel is spongy or the bite point moved suddenly
Those notes improve diagnostic accuracy and reduce the risk of paying for parts you don’t need.
How do you tell clutch problems from transmission problems?
Clutch issues win in “slip under load,” transmission issues are best identified by “gear-specific grinding,” and hydraulic/controls problems are optimal to suspect when “pedal feel or engagement changes suddenly without slip.”
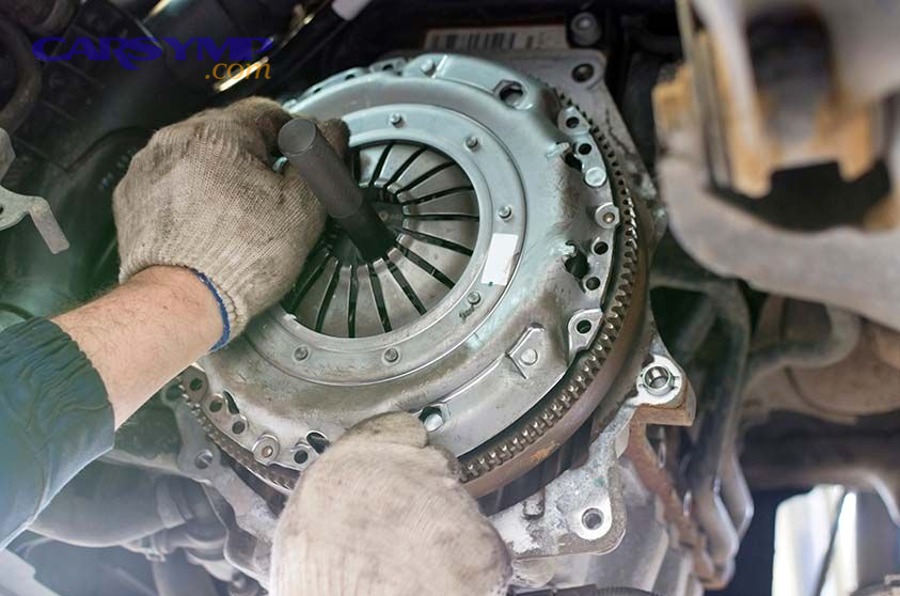
However, the fastest way to avoid misdiagnosis is to compare symptoms by when they happen: engagement vs gear selection vs steady driving.
Many drivers assume “hard shifting” means the clutch is gone, but that isn’t always true. A clutch can be worn and still shift “okay,” and a transmission can shift poorly even with a healthy clutch.
Manual transmission vs clutch diagnosis
Use this comparison to separate root causes:
More likely clutch-related
- Slip under throttle (especially higher gears)
- Burning smell after acceleration
- Engagement point steadily rising
- Vibration/shudder during takeoff
- Noise only when the pedal is pressed (often release bearing related)
More likely transmission-related
- Grinding into one specific gear (often synchro wear)
- Popping out of gear on decel (gear/selector wear)
- Noise that changes by gear selection while driving (bearing/gear wear)
- Metal shavings in fluid during drain
More likely hydraulic/controls-related
- Spongy pedal or sudden engagement change
- Difficulty getting into any gear at a stop (clutch not fully releasing)
- Engagement improves after pumping the pedal (air in system)
This is where a quick transmission service (fluid condition check and correct spec) can help reveal whether shifting feel is a lubrication/synchronizer issue rather than a friction-disc issue.
Signs of throwout bearing failure
The release (throwout) bearing is a meronymy “part-of” the clutch release system, and it often announces itself with sound before it fails completely.
Typical throwout bearing failure signs:
- Chirping/whirring when the clutch pedal is pressed
- Noise that changes as you vary pedal pressure
- Vibration felt in the pedal in some cases
- In severe cases, difficulty disengaging smoothly
If you’re already doing clutch replacement, swapping the release bearing is standard because reusing it risks repeating the entire labor job.
Clutch hydraulic system bleeding needs
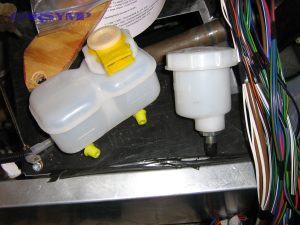
Hydraulic issues can imitate clutch wear because air compresses, reducing slave travel and preventing full release.
Common reasons bleeding is needed:
- Spongy pedal and inconsistent bite point
- New master or slave cylinder installed
- Any opened hydraulic line or leaking fitting
Bleeding matters because incomplete release can cause gear grinding at a stop—often mistaken for a “bad transmission”—even when the gearbox is fine.
How much does a clutch replacement cost estimate usually run?
A Clutch replacement cost estimate usually falls into three buckets—parts, labor, and “while you’re in there” extras—so you can predict total cost more accurately than a single number and avoid surprise add-ons.
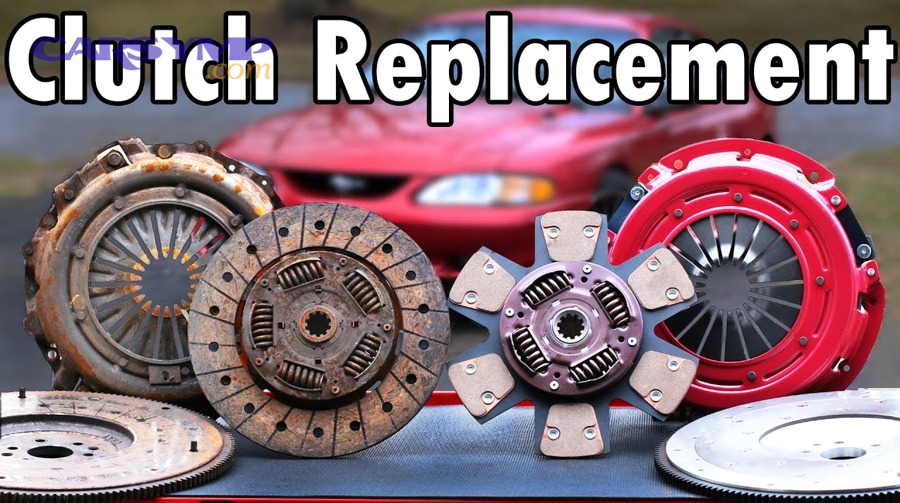
Moreover, cost swings are driven less by the clutch disc itself and more by access difficulty, flywheel type, and whether hydraulics live inside the bellhousing.
Here’s what typically changes the price:
- Vehicle layout: FWD transverse setups can be labor-intensive; some AWD cars add driveshaft/transfer case work.
- Transmission removal complexity: subframe drops, exhaust removal, seized fasteners.
- Flywheel type: solid flywheel vs dual-mass flywheel.
- Hydraulics design: internal concentric slave cylinders add parts cost and “must-do” replacement logic.
A practical way to read a quote is to request line items:
- clutch kit
- flywheel work
- hydraulics
- seals/fluids
- labor hours
Real-world baseline (example reference point): RepairPal’s aggregated estimates commonly show clutch replacement totals in the roughly four-figure range for many mainstream vehicles, varying by model and region.
Dual-mass flywheel issues and costs
A dual-mass flywheel (DMF) is designed to damp vibration with internal springs and friction elements, which improves refinement but can raise replacement cost.
Common DMF problems:
- Rattle at idle that changes when you press the clutch
- Shudder during takeoff that persists even with good clutch technique
- Excess rotational play or heat damage when inspected
Cost implications:
- DMFs are often not resurfaced in the same way as solid flywheels.
- DMF replacement can add a large parts line item, sometimes rivaling the clutch kit itself.
- Skipping a failing DMF can cause repeat labor if drivability issues remain.
What a good clutch replacement cost estimate includes
To avoid apples-to-oranges comparisons, a strong estimate should specify:
- Brand/grade of clutch kit (OEM-equivalent vs performance)
- Whether release bearing and pilot bearing are included
- Flywheel plan (resurface, replace, or DMF inspection criteria)
- Hydraulic parts plan (master/slave, especially internal)
- Fluids, seals, and shop supplies
- Warranty terms (parts and labor)
If the estimate lumps everything into one line, you lose the ability to judge what’s being skipped.
How long is clutch replacement labor time and process?
Clutch replacement follows a predictable method in 6 phases—prep, access, transmission removal, clutch/flywheel service, reassembly, and validation—so the labor time mostly depends on how quickly the drivetrain can be separated and aligned again.
Next, understanding the workflow helps you spot high-quality work (and avoid shortcuts that reduce clutch life).
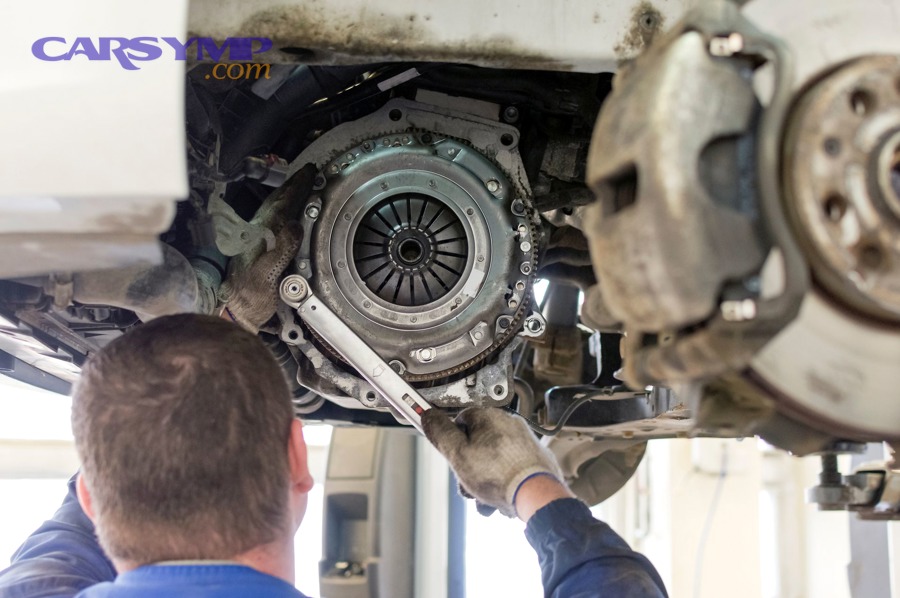
Clutch replacement labor time and process
A shop’s book time varies by vehicle, but the structure of the job is consistent:
- Pre-check and baseline symptoms
- Confirm slip, noise, engagement point, and leaks.
- Identify whether the issue is friction wear, release system, or contamination.
- Access and disassembly
- Disconnect battery, remove intake/exhaust pieces as needed.
- Remove axles (FWD), driveshaft (RWD/AWD), shifter linkage, starter, and wiring.
- Support engine and transmission safely.
- Transmission removal
- Separate bellhousing from engine.
- Lower the transmission and inspect bellhousing for oil, dust, and heat marks.
- Clutch and flywheel work
- Remove pressure plate and disc.
- Inspect flywheel surface, cracks, heat spots, and runout.
- Replace clutch kit parts and any bearings/seals as planned.
- Reassembly and alignment
- Use alignment tool to center disc.
- Torque fasteners in sequence to spec.
- Reinstall transmission, mounts, axles/driveshaft, and linkage.
- Hydraulics, fluid, and validation
- Address Clutch hydraulic system bleeding needs if applicable.
- Refill fluid if drained and verify correct spec.
- Road test for engagement smoothness, no slip, and no abnormal noises.
A quality shop also checks pedal free play (if adjustable), verifies there’s no clutch drag at a stop, and ensures the clutch engages progressively.
Should you choose flywheel resurfacing vs replacement decision during clutch replacement?
Yes—your flywheel choice should match the clutch replacement goal, and the best decision usually follows three reasons: surface condition, flywheel type (solid vs dual-mass), and the risk of repeat labor if vibration or slip returns.
However, “saving money today” can backfire if a glazed or heat-checked flywheel ruins the new disc during break-in.
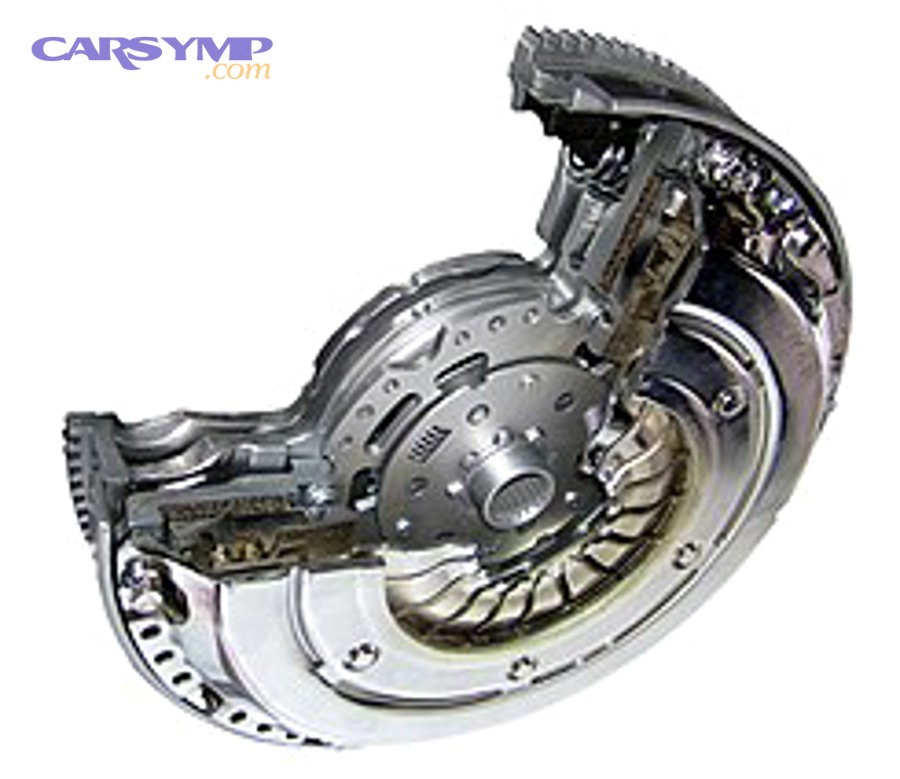
Flywheel resurfacing vs replacement decision
Use a simple rule: resurface solid flywheels when within spec and undamaged; replace when cracked, warped beyond spec, or when the design discourages resurfacing.
When resurfacing makes sense (mostly solid flywheels)
- Surface has light glazing but no deep grooves
- No cracks or severe heat spotting
- Step height (if applicable) can be maintained to spec
- A competent machine shop is available
When replacement is smarter
- Heat checking, cracks, or hard spots that machining can’t reliably remove
- Excessive runout or warpage
- Flywheel is already near minimum thickness
- It’s a dual-mass flywheel with internal play or noise concerns
Because labor dominates the job, replacing a questionable flywheel can be cheaper than paying labor twice.
Break-in procedure for a new clutch
A new clutch needs controlled heat cycles to mate friction surfaces evenly, which reduces glazing and extends lifespan.
A practical break-in approach (general guidance—follow your clutch manufacturer if provided):
- Drive moderately for the first several hundred miles: smooth starts, no high-RPM launches.
- Avoid towing, steep hill abuse, and aggressive full-throttle pulls in high gear.
- Vary driving conditions to distribute heat cycles.
- If you smell clutch material, reduce load and let it cool.
Break-in is especially critical if you changed flywheel finish, replaced a pressure plate with a different clamp load, or installed a performance disc.
Evidence on why heat matters: According to a study by the University of Zagreb from its Faculty of Mechanical Engineering and Naval Architecture, in 2025, clutch interface temperature was identified as the most influential wear input (reported correlation index 0.744), reinforcing why controlled engagement and break-in reduce accelerated wear.
Is it cheaper to DIY a clutch replacement or pay a shop?
It depends—DIY clutch replacement is cheaper on paper for at least three reasons (you avoid labor rates, you can shop parts aggressively, and you control “while-you’re-in-there” scope), but a shop is often better for speed, tooling, and warranty protection.

In addition, the real comparison is “total cost of a correct job,” because one alignment mistake or missed leak can erase DIY savings quickly.
When DIY is financially smarter
DIY can win if you already have:
- Safe lifting setup (lift or high-quality jack stands) and transmission jack
- Torque tools, breaker bars, and the patience for seized fasteners
- Time flexibility (a weekend can turn into a week if parts/tools are missing)
- A clear plan for hydraulics, flywheel, and seals
DIY is also appealing if you’re doing additional maintenance while access is open—mounts, bushings, and cleaning.
When paying a shop is the better value
A shop often wins when:
- The vehicle is AWD/FWD with tight packaging and subframe removal
- You have an internal slave cylinder that you don’t want to risk reusing
- You need machining support or specialized alignment procedures
- You want a labor warranty if noises or drivability issues appear later
Many drivers choose the hybrid approach: DIY diagnosis and parts selection, then professional installation.
A practical decision checklist
To decide quickly, compare:
- Your expected DIY time vs the shop’s downtime
- Tool costs you’d need to buy (or rent)
- Risk tolerance for rework
- Whether your symptoms might actually require additional work beyond the clutch
If you want to minimize regret, pick the option that maximizes the chance of a correct first-time repair—not the option that looks cheapest at checkout.