Master DIY Car Repair How-To for Drivers: Safe Self-Service vs Shop
DIY car repair is a practical way to handle common maintenance and minor fixes while staying in control of cost, quality, and timing—if you follow a safety-first process.
In this guide, you’ll learn how to choose the right jobs, prep your workspace, and execute repeatable steps that reduce mistakes—especially for routine items that quietly affect reliability.
You’ll also see where do it yourself car repair makes sense, where it becomes risky, and how to create a simple decision rule so you don’t “over-DIY” and turn a small job into a big one.
To connect everything, we’ll move from planning and tools into hands-on examples, then finish with the edge cases that most drivers overlook. Giới thiệu ý mới: we’ll start with whether DIY is truly worth it for you.
Is DIY car repair worth it for most drivers?
Yes—DIY car repair is worth it for many drivers because it can reduce ownership costs, improve vehicle reliability through timely maintenance, and build confidence, but see the safety limits before attempting any lift or brake work. To connect the “why” to the “how,” start by evaluating cost, risk, and your available time.
What you realistically gain (and what you don’t)
DIY tends to pay off most on repeatable, low-risk tasks (filters, fluids checks, wipers, battery terminals cleaning) where labor is a large portion of the bill and mistakes are recoverable. The tradeoff is that DIY does not eliminate the need for professional diagnostics, specialized tooling, or calibration when systems are safety-critical (brakes/steering) or electronics-heavy (advanced driver assistance systems).
According to research by AAA from its annual “Your Driving Costs” analysis, in September 2024, maintenance/repair/tire costs averaged 10.13¢ per mile under its five-year/15,000-miles-per-year assumptions.
A simple “green-yellow-red” decision rule
Green: visual inspections, simple replacements, non-pressurized parts, and anything with a clear torque spec and minimal disassembly. Yellow: jobs that require lifting the vehicle, draining fluids, or diagnosing a system with multiple possible failure points. Red: anything involving airbag components, high-voltage systems (hybrids/EVs), brake hydraulics if you’re unsure, steering/suspension geometry, or any repair where a mistake can cause loss of control.
How do it yourself car repair saves money without “cheapening” safety
Done correctly, do it yourself car repair saves money by avoiding labor charges while keeping quality high through the use of OEM-spec parts, correct torque, and proper fluids—yet safety stays intact only when you follow lift points, support the vehicle properly, and stop when the job crosses your skill boundary.
What tools and setup do you need before you start?
You need a basic, organized tool kit, a stable work area, and clear documentation for your exact vehicle, because preparation prevents most DIY failures. Next, we’ll convert that idea into a short list you can follow every time.

The core tool kit that covers most beginner jobs
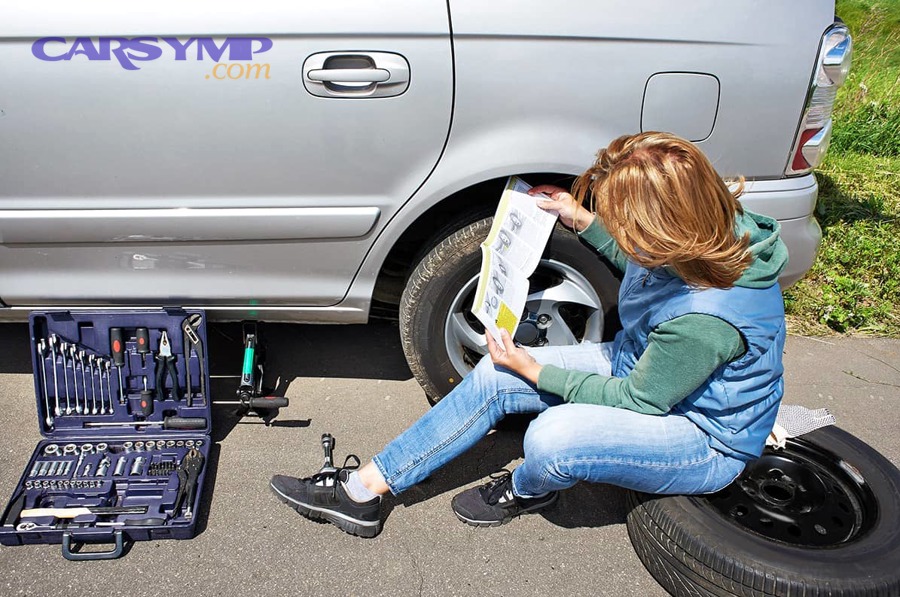
Start with a quality socket set (metric and/or SAE as your vehicle requires), combination wrenches, screwdrivers, pliers, a torque wrench, a tire pressure gauge, a drain pan, nitrile gloves, safety glasses, a work light, and a sturdy jack plus jack stands. Add a funnel, shop towels, and a small magnetic tray for fasteners.
According to research by the U.S. Department of Transportation’s NHTSA National Center for Statistics and Analysis, in September 1998, NEISS-based estimates found 4,822 people treated in ERs nationwide during a one-year period for injuries from motor vehicle “jack failures.”
Workspace checklist: make your environment “error-resistant”
Work on level ground, never soft soil. Keep a clean “parts zone” and a “tools zone,” and lay out fasteners in removal order. Use wheel chocks, keep pets/kids away, and ensure you have enough daylight or stable lighting so you can clearly see fluid color, leaks, and alignment marks.
Documentation and parts discipline
Use your owner’s manual and a reputable repair manual or OEM procedure. Confirm engine oil specification, filter part numbers, and torque values before you touch the car. If you can’t verify the spec, treat the job as “yellow” and pause.
How should you plan a DIY job so you don’t get stuck?
Plan by mapping the job into preparation, disassembly, replacement, reassembly, and verification, because most “stuck” moments happen when a step is missing or a part doesn’t match. After that, we’ll apply the same planning method to real tasks.

Time, tools, and “one-way” steps
Estimate time honestly, then double it if it’s your first attempt. Identify “one-way” steps—like draining fluids or removing a seized fastener—where you can’t easily revert without finishing. Keep a backup plan (ride share, alternate vehicle) if the car must be drivable the next morning.
Verification: the step most DIYers skip
Verification is where safety and confidence come from: test the system, check for leaks, re-check torque, and perform a short, controlled test drive. For example, after any wheel-related work, you should re-torque lug nuts after a short drive per common manufacturer guidance (your manual may specify distance/time).
A repeatable routine you can copy every time
Create a personal routine: (1) document the starting condition, (2) gather tools and parts, (3) protect the vehicle and yourself, (4) do the job, (5) verify function, (6) clean up and record what you did. In your notes, include a basic car maintenance checklist you’ll update as you learn your vehicle’s patterns.
How do you handle oil and fluid basics at home correctly?
You can handle many fluid-related basics at home by using the correct specification, preventing contamination, and verifying levels twice—once immediately and once after a brief warm-up. Next, we’ll focus on the most common fluid task and the mistakes that cause the most damage.
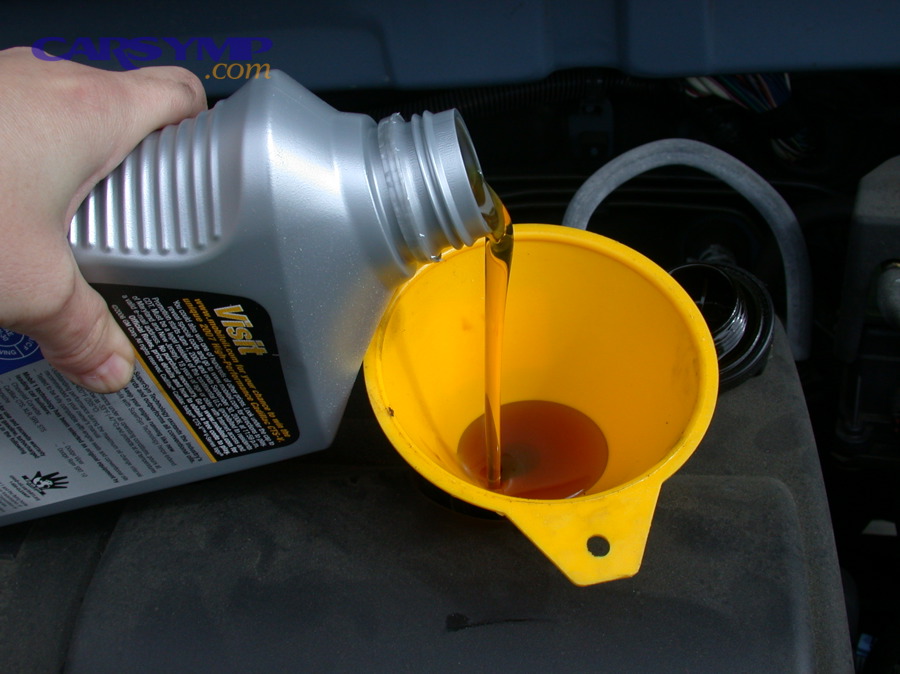
Step-by-step: clean, repeatable oil service habits
If you plan to change engine oil at home, follow a consistent method: warm the engine briefly (not hot), secure the vehicle on level ground, drain fully into a suitable pan, replace the filter with the correct gasket seating, reinstall the drain plug with the proper torque if available, refill with the specified grade, and verify level after the engine runs and settles.
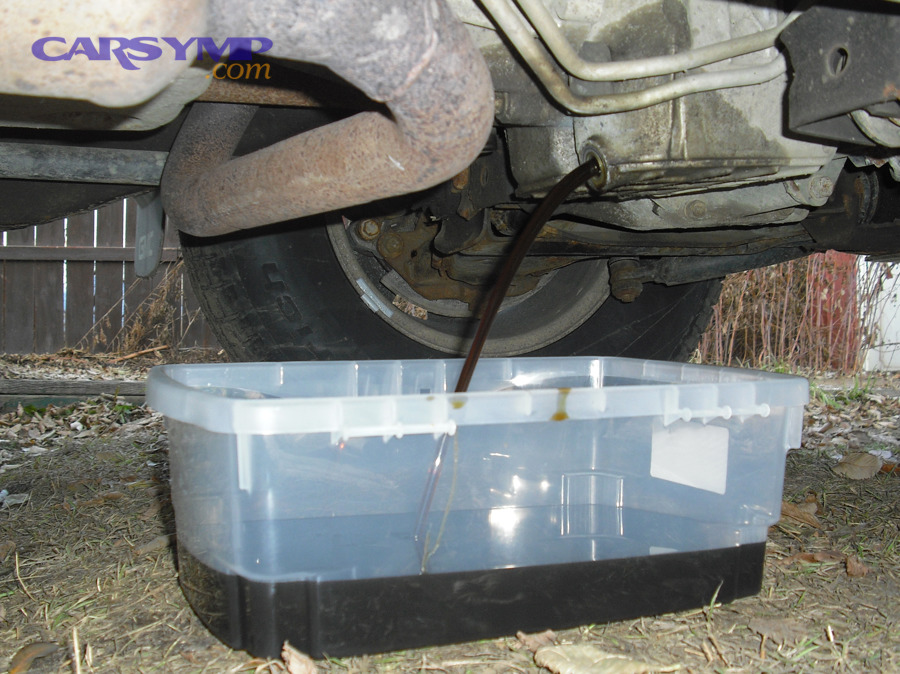
According to research by the U.S. Department of Energy (via FuelEconomy.gov), keeping your car maintained—including using the manufacturer-recommended grade of motor oil—can improve gas mileage by about 1–2%.
What to do with used oil and filters
Never dump used oil. Store it in a sealed container and take it to a recycling location accepted in your area. Wipe spills immediately; even small drips can create slips and environmental harm.
When fluid work becomes “yellow” or “red”
Fluid work becomes risky when it involves pressurized systems, bleeding, or components that can fail catastrophically if air is introduced. If you’re unsure about the exact procedure, stop and shift to a professional—especially on brakes and cooling systems.
How do you replace common filters without overthinking it?
You can replace common filters quickly by confirming the correct part, keeping debris out of the intake path, and reseating housings properly. Next, we’ll translate that into simple checks so you don’t create vacuum leaks or poor fitment.

Engine air filter: the “five-minute” win
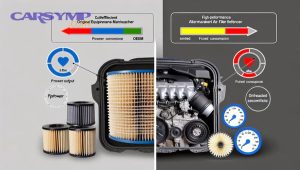
To replace air filter components, open the airbox carefully, note orientation, remove debris from the housing without letting it fall downstream, insert the new filter with the proper seal direction, and ensure all clips/fasteners are fully seated. A loose airbox can cause unmetered air and drivability issues in some vehicles.
According to research by the U.S. Department of Energy (via FuelEconomy.gov), replacing a clogged air filter on older vehicles can improve acceleration and fuel economy.
Cabin filter: comfort, visibility, and HVAC load
Cabin filters affect airflow and sometimes window fogging. Replace it by following the glovebox or under-dash access method for your model, keeping leaves/dust from falling into the blower area, and confirming the airflow arrow direction.
Signs you did it wrong
Rattling intake noises, a whistling sound, or an airbox that won’t fully close are signals to re-open and reseat. Always re-check for leftover tools and ensure clamps are tight.
How can you refresh visibility and “small safety” items fast?
You can improve driving safety quickly by replacing wear items that affect visibility—wipers, washer fluid, bulbs, and tire pressure—because these have an outsized impact for minimal effort. Next, we’ll make the process foolproof and repeatable.

Wipers and washers: the easy confidence boost
If your goal is to replace wiper blades, match the adapter style, confirm length, and test for full sweep without chatter. Clean the glass first; many “bad wipers” are actually dirty windshields. Refill washer fluid and confirm spray pattern so you don’t learn about a clogged nozzle during a storm.
Tires: the one check that affects everything
Tire pressure impacts handling, braking distance, and fuel economy. Check pressure cold, match the door-jamb specification (not the sidewall max), and inspect tread and sidewalls for damage before long trips.
According to research by the U.S. Department of Energy (via FuelEconomy.gov), keeping tires properly inflated can improve gas mileage by up to about 3%.
Bulbs: avoid “half-fixed” lighting problems
For bulbs, avoid touching glass with bare fingers (oil can shorten life for some types). Confirm that seals and dust covers are reseated to prevent moisture ingress. If a bulb repeatedly fails, the issue may be voltage, corrosion, or a poor ground—this is a “yellow” diagnostic.
Can you do brake work yourself safely?
Sometimes—basic brake service can be DIY if you have correct tools, stable lifting/support, and a step-by-step method, but it becomes unsafe quickly if you improvise, contaminate friction surfaces, or misunderstand torque and seating. Next, we’ll separate “safe beginner brake work” from jobs that should be professional.
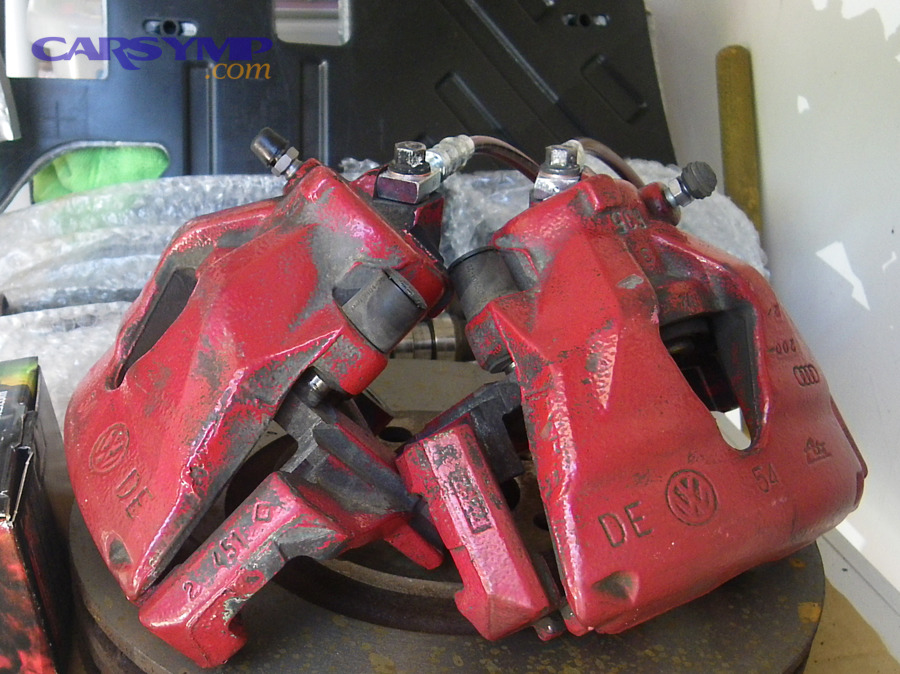
Beginner-safe: pad inspection and replacement (with strict rules)
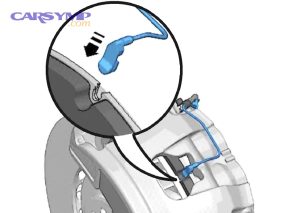
If you plan to replace brake pads, use the exact pad type, inspect rotor condition, clean contact points correctly, compress pistons as specified, and torque fasteners to spec. Never allow grease on pads/rotors, and always pump the brake pedal before moving the vehicle so the pads seat against the rotor.
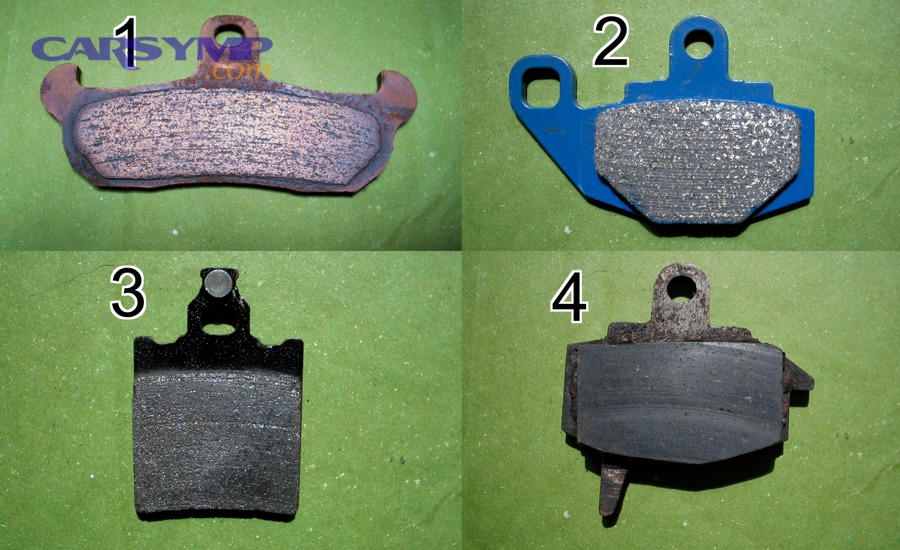
According to research by the U.S. Department of Transportation’s NHTSA National Center for Statistics and Analysis, in September 1998, ER estimates tied thousands of injuries to jack failures—highlighting why proper lifting and jack stands are non-negotiable during brake work.
Advanced and risky: hydraulic work and air in the system
Jobs involving brake fluid require precision because air compresses and can reduce braking effectiveness. If you decide to bleed brakes, you must use the correct sequence, prevent reservoir depletion, and confirm a firm pedal before road testing. If anything feels off, stop and seek professional help—brakes are not a “guess-and-check” system.
Smart test drive protocol after brake work
Do a static test first: pedal firmness, leaks, and wheel rotation freedom. Then drive at low speed in a safe area, making gentle stops before normal braking. Listen for grinding, pulling, or pulsation; any of these means re-check before continued driving.
How do you handle a flat tire calmly and correctly?
You can handle a flat tire by prioritizing location safety, stabilizing the vehicle, and using the correct jacking points, because a rushed roadside change creates most injuries. Next, we’ll make the process simple and reduce the chance of a dangerous mistake.
Roadside safety comes first
Before you attempt to fix flat tire situations, get as far off the road as possible on a firm, level surface, turn on hazard lights, and set the parking brake. Use wheel chocks if available and keep passengers away from traffic side. If conditions are unsafe (narrow shoulder, high-speed traffic, poor visibility), calling for assistance is the correct decision.
Use the right jack for the right job
Many factory jacks are designed for emergency tire changes only—never for getting underneath the car. If you plan to do under-vehicle work, use a quality floor jack and jack stands rated for the vehicle weight, and always support at approved points.
According to research by NHTSA’s National Center for Statistics and Analysis, in April 2012, tire-related pre-crash events like flats or blowouts were associated with substantial crash harm in prior estimates (including hundreds of fatalities and thousands of injuries annually before TPMS became widespread).
Torque and re-check: your “aftercare” step
Hand-thread lug nuts to avoid cross-threading, tighten in a star pattern, and re-check after a short drive if your manufacturer recommends it. A loose wheel is rare but catastrophic—verification matters.
How can you diagnose warning lights without guessing?
You can diagnose many warning lights by combining simple checks with an OBD-II scan and a disciplined process, because random part swapping wastes money and hides real causes. Next, we’ll build a step-by-step approach you can reuse for different symptoms.

Start with “cheap checks” before you scan
Check the obvious: loose battery terminals, damaged hoses, low fluids, and simple intake/vacuum issues. If you want to diagnose check engine light concerns more effectively, note when the light appeared, whether it’s flashing, and what changed recently (fuel fill, weather, recent maintenance).
According to research by the U.S. Department of Energy (via FuelEconomy.gov), fixing a faulty oxygen sensor can improve mileage by as much as about 40% in some cases, which shows why proper diagnosis can produce large payoffs when the root cause is real.
Use OBD-II data the right way
Scan for codes, record freeze-frame data if available, and treat codes as clues—not verdicts. Look up reputable diagnostic trees for your vehicle and code. Clear codes only after you’ve repaired the suspected cause and confirmed normal operation.
When a scan still isn’t enough
If you’re seeing multiple codes, intermittent faults, or drivability issues, professional diagnostics may be cheaper than guessing. Use a symptom-to-cause reference if you like (for example, some drivers use informational hubs such as carsymp.com), but prioritize OEM procedures and verified tests over generic lists.
When should you stop DIY and go to a professional?
You should stop DIY when the repair is safety-critical, requires specialized calibration, involves high-voltage systems, or when your verification step fails, because continuing “half-certain” work can multiply risk and cost. Next, we’ll turn these warnings into clear stop-signs you can recognize in minutes.

Stop-sign #1: lifting and stability uncertainty
If you’re not 100% sure about lift points, stand placement, or surface stability, do not proceed. This is where DIY injuries concentrate, and the consequences are immediate.
According to research by the U.S. Department of Transportation’s NHTSA National Center for Statistics and Analysis, in September 1998, an estimated 4,822 people were treated in ERs for injuries linked to motor vehicle jack failures in a single year of NEISS-based data.
Stop-sign #2: brakes, steering, and anything you can’t test safely
If you can’t verify braking performance in a controlled way, or if steering/suspension changes alter alignment and stability, move to a qualified shop. This includes complex brake hydraulics, severe corrosion, and any sign of fluid leaks after reassembly.
Stop-sign #3: electrical and battery hazards beyond simple swaps
Battery replacement can be straightforward, but risks rise with corrosion, sparks, and charging/jump-starting scenarios. If you plan to change car battery components, avoid jewelry, protect eyes, disconnect negative first, and keep sparks away from venting gases.
According to research by NHTSA’s National Center for Statistics and Analysis, using NEISS data for October 1993–September 1994, an estimated 7,051 people were treated in ERs for injuries associated with motor vehicle batteries, with battery explosion injuries forming the largest category described.
Beyond these fundamentals, DIY shifts from “maintenance” to “repair engineering,” and that is the contextual boundary where rare details start to matter more than enthusiasm.
Rare DIY pitfalls and overlooked context that change outcomes
These less-obvious issues can turn a normal DIY task into a costly failure, because modern vehicles combine mechanical work with software, sensors, and legal/environmental constraints. Next, we’ll walk through the biggest hidden traps so you can avoid them early.

Warranty, liability, and “proof of maintenance”
Even if you do the work correctly, you may need documentation to support warranty claims or resale value. Keep receipts, record date/mileage, and note specifications used. The “DIY vs shop” debate often flips when paperwork becomes part of the job.
Torque-to-yield fasteners and hidden single-use parts
Some bolts are designed to stretch once and must be replaced. Reusing them can cause clamping failure later. If you can’t confirm whether a fastener is single-use, treat it as “yellow” and verify with an OEM source.
Hybrids/EVs and high-voltage boundaries
Hybrid and EV systems can include high-voltage components that require specific PPE and lockout procedures. DIY may still be viable for cabin filters, wipers, and tire care—but not for orange-cable circuits unless trained.
Disposal, spills, and local rules
Used oil, filters, brake fluid, and batteries often have disposal requirements. A clean, compliant disposal routine protects you legally and keeps your workspace safe—especially if you store fluids between trips to recycling.
Frequently Asked Questions
What are the best beginner tasks to learn first?
Start with low-risk, high-feedback tasks: inspections, tire pressure checks, wipers, cabin filter, engine air filter, and simple fluid level checks. These build confidence and teach you how your vehicle “looks” when healthy.
How do I know if I bought the right parts?
Match parts by VIN when possible, cross-check OEM numbers, and compare new parts side-by-side before installation. If the shape, connector, or mounting points differ, pause before forcing fitment.
How can I avoid stripped bolts and broken clips?
Use correct socket size, clean exposed threads, apply penetrating oil where appropriate, and avoid over-torquing. For clips, use trim tools and follow the removal direction; many break from prying the wrong edge.
Can I do ignition maintenance at home?
Often yes, but follow your manual closely. If you decide to replace spark plugs, use the correct gap/spec (if applicable), avoid cross-threading, torque properly, and watch for coil/boot damage during removal.
Should I keep a “DIY record” of what I did?
Yes. Track date, mileage, part numbers, fluids used, and any symptoms before/after. It improves future diagnosis, supports resale value, and makes your next DIY job faster and safer.