Fix an Emissions Test Failure: Step-by-Step Smog Repair Guide for Drivers (From Gas Cap to Catalytic Converter)
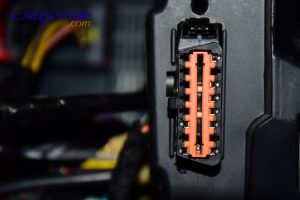
Failing an emissions test usually means your vehicle’s onboard diagnostics (OBD-II) detected a problem that can raise tailpipe or evaporative emissions—or the inspection system couldn’t verify your emissions controls are working (for example, “not ready” monitors). The fastest fix starts with reading the failure report + OBD-II codes, then prioritizing checks that commonly cause failures without replacing parts blindly.
Next, you’ll want a clear “do-this-first” plan so you don’t waste money: stabilize the basics (battery/charging, vacuum leaks, misfires), confirm which monitors or pollutants failed, and only then move into targeted exhaust & emissions repair based on data—not guesses.
Then, you’ll run quick, high-probability checks (gas cap, intake leaks, spark plugs, air filter, obvious exhaust leaks) and verify whether a tune-up is actually relevant to your failure type. Some “easy wins” truly work—others just reset symptoms until the test fails again.
Introduce a new idea: once the quick checks are done, you’ll use codes + live data to separate O2 sensor issues vs converter diagnosis, get your readiness monitors completed, and prepare confidently for a retest.
What does it mean to “fail an emissions test,” and what exactly failed?
Failing an emissions test means your vehicle did not meet the inspection program’s requirements—either because measured pollutants were too high, OBD-II reported an emissions-related fault, or the system could not confirm self-tests (“readiness monitors”) were complete.
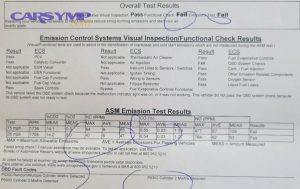
To better understand what exactly failed, look at the failure report and sort it into these buckets (many states use one or more):
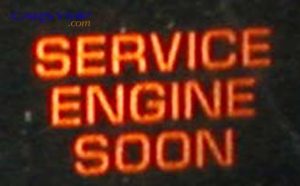
- OBD-II failure: the check engine light is on, or stored emissions-related codes exist (P0xxx), or monitors are incomplete.
- Tailpipe failure (where applicable): hydrocarbons (HC), carbon monoxide (CO), or nitrogen oxides (NOx) exceeded limits.
- EVAP failure: the evaporative emissions system couldn’t hold vacuum/pressure (leaks, purge/vent faults).
- Visual/functional failure: missing/modified catalytic converter, disconnected hoses, or other non-compliant equipment.
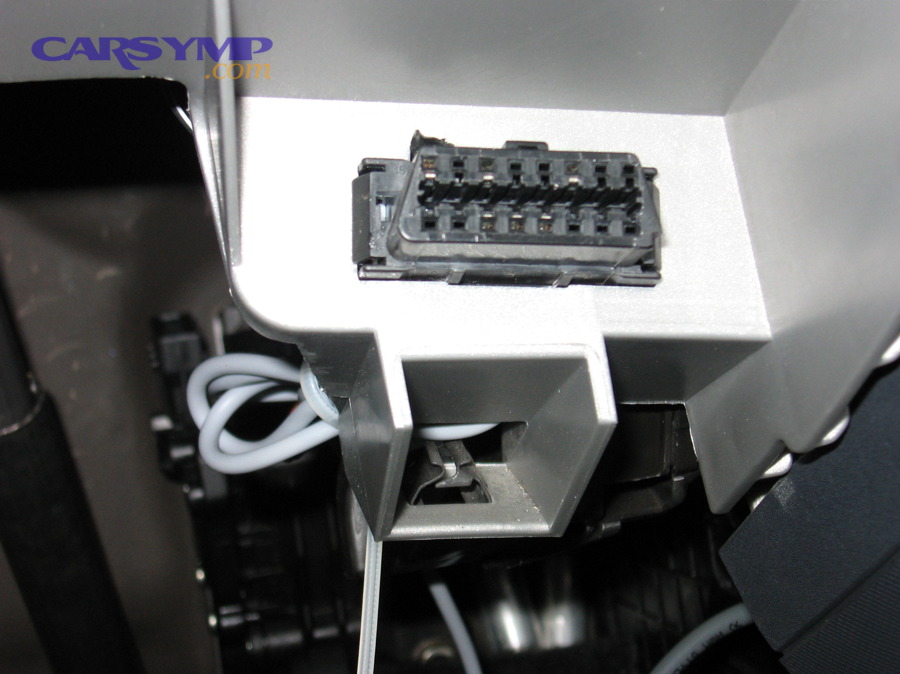
Common reasons emissions tests fail cluster around fuel control and leak integrity: misfires, vacuum leaks, worn ignition parts, EVAP leaks, aging oxygen sensors, and catalyst efficiency loss.
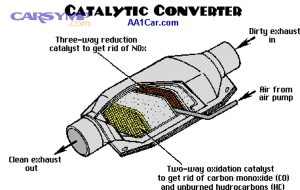
Evidence (why the “fuel control window” matters): According to a study by Clemson University (research conducted during the authors’ time there, published in 2021) in the field of emissions control and diagnostics, three-way catalytic converters can approach very high conversion efficiency when the air–fuel ratio is near stoichiometry (lambda ≈ 1), which is exactly what many failure modes disrupt.
What should you do immediately after failing so you don’t waste time or money?
Yes—there are smart first steps after an emissions failure, and they prevent at least three costly mistakes: replacing parts without evidence, resetting codes right before testing, and chasing the wrong system.
Next, follow this 5-step “don’t waste money” workflow:
- Get the exact failure details (not just “failed”)
- Ask for the printout: codes, monitor status, and which section failed (OBD/EVAP/tailpipe/visual).
- If you have a scan tool, capture a screenshot of codes + freeze-frame before clearing anything.
- Decide whether you can safely drive and diagnose
- If you have severe drivability issues (hard misfire, flashing check engine, overheating), stop and address that first—those conditions can destroy a catalytic converter fast.
- Scan for codes and categorize them by system
- EVAP: P0440–P0457 family (varies by make)
- Catalyst efficiency: P0420/P0430
- Fuel trim: P0171/P0172, etc.
- Misfire: P0300–P030x
- O2 sensor related: P013x/P015x, heater codes, response codes
- Do not clear codes yet unless you’re starting a repair plan
- Clearing codes can reset readiness monitors, creating a new failure mode: “not ready.”
- Create a low-cost test order
- Visual checks → simple maintenance items → leak checks → live data confirmation → targeted component tests → repair → verification → readiness drive cycle.
If you’re debating DIY vs shop, use one rule: diagnostics before parts. A good shop will show you codes, freeze-frame, fuel trims, and (when needed) smoke test results before recommending expensive components.
What are the quickest “easy wins” you should check first (before replacing parts)?
There are 7 main “easy win” categories you should check first—based on the highest-frequency, lowest-cost causes of failure: (1) gas cap/EVAP basics, (2) intake leaks, (3) ignition/tune-up items, (4) air metering, (5) exhaust leaks, (6) battery/charging health, and (7) fluids/contamination issues.
To illustrate, these checks work because they fix the inputs that cause codes—rather than swapping sensors that only report the problem.
Should you start with a gas cap check even if you have other codes?
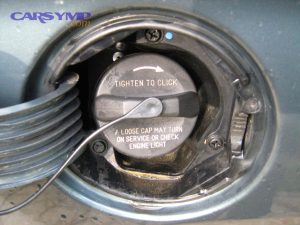
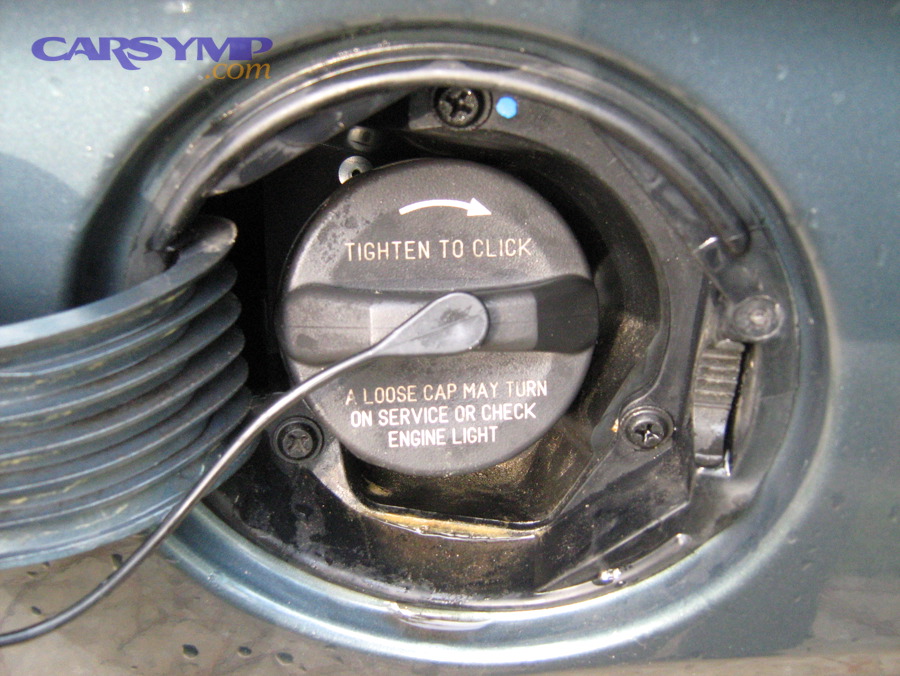
Yes—start with the gas cap because it’s cheap, fast, and it can trigger EVAP-related failures or codes (and sometimes a check engine light) even when the engine otherwise runs fine.
Then use Gas cap test and replacement guidance that’s actually reliable:
- Inspect the seal for cracks, flattening, or debris.
- Clean the filler neck sealing surface.
- Tighten until it clicks (if designed that way).
- If the cap is damaged, replace it with an OEM-quality cap (cheap universal caps can cause repeat issues).
- After replacement, it may take a few drive cycles for EVAP to rerun and confirm the fix—don’t retest immediately.
When does a tune-up helps pass emissions, and when is it a waste?
A tune-up helps pass emissions when your failure is tied to incomplete combustion or unstable fuel control, especially with misfire codes (P030x), high HC, or rough running.
However, it’s a waste if you’re trying to “tune-up your way out” of a catalyst efficiency code (P0420/P0430) without evidence of misfire, leak, or mixture problems—because the converter may already be damaged or the test data points elsewhere.
What quick checks can you do in 15 minutes with basic tools?
Next, run this 15-minute checklist before buying parts:
- Air filter: clogged filters can distort airflow and fuel trim on some vehicles.
- Vacuum/PCV hoses: cracks, disconnected lines, collapsed elbows.
- Oil cap/dipstick: missing or loose can act like a vacuum leak on some engines.
- Battery voltage: low voltage can cause weird sensor and monitor behavior.
- Obvious exhaust leaks: especially upstream of O2 sensors (a leak can mimic a lean condition).
What are the most common “easy win” failures by system?
More specifically, these patterns show up constantly:
- EVAP: loose cap, cracked purge line, stuck purge valve, leaking canister vent valve.
- Misfire: worn plugs/coils, vacuum leak, fuel injector issue.
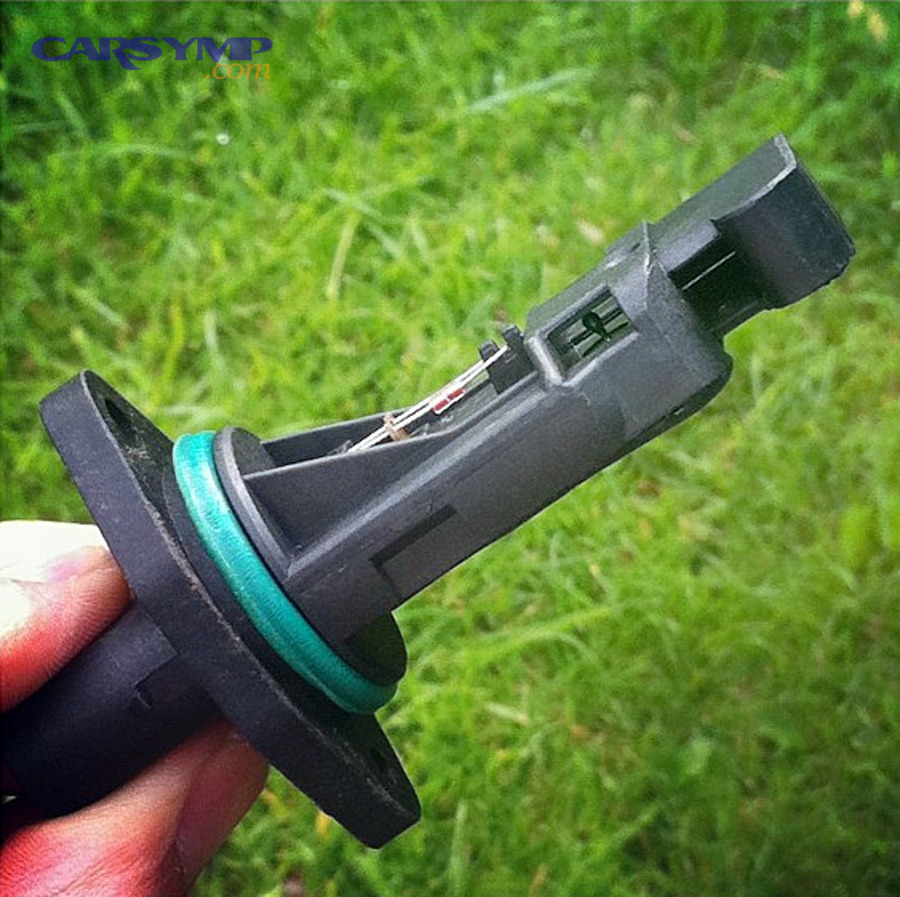
- Fuel trim lean (P0171/P0174): intake leak, MAF contamination, low fuel pressure.
- O2 sensor heater codes: wiring, blown fuse, sensor heater failure.
- Catalyst efficiency: real converter aging, or a root cause (misfire/mixture/exhaust leak) that killed efficiency.
Which OBD-II codes and symptoms tell you the real cause of the failure?
There are 4 main code-and-symptom groups that reveal the real cause: (A) misfire/combustion instability, (B) fuel trim/air metering errors, (C) catalyst/O2 feedback problems, and (D) EVAP leak/control faults—based on how each group changes emissions and how the OBD system detects it.
However, codes alone can mislead; you need to pair them with live data and “what the car is doing.” (If your scan tool has a notes field like “Car Symp,” use it as a consistency check—Car Symp should match the data. If it doesn’t, trust the data.)
Before the table, here’s what it contains: the table maps common failure codes to the most likely root cause tests, so you can stop guessing and start confirming.
| Code/Clue | What it often means | What to test first (cheap → definitive) |
|---|---|---|
| P0300–P030x + rough idle | Misfire raising HC, damaging catalyst | Plugs/coils, vacuum leak, fuel pressure, injector balance |
| P0171/P0174 (lean) | Unmetered air or low fuel delivery | Smoke test intake, MAF sanity, fuel pressure |
| P0172/P0175 (rich) | Over-fueling, sensor bias, injector leak | Fuel trims + injector leakdown, fuel pressure regulator |
| P0420/P0430 | Catalyst efficiency below threshold | Exhaust leak check, misfire history, O2 waveforms |
| O2 heater codes | Sensor heater/wiring issue | Fuse, wiring resistance, heater current |
| EVAP leak codes | System not sealing/holding vacuum | Gas cap, smoke test EVAP, purge/vent function |
What do fuel trims and misfire data reveal about emissions failures?
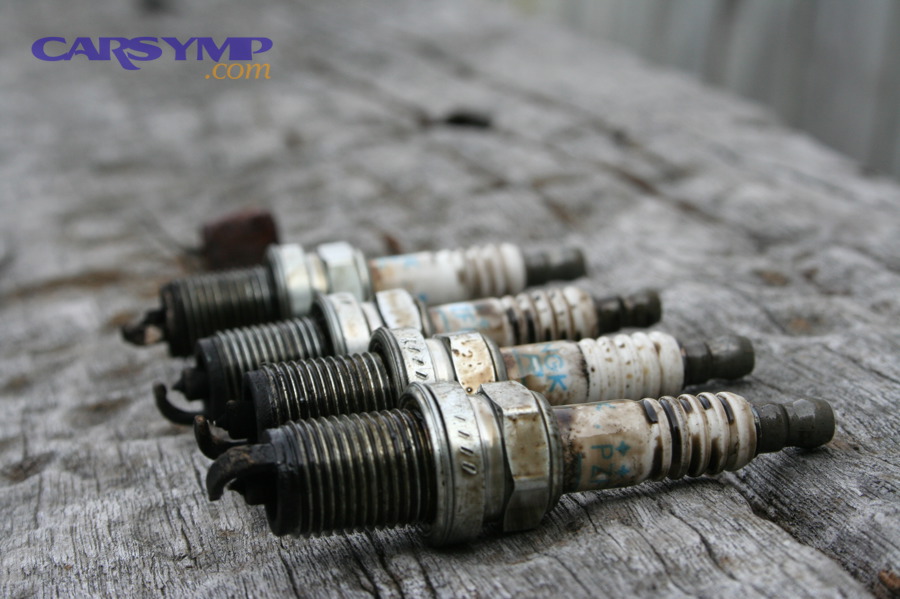
Fuel trims are one of the fastest ways to identify Misfire and fuel trim causes of emissions failure because they show whether the ECU is adding or subtracting fuel to hit stoichiometry.
- High positive trims (e.g., +10% to +25%) often point to unmetered air (vacuum leak), weak fuel delivery, or MAF under-reporting.
- High negative trims (e.g., −10% to −25%) often point to rich running (leaking injector, excess fuel pressure, biased sensor).
- Misfire counters help you identify which cylinder(s) are the real problem, even when the car “feels okay.”
If you fix fuel control problems, you often fix emissions without replacing expensive parts—because stable combustion reduces HC and protects the catalyst.
Which EVAP codes are quick-fix vs “needs proper testing”?
Next, treat EVAP leak codes and quick fixes like a funnel:
- Quick-fix candidates: loose/damaged gas cap, cracked filler neck seal, broken vapor hose near the engine bay.
- Usually needs testing: stuck purge valve, vent valve problems, leaks at canister, tank pressure sensor issues.
A smoke test is often the fastest path once the obvious items are cleared, because EVAP leaks can be tiny and hard to see.
Evidence (why small leaks matter): According to a study by Linköping University (diagnostics research published in 2012), tightening the EVAP leak detection threshold from a 1 mm equivalent leak to a 0.5 mm equivalent leak can require roughly three times higher test quantity to maintain detection performance—showing how challenging small EVAP leaks are to detect without proper methods.
How do you tell if a catalyst code is real or “collateral damage”?
More importantly, catalyst codes are often downstream of another problem:
- A sustained misfire can overheat and melt the converter substrate.
- A long-term lean condition can reduce conversion efficiency and create NOx issues.
- An exhaust leak upstream of the rear O2 sensor can fake converter inefficiency.
So treat P0420/P0430 as a diagnosis project, not an automatic converter purchase.
How do you fix the big three failure paths: O2 sensors, air/fuel issues, and the catalytic converter?
The fastest reliable path is a 3-lane repair method: (1) correct air/fuel control, (2) verify O2 sensor operation and wiring, and (3) confirm catalytic converter performance after upstream issues are fixed—so you don’t replace the converter when the real issue is fuel control.
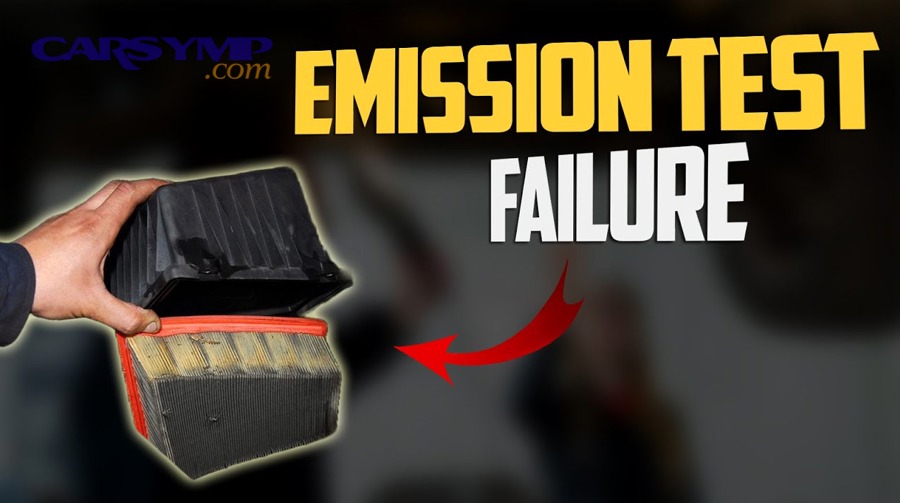
Then apply targeted tests in this order because it prevents expensive mistakes.
How do you separate O2 sensor issues vs converter diagnosis?
Start by understanding how the sensors behave:
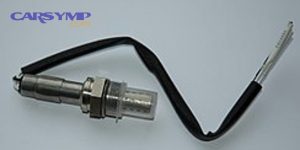
- Upstream O2 (pre-cat): switches rapidly as the ECU controls mixture.
- Downstream O2 (post-cat): should be comparatively steadier if the catalyst is storing oxygen and smoothing the signal.
If the downstream sensor mirrors the upstream too closely, you may be in Catalytic converter efficiency code diagnosis territory—but only after verifying there’s no exhaust leak and the engine is not misfiring.
Practical checks (without overcomplicating it):
- Look for exhaust leaks upstream of the downstream sensor.
- Confirm fuel trims are reasonable (don’t diagnose a converter on a sick engine).
- Check for sensor heater codes and wiring damage.
- Use live graphs (if your scanner supports it) to compare upstream/downstream activity.
Evidence (what controls catalyst performance): According to a study by the University of Michigan, Electrical Engineering and Computer Science Department, the conversion efficiency of a three-way catalyst depends strongly on air–fuel ratio, exhaust mass flow, and catalyst temperature—meaning upstream fuel control problems can look like “bad catalyst” on a scan tool.
What air/fuel problems most often trigger an emissions failure—and how do you fix them?
Next, fix air/fuel control issues that commonly drive failures:
- Vacuum leaks (lean codes): smoke test intake, inspect PCV system, replace cracked hoses, reseal intake if needed.
- MAF contamination or incorrect readings: clean with MAF-safe cleaner; confirm grams/sec at idle and under load are plausible.
- Fuel delivery: check fuel pressure and volume; weak pumps and clogged filters can cause lean conditions.
- Rich conditions: leaking injectors, faulty fuel pressure regulators, stuck purge valves (can dump fuel vapor at idle).
A lot of “mystery emissions failures” disappear once fuel control stabilizes.
When is a catalytic converter actually the correct fix?
More specifically, replace or repair the converter only after you’ve confirmed:
- No misfire history or ongoing misfires.
- Fuel trims are stable and within a normal range.
- No upstream exhaust leaks.
- The downstream O2 sensor and wiring are healthy.
- The converter’s behavior still indicates low oxygen storage capacity or poor conversion.
If you replace a converter before correcting a misfire or fuel control problem, you may destroy the new converter quickly.
What does a realistic emissions repair cost estimate look like?
Costs vary wildly by vehicle and region, but the structure is consistent:
- Low-cost fixes: gas cap, small hoses, air filter, spark plugs (depending on engine layout).
- Mid-cost fixes: MAF sensor, O2 sensors, purge/vent valves, smoke-test-based EVAP repairs.
- High-cost fixes: catalytic converters, major exhaust work, complex intake reseals.
If you want an Emissions repair cost estimate that’s actually useful, ask for a breakdown that separates: 1) diagnostics time, 2) parts, 3) labor, 4) retest expectations (including readiness completion plan).
How do you confirm the repair and avoid failing the retest on readiness monitors?
You confirm a repair by passing three checks: (1) the symptom and code are gone for the right reason, (2) live data is stable, and (3) readiness monitors complete without returning faults—so the inspection system can verify emissions controls.
Then use a structured verification routine, because “the light is off” is not the same as “the car is ready to pass.”
What is readiness monitors not set troubleshooting, and why does it cause retest failures?
Readiness monitors are OBD-II self-tests that must run and complete after codes are cleared or power is lost. If they remain incomplete, the car can fail even with no check engine light.
Common causes of “not ready” problems:
- Codes were cleared too close to the test.
- The battery was disconnected recently.
- The car is driven only short trips (no full warmup + steady cruise).
- There’s a pending issue that prevents a monitor from completing (especially EVAP).
How do you complete monitors efficiently without doing anything shady?
Next, the safe and legal approach is:
- Fix the root issue first (don’t just clear codes).
- Drive a complete warmup cycle: cold start → normal operating temp.
- Add steady-state highway driving: many monitors need stable cruise.
- Include decel/coast events: some tests run during deceleration.
- Check monitor status with a scanner before booking the retest.
This is the core of How to prepare for a retest legally: you’re not “tricking” the car—you’re giving it the conditions needed to run self-tests.
How do you verify the repair with scan data before you pay for a retest?
More specifically, confirm these items with a scan tool:
- No stored or pending emissions codes
- Fuel trims stable (not swinging wildly)
- Misfire counters near zero
- O2 sensor activity plausible (upstream switching, downstream steadier post-fix)
- Monitor list: identify what’s incomplete and tailor your drive routine
If EVAP is the last monitor, it may require specific conditions (fuel level range, ambient temperature, soak time). That’s normal—plan for it rather than guessing.
What are your retest, waiver, and compliance options if fixes are expensive or time-sensitive?
If fixes are expensive or time-sensitive, the best path depends on your program rules: you can either retest after verified repair, pursue a waiver (where allowed), or use approved repair pathways—but you must stay compliant to avoid penalties or registration blocks.
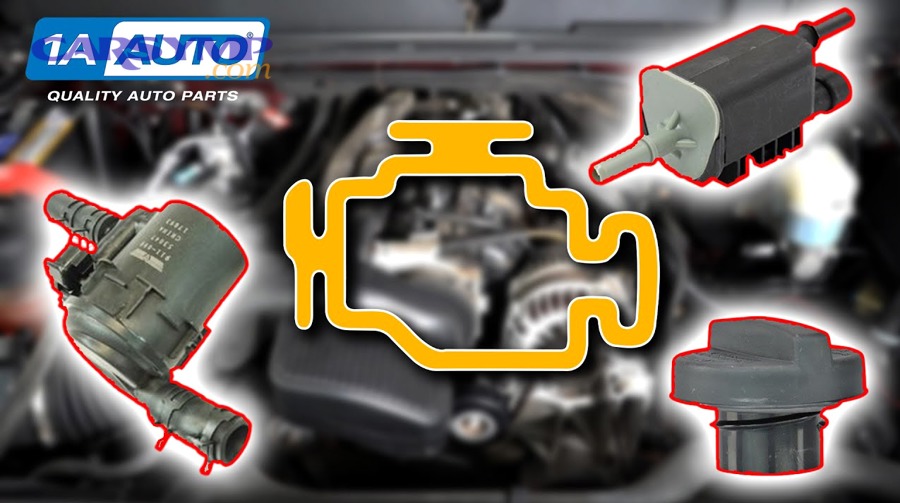
Then, treat your options as a comparison among three approaches: pay-for-certain-fix, pay-for-diagnosis-first, or qualify-for-relief (waiver/extension) where your jurisdiction allows.
Should you retest immediately after clearing codes?
No—retesting immediately after clearing codes is one of the top reasons people fail again, because monitors may reset and show incomplete. Instead, retest only after your scanner confirms the monitor status is acceptable and no pending codes remain.
What documents should you keep to protect yourself?
Next, keep a “compliance folder”:
- Initial failure report
- Diagnostic printouts (codes, freeze-frame, monitor status)
- Receipts for parts and labor
- Any emissions-related warranties (some components have extended emissions warranties depending on location and vehicle)
- Retest results
This helps if you need to show repair attempts, request extensions, or challenge a bad test.
How do you avoid scams in high-pressure emissions repairs?
More importantly, avoid common traps:
- “You need a catalytic converter” without data (ask for O2 graphs, fuel trims, leak checks).
- Parts swapping (replacing O2 sensors repeatedly without confirming why the code returns).
- Reset-and-send (clearing codes and telling you to “go test now” without monitor planning).
A legit shop doing emissions work should explain what they measured, what they concluded, and what they verified after repair.
What’s a reasonable decision rule if you’re on a tight budget?
If money is tight, prioritize fixes that reduce risk of repeating failure:
- Solve misfires and air/fuel control first (protects the catalyst),
- Solve EVAP leaks with smoke testing when needed,
- Confirm before replacing high-cost parts like converters.