Fix Exhaust Leaks: Step-by-Step Exhaust Leak Repair for DIY Car Owners (Manifold, Gasket, Flex Pipe)
An exhaust leak repair is the process of restoring a sealed exhaust path so hot gases exit the tailpipe—quietly, safely, and without confusing the engine’s sensors. If you match the repair to the leak’s location and size, you can usually stop the noise, reduce fumes, and prevent extra heat damage around the engine bay.
Most DIY success comes down to accurate diagnosis. You’ll get better results if you use simple checks to narrow the leak to a gasket, manifold, flex joint, or a rusty pipe seam—before you buy parts or smear on sealant.
Cost and difficulty vary a lot by leak type. A loose flange or small gasket leak can be straightforward, while a corroded pipe or broken studs can quickly turn into a bigger job with cutting, welding, or specialty tools.
Introduce a new idea: once you understand where leaks form and how to confirm the exact spot, the “right” fix becomes obvious—and you’ll know when a temporary patch is acceptable and when it’s time for a proper replacement.
What is an exhaust leak repair and why does it matter for safety and performance?
An exhaust leak repair is a safety-and-function fix that seals the exhaust system so combustion gases don’t escape early, reducing fumes exposure, heat damage, and drivability issues while keeping noise and emissions under control. Next, because leaks can be subtle at first, it helps to connect the “why it matters” to the symptoms you can actually notice.
Why safety is the first priority (not noise)
Many people chase the sound—ticking at cold start or a rasp under throttle—but the bigger concern is where the leak is located. Any leak upstream of the cabin’s airflow path can allow fumes to drift into the HVAC intake area, especially at idle, stop-and-go traffic, or when parked.
Safety risks of exhaust leaks increase when:
- The leak is near the firewall, floor pan, or underbody openings.
- You smell exhaust inside the cabin (especially with windows up).
- You idle for long periods (drive-thru lines, warm-up, traffic jams).
- You feel unwell while driving (headache, dizziness, nausea).
According to a study by Virginia Tech from the Virginia Tech Transportation Institute, in 2025, published literature in their in-cabin CO report noted mean in-cabin CO levels ranging from negligible to 192 ppm, with the highest exposures in vehicles with internal exhaust leaks. (Source: vtechworks.lib.vt.edu)
How performance and drivability get affected
A sealed exhaust system isn’t just about routing gases—it also supports how the engine breathes and how the ECU interprets sensor signals.
Common Exhaust leak symptoms tied to performance include:
- Loss of low-end torque (especially with leaks near the manifold)
- Sluggish throttle response
- Increased fuel consumption
- Check Engine Light (often lean codes if the leak is before the front O2 sensor)
- A “puffing” sensation under the hood or under the car
This matters for exhaust & emissions repair because a leak ahead of the catalytic converter or oxygen sensor can alter the exhaust stream and lead the ECU to make incorrect fueling adjustments—one reason people see odd idle behavior, unstable trims, or repeated codes even after replacing a sensor.
Where do exhaust leaks happen most often: manifold, gasket, pipe, or muffler?
There are 4 main exhaust leak locations—manifold, gasket/flange, flex/pipe joints, and muffler/tail sections—based on temperature, vibration, and corrosion exposure at each section. Then, to choose the right fix fast, you’ll want to understand what makes each location fail in a predictable way.
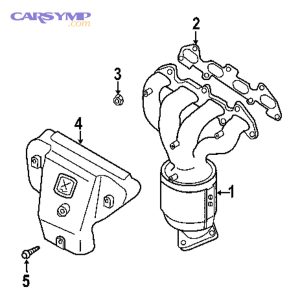
1) Exhaust manifold and manifold cracks
The manifold runs hottest and sees constant heat cycling. Over time, this can:
- Warp sealing surfaces
- Crack the casting or welds
- Stress mounting hardware
A classic clue: a sharp “tick-tick” on cold start that softens as the metal heats up.
2) Exhaust gasket and flange joints
Gaskets fail when:
- Bolts loosen from vibration
- Flanges rust and no longer clamp evenly
- A previous repair didn’t torque evenly
This is where Exhaust gasket replacement basics matter most: cleaning surfaces, verifying flatness, and tightening evenly so the gasket actually seals.
3) Flex pipe and slip joints
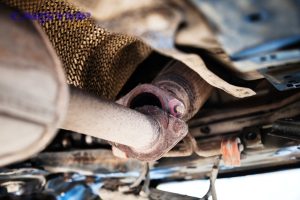
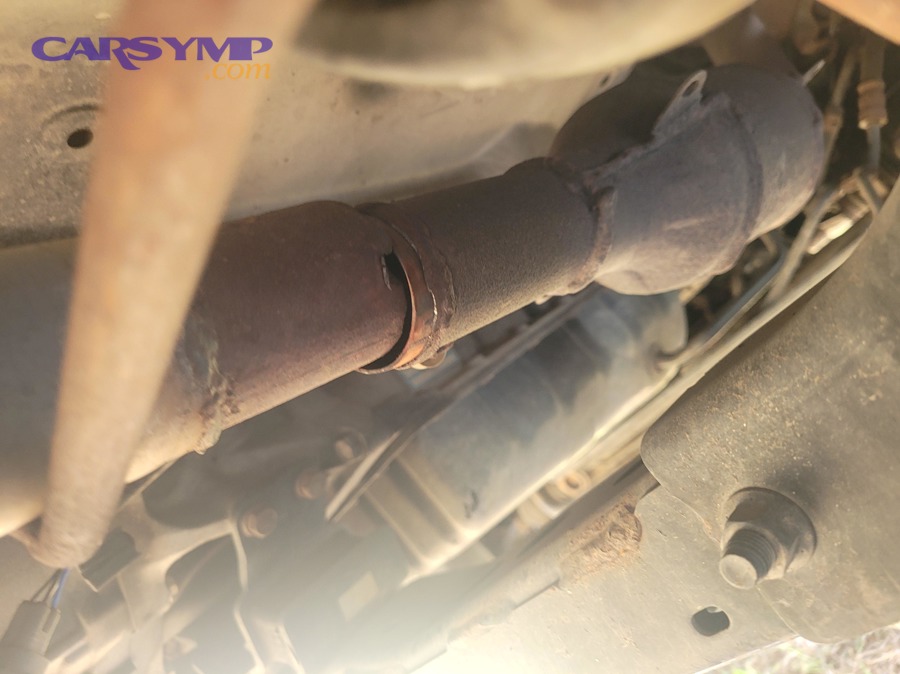
The flex pipe exists to absorb engine movement. It’s a frequent failure point because:
- The braided outer layer corrodes
- The internal bellows crack
- Road debris impacts it
This is the heart of Flex pipe leak and replacement options—sometimes you can replace just the flex section, other times it’s smarter to replace a full front pipe assembly.
4) Mid-pipe, resonator, muffler, tailpipe (corrosion zone)
The rear of the system runs cooler, which encourages moisture condensation and corrosion. Combine that with salted roads and you get:
- Pinholes
- Seams splitting
- Hangers breaking and stressing joints
According to a study by University of Windsor from Civil and Environmental Engineering, in 2022, researchers compared corrosion on 228 treated vehicles vs 141 untreated vehicles and reported statistically significant differences, reinforcing how prevention and exposure conditions shape corrosion outcomes. (Source: pmc.ncbi.nlm.nih.gov)
How can you find the exact exhaust leak location at home (without special tools)?
You can find the exact exhaust leak location at home in 4 steps—confirm the symptom, localize the sound/flow, use safe “reveal” tests, and mark the spot—so you repair the correct component the first time. To begin, accuracy matters because the best sealant in the world won’t fix the wrong joint.
Step 1: Start with the symptom pattern
Use simple pattern clues:
- Ticking at cold start → often manifold or manifold gasket
- Hiss under acceleration → flange leak, flex leak, or small crack
- Rattle + louder exhaust note → broken hanger stressing a joint
- Smell in cabin → higher risk; prioritize inspection sooner
These are practical Car Symptoms that help you choose where to look first.
Step 2: Do a visual inspection with a light
With the car cool:
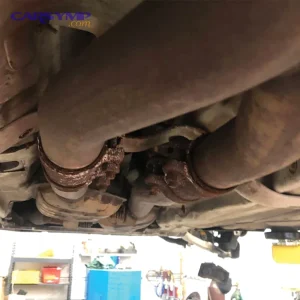
- Check for black soot lines at flanges and seams
- Look for cracked bellows on the flex pipe
- Inspect hangers for breaks (a sagging exhaust opens joints)
- Look for missing bolts or rusted-through flanges
Step 3: Use safe exhaust leak location detection methods
Pick one of these Exhaust leak location detection methods (no fancy tools required):
A) Soapy water test (best for small leaks at joints)
- Mix dish soap + water in a spray bottle
- Start the engine (cold is fine)
- Lightly spray suspected flange seams
- Watch for bubbles forming at the leak
B) Tissue/strip test (best for directional flow)
- Hold a strip of tissue near suspected joints (keep away from moving parts)
- A leak will flutter the tissue even when you can’t see it
C) “Listen-and-trace” method (best for manifold area)
- Use a cardboard tube (like a paper towel roll) as a listening funnel
- Move slowly around gasket lines and cracks
- The loudest “chuff/tick” area is often the leak source
D) Brief tailpipe restriction (use extreme caution)
- With gloves and only for a second or two, partially restrict tailpipe flow using a rag (do not fully block)
- The increased backpressure can make a leak easier to hear
- Stop immediately if anything feels unsafe
Step 4: Mark the spot and confirm it twice
Once you think you found it:
- Mark it with chalk/paint marker
- Recheck after a short drive
- Confirm soot or moisture pattern aligns with the mark
This double-check prevents a common DIY trap: fixing a noisy joint while the real leak is two feet upstream.
How do you fix an exhaust leak fast with the right method for the leak type?
Fixing an exhaust leak fast means matching the repair to the leak type in 4 steps—clean and confirm, choose the correct repair category, install/torque correctly, and verify with a re-test—so the system seals and stays sealed. More specifically, the key decision is Temporary fixes vs proper repairs, and the right answer depends on heat, location, and metal condition.
Manifold leak vs pipe leak diagnosis: why the method changes
A Manifold leak vs pipe leak diagnosis matters because:
- Manifold zone = extreme heat + tight clearances
- Pipe/mid system = corrosion + easier access + more repair options
- Flex zone = movement + fatigue → patching often fails quickly
Repair Method A: Gasket or flange leak (best DIY “proper repair”)
Use this when flanges are still structurally sound.
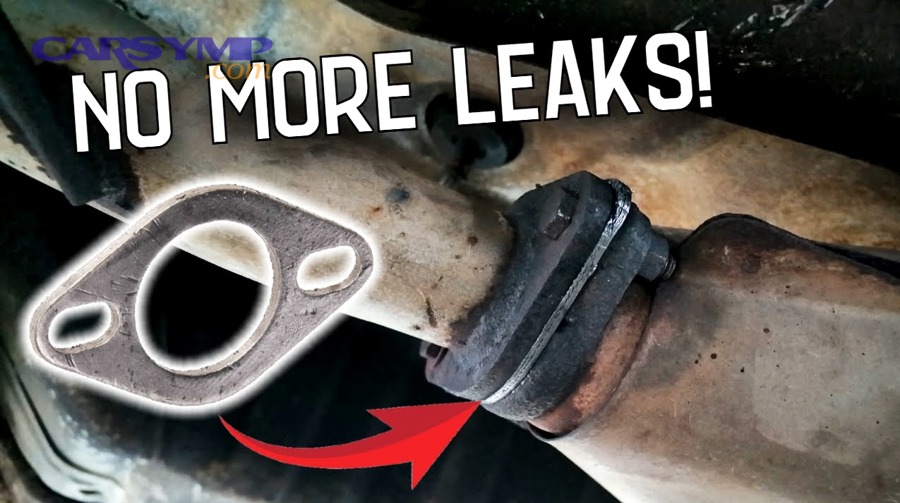
Exhaust gasket replacement basics
- Let everything cool completely.
- Remove fasteners (penetrating oil helps).
- Clean mating surfaces (wire brush, scraper).
- Replace the gasket with the correct style (donut, flat, multi-layer steel).
- Tighten evenly in stages to the correct torque (if spec is available).
- Recheck after a few heat cycles.
Where people go wrong:
- Reusing crushed gaskets
- Tightening one side fully before the other (warps the seal)
- Ignoring cracked flanges that can’t clamp flat
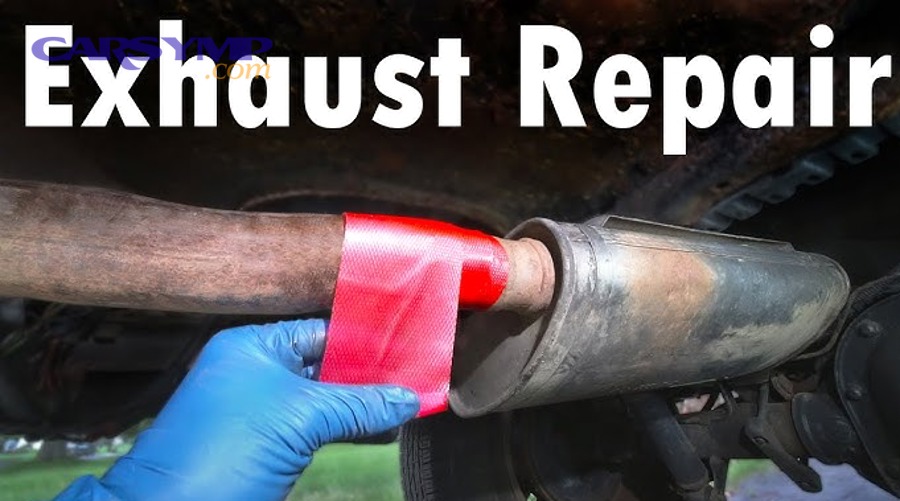
Repair Method B: Small crack/pinhole in pipe or muffler (temporary vs proper)
Temporary fixes vs proper repairs often show up here.
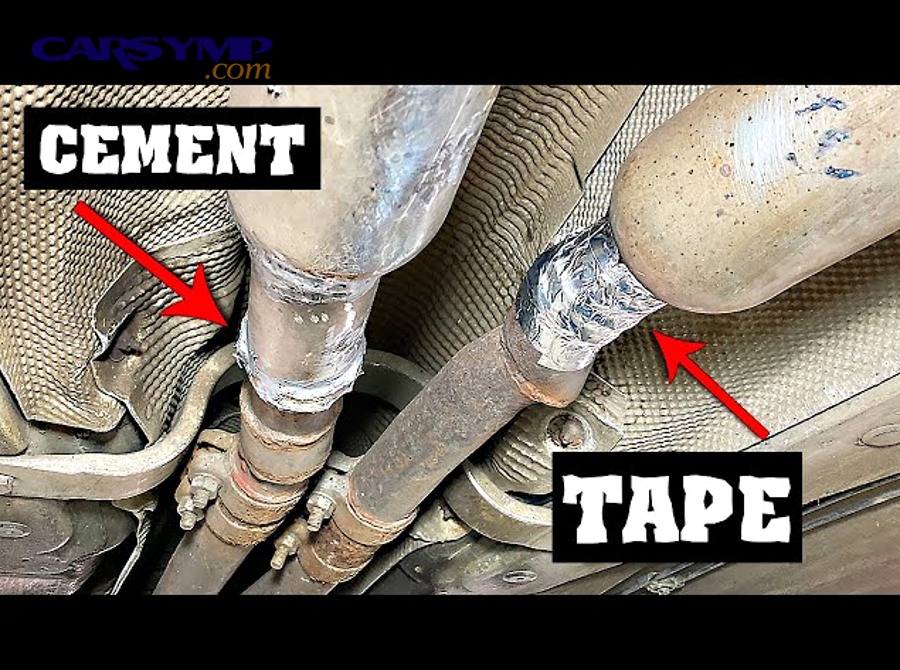
Temporary options (get-you-home or short-term)
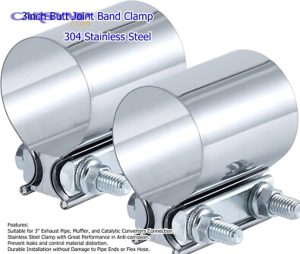
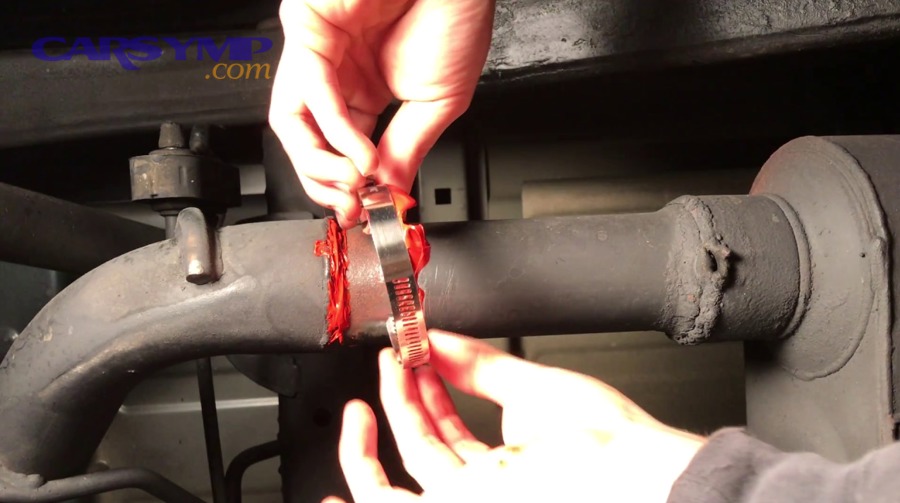
- Exhaust repair band clamp
- Wrap-style exhaust tape
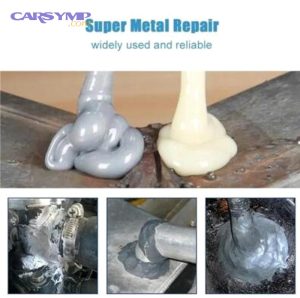
- High-temp exhaust putty (only on solid metal, not flaky rust)
These can reduce noise briefly but often fail because:
- The base metal is too thin
- Heat cycling breaks the seal
- Rust continues underneath
Proper repair options
- Cut and replace the damaged section
- Sleeve coupling + clamps (if pipe is otherwise solid)
- Welding in a patch or new section (best durability if metal is good)
Repair Method C: Flex pipe leak and replacement options
A flex pipe leak is usually a fatigue failure. Patching the braided section rarely lasts.
Best durable approaches
- Weld in a new flex section of the correct diameter/length
- Replace the full front pipe assembly (often easiest on modern cars)
Fitment details that make or break flex repairs
- Correct overall length (avoid preload stress)
- Proper alignment so the flex isn’t “twisted” at rest
- Good hangers to prevent excessive movement
Repair Method D: Manifold crack or broken studs (often “pro-level”)
If you have:
- Broken manifold bolts/studs
- Warped manifold sealing surface
- Tight-access V6/V8 layouts
You may need:
- Extractors, heat, drilling, thread repair
- Machining or manifold replacement
That’s where DIY can snowball quickly.
Verification: confirm the fix (don’t skip this)
After any repair:
- Start cold and listen for ticking/hissing
- Re-run soapy water at the repaired joint
- Check for soot after a short drive
According to a study by Virginia Tech Transportation Institute from the broader Virginia Tech report discussion, literature cited within the report emphasizes that aging vehicles with deteriorating exhaust systems are more prone to in-cabin pollutant exposure—reinforcing why verification after repair matters. (Source: vtechworks.lib.vt.edu)
What tools, parts, and materials do you need for exhaust leak repair?
There are 5 main categories of exhaust leak repair gear—safety/support, hand tools, fasteners/seal parts, cutting/fit tools, and verification aids—based on what you’re repairing and how corroded the system is. In addition, organizing your kit by repair category prevents buying “random exhaust stuff” that doesn’t match your leak.
1) Safety and support (non-negotiable)
- Jack + jack stands or ramps
- Wheel chocks
- Mechanic gloves and eye protection
- Hearing protection (if cutting/grinding)
- A fan/ventilation if running the engine briefly in a garage (prefer outside)
2) Hand tools for disassembly
- Socket set (including deep sockets)
- Wrenches
- Breaker bar
- Penetrating oil
- Wire brush/scraper
- Torque wrench (especially for gasket jobs)
3) Parts and sealing components
- Correct exhaust gasket (donut/flat/MLS)
- New hardware (nuts, bolts, spring bolts, studs where applicable)
- Exhaust clamps (band clamps generally seal better than U-bolts)
- Exhaust hangers (often overlooked—critical for preventing recurring leaks)
4) Cutting and fitment tools (for pipe section repairs)
- Reciprocating saw or exhaust pipe cutter
- Measuring tape + marker
- Deburring tool or file
- Couplers/sleeves sized correctly
5) Verification aids
- Spray bottle (soapy water)
- Shop light
- Chalk/paint marker
- Optional: cheap mechanics stethoscope (helpful for pinpointing)
One practical checklist (so you don’t forget something)
This table summarizes what you typically need depending on leak type—so you can plan the job in one trip.
| Leak type | Minimum DIY tools | Parts/materials most often needed |
|---|---|---|
| Flange/gasket leak | sockets, penetrating oil, wire brush | gasket, new bolts/nuts, possibly spring bolts |
| Flex leak | sockets, saw/cutter (often), measuring tools | new flex section or pipe assembly, clamps or weld |
| Rust hole in pipe | saw/cutter, measuring tools | replacement section, sleeve/coupler, clamps or weld |
| Manifold issue | sockets, extensions, torque wrench | gasket, studs/bolts; sometimes manifold replacement |
When should you stop DIY and take the car to a professional exhaust shop?
Yes—you should stop DIY exhaust leak repair when the job has high failure risk or safety risk, and a professional shop can solve it faster and more reliably, especially with welding, extraction, or precise fitment work. Moreover, knowing your “stop points” prevents broken hardware, wasted parts, and repeat leaks.
Reason 1: The metal is too far gone (corrosion and thinning)
Stop DIY if you see:
- Flaky, layered rust (metal delaminating)
- Multiple thin spots along the pipe
- Crumbling flanges that won’t clamp flat
In these cases, clamps and putty don’t have stable material to hold onto, which makes repeat failure likely. This is where Preventing exhaust corrosion and leaks becomes a future maintenance topic—but for today’s job, replacement is usually the durable fix.
Reason 2: You’re dealing with manifold studs/bolts or tight-access hardware
Go pro if:
- A stud snaps or is already broken
- You need drilling/extraction
- Access requires removing heat shields, steering components, or subframe parts
A pro shop (or a general repair shop) often has:
- Heat tools, extraction kits, thread repair inserts
- Experience preventing a small job from turning into a cylinder head problem
Reason 3: The best fix is welding or fabrication
If the ideal repair is:
- Welding in a flex section
- Fabricating a pipe section
- Rebuilding a flange
A dedicated exhaust shop can usually do this cleaner, faster, and with better longevity than a clamp-based patch—especially if alignment is tricky.
Exhaust leak repair cost estimate: what “normal” looks like
Prices vary by vehicle, region, and rust level, but you can set expectations.
This table gives a simple cost snapshot for common repairs, so you can decide whether DIY time is worth it.
| Repair type | Typical scope | Common price range |
|---|---|---|
| Exhaust manifold gasket replacement | labor-heavy, gaskets + hardware | $386–$551 average (parts + labor estimate) (Source: repairpal.com) |
| Exhaust pipe replacement | larger section replacement | $1,234–$1,292 average (parts + labor estimate) (Source: repairpal.com) |
| Exhaust manifold replacement | parts-heavy + labor | $1,430–$1,639 average (parts + labor estimate) (Source: repairpal.com) |
If your quote is wildly higher, it’s often because of:
- Severe rust (extra labor time)
- Broken studs or seized hardware
- Multiple sections needing replacement
A quick “go/no-go” decision rule
Choose a professional if any of these are true:
- Exhaust smell in cabin persists after basic checks
- Leak is at manifold with signs of broken hardware
- System alignment is off (broken hangers, sagging exhaust)
- You need welding and don’t have safe equipment/experience
Contextual Border: At this point you know what the leak is, how to locate it, how to repair it, what you need, and when to go pro. The next section expands into prevention and long-term semantics beyond the core fix.
How can you prevent exhaust corrosion and recurring leaks after a repair?
You can prevent recurring leaks by combining 4 habits—support, sealing discipline, anti-corrosion practices, and post-repair verification—so today’s fix doesn’t become next month’s noise. Next, think of prevention as “reducing movement + reducing moisture + protecting joints,” because that’s what kills exhaust parts over time.
How to reduce movement-related failures
- Replace tired exhaust hangers (they control stress at joints)
- Fix engine/trans mounts if excessive movement exists
- Make sure pipes aren’t preloaded (a common cause of flex failures)
How to reduce corrosion exposure
- Rinse the underbody in winter if you drive salted roads (especially after storms)
- Avoid short trips only (they increase condensation in the exhaust)
- If you live in heavy-salt regions, consider periodic underbody protection services
According to a study by University of Windsor from Civil and Environmental Engineering, in 2022, researchers noted that salted roadway exposure accelerates corrosion concerns in northern regions and used a large vehicle image dataset to compare treated vs untreated corrosion outcomes. (Source: pmc.ncbi.nlm.nih.gov)
How leaks affect O2 readings and fuel trims
A leak before the front O2 sensor can pull in fresh air, making the sensor report a “leaner” condition than reality. The ECU may respond by adding fuel, which can swing trims and trigger codes.
To reduce repeat problems after repair:
- Verify there is no upstream leak before replacing O2 sensors
- Clear codes only after confirming the seal
- Recheck joints after a few heat cycles (gaskets compress)
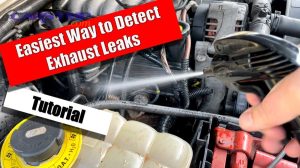
A helpful video for visual learners