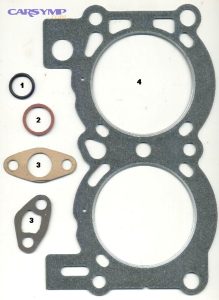
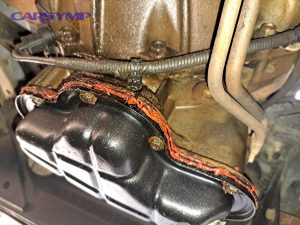
Replace an Oil Pan (Sump) Gasket: Step-by-Step Replacement Guide for DIY Car Owners (Cost + Install Tips)
If you’re seeing fresh oil collecting along the bottom edge of the engine, replacing the oil pan (sump) gasket is the most direct way to stop a true pan-rail leak and protect your engine from low-oil damage. This guide walks you through the correct, repeatable process—from confirming the leak source to installing the gasket (or RTV/FIPG) and verifying the seal.
You’ll also learn what a “proper job” really includes: the right tools, the right sealing-surface prep, and the right tightening sequence, because most repeat leaks come from rushed prep or incorrect sealant use—not the gasket itself. That’s where DIY outcomes separate clean repairs from “it still drips.”
Cost matters too. This article includes a practical Oil pan gasket replacement cost estimate breakdown, what drives Oil pan gasket replacement labor time, and how to decide between DIY and a shop—especially when access is tight and the job turns into one of the common Oil pan removal challenges by vehicle.
Introduce a new idea: the key to successful oil leak repair is not starting with parts—it’s starting with correct diagnosis, careful prep, and realistic risk management so you know the DIY risks and when to avoid.
What is an oil pan (sump) gasket, and what does “oil pan gasket replacement” actually include?
An oil pan (sump) gasket is a sealing component that sits between the engine block (or lower crankcase) and the oil pan, designed to prevent pressurized splash oil from escaping at the pan rail while the engine runs and while hot oil expands and contracts.
Then, to better understand why replacement works (and why it sometimes fails), you need to know what “replacement” actually includes: drain oil, remove obstructions, drop the pan, clean both mating surfaces, install the correct gasket or sealant, torque fasteners in sequence, then refill and verify.
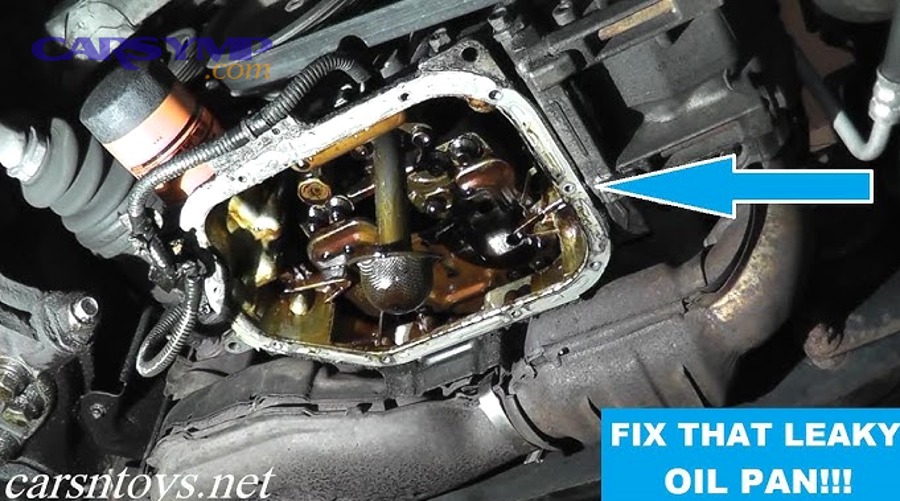
A complete oil pan gasket replacement typically includes:
- Oil drain + filter strategy: Many jobs are paired with an oil change because you’re draining the crankcase anyway.
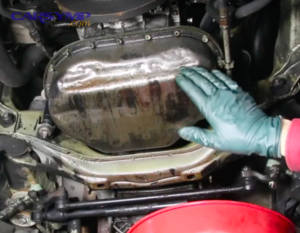
- Pan removal and inspection: You remove the pan without bending the flange, then inspect for warping and cracks.
- Surface prep: You remove old gasket material/RTV and degrease until the metal is clean and dry.
- Correct sealing method: You install a molded gasket, cork/rubber gasket, or RTV/FIPG bead depending on design.
- Torque process: You tighten bolts in a pattern that seats the gasket evenly (not “as tight as possible”).
- Leak verification: You do Post-repair leak check steps while the engine warms and after a short drive.
Is an oil pan gasket the same thing as an oil pan sealant bead (RTV/FIPG)?
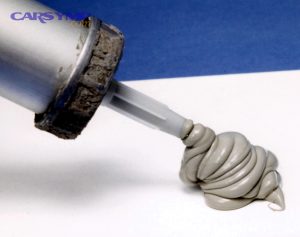
No—an oil pan gasket is a physical gasket, while RTV/FIPG is a formed-in-place sealant that becomes the gasket after curing, and each method has different failure modes and installation rules.
However, the practical difference is even more important than the label: RTV vs gasket type differences determine your prep standard, cure time, and how strictly you must follow bead thickness and corner sealing.
Here’s how they differ in real-world repairs:
- Molded rubber/one-piece gaskets usually install dry (or with tiny corner dabs only), and they forgive small flange imperfections better than cork.
- Cork/rubber composite gaskets can seal well but are more sensitive to over-torque; they can “squish out” or split.
- RTV/FIPG-only designs require immaculate cleaning, correct bead placement, and cure time discipline; rushing cure is a top reason for a repeat leak.
A simple rule: if the factory used a molded gasket, copy that approach; if the factory used FIPG, don’t “upgrade” to a universal gasket unless your exact engine supports it.
What symptoms most reliably point to an oil pan gasket leak?
There are 5 main Oil pan gasket leak symptoms: (1) oil wetness along the pan-to-engine seam, (2) oil collecting at the lowest points of the pan rail, (3) a drip that appears after the engine is warm, (4) oil misting backward from airflow under the car, and (5) repeated oil spots after parking even when the filter and drain plug are dry.
Specifically, the “most reliable” symptom is not the puddle—it’s the trail: oil is visibly originating at the pan rail seam and moving downward.
Common symptom patterns:
- Seam wetness: Fresh oil around bolt heads and along the rail, not just on the bottom of the pan.
- Hot-only leaks: Drips after long drives because oil thins and expansion opens gaps.
- Underbody streaking: Oil moves backward under the car from airflow; the leak point is often forward of the puddle.
- Burnt oil smell: Oil hitting the exhaust or shield, especially after stopping at a light.
If oil is only on the pan bottom but the seam is dry, the pan may be acting as a “catcher” for oil from above—one of the most common Related leaks mistaken for oil pan gasket problems.
Can you drive with an oil pan gasket leak—yes or no?
Yes, you can sometimes drive with a minor oil pan gasket leak, but only if (1) the leak rate is slow, (2) the oil level stays safely in range, and (3) oil is not contacting hot exhaust components—otherwise the correct answer is no because the risk escalates fast.
Moreover, “can” is not the same as “should.” Even a slow leak becomes an engine-killing leak if you forget to top off once.
Use this quick decision filter:
- Stop driving immediately if: the oil pressure warning light comes on, you see rapid dripping, smoke appears, or oil is spraying onto the exhaust.
- Drive only short distances if: the leak is a light seep, you can monitor the dipstick daily, and the underside isn’t wet near hot components.
- Plan the repair soon if: you’re adding oil between changes, because that is chronic oil leak repair territory—small now, expensive later.
How do you confirm the oil pan gasket is the leak source before replacing it?
You confirm an oil pan gasket leak by proving the origin point is the pan rail seam—not a higher leak that runs down—using a clean-and-recheck approach plus targeted inspection points around the filter housing, valve covers, front cover, and rear main area.
In addition, diagnosis matters because replacing the gasket without confirming the source is the #1 reason DIYers feel the job “didn’t work,” when the real leak was above the pan.
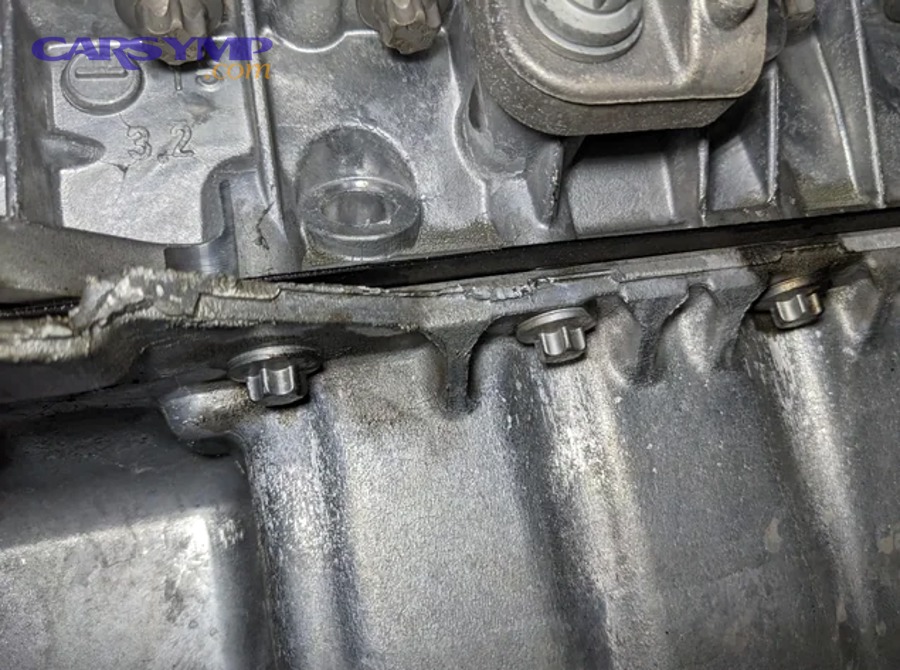
A practical confirmation process:
- Clean first: Degrease the area around the pan rail and nearby components.
- Drive briefly: A short warm-up drive often reveals fresh seepage.
- Reinspect with a light: Look above the pan seam first—oil runs downward and backward.
- Confirm the seam: The seam should show fresh oil at its highest wet point if it’s the true source.
What are the most common “false positives” that mimic an oil pan gasket leak?
The most common related leaks mistaken for oil pan gasket issues are: valve cover leaks, oil filter housing/adaptor leaks, timing cover seepage, turbo oil feed/return leaks (where applicable), and rear main seal leaks that drip from the bellhousing edge.
However, the real trick is understanding oil travel: gravity pulls oil down, and airflow pushes it backward, so the puddle is rarely directly under the leak source.
False positives to check first:
- Oil filter and filter housing/adaptor: Fresh oil near the filter can coat the pan.
- Valve cover gasket: Oil runs down the block and collects at the pan rail.
- Front cover/timing area: Oil can spread along the bottom of the engine and look like a pan leak.
- Rear main seal area: Drips appear at the transmission bellhousing opening.
- Power steering or ATF confusion: Different fluid types can still create “oil-like” puddles for a casual observer.
If you’re publishing diagnostic content like this on carsymp.com, a good reader experience is to include a “check these first” mini-checklist before recommending the pan gasket job.
Is cleaning the engine and rechecking enough to confirm the leak—yes or no?
Yes, cleaning and rechecking is often enough to confirm the leak because fresh oil shows the true origin, but it’s only sufficient if (1) you fully remove old residue, (2) you drive long enough to reproduce the leak, and (3) you inspect from above the pan seam downward.
Meanwhile, it is not enough if multiple leaks exist or if the engine is too enclosed to visually trace the highest wet point.
To make cleaning effective:
- Use a degreaser + rinse method where safe, then dry the area.
- Pay attention to the highest clean point that becomes wet again.
- Recheck after a heat cycle; many leaks only appear when hot.
If the leak remains ambiguous, escalate to UV dye in the supplementary section of this guide.
Oil pan gasket vs rear main seal: how can you tell the difference by leak location?
Oil pan gasket wins as the diagnosis when oil is wet along the pan rail seam, while rear main seal becomes more likely when oil originates at the bellhousing opening or runs down from the rear of the engine block behind the flywheel/flexplate area.
On the other hand, leaks can overlap: rear main leaks often drip onto the pan, and pan leaks can drip near the transmission crossmember, so you must trace the highest wet point.
A practical comparison:
- Oil pan gasket leak: wet seam around the pan perimeter; bolts may be oily; pan rail shows fresh seepage.
- Rear main seal leak: oil inside/around the bellhousing inspection area; drips often appear at the bottom of the transmission housing.
- Clue that settles it: wipe clean, then recheck—rear main typically wets higher up behind the engine.
What tools, parts, and prep do you need for a successful oil pan (sump) gasket replacement?
There are 2 categories of requirements for oil pan gasket replacement: (1) safety and access tools that let you remove the pan without injury, and (2) sealing and torque tools that let you install the gasket without distortion and without future leaks.
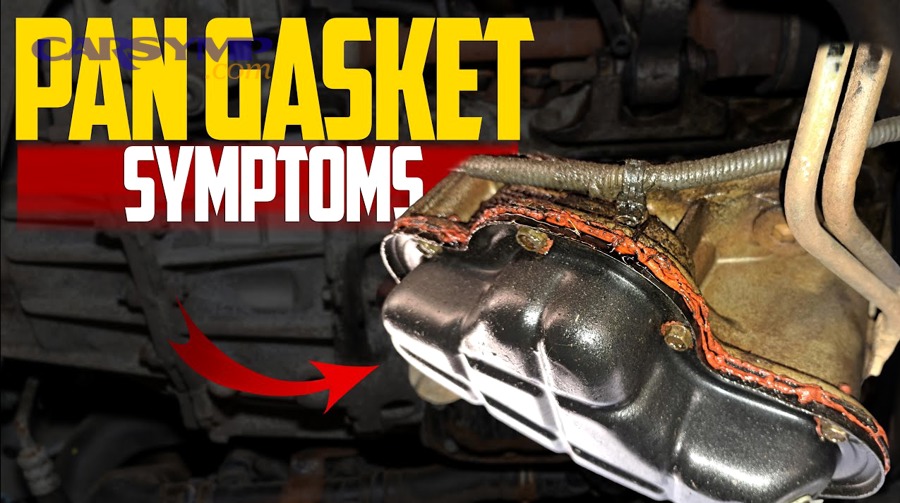
Next, the goal is to minimize DIY risks and when to avoid by being honest about access, time, and tool gaps before the car is already on stands.
Core parts and supplies:
- Correct oil pan gasket (or OEM-specified RTV/FIPG)
- Oil and filter (often replaced during this oil leak repair)
- Brake cleaner or equivalent degreaser
- Plastic/metal scrapers (used carefully)
- Shop towels, gloves, drain pan
- Torque specs source (manual/repair database)
What tools are required vs “nice to have” for DIY car owners?
There are 2 tool groups for this job—required tools and nice-to-have tools—based on whether they affect safety and seal quality.
To illustrate the difference, required tools are the ones that prevent crushed fingers and crushed gaskets; nice-to-have tools reduce frustration and speed up prep.
Required tools
- Floor jack + jack stands (or ramps rated for the vehicle)
- Socket set + extensions + wobble joints (often needed under the car)
- Torque wrench (critical for preventing gasket squeeze-out)
- Scraper + cleaning supplies
- Adequate lighting (headlamp helps)
Nice-to-have tools
- Engine support bar (if engine must be lifted for clearance)
- Inspection mirror and borescope camera
- Plastic razor blades for delicate surfaces
- Thread chaser set (helps prevent cross-threading on reinstall)
This is where oil pan removal challenges by vehicle show up: some cars require lifting the engine, dropping a subframe brace, or removing exhaust components, and “nice-to-have” can become “required” depending on packaging.
Which gasket type should you choose: rubber, cork, or RTV/FIPG?
Rubber/molded gaskets win for consistent sealing and reusability, cork wins for older designs when installed carefully, and RTV/FIPG is optimal when the engine is designed to use a formed-in-place seal and the installer can follow bead and cure rules precisely.
However, the best choice is usually the simplest one: match the factory method unless you have a vehicle-specific reason not to.
Selection guidance (practical, not theoretical):
- Molded rubber/one-piece: best for many modern pans; less sensitive to small flange imperfections.
- Cork/composite: common on older engines; must be torqued evenly; over-torque ruins it.
- RTV/FIPG: ideal when specified; requires perfect cleaning and correct cure time.
If your kit includes both a gasket and RTV, don’t assume both must be used everywhere—often the RTV is only for corners and joints.
Do you need sealant with an oil pan gasket—yes or no?
No, you do not always need sealant with an oil pan gasket, because (1) many molded gaskets are designed to install dry, (2) excess sealant can squeeze inward and contaminate oil pickup areas, and (3) sealant can prevent proper gasket seating if applied incorrectly.
Moreover, you use sealant when the design calls for it—typically at corners where multiple castings meet, or where the service manual specifies a small dab.
A safe, widely applicable approach:
- Use no sealant on a molded gasket unless instructions say otherwise.
- Use tiny corner dabs only at timing cover/rear main cap joints when recommended.
- Use full RTV/FIPG bead only on engines designed for it.
How do you replace an oil pan (sump) gasket step-by-step (DIY guide)?
The most reliable method is a 7-step oil pan gasket replacement process—prepare access, drain and remove, clean and inspect, install the gasket/sealant, torque in sequence, cure if needed, then refill and verify—so you get a durable seal and prevent a repeat leak.
Then, to better understand why steps matter, remember this: most failures come from skipping prep and rushing the final verification, not from “bad parts.”
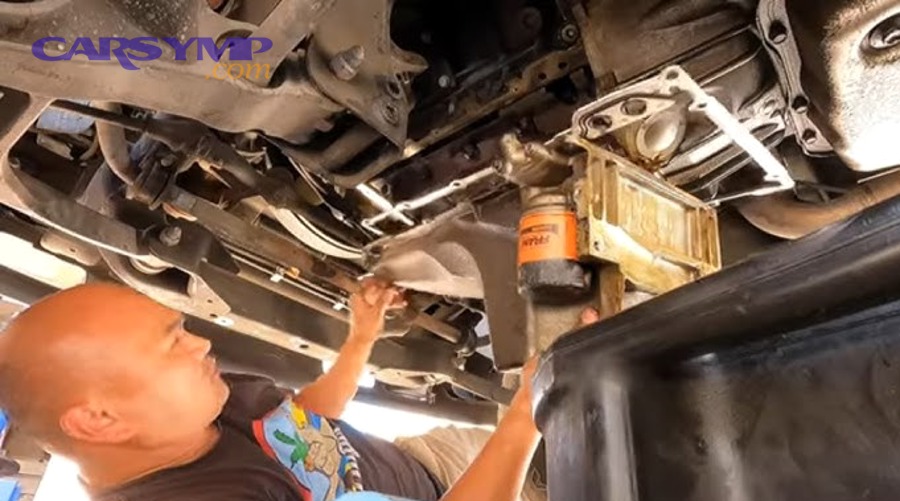
What are the exact removal steps from drain oil to dropping the pan?
There are 6 main removal steps: secure the vehicle, drain oil, clear obstructions, unbolt the pan evenly, break the seal carefully, and lower the pan without bending the flange or damaging the pickup area.
Specifically, the most important step is breaking the old seal without prying on sealing surfaces because gouges create the next leak.
Step-by-step removal:
- Secure the vehicle: Park level, set parking brake, chock wheels, lift safely on stands/ramps.
- Drain oil: Warm engine slightly if safe (warm oil drains faster), then remove drain plug and drain fully.
- Remove shields and braces: Splash shields, skid plates, and sometimes crossmembers must come off.
- Create clearance: Some vehicles need exhaust moved, steering linkage repositioned, or engine lifted slightly.
- Unbolt evenly: Loosen bolts in a crisscross pattern so the pan releases evenly.
- Break the seal: Tap gently with a rubber mallet or use an approved separator tool—avoid metal prying that scars the rail.
If the pan won’t drop, don’t force it. That’s often a sign of oil pan removal challenges by vehicle, such as interference with a subframe or oil pickup.
How should you clean and prep the sealing surfaces to prevent repeat leaks?
Proper cleaning means removing old gasket/RTV down to bare, smooth metal, then degreasing until both surfaces are clean and dry—because sealant and gaskets cannot bond to oil film, and residue creates leak channels.
In addition, How to clean sealing surfaces properly is where professional results are made: a clean surface is not “looks okay,” it’s “wipes clean and stays dry.”
Best-practice prep:
- Use the right scraper: Plastic razor blades on aluminum surfaces; careful metal scraping on steel where appropriate.
- Avoid gouging: A tiny gouge becomes a permanent leak path.
- Degrease thoroughly: Brake cleaner (or equivalent) removes oil film; wipe until towels stop showing residue.
- Check flange flatness: Look for bent bolt holes or waviness; straighten gently if needed.
- Dry completely: RTV/FIPG especially requires dry surfaces for correct curing and adhesion.
If you find thick RTV chunks, remove them completely. Leaving old RTV creates uneven thickness that prevents uniform bolt clamping.
What is the correct install sequence: gasket placement, RTV placement, torque pattern, and cure time?
The correct sequence is: position the gasket (or lay the RTV/FIPG bead), install the pan without sliding it, snug bolts by hand, torque gradually in a center-out pattern, then allow cure time (if RTV is used) before full heat and load—so the seal seats evenly and doesn’t split or squeeze out.
More importantly, this is where RTV vs gasket type differences become real: RTV requires disciplined cure; gaskets require disciplined torque.
A dependable install sequence:
- Dry-fit first: Confirm gasket alignment and bolt holes.
- Apply RTV only where required: Often at corner joints; for RTV-only designs, follow bead thickness guidance.
- Place the pan carefully: Avoid dragging the pan across the gasket or wet RTV bead.
- Hand-thread bolts: Prevent cross-threading; ensure all bolts start smoothly.
- Snug in sequence: Seat the pan evenly before final torque.
- Final torque in pattern: Many procedures call for a spiral or crisscross pattern from center outward; follow your engine’s spec.
- Cure time discipline: If RTV/FIPG is used, let it cure per product/OEM guidance before extended driving.
One practical note: “tight is tight” is not a torque spec. Even small over-torque can warp the flange or squeeze the gasket, causing the same leak you’re trying to fix.
What should you check after installation to ensure it won’t leak again?
You ensure the repair holds by following 4 post-install checks: verify oil level, inspect the pan rail while idling, recheck after a heat cycle, and inspect again after a short drive—because many leaks appear only after expansion and vibration.
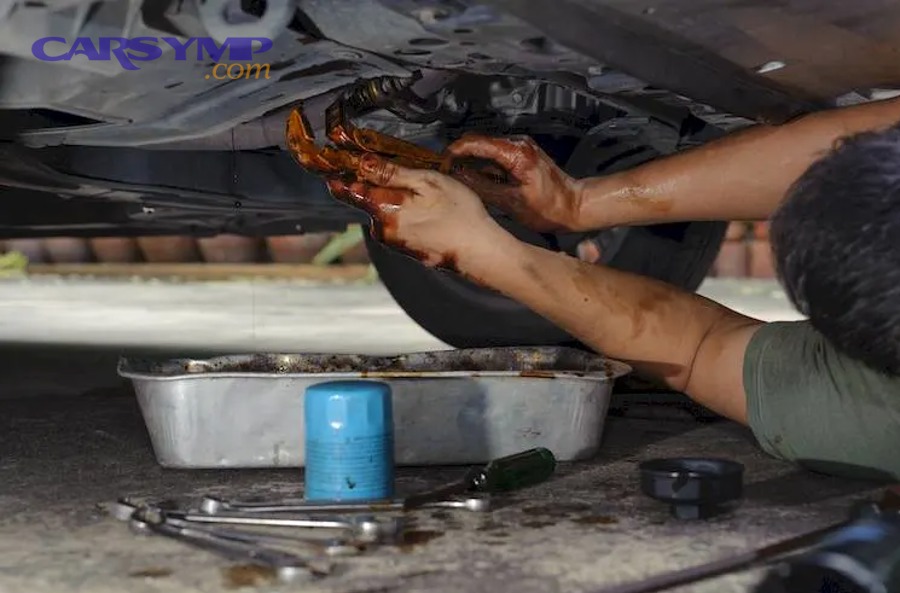
Besides, these Post-repair leak check steps also protect your engine: even a perfect gasket fails if you forget to refill oil properly or miss a loose filter/drain plug.
Post-install checklist:
- Confirm drain plug installed and tightened correctly
- Confirm oil filter secure and not double-gasketed
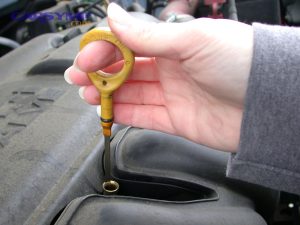
- Fill oil to spec, then verify level with dipstick
- Idle and inspect with a bright light at the pan seam
- Shut off, wait, recheck dipstick, then road-test and reinspect
What are the top mistakes that cause an oil pan gasket to leak again?
There are 7 common mistakes: dirty surfaces, wrong gasket type, too much RTV, insufficient cure time, over-torque, uneven tightening, and ignoring related leaks mistaken for oil pan gasket—each of which creates a leak path even when the gasket is new.
However, the most damaging mistake is over-torque, because it distorts the gasket and pan flange and permanently reduces sealing pressure where you need it most.
Common repeat-leak causes (practical):
- Residue left behind: Old RTV ridges create channels under the new seal.
- Sliding the pan during install: Smears RTV or dislodges gasket alignment.
- Bolt-hole dimpling: Over-tightened bolts “pull” metal upward around holes, creating low-pressure gaps between holes.
- Sealant everywhere: Excess RTV can squeeze inward and break off, and it can also prevent full gasket seating.
- Ignoring leaks above: Valve cover seepage re-wets the pan and looks like a failed job.
This is why diagnosis belongs at the front of the process, not after the parts are installed.
Is re-torquing oil pan bolts necessary—yes or no?
No, re-torquing is not universally necessary, because (1) many modern designs use molded gaskets or RTV methods that do not require retorque, (2) re-torquing can over-compress the gasket once it has seated, and (3) manufacturers often specify a single torque pass only.
Meanwhile, it can be helpful on certain older cork-style gaskets if the service procedure explicitly recommends it and the torque values are low and controlled.
A safe approach:
- Follow the service manual first.
- If the manual is silent, do not automatically retorque—inspect for leaks instead.
- If you do retorque (older designs), do it lightly and evenly, not “one more turn.”
How long should you wait before driving after using RTV/FIPG?
You should wait long enough for RTV/FIPG to skin and cure per its instructions—typically hours, not minutes—because (1) uncured sealant can wash out with oil splash, (2) pressure and heat can push sealant out of the joint, and (3) early driving can create leaks before the seal forms.
In addition, different products and OEM procedures differ, so “overnight” might be right for one setup and wrong for another.
Practical cure-time discipline:
- Don’t fill oil immediately if your procedure calls for a cure window.
- Don’t do high-RPM or long drives until fully cured.
- If you must move the car, do minimal run time and recheck for seepage.
How much does oil pan gasket replacement cost (DIY vs shop), and what changes the price?
Oil pan gasket replacement cost is driven mainly by access and labor time: DIY usually costs parts + oil (often under a few hundred), while shops charge labor hours that can vary widely by vehicle layout, turning the job into a mid-hundreds to four-figure repair on difficult platforms.
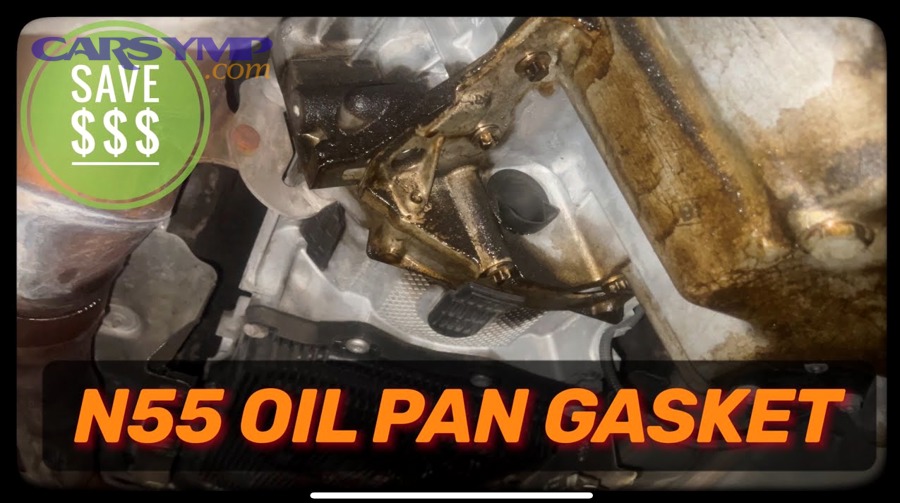
Next, to make this actionable, treat the cost as two buckets: what you must buy and what you must pay someone else to access.
A baseline Oil pan gasket replacement cost estimate: RepairPal’s estimator lists an average range of $553–$759 for oil pan gasket replacement, with labor often dominating the total.
What is the typical cost range for shop replacement vs DIY?
Shop replacement usually wins for speed and warranty, while DIY wins for cost control, and the “best” choice depends on your vehicle’s access difficulty and your tool readiness.
However, the simplest comparison is cost composition:
- DIY cost drivers: gasket/sealant, oil/filter, cleaners, and any tools you must buy (torque wrench, extensions).
- Shop cost drivers: labor time, shop rate, required disassembly (subframe/exhaust/steering), and sometimes additional parts discovered during removal.
A reasonable way to explain this in your article is a table of cost components so the reader understands where money goes:
| Cost Component | DIY Typical | Shop Typical |
|---|---|---|
| Gasket / RTV / hardware | Low–Moderate | Included in estimate |
| Oil + filter | Moderate | Often added line item |
| Tools (if missing) | One-time cost | Not applicable |
| Labor | Your time | High (dominant cost) |
| Risk of stuck/stripped fasteners | Your risk | Shop handles |
If a shop quote seems high, it’s often because the vehicle requires major access work—not because the gasket is expensive.
Which vehicle factors make oil pan gasket replacement expensive?
There are 6 vehicle factors that raise price: subframe/crossmember interference, exhaust routing, AWD packaging, steering rack placement, engine cradle design, and aluminum pan sensitivity that increases prep time and caution.
More importantly, these factors increase oil pan gasket replacement labor time because they add disassembly steps before the pan even becomes removable.
High-labor examples:
- Subframe drop required: Some cars require lowering part of the subframe or engine cradle.
- Engine lift required: Limited clearance may require supporting and slightly lifting the engine.
- Exhaust removal: Catalytic converter pipes and heat shields can block pan bolts.
- Tight access bolts: Some bolts are reachable only with wobble extensions and patience.
This is the heart of oil pan removal challenges by vehicle: the gasket is simple; the packaging is not.
Is it worth replacing the oil pan instead of just the gasket—yes or no?
Yes, it is worth replacing the oil pan instead of just the gasket when (1) the pan rail is warped or heavily corroded, (2) bolt holes are distorted or cracked, or (3) threads are damaged beyond reliable repair—because a new gasket cannot compensate for an unsound sealing surface.
On the other hand, it is not worth replacing the pan when the flange is flat and threads are healthy, because the gasket is designed to seal that joint when installed correctly.
A practical decision checklist:
- Replace the pan if you see cracks, deep pitting, severe warping, or repeated leaks after correct sealing.
- Keep the pan if the flange is straight, bolt holes aren’t dimpled, and the sealing surface cleans up well.
What rare issues can sabotage an oil pan (sump) gasket job, and how do you handle them?
Rare issues sabotage oil pan gasket replacement when pressure, distortion, or damaged threads prevent even clamping—so the seal fails even if you installed it “by the book.”
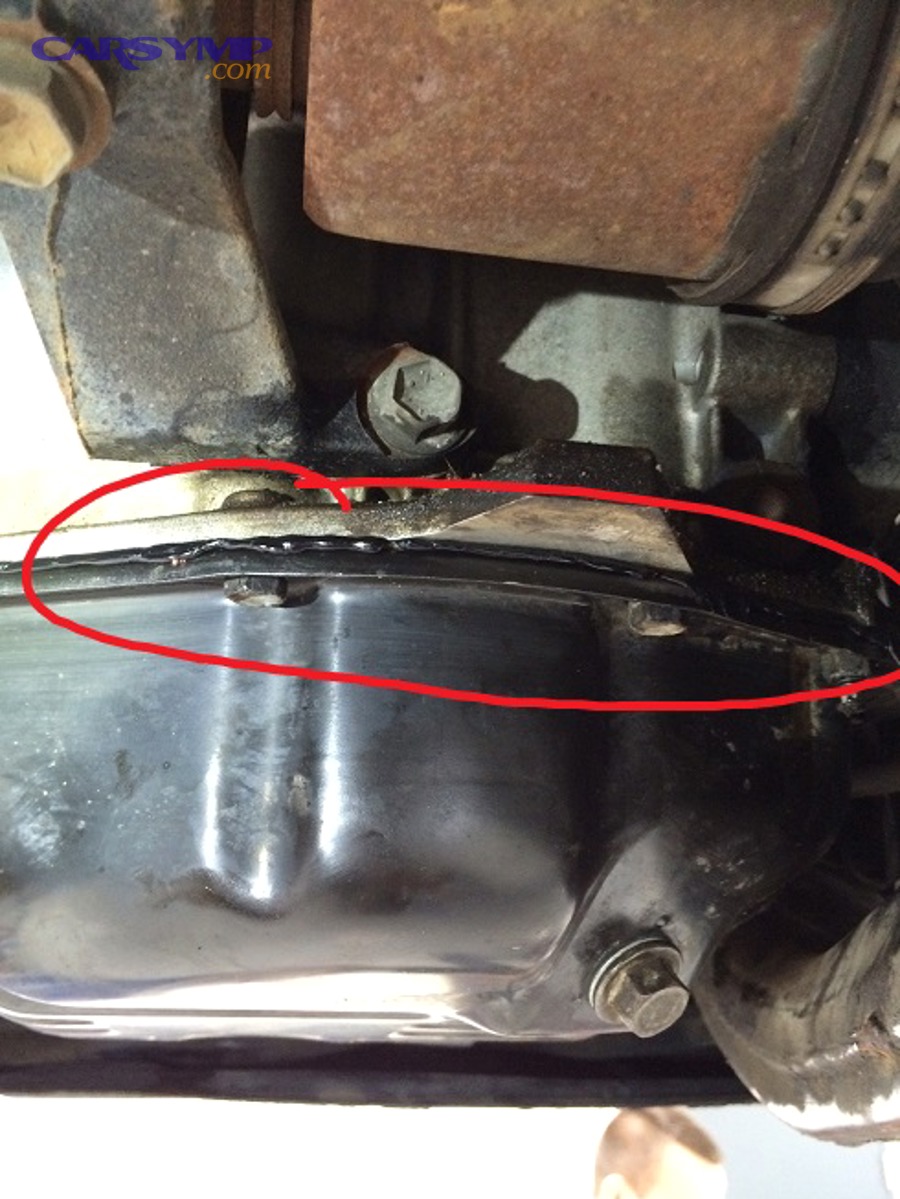
More importantly, these edge cases explain the frustrating scenarios where oil leak repair seems correct but seepage continues, especially on higher-mileage engines.
How do you detect a warped oil pan flange, and when is resurfacing better than replacement?
You detect a warped flange by checking the pan rail with a straightedge and looking for bolt-hole dimples and waviness, and resurfacing is better than replacement only when the distortion is minor and the pan material can be corrected without thinning critical areas.
However, many DIYers miss flange distortion because it’s subtle; the leak appears “between bolts,” which is exactly where a warped rail loses clamp force.
Practical detection steps:
- Place a straightedge along the rail in multiple directions.
- Look for daylight gaps near bolt holes (dimpling).
- Check for uneven witness marks on the old gasket that suggest uneven pressure.
If the pan is thin stamped steel and heavily dimpled, replacement often becomes simpler and more reliable than trying to reshape every hole.
What do you do if oil pan bolts are stripped or the threads are damaged?
You address damaged threads by choosing the least invasive reliable repair—chasing threads if they’re dirty, using a thread insert if they’re stripped, or replacing the pan/fastener if the damage is structural—because clamping force depends on healthy threads.
In addition, this is where Stripped drain plug and oil pan thread repairs often enter the story: drain plug threads and pan bolt threads are different problems, but both can create persistent leaks and repeated service headaches.
Thread repair options (in order of escalation):
- Thread chase: cleans and reforms slightly damaged threads.
- Thread insert (Helicoil/Time-Sert style): restores strength when threads are stripped.
- Oversize drain plug repair: sometimes used for drain threads, but it’s a compromise.
- Replace oil pan: best if multiple holes are compromised or the casting is cracked.
If the drain plug itself is stripped, repair it correctly; a “temporary plug” that doesn’t seal is not a solved leak, and it can mislead diagnosis by dripping onto the pan.
How can crankcase pressure (PCV problems) cause repeat oil pan gasket seepage?
Crankcase pressure can cause repeat seepage because (1) excess blow-by gases raise internal pressure, (2) pressure pushes oil outward through the weakest seal points, and (3) even correctly installed gaskets can weep when pressure stays elevated—so the leak returns without any “install mistake.”
Especially, this explains why some engines seem to leak from multiple gaskets at once: pressure finds every marginal seal.
Evidence: According to a study by Massachusetts Institute of Technology from the Department of Mechanical Engineering, in 2022, researchers found that conditions tied to blow-by dynamics change oil transport and can lead to visible oil leakage pathways in engine ring-pack regions under certain operating conditions.
Practical signs of crankcase-pressure involvement:
- Multiple seals seep at once (valve cover + pan + rear main area).
- Oil mist around breather/PCV hoses.
- Dipstick tube pushing vapor or oil mist under load.
Fixing PCV issues doesn’t replace the need for a gasket repair, but it can explain why a gasket job “won’t stay dry.”
When should you use a UV dye test after replacement to confirm the true leak source?
Yes, you should use a UV dye test after replacement when (1) you still see wetness after correct sealing and cure time, (2) multiple leak candidates remain, or (3) airflow and underbody splash hide the true origin—because dye makes the highest leak point unmistakable under UV light.
In addition, a UV dye test is one of the fastest ways to resolve “is it the pan or something above?” without guessing.
Use UV dye effectively:
- Clean the area first (dye is useless on old oil film).
- Add dye, drive a short cycle, then inspect with UV light.
- Trace to the highest glowing point, not the lowest drip.
If you’re building diagnostic content hubs, placing UV dye guidance after the main repair section is a strong semantic bridge from repair to verification—and it complements the earlier “clean and recheck” method without replacing it.