Complete How-To AC Recharge Guide for Drivers: Recharge vs Top-Off
An AC recharge restores the correct refrigerant charge so your car can cool properly again, but it only works reliably when the system is leak-free and serviced with the right method.
To avoid wasted refrigerant and repeat failures, you’ll want to recognize leak clues before adding anything and understand when a proper evacuation process matters more than a quick refill.
You’ll also need to match the correct refrigerant and charge amount to your specific vehicle, because “close enough” can lead to poor cooling, high pressures, or compressor damage.
After that, the final step is verification—Giới thiệu ý mới: a simple post-service temperature and pressure check to confirm your results and catch problems early.
What does an AC recharge actually do in a vehicle system?
An AC recharge restores the system’s refrigerant charge (and sometimes oil balance) so heat transfer and pressure relationships return to normal. Next, it only helps if the system can hold pressure and circulate correctly.
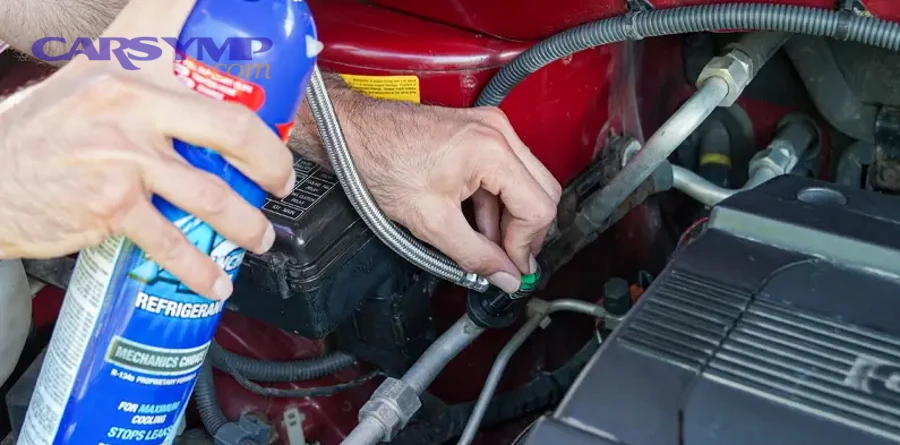
To understand what “recharge” means, it helps to picture what refrigerant does. Refrigerant is the working fluid that changes pressure and temperature as it moves through the compressor, condenser, expansion device, and evaporator. When the charge is low, the evaporator may not get enough liquid refrigerant to absorb cabin heat efficiently, so vent air warms up, pressures drift outside the expected range, and the compressor can run hotter than intended.
More specifically, a correct charge supports:
- Proper evaporator fill so the coil can absorb heat without freezing or starving.
- Stable suction and discharge pressures that keep the compressor lubricated and efficient.
- Correct condenser performance so hot gas can reject heat and condense to liquid.
However, a recharge is not a magic fix for mechanical faults. If a fan isn’t running, a condenser is blocked, a blend door is stuck, or a compressor control valve has failed, adding refrigerant won’t solve the root cause. That’s why professional shops often treat “recharge” as one step inside a broader diagnostic workflow rather than the whole job.
In many real-world scenarios, AC recharge is requested as part of car AC repair when cooling performance drops gradually over weeks or months. The key is deciding whether you’re correcting a normal service condition (rare in a sealed system) or masking an active leak.
To anchor the concept with a safety-and-environment angle, remember that refrigerant is not meant to be vented. Theo nghiên cứu của U.S. Environmental Protection Agency từ Mobile Vehicle Air Conditioning Program, vào 06/2020, việc thu hồi và nạp đúng quy trình giúp giảm phát thải môi chất và giảm rủi ro tiếp xúc hóa chất trong bảo dưỡng.
When should you recharge—and when should you not?
You should recharge only after confirming the system can hold refrigerant and that low charge is the true cause of poor cooling. Next, if there’s an active leak or a mechanical fault, recharging alone is the wrong move.
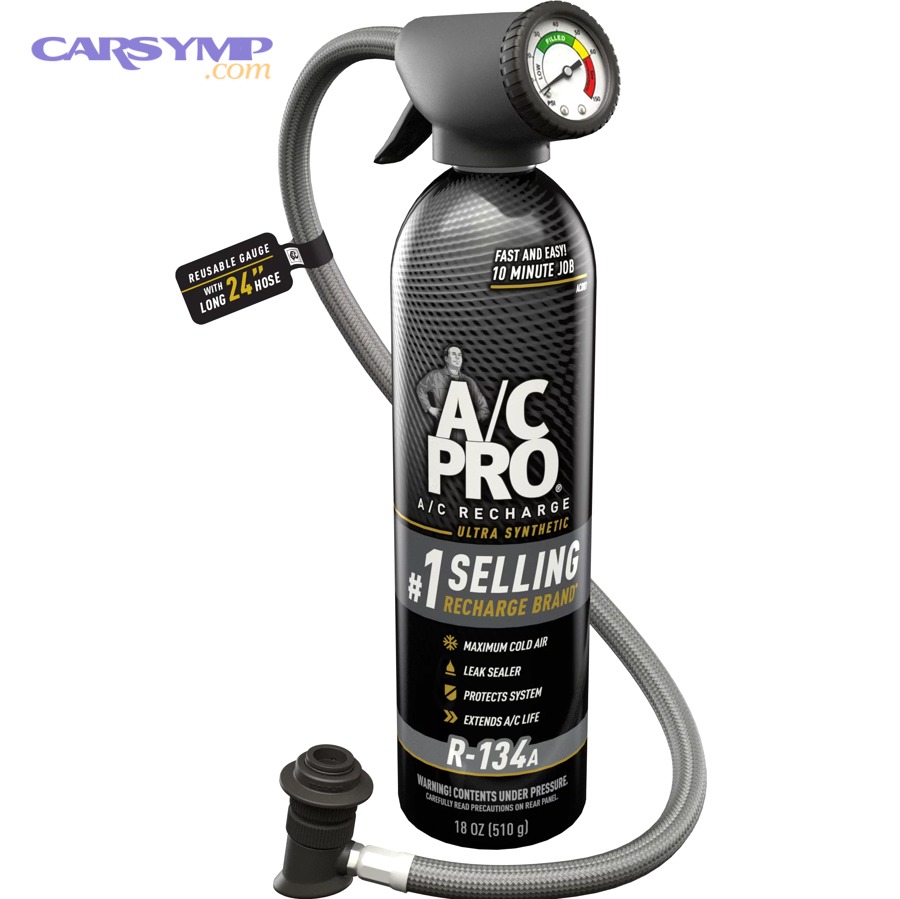
Start with the most practical rule: if cooling performance declined slowly, low charge is possible, but low charge usually happened because something leaked. That doesn’t mean you must replace parts immediately, but it does mean you should investigate before adding refrigerant.
Recharge makes sense when:
- The system has been opened for a confirmed repair (hose, O-ring, compressor, condenser, evaporator) and now needs evacuation and refill.
- A leak test and pressure hold test indicate the system is tight (or the leak is repaired).
- Symptoms match low charge (weak cooling, rapid clutch cycling on older systems, low-side pressure lower than expected under correct test conditions).
Recharge is a bad idea when:
- You suspect a significant leak but haven’t inspected or tested—refrigerant will escape again.
- The compressor is noisy, seized, or shedding debris—adding refrigerant can accelerate damage.
- Condenser airflow is compromised (fan failure, packed fins, debris blockage), because pressure can spike dangerously.
- You have no way to measure charge accurately and are guessing based on “cold-ish” vent air.
To make the decision clearer, treat the system as three checkpoints: integrity (no leaks), control (fans, blend doors, sensors), and compression (compressor performance). If integrity is unknown, your first step is to test—not to add.
Next, do a quick “reality check” that avoids common misreads. A hot day, high humidity, and a dark car interior will raise cabin heat load; that can make AC feel weak even if it’s functioning. Conversely, a system with a low charge might feel “okay” while driving fast (extra airflow across the condenser) but weak at idle—until it gets worse.
What are the signs you have a leak before adding refrigerant?
Leak suspicion comes from repeat performance loss, oily residue at fittings, or pressure behavior that doesn’t stabilize under normal conditions. Next, you confirm with visual inspection and proper testing rather than guessing from a single gauge reading.
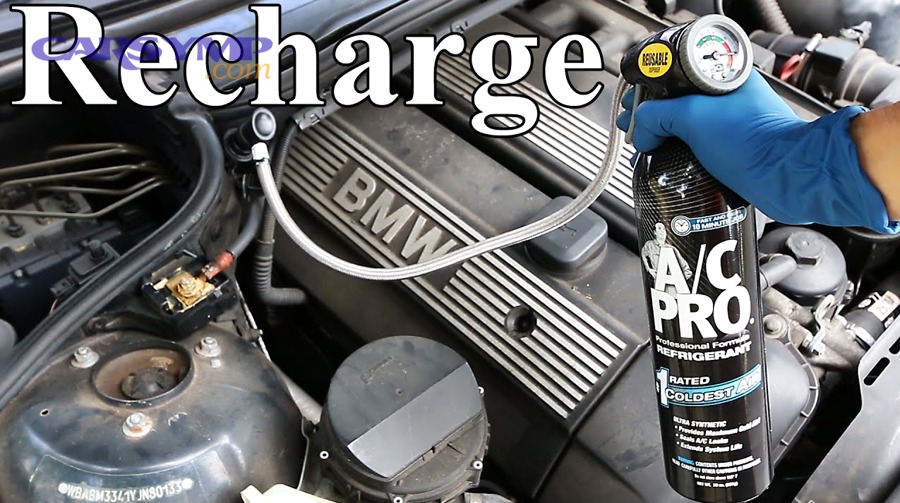
Many drivers search for quick fixes, but Signs you have a leak before recharging are often visible if you know where to look. Refrigerant carries a small amount of oil mist through the system; when refrigerant leaks, oil can leave a telltale film.
Common leak indicators include:
- Cooling fades over time (weeks to months), especially after previously “fixing” it with a top-off.
- Oily or dirty wet residue around hose crimps, service ports, compressor seals, condenser joints, or the evaporator drain area.
- Hissing near the dash or engine bay shortly after shutdown (not always present, but meaningful if consistent).
- UV dye evidence if dye was added previously—bright fluorescence at a leak point under UV light.
Next, apply a basic testing ladder, moving from simplest to more definitive:
- Visual inspection of fittings, hose crimps, and condenser face for impact damage and oil staining.
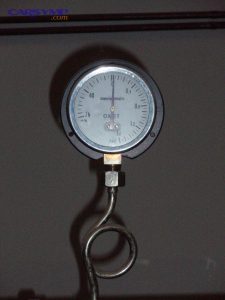
- Static pressure check after the car has been off long enough to equalize (this is not a full diagnosis, but a useful clue).
- Electronic leak detection around likely points (requires a suitable detector and method).
- Vacuum hold test after evacuation (helps detect gross leaks, though it’s not perfect for every scenario).
To keep the flow practical, treat a “recharge” as the final step of a leak story, not the first chapter. If you recharge without addressing leakage, you risk repeated venting, wasted money, and the temptation to add more and more—until the system is overcharged or the compressor fails.
Which refrigerant type and oil should you use for your model?
You must use the refrigerant type specified on the vehicle under-hood label (and match oil specifications when components are replaced). Next, mixing refrigerants or using the wrong type can create unsafe pressures and poor cooling.

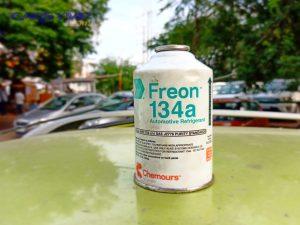
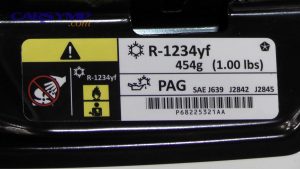
Vehicle AC systems are engineered around specific refrigerants and lubricants. That’s why Proper refrigerant type by model is not a suggestion—it’s a requirement. Most vehicles have an under-hood service label listing the refrigerant designation and the factory charge amount.
Here’s how to choose correctly without turning it into guesswork:
- Find the under-hood label (often near the radiator support, hood underside, or strut tower area).
- Match the designation exactly (for example, R-134a or R-1234yf, depending on model year and platform).
- Avoid “universal blends” that claim compatibility across multiple systems unless you can verify they are approved for your vehicle and service equipment.
Next, consider oil—not because you always add oil during a recharge, but because oil balance matters when parts are replaced or when a leak has expelled oil. Different systems use different oils (such as PAG variants or POE in certain contexts), and oil amount changes depending on what component was replaced.
If the system was opened for a repair, the correct path is to restore both refrigerant charge and oil quantity to the specified values. If the system was not opened and you are only correcting charge after a verified small leak repair, adding random oil can be counterproductive—too much oil can reduce heat transfer, raise pressures, and compromise cooling.
In short: the label tells you the target refrigerant and mass; the service manual or reputable repair data provides oil specifications and distribution by component. This keeps the next section—how much to add—grounded in real targets rather than guesswork.
How much refrigerant should you add—and why “by weight” matters?
You should add refrigerant by weight to match the factory charge specification, because pressure-only filling is unreliable across varying temperatures and loads. Next, accurate mass prevents both undercharge and overcharge, which are common causes of poor performance.
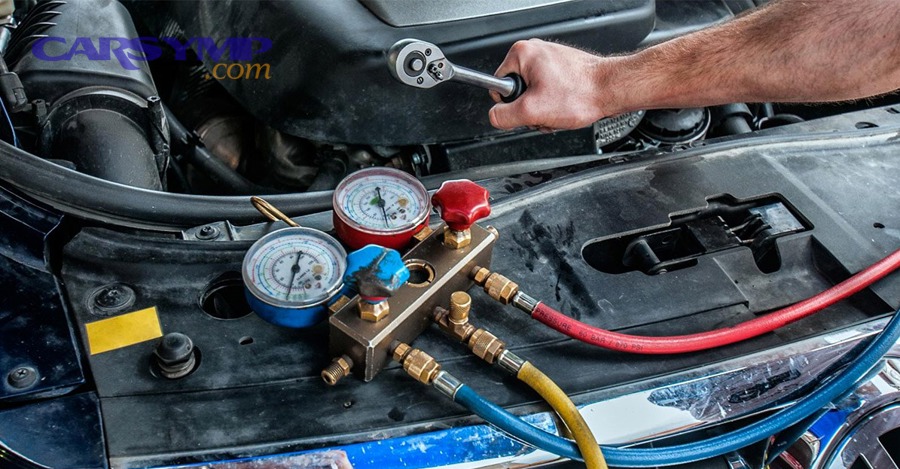
Drivers often ask How much refrigerant to add, but the most accurate answer is: the factory-specified mass, measured with a scale, after the system is properly evacuated (if it was opened or empty). A system can appear “close” on pressure yet still be significantly off on charge due to ambient temperature, humidity, condenser airflow, and engine speed.
Why weight matters more than pressure:
- Pressure is temperature-dependent, so the same charge can show different readings on different days.
- System controls change behavior (variable displacement compressors, fans, expansion valves), which changes pressures without changing charge.
- Undercharge and overcharge both degrade cooling, but pressure may not clearly distinguish them without full test context.
Next, use a simple rule of thumb for decision-making rather than false precision: if you cannot measure by weight, you are not truly “recharging”—you are approximating. Approximation can be acceptable only for short-term troubleshooting on older systems and even then should be done carefully with full awareness of risk.
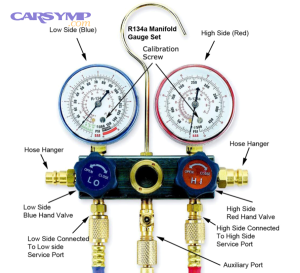
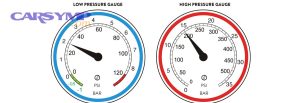
To make the concept tangible, here is a practical table that helps you interpret gauge behavior during diagnostics. This table contains common pressure-pattern clues that can guide your next test steps; it does not replace the correct-by-weight charge target.
| Observed pattern (typical test conditions) | What it can suggest | What to check next |
|---|---|---|
| Low-side very low, high-side low | Possible low charge or restriction | Inspect for leaks, verify condenser airflow, compare vent temp |
| Low-side high, high-side high | Possible overcharge or airflow problem | Verify fan operation, condenser cleanliness, confirm charge by weight |
| Low-side high, high-side low | Possible compressor performance issue | Check compressor control valve/clutch, belt drive, internal wear |
| Low-side low, high-side high | Possible restriction (TXV/orifice, drier) | Check temperature drop across components, inspect for debris |
Notice the repeated theme: every “pattern” still points you back to confirming charge by weight when you intend to finalize service. This is why professional equipment revolves around recovery, evacuation, and precise mass charging.
How can you recharge AC safely step-by-step?
The safest approach is recovery (if needed), evacuation, leak verification, and then charging by weight, followed by performance testing. Next, the goal is stable cooling without exposing you to high pressure, chemical contact, or incorrect service procedures.

If you’re looking for How to recharge AC safely, start by separating “safe” from “quick.” Safe means controlled handling of refrigerant, correct fittings, proper PPE, and correct measurement. Quick often means skipping verification and measurement—where most costly mistakes happen.
Here is a high-level, safe workflow used by competent service providers (and by skilled DIYers with proper equipment):
- Confirm the complaint and baseline: measure vent temperature, observe compressor operation, verify condenser fan function, and check cabin airflow.
- Inspect for obvious leaks and damage: oil residue, damaged fittings, hose rubbing, impact marks on condenser, missing caps on service ports.
- Recover remaining refrigerant using approved equipment if the system contains refrigerant.
- Repair the leak or fault if found (O-rings, hose, condenser, service valve core, etc.).
- Evacuate with a vacuum pump and hold vacuum to check for gross leaks (and remove air/moisture).
- Charge by weight to the label specification, using a scale and correct refrigerant.
- Run performance tests: vent temperature, pressure stability, fan cycling, and compressor control behavior.
Next, pay attention to the “hidden hazards” that cause injuries or damage:
- High-side pressure can be extremely high; never open or loosen fittings on a charged system.
- Frostbite risk from refrigerant contact; wear gloves and eye protection.
- Cross-contamination from wrong refrigerant or dirty hoses; this can damage service equipment and the vehicle.
Legal compliance matters too, and it’s not just bureaucracy. Legal and safety rules for refrigerant handling exist because refrigerants can be harmful if released or mishandled, and because contaminated refrigerant can create system failures that look like “mystery problems.”
Finally, treat any can-based approach as a temporary diagnostic tool, not a definitive service—unless you can still measure mass and confirm leak integrity. That leads directly to the most misunderstood split: vacuum pump service versus a simple top-off.
What’s the difference between evacuating with a vacuum pump and doing a quick top-off?
A vacuum-pump service removes air and moisture and enables accurate by-weight charging, while a quick top-off adds refrigerant without correcting contamination or verifying charge mass. Next, choosing the wrong approach can leave you with poor cooling and long-term damage risk.

The phrase Vacuum pump vs “top-off” difference captures a real fork in outcomes. A vacuum pump is used after recovery or component replacement to pull the system into deep vacuum, which helps remove non-condensable gases (air) and moisture that can freeze or form acids. A top-off simply adds refrigerant to whatever mixture is already in the system.
Why evacuation matters:
- Air raises pressures and reduces condenser efficiency because air doesn’t condense like refrigerant.
- Moisture can freeze at the expansion device, creating intermittent cooling loss that mimics low charge.
- Moisture + oil can degrade internal surfaces over time, increasing corrosion and debris.
Next, understand when top-off is sometimes used (and why it’s still limited):
- As a short-term diagnostic step when you suspect low charge and want to see if performance changes.
- On older, simpler systems where you can monitor behavior carefully and stop well before risk zones.
- When you plan to follow up with proper service soon and you accept that results may be temporary.
But top-off becomes dangerous when it’s repeated without measurement. Each “little bit” added is guesswork. Guesswork is how systems drift into overcharge, and overcharge is how pressures rise, cooling drops, and compressors get stressed.
So, the difference is not just a tool choice—it’s a measurement and contamination choice. If you want a stable, professional result, you need the evacuation-and-weight method. If you accept a temporary trial, you still need discipline and an exit plan.
What are overcharging symptoms, and how do you avoid them?
Overcharging commonly shows up as higher-than-normal high-side pressure, reduced cooling at idle, compressor strain, or intermittent warm air as protections trigger. Next, the best prevention is charging by weight and verifying condenser airflow and fan operation.

The topic Overcharging symptoms and how to avoid matters because overcharge is one of the most frequent DIY mistakes. More refrigerant does not automatically mean colder air. Instead, excessive charge can reduce condenser space for vapor-to-liquid change, increase head pressure, and push the system into protective behavior that feels like inconsistent cooling.
Common overcharge symptoms include:
- High high-side pressure relative to ambient conditions and airflow (especially at idle).
- Cooling that gets worse as the system runs longer, particularly in traffic.
- Compressor noise or harsh cycling (on clutch-based systems) as pressure thresholds are reached.
- Radiator fan runs excessively as the system tries to manage high condenser load.
Next, use prevention strategies that are simple but powerful:
- Charge by weight whenever you intend to finish the job.
- Confirm condenser airflow: fan operation, clean fins, no blockage from debris or bent sections.
- Respect test conditions: correct engine RPM, doors open or specified conditions, stable ambient temperature.
- Stop chasing “colder” if pressures are rising; you may be moving in the wrong direction.
To keep your decision-making grounded, remember that many “pressure problems” are actually airflow problems. A weak fan, blocked condenser, or missing shroud can mimic an overcharge because the condenser cannot reject heat effectively. In those cases, removing refrigerant won’t fix the root cause, and adding more makes it worse.
Finally, if you think you’ve overcharged, the safe correction is to recover and recharge to the specified mass. Venting is unsafe and often illegal; proper recovery equipment protects you and the environment.
How much does an AC recharge cost, and what changes the price?
Cost varies by refrigerant type, whether leak diagnosis is included, and whether the system needs recovery and evacuation versus a simple service. Next, understanding what’s bundled prevents comparing a full service to a quick add-on as if they were the same.

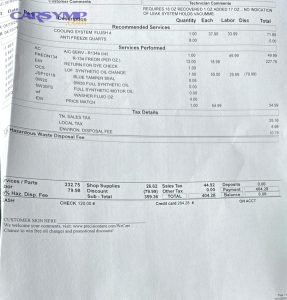
Many people search AC recharge cost estimate expecting a single number, but pricing is really a bundle of tasks. A shop may quote “recharge” while including recovery, evacuation, and a measured refill—or they may quote only adding refrigerant after minimal checks. Those are fundamentally different services.
Major cost drivers include:
- Refrigerant type: some refrigerants are more expensive and require specialized equipment.
- Amount required: a partially low system vs an empty system affects time and materials.
- Diagnosis and leak detection: UV dye, electronic detection, nitrogen pressure testing, and time spent tracing leaks.
- Repairs: O-rings, service valve cores, hoses, condenser/evaporator replacements, compressor service.
Next, ask what the quote includes in plain language:
- Is the refrigerant recovered and measured, or is it simply added?
- Is the system evacuated with a vacuum pump, and is there a vacuum hold check?
- Is dye or leak testing included, and if so, which method?
- Is performance verified with vent temperature and pressure readings under defined conditions?
This keeps you from paying twice: once for a temporary refill, and again for a proper repair and recharge after the refrigerant leaks out. It also protects you from the trap where a cheap top-off becomes a cycle of repeat visits.
If your goal is long-term reliability, focus less on “the cheapest recharge” and more on “the most complete diagnosis + correct charge.” That naturally leads to the next comparison: DIY kit versus shop service.
Should you use a DIY recharge kit or go to a shop?
A shop is usually best for accurate recovery, evacuation, and by-weight charging, while a DIY kit can be useful for limited troubleshooting when you understand the risks and limitations. Next, the right choice depends on equipment access, leak certainty, and your ability to measure safely.

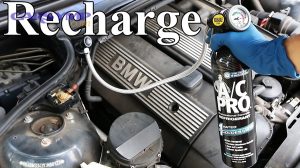
The phrase AC recharge kit vs shop service comparison is really about measurement and responsibility. A shop typically has a recovery machine, vacuum pump, calibrated scale, and the ability to identify contamination. A DIY kit is often a single low-side gauge and a can that encourages topping off based on a “green zone.” That can work for basic clues, but it can also mislead.
Shop service is stronger for:
- Correct charge by weight and stable performance.
- Handling an empty system safely and legally with recovery/evacuation.
- Finding leaks with proper tools and repeatable methods.
- Protecting the compressor by restoring oil balance when parts were replaced.
A DIY kit can be reasonable for:
- Short-term diagnosis when cooling is weak and you suspect low charge, and you will follow up correctly.
- Minor adjustments only if you can confirm the system is otherwise healthy and you do not rely on a single gauge zone.
Next, be honest about what a typical DIY kit cannot do:
- It usually cannot recover refrigerant, which matters if the system is overcharged or contaminated.
- It usually cannot verify charge mass, which is the most important target.
- It may not detect airflow problems, restrictions, or compressor inefficiency that mimic low charge.
If you decide to use a kit, do it with strict discipline: add small amounts, monitor behavior, stop early, and treat it as a temporary experiment—not as the final service. If you want a finish-level result, the shop method is the safer bet.
How do you verify results after recharging?
Verification means checking vent temperature, observing stable compressor behavior, and confirming pressures are consistent with ambient conditions and airflow. Next, a repeatable test prevents “it felt cold once” from masking a lingering leak or airflow problem.
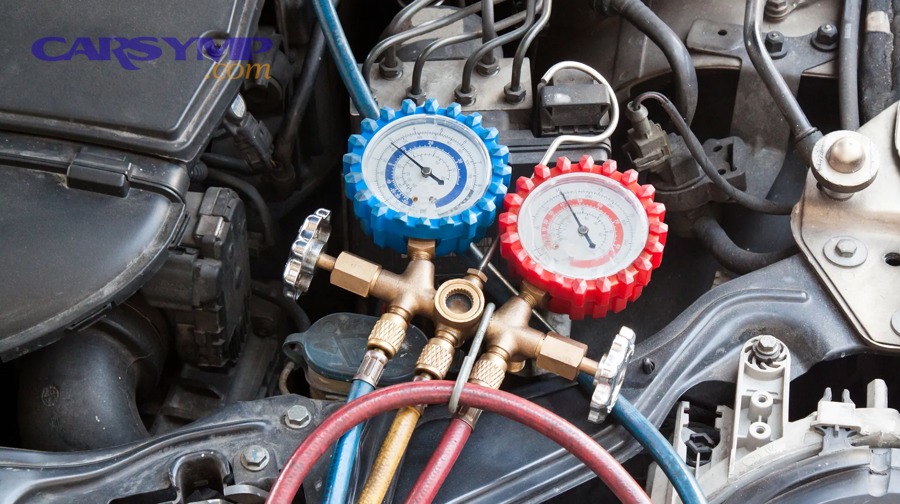
Many recharges fail not because charging is impossible, but because people skip verification. A simple Post-recharge vent temp test gives you quick feedback on whether the system is actually moving heat out of the cabin effectively.
Use a consistent test setup:
- Warm the car interior slightly (so the system has a real load).
- Set AC to max cool, recirculation on, blower medium-high.
- Keep windows cracked or doors open briefly for stabilization if recommended by service procedures.
- Measure center vent temperature with a probe thermometer after several minutes.
Next, interpret results with context rather than a single “perfect” number. Vent temperature depends on ambient heat and humidity, vehicle design, and airflow. What matters is trend and stability: does the vent air get cold and stay cold, or does it cycle warm and cold? Does cooling improve with driving but collapse at idle, hinting at airflow issues?
Also watch compressor and fan behavior:
- Fan operation should be consistent with AC demand; a dead fan can cause high pressures and weak cooling.
- Compressor control should look stable rather than frantic cycling, unless the system is designed to cycle by strategy.
- Line temperatures should make sense: the suction line often cools and can sweat; the discharge line is hot.
If results are inconsistent, the corrective approach is not “add more.” Instead, step back: verify airflow, check for restrictions, and confirm charge by weight. Finally, re-check for leaks because a system that loses charge will often “work today, fail next week.”
Contextual Border: What rare details and misconceptions trip people up most?
Most recharge mistakes come from rare-but-important details: contamination, mislabeled products, and ignoring airflow and measurement fundamentals. Next, these “small” issues are why two identical cars can behave very differently after the same DIY steps.

How can non-condensable gases mimic an incorrect charge?
Air trapped in the system can elevate high-side pressure and reduce heat rejection even if refrigerant mass is near target. Next, this is why evacuation matters after the system has been open or has been serviced incorrectly.
Specifically, non-condensable gases occupy space in the condenser, reducing the effective condensing surface. The result can look like overcharge or airflow issues. This is also why a system can show “pressure that seems wrong” even though you added only a small amount.
Why do some “green-zone” gauges mislead on modern systems?
Single-gauge kits simplify a complex system into one color band, but modern variable displacement compressors and control strategies can alter low-side readings in ways that don’t map cleanly to charge level. Next, you need holistic testing, not a single needle position.
For example, a system can maintain a low-side pressure that looks “fine” while still being undercharged, because control strategies try to protect components and maintain evaporator temperature. Meanwhile, the vent temperature may reveal the truth: it never reaches stable cold air under load.
What’s the hidden risk of mixing refrigerants or sealants?
Mixing refrigerants or using sealants can contaminate service equipment, create unpredictable pressures, and complicate future diagnostics. Next, contamination is one of the fastest ways to turn a simple recharge into an expensive repair.
Even if a product claims compatibility, mixing can make recovery and recycling difficult. Sealants can harden in equipment and orifices, creating restrictions that mimic low charge or compressor failure. If you suspect contamination, a professional recovery-and-recharge service is the safer path.
Why does condenser airflow matter as much as refrigerant charge?
Without strong airflow, the condenser cannot reject heat, so high-side pressure rises and cooling performance collapses—often at idle first. Next, this is why checking fans, shrouds, and fin condition should precede repeated refrigerant additions.
In practice, many “needs a recharge” complaints are actually “needs airflow.” Bent fins, debris blockage, or a weak fan motor can reduce heat rejection. Fixing airflow can restore cooling even before any charge correction, and it prevents dangerous pressure spikes after service.
FAQ
Can I recharge my AC every summer as routine maintenance?
No—vehicle AC systems are sealed and should not need routine yearly charging. Next, repeated seasonal recharges usually indicate a leak that should be identified and repaired.
Is colder vent air always better after a recharge?
Not necessarily; extremely cold readings can indicate evaporator icing or control issues under certain conditions. Next, stable cooling under real driving conditions is a better success metric than chasing the lowest number.
What if the system is empty—can I just add refrigerant?
You should not; an empty system likely has a significant leak and may contain air and moisture. Next, the correct approach is repair, evacuation, and charging by weight.
Do I need to add oil when I add refrigerant?
Usually no for a simple charge correction, unless a component was replaced or oil was lost. Next, adding oil blindly can reduce performance and create other issues.
How do I know if I should stop and go to a shop?
Stop if pressures behave abnormally, cooling is inconsistent, you suspect overcharge, or you can’t verify leak integrity and charge mass. Next, a professional service can recover, evacuate, and charge precisely to prevent damage.