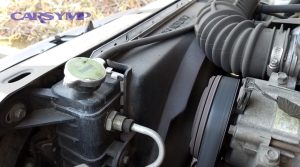
Do You Need a Coolant Flush? Complete Cost, Interval, and DIY Guide for Car Owners (Flush vs Drain-and-Fill)
A coolant flush is worth doing when your coolant is old, contaminated, or you’ve had cooling-system parts opened—because fresh coolant restores corrosion protection and heat transfer, which directly lowers overheating risk and helps your heater work normally.
Next, you’ll learn how to spot contaminated or rusty coolant early, so you can act before it turns into leaks, clogs, or “mystery overheating” that leads to bigger bills.
Then, you’ll get a practical timing plan (miles, years, and real-world conditions) and a clear cost breakdown, so you can choose between a shop service and a safe DIY approach with confidence.
Introduce a new idea: the smartest way to think about coolant maintenance is to match the service method (flush vs drain-and-fill) to the condition of the coolant and the age of the system, not just the odometer.
Do You Need a Coolant Flush or Just a Top-Off?
Yes—most car owners eventually need a coolant flush because (1) additives that prevent corrosion get depleted over time, (2) contamination/sludge reduces cooling efficiency, and (3) trapped air or mixed coolant can cause hot spots and erratic temperatures.
Next, to decide correctly, you need to judge the condition of the coolant and the risk level of the system—not just whether the reservoir looks “kinda full.”
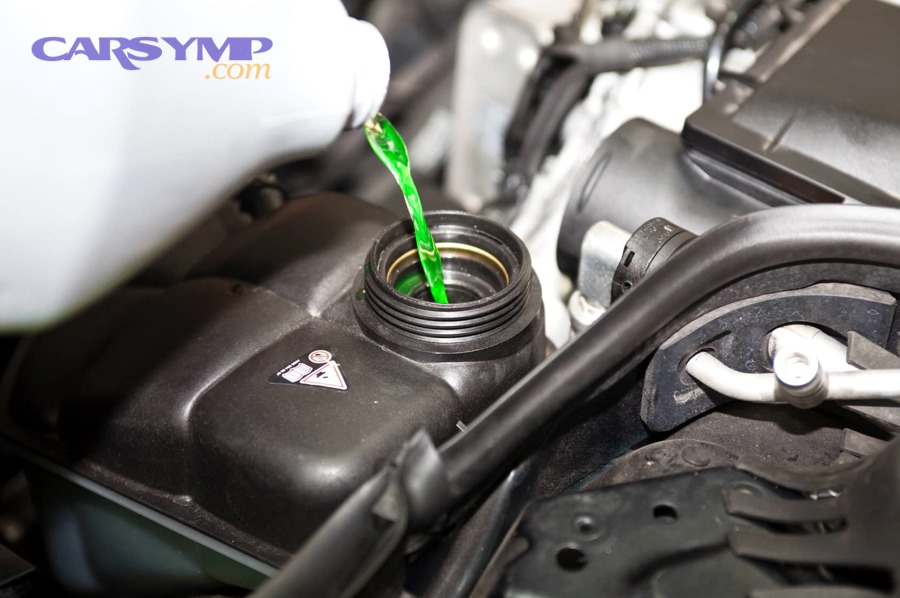
What are the signs coolant is contaminated or rusty?
Contaminated coolant usually shows color change, debris, sludge, or rust tint, and it often comes with performance clues like inconsistent cabin heat or rising temps on hills.
Specifically, look for these “high-signal” indicators (they map closely to real cooling-system problems, not just cosmetic changes):
- Rusty/brown tint or sediment: often means corrosion is happening somewhere (radiator core, heater core, engine passages). AAA notes that if coolant is contaminated with rust, it’s time to change it and you should avoid mixing different coolant types when possible.
- Sludge/gel: can form after mixing incompatible coolant chemistries or after severe overheating. It can restrict flow through the radiator and heater core.
- Oily sheen: can suggest oil contamination (possible gasket failure) and is a “stop and diagnose” sign—not just a flush-and-go situation.
- Strong burnt smell or repeated boil-over: points to overheating events that can “cook” additives out of the coolant and accelerate corrosion protection loss.
If you want a quick symptom cross-check, a dedicated symptom hub like carsymp.com can help you compare overheating patterns and related warning signs in plain language.
Can you drive with old coolant?
You can drive with old coolant for a while, but it’s a gamble that gets worse with time because old coolant tends to lose corrosion protection and can allow deposits to form.
More specifically, the risk isn’t just “it might overheat someday”—it’s that old coolant can quietly create conditions that lead to cooling system repair later:
- Corrosion can pit aluminum and eat away at radiator/heater core surfaces.
- Deposits can reduce heat transfer and raise operating temperatures under load.
- Seal and rubber stress can increase as temperatures fluctuate more often.
A practical rule: if you’re seeing temperature creep, rusty discoloration, or inconsistent heat, treat it as “service now,” not “service later.”
What Is a Coolant Flush and What Does It Include?
A coolant flush is a cooling-system service where old coolant is drained, the system is cleaned/cleared of contaminated fluid (sometimes using a machine or cleaning solution), and then refilled with the correct coolant mixture to restore protection and stable temperatures.
Next, it helps to understand what’s actually being protected—because coolant doesn’t just “carry heat,” it also prevents rust, scale, and electrochemical corrosion inside mixed-metal engines.

What parts make up the cooling system?
The cooling system is a connected network, and a flush affects the whole loop—not just the radiator.
Key components (and why they matter during a flush):
- Radiator: primary heat exchanger; internal passages can clog with deposits.
- Water pump: circulates coolant; poor coolant quality can accelerate wear.
- Thermostat: temperature gate; sticking can mimic “bad coolant” symptoms.
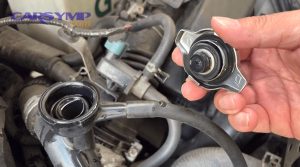
- Radiator cap / pressure cap: holds pressure to raise boiling point; weak caps can cause boil-over and air entry.
- Hoses and clamps: can harden, swell, or leak (especially after overheating).
- Heater core: small passages, easy to clog; often the first place you notice poor flow (weak cabin heat).
- Overflow reservoir and hoses: can show early signs of sludge/rust.
What happens during a professional coolant flush service?
A professional service typically follows a structured process:
- Inspection and diagnosis (leaks, hose condition, fan operation, cap condition).
- Drain old coolant safely and capture it for disposal/recycling.
- Flush/clean using either a machine exchange or controlled water/cleaner process (method varies by shop and vehicle).
- Refill with the correct coolant and mixture, usually a manufacturer-approved type.
- Bleed air and confirm stable operating temperature, heater output, and no leaks.
Some service centers describe flushes as including inspection of multiple cooling-system components and removal of sediment/sludge before refilling.
When Should You Flush Coolant?
There are three practical timing triggers for a coolant flush: (1) the interval in your owner’s manual, (2) condition-based signs (rust/sludge/overheating), and (3) system-opening events (radiator, thermostat, water pump, heater core work).
Next, the reason intervals vary so widely is that “coolant” is not one uniform chemistry—different formulations age differently, and real-world heat cycles accelerate breakdown.
What is the recommended coolant flush interval by mileage/time?
A useful When to flush coolant interval guide starts with the owner’s manual, then uses broad ranges as a sanity check.
In general terms:
- Older conventional coolants (often IAT) are frequently serviced on shorter intervals (commonly around 2 years / 30,000 miles in many guidance sources).
- Long-life coolants (many OAT/HOAT types) can run longer, but you should still follow the vehicle-specific schedule and confirm the correct coolant type before extending intervals.
Also, some maintenance guidance emphasizes that if coolant has lost its color or shows rust contamination, it’s time to change it.
What conditions shorten the interval?
Even “long-life” coolant can age faster under harsh conditions because heat and contamination accelerate additive depletion.
More specifically, shorten your interval if you regularly face:
- Frequent towing / high-load driving (higher sustained temps).
- Stop-and-go traffic in hot climates (heat soak cycles).
- Past overheating events (coolant can degrade quickly after boil-over).
- Mixed coolant history (unknown top-offs, wrong type added).
- Cooling system leaks (air entry and repeated top-offs reduce consistency).
If you’re unsure, test strips can give a quick directional read, but the highest-confidence method is still matching the coolant type and interval to the manufacturer spec.
How Much Does a Coolant Flush Cost?
A coolant flush typically costs from about $131–$209 in many markets for a basic flush, but it can rise significantly depending on vehicle design, coolant type, and whether extra diagnosis or parts are needed.
Next, the fastest way to avoid surprise pricing is to understand what drives cost—because “flush” can mean anything from a simple drain/refill to a full exchange with additional checks and bleeding.
What affects coolant flush cost estimate?
A Coolant flush cost estimate usually changes based on these factors:
- Coolant capacity and type: some vehicles use specialty long-life coolants that cost more per gallon.
- Accessibility: some modern cars require extra labor to reach drain points or bleed correctly.
- Bleeding procedure complexity: vacuum-fill tools or special bleed sequences add time.
- Condition issues: rust, sludge, leaks, weak caps, stuck thermostats—these add diagnosis and parts.
- Local labor rates: regional rates can vary widely; labor rates can range substantially across markets.
To make this concrete, here’s what a typical quote might include (this table breaks down where the money goes, not exact prices for every car):
| Cost item | What it covers | Why it matters |
|---|---|---|
| Parts/materials | Coolant, distilled water, small seals | Correct coolant chemistry protects metals and seals |
| Labor | Drain, flush/exchange, refill, bleed, test drive | Most of the cost is time + correct procedure |
| Add-ons (optional) | Cap test/replace, thermostat check, hose replacement | Prevents repeat overheating after service |
For broader benchmarks, RepairPal’s estimates for coolant-related services can be higher depending on vehicle and scope.
How does DIY cost compare to shop price?
DIY often costs less in cash, but more in time and responsibility.
A typical DIY parts bill might include:
- Correct coolant (or concentrate + distilled water)
- Catch pan + funnel
- Optional flush chemical (only if appropriate)
- Basic hand tools and gloves
However, DIY becomes “expensive” fast if you choose the wrong coolant type, fail to remove air pockets, spill coolant (toxic + slippery), or crack an aging plastic fitting.
So the best DIY value happens when the system is healthy, the coolant type is known, and you can perform a proper bleed confidently.
Coolant Flush vs Drain-and-Fill: What’s the Difference?
Coolant flush wins for removing contaminated fluid and sediment, drain-and-fill is best for a gentler refresh on older systems, and a top-off is only appropriate when you’re correcting a low level with the exact same coolant type.
Next, the key is choosing the method that matches the system’s condition—because a mismatched method can create new problems (like dislodged debris or trapped air).
Which method is safer for older/high-mileage cars?
For older, high-mileage cars with unknown history, a Coolant flush vs drain-and-fill difference often comes down to risk tolerance:
- Drain-and-fill (safer/gentler):
- Removes a portion of old coolant and refreshes additives with less disturbance.
- Useful when you suspect brittle plastics or minor deposits that you don’t want to mobilize all at once.
- Full flush (more thorough):
- Better when coolant is clearly rusty/sludgy or after major component replacement.
- Higher chance of revealing weak points (which is not always “bad,” but it can create new leaks if parts were near-failing).
If you’re already seeing active rust/sludge, a drain-and-fill may be too mild and might only delay the real fix.
When is a drain-and-fill enough?
A drain-and-fill is usually “enough” when coolant looks reasonably clean (no sludge), but it’s simply old, you’re doing preventive maintenance on a healthy system, or you want to reduce risk on an older car while still improving protection.
A flush is more appropriate when coolant is visibly contaminated, you had overheating events, you replaced a radiator/water pump/thermostat, or you’re correcting unknown or mixed coolant history.
How Do You Do DIY Coolant Flush Steps and Safety?
A safe DIY coolant flush is a step-by-step process (prep → drain → flush → refill → bleed → verify) that aims to restore proper coolant protection and stable temperatures without spills, air pockets, or coolant mixing mistakes.
Next, the biggest DIY failure points are (1) bleeding the system incorrectly and (2) using the wrong coolant type—so you’ll treat those as non-negotiables.
What tools and supplies do you need?
A solid DIY setup includes:
- Catch pan (large enough for full capacity)
- Gloves + eye protection (coolant is toxic and irritating)
- Funnel or no-spill kit
- Distilled water (if mixing concentrate or doing rinse cycles)
- Correct coolant (match the spec and chemistry)
- Basic tools (pliers/screwdrivers; sometimes a socket set)
- Rags and absorbent (for small spills)
- Optional: spill-free funnel kit to help purge air safely

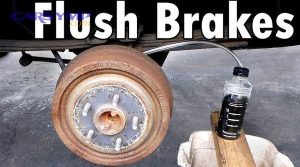
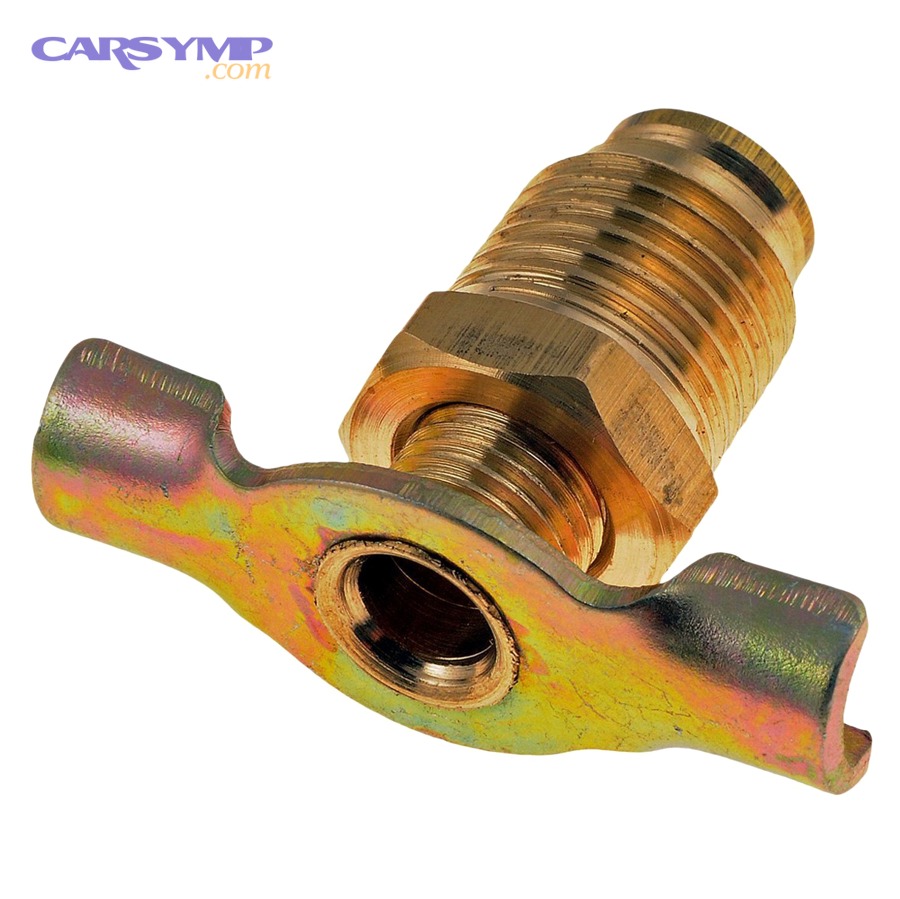
If your radiator has a drain valve (petcock), it may look like this:
How to flush, refill, and how to properly bleed air after flush?
Here’s a practical DIY coolant flush steps and safety workflow that fits most vehicles (always adapt to your specific manual):
- Start cold and depressurize safely
- Never open a hot system. Let the engine cool fully.
- Crack the cap slowly with a thick rag if needed.
- Set the heater to HOT
- This opens the heater circuit on many cars so old coolant in the heater core is more likely to exchange.
- Drain the old coolant into a catch pan
- Use the radiator petcock if equipped, or remove the lower hose carefully.
- Capture everything—this is not a “let it run down the driveway” fluid.
- Flush/rinse (if appropriate)
- If coolant is mildly dirty, a distilled-water rinse cycle may be enough.
- If coolant is heavily contaminated, follow a vehicle-appropriate flush method and don’t overuse harsh chemicals.
- Refill with the correct mixture
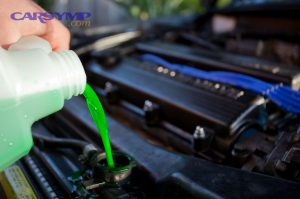
- Use premix or a measured concentrate + distilled water blend.
- Avoid mixing unknown types—Coolant types and compatibility matter because some chemistries don’t play well together.
- Bleed the system (this is where many DIY jobs go wrong)
- Spill-free funnel method: install the funnel at the fill point, run the engine, and allow bubbles to escape as the thermostat opens.
- Bleeder screw method (if equipped): open the bleeder as the system warms until coolant flows without bubbles.
- Vacuum fill method (best if you have the tool): pulls coolant in while minimizing trapped air.
- Verify operating temperature + heater output
- Confirm the radiator fan cycles normally.
- Ensure cabin heat is consistent.
- Check for leaks after a short drive and again after a full cool-down.
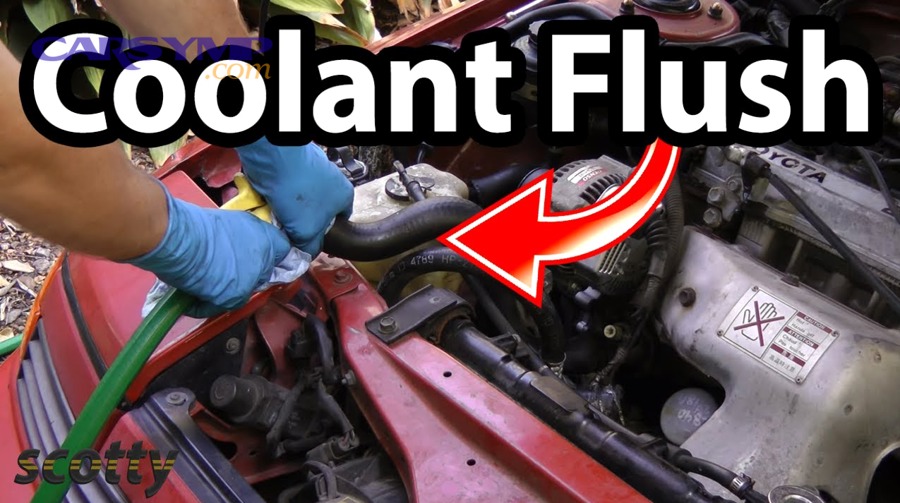
Here’s a helpful visual walkthrough you can embed for readers who want to see the process in action:
Evidence: According to a study by Colorado State University from the Veterinary Teaching Hospital, in 1979–1986, ethylene glycol (commonly associated with antifreeze/coolant exposures) was a major contributor in poisoning cases and had a high case-fatality rate—underscoring why DIY spill control and proper disposal matter.
What Else Should Be Checked During Cooling System Service?
A smart coolant service includes basic component checks because coolant condition and hardware condition work together: even perfect new coolant won’t prevent overheating if the thermostat sticks or the radiator cap can’t hold pressure.
Next, these quick checks help prevent repeat visits and support Preventing overheating with proper coolant maintenance—the real goal of the service, not just “new fluid.”
Thermostat and radiator cap checks during service
Thermostat and radiator cap checks during service are high value because both parts are cheap compared to overheating damage:
- Thermostat: confirm correct opening temperature and that it doesn’t stick. A stuck thermostat can mimic a “bad coolant” problem.
- Radiator cap: verify it holds the rated pressure; a weak cap can cause boil-over and draw air back in during cool-down.
Coolant types and compatibility
Coolant chemistry is not “just color,” and mixing incompatible types can cause sludge or reduced corrosion protection.
Use these rules:
- Match the spec first (owner’s manual/service info).
- Don’t rely on color alone (brands dye differently).
- If history is unknown, consider a full service that resets the system to the correct coolant type.
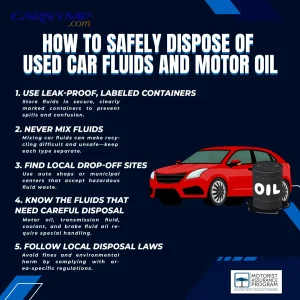
Disposal rules for old coolant
Old coolant is toxic and should be handled like a hazardous waste material in many jurisdictions.
Best practice:
- Store it in a sealed, labeled container.
- Keep it away from kids and pets.
- Take it to an approved recycling/household hazardous waste facility.
Preventing overheating with proper coolant maintenance and when to seek cooling system repair
Proper coolant maintenance prevents overheating by preserving heat transfer and corrosion control, but you should escalate to professional diagnosis if you see repeated overheating after service, coolant loss with no visible leak, oil contamination signs (milky residue, oily sheen), persistent air that returns, or heater performance that stays weak even after correct bleeding.
If any of those appear, the right next step is targeted diagnosis and cooling system repair, not repeated flushes.
Evidence: Kelley Blue Book notes that radiator/coolant service pricing varies and also points out that brown coolant can indicate corrosion—reinforcing the idea that a flush is often triggered by coolant condition, not just mileage.