Compare Oxygen (O2) Sensor Replacement Costs & Steps for Car Owners: DIY vs Mechanic Guide
Oxygen sensor replacement is usually a straightforward exhaust & emissions repair that restores proper fuel control, reduces the chance of repeat check-engine lights, and helps you pass emissions testing—especially when you match the right sensor to the right location and verify the fix afterward.
Many drivers land here because they suspect a problem but aren’t sure if it’s truly a bad sensor or one of the common look-alikes; that’s why this guide also covers Bad O2 sensor symptoms, Exhaust leaks that mimic O2 sensor faults, and how to interpret the most common codes without guessing.
Cost is the next big question, so you’ll get a practical O2 sensor replacement cost estimate mindset: what you’ll pay for parts, what labor really covers, and what changes the O2 sensor replacement labor time from “quick job” to “rust fight.”
Introduce a new idea: once you know what the sensor does, whether you actually need it, and what it costs, you can follow a clean step-by-step replacement plan and finish with After replacement: clearing codes and readiness so the repair sticks.
What is an oxygen (O2) sensor and what does “oxygen sensor replacement” actually mean?
An oxygen (O2) sensor is an exhaust-mounted feedback sensor that helps the engine computer adjust air-fuel mixture in real time; oxygen sensor replacement means removing a faulty sensor, installing the correct equivalent, and confirming the system returns to normal closed-loop operation.
To connect that definition to your real-world decision, let’s translate what the sensor does into the two things you care about most: driveability and cost.
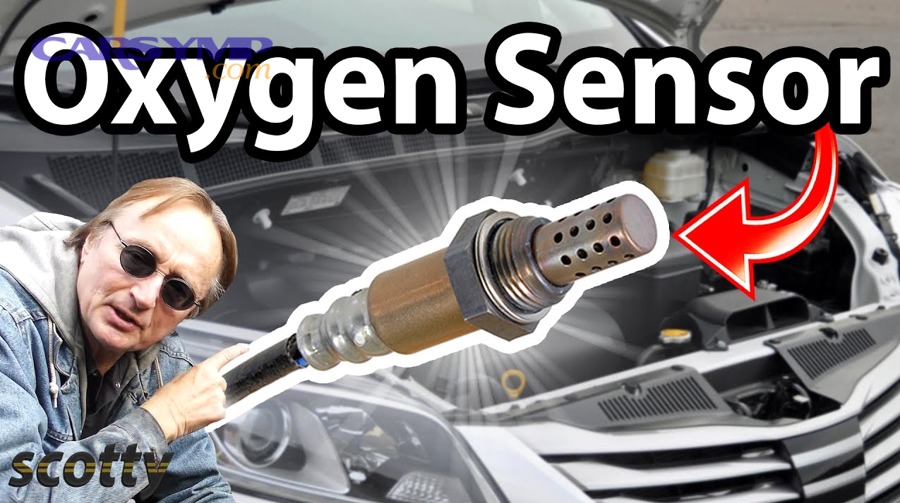
Is an O2 sensor the same as an oxygen sensor ?
Yes—an O2 sensor is the same thing as an oxygen sensor, and the “O2” label is simply a synonym based on the chemical symbol for oxygen; however, an AFR/wideband sensor is a different (often more precise) sensor type used on many newer vehicles, and it usually costs more.
Next, that distinction matters because it directly affects the part you buy and the result you get:
- O2 (oxygen) sensor = naming synonym. If your scan tool says “O2 sensor,” the central entity is still oxygen sensor replacement.
- Narrowband vs wideband/AFR = functional difference. Narrowband sensors typically switch rich/lean around stoichiometric; wideband/AFR sensors report mixture more precisely and may use different signal behavior and wiring.
- Heater circuit = practical difference. Most modern sensors are heated so they reach operating temperature quickly; heater faults can trigger codes that look like sensor failure but are actually wiring, fuse, or connector issues.
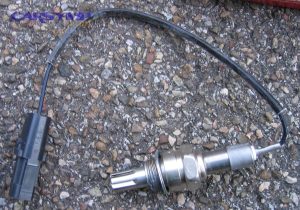
If you’re unsure what your vehicle uses, don’t guess based on photos alone. Use your VIN fitment lookup, your parts catalog, or your scan tool’s sensor description. A wrong sensor choice is one of the most common reasons people “replace the O2 sensor” and the light comes right back.
Evidence: According to an EPA technical report on oxygen sensor durability, a malfunctioning oxygen sensor can lead to greatly increased emissions even when the driver may not notice obvious drivability changes. (nepis.epa.gov)
Do you need oxygen sensor replacement right now?
No, you don’t always need oxygen sensor replacement immediately—even with a check engine light—because the same codes and symptoms can be caused by exhaust leaks, wiring faults, fuel/air problems, or catalyst issues; you should replace the sensor only after you confirm at least three supporting signs.
To make that decision easier, use a “confirm before you buy” approach: symptoms → code type → quick physical checks → data sanity check.
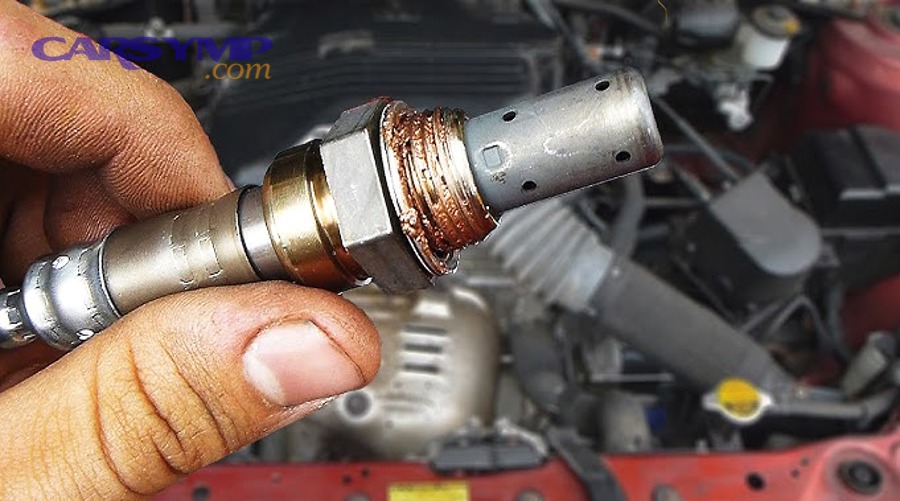
Does a check engine light always mean the O2 sensor is bad?
No—a check engine light does not always mean the O2 sensor is bad, and you should assume it’s not the sensor until you rule out three common causes: (1) exhaust leaks upstream of the sensor, (2) wiring/connector or heater-circuit issues, and (3) engine running lean/rich due to intake or fuel problems.
Next, here’s how those three causes mimic a bad sensor:
- Exhaust leak before the sensor pulls in outside air and changes oxygen content, which can fool the sensor reading.
- Heater circuit faults prevent the sensor from reaching operating temperature quickly, triggering slow-response or heater codes.
- Vacuum leaks / MAF issues / fuel pressure problems change combustion, and the sensor simply reports the result.
If you want a “fast filter,” do a quick under-hood and under-car inspection (when safe): look for cracked hoses, loose intake clamps, obvious exhaust leaks, and damaged wiring near hot exhaust components.
Which symptoms point most strongly to a failing O2 sensor?
There are 4 main symptom groups that suggest bad O2 sensor symptoms, based on what the sensor influences: fuel trim control, emissions monitoring, drivability, and readiness testing.
Next, use these groups to separate “strong signals” from “possible noise”:
- Fuel economy + fuel smell (fuel control impact)
- Noticeable MPG drop without a clear reason
- Rich smell from exhaust or dark tailpipe deposits (not always)
- Driveability changes (mixture correction struggle)
- Hesitation, surging, or rough idle (more likely with upstream sensors)
- Stumble on light throttle transitions
- Emissions test / readiness trouble (monitoring impact)
- Failing emissions due to O2 monitor or catalyst-related monitors not setting
- Repeated O2 sensor monitor failures after multiple drive cycles
- Intermittent check engine light patterns
- Light appears after warm-up (heater or response issues)
- Light appears after highway cruising (monitor completion triggers)
If symptoms are vague but codes are consistent, move to code interpretation rather than replacing parts on a hunch.
What do common O2 sensor codes mean (and which codes don’t guarantee replacement)?
There are 3 main groups of Common O2 sensor codes—sensor performance/response, heater circuit, and circuit high/low—based on what the engine computer is complaining about.
Next, this table gives you a practical “what it usually means” reference (and what else to check first). It’s not a substitute for a wiring diagram, but it prevents the most expensive misdiagnoses.
The table below groups common O2 sensor code types, explains what each group suggests, and lists other faults that can trigger the same code patterns.
| Code group (examples) | What it suggests | What else can cause it (check before replacement) |
|---|---|---|
| Performance/response (often “slow response,” “range/performance”) | Sensor may be aged/contaminated or exhaust conditions are abnormal | Exhaust leaks, engine running lean/rich, upstream vacuum leaks |
| Heater circuit (heater performance, heater circuit fault) | Heater element not working or not powered | Blown fuse, damaged wiring, poor ground, connector corrosion |
| Circuit high/low (signal too high/low) | Signal not plausible for conditions | Wiring short/open, poor connection, wrong sensor installed |
A key warning: codes that reference catalyst efficiency (commonly P0420/P0430) don’t automatically mean “replace the O2 sensor.” They can involve the converter, leaks, or fueling issues—so treat them as a system diagnosis.
Evidence: According to a study indexed by the U.S. National Library of Medicine (PubMed) from 2020, simulated engine component faults measurably impacted emissions and fuel consumption during chassis dynamometer testing, reinforcing why you should confirm root cause rather than replace sensors blindly. (pubmed.ncbi.nlm.nih.gov)
How much does oxygen sensor replacement cost (DIY vs mechanic), and what drives the price?
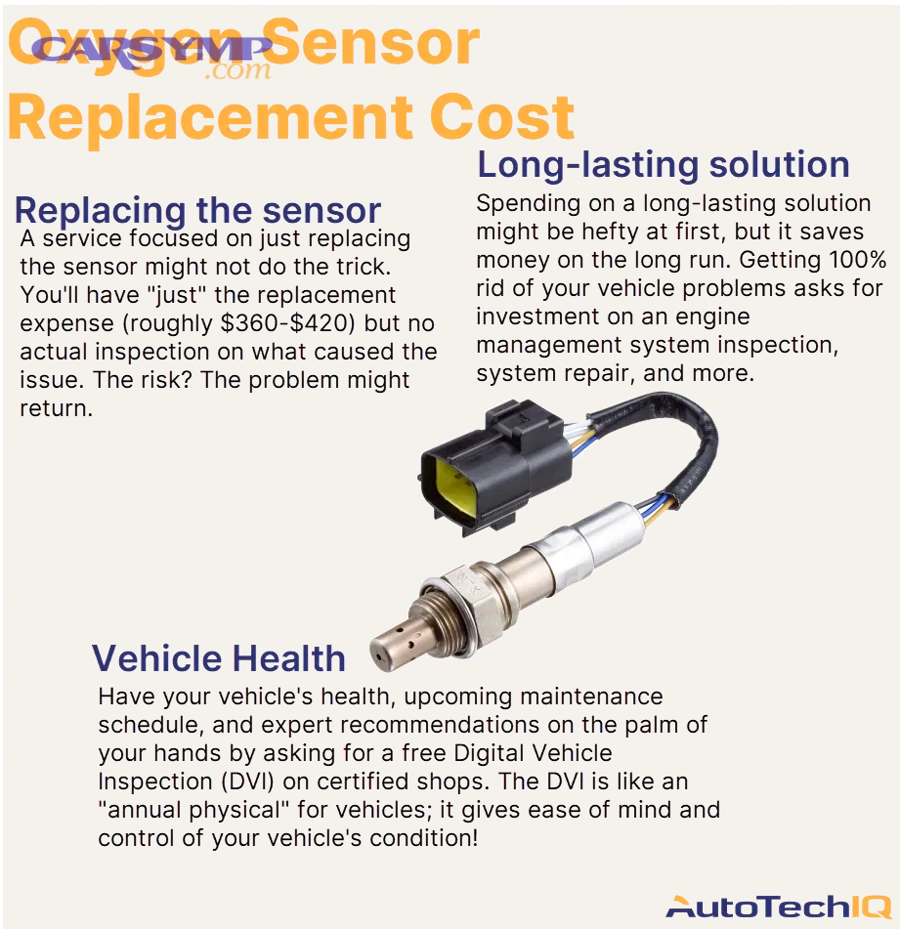
Oxygen sensor replacement costs typically break into parts + labor, where DIY wins on labor savings, a mechanic is best for seized sensors and tight access, and the biggest price drivers are sensor type, location (upstream vs downstream), and how much time rust adds to removal.
Next, treat cost the way a shop does: estimate the base job, then add “complication multipliers.”
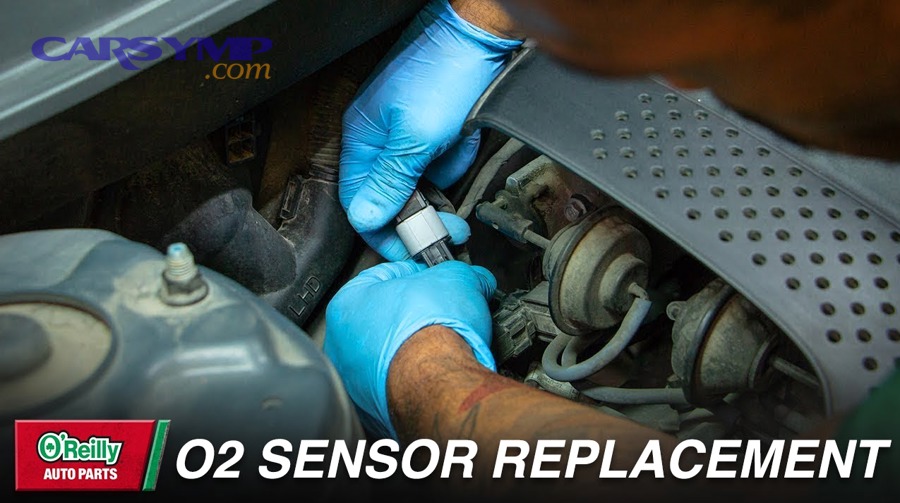
What is the typical cost range for DIY oxygen sensor replacement vs a shop repair?
DIY oxygen sensor replacement is often the cost of the sensor plus small supplies, while a shop repair typically includes parts, labor, and sometimes diagnostic time; the difference can be hundreds of dollars depending on sensor type and access.
Next, here’s a simple way to think about it:
- DIY typical costs
- Sensor (vehicle-specific range)
- Optional tools (O2 sensor socket, penetrating oil, breaker bar)
- Small supplies (gloves, anti-seize if appropriate, zip ties/loom)
- Shop typical costs
- Part (often OEM/OE-quality pricing)
- Labor (book time adjusted by access and corrosion)
- Possible diagnostic fee (sometimes waived if repair performed)
Evidence: According to RepairPal’s estimator, the average cost for an oxygen sensor replacement is between $434 and $537, with labor estimated $90–$131 and parts $345–$406. (repairpal.com)
Which factors increase oxygen sensor replacement cost the most?
There are 5 main cost drivers for oxygen sensor replacement cost estimate accuracy: (1) sensor location/access, (2) seized threads/rust, (3) sensor type (wideband/AFR vs standard), (4) number of sensors involved, and (5) local labor rate and diagnosis time.
Next, here’s how each driver shows up on your invoice:
- Location/access
- Upstream sensors can be accessible from above on some cars, but buried behind heat shields on others.
- Downstream sensors may require lifting the vehicle and working in tight space.
- Rust and seized threads
- Rust can turn a 20-minute job into a long extraction attempt.
- Shops may add time for heat, penetrating oil soak, or thread cleanup.
- Sensor technology
- Wideband/AFR sensors are often more expensive and more sensitive to incorrect installation.
- Sensor count
- Some vehicles have 2 sensors; others have 4 or more.
- Replacing “just in case” sensors without proof can double cost without fixing the issue.
- Labor rate + diagnosis
- A shop may need to confirm the fault to avoid comebacks—especially for intermittent codes.
If you want a quick reality check on what “normal” time looks like, focus on O2 sensor replacement labor time and the access reality under your specific model rather than a universal number.
Is replacing just one O2 sensor enough, or should you replace them in pairs/sets?
It depends—replacing one O2 sensor is usually enough when you have one confirmed failed sensor, but replacing in pairs or sets makes sense when (1) multiple sensors show the same aging behavior, (2) mileage is very high and sensors are original, and (3) the vehicle repeatedly triggers similar performance codes across sensors.
Next, use this rule-of-thumb decision:
- Replace one sensor when:
- You have a clear code tied to a specific bank/sensor position
- Wiring and leaks check out
- Live data supports the sensor’s slow/no response
- Consider pairs/sets when:
- Sensors are original and the vehicle is high-mileage
- Multiple sensors show sluggish switching or heater faults
- You’re already paying labor to reach difficult locations
Do not replace downstream sensors “to improve MPG” by default; downstream sensors mainly monitor catalyst behavior on many vehicles, while upstream sensors usually influence fuel trim.
How do you replace an oxygen (O2) sensor step-by-step?
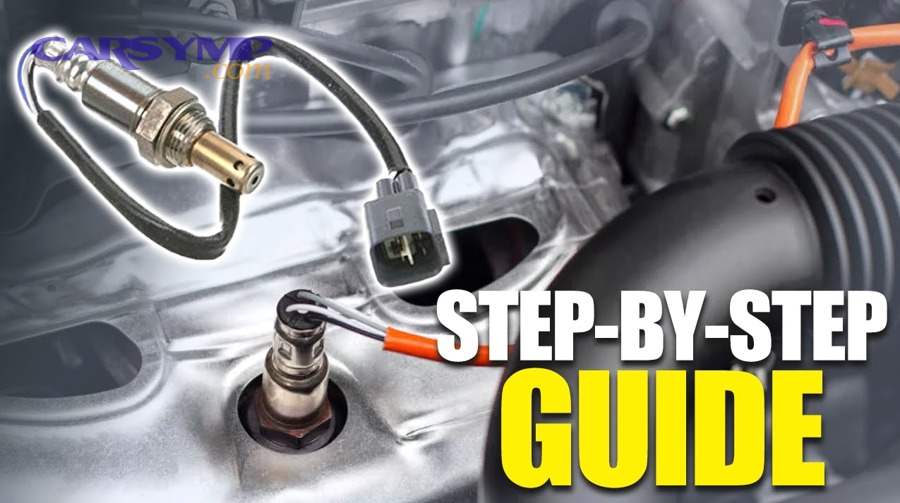
Oxygen sensor replacement is best done with a safe lift and a 6-step method—identify the correct sensor, disconnect wiring, loosen with the right socket, start the new sensor by hand, torque correctly, and route the harness safely—so you avoid cross-threading and repeat failures.
Next, you’ll get the practical version of the job, including O2 sensor socket tools and tips, Anti-seize and torque best practices, and the common “stuck sensor” contingencies.
What tools and supplies do you need for oxygen sensor replacement?
There are 3 main tool groups you need for oxygen sensor replacement: (1) access and safety tools, (2) removal/installation tools, and (3) cleanup and protection supplies.
Next, here’s a practical checklist that fits most cars:
- Safety and access
- Jack and jack stands (or ramps), wheel chocks, safety glasses, gloves
- A cool exhaust system (heat burns fast—wait if needed)
- Removal/installation
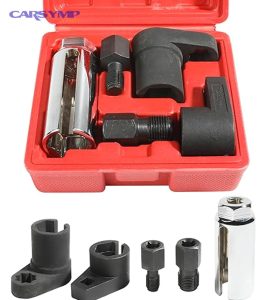
- O2 sensor socket or crowfoot-style O2 socket
- Ratchet, extensions, breaker bar
- Penetrating oil (for rusted threads)
- Torque wrench (ideal for correct tightening)
- Cleanup/protection
- Wire brush (lightly on exposed threads if needed)
- Dielectric grease (for connector seals if manufacturer-appropriate)
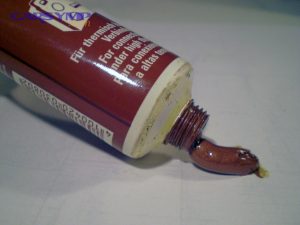
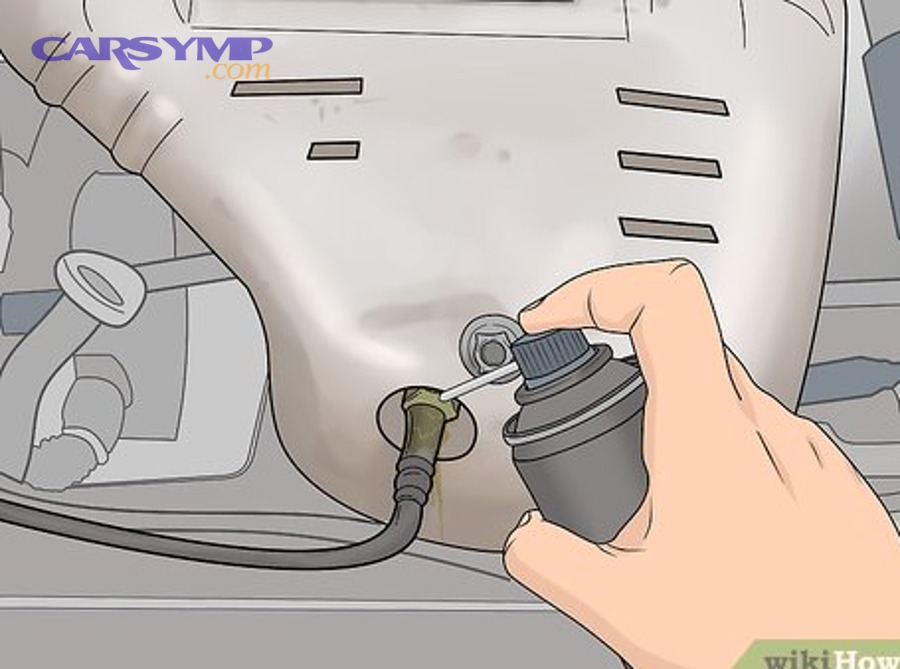
- Anti-seize (only if the sensor is not pre-coated and the manufacturer allows it)
- Zip ties/loom to keep wiring away from heat
If you don’t have an O2 socket, you can sometimes use a wrench, but the proper socket reduces rounding risk and protects the harness—especially on tight sensors.
Where is the O2 sensor located (upstream vs downstream, bank 1 vs bank 2)?
O2 sensors are located in the exhaust stream, typically before (upstream) and after (downstream) the catalytic converter; bank 1 refers to the side of the engine with cylinder #1, and sensor 1 is usually upstream while sensor 2 is downstream.
Next, use these quick mapping rules:
- Inline 4-cylinder engines usually have only bank 1.
- V6/V8 engines have bank 1 and bank 2.
- Sensor 1 = upstream (pre-catalyst) on many naming conventions.
- Sensor 2 = downstream (post-catalyst) on many naming conventions.
If your scan tool says “Bank 1 Sensor 1,” don’t assume it’s the easiest-to-reach sensor—confirm location visually. Misidentifying the sensor is one of the most expensive DIY mistakes.
What are the most common mistakes during O2 sensor replacement ?
There are 6 common mistakes during oxygen sensor replacement—wrong sensor choice, cross-threading, over-tightening, harness twisting, contamination, and ignoring leaks—and you avoid them by verifying fitment, starting threads by hand, torquing correctly, and doing a quick exhaust inspection.
Next, here’s how each mistake happens and what to do instead:
- Buying the wrong sensor (connector mismatch)
- Fix: match connector shape, wire length, and sensor type (narrowband vs wideband/AFR).
- Cross-threading the bung
- Fix: start the new sensor by hand for multiple turns before using tools.
- Over-tightening
- Fix: use a torque wrench when possible; avoid “gorilla tight.”
- Twisting or melting the harness
- Fix: disconnect connector first; route wiring away from the exhaust.
- Using anti-seize incorrectly
- Fix: apply only to threads if required; keep it off the sensing tip and follow manufacturer guidance.
- Replacing the sensor but ignoring exhaust leaks
- Fix: check for soot tracks and leak sounds; leaks can create false readings.
Evidence: According to Wagner Brake’s technical tips (installation guidance), you should start threading the new sensor by hand to avoid cross-threading, apply anti-seize to threads carefully, and torque the sensor to manufacturer recommendations. (wagnerbrake.com)
After replacement, how do you confirm the repair worked (and what if the code comes back)?
After replacement: clearing codes and readiness is the fastest way to confirm success, and you should verify the repair with three checks—(1) the code stays gone, (2) readiness monitors progress normally, and (3) live data looks plausible—before you call the job finished.
Next, treat this as the “no-comeback” phase: it’s where good repairs become reliable repairs.
Do you need to clear codes or disconnect the battery after oxygen sensor replacement?
Yes, you should clear codes after oxygen sensor replacement, and you should do it for three reasons: it resets the fault status so you can confirm the fix, it allows monitors to rerun cleanly, and it prevents old data from confusing your diagnosis if the light returns.
Next, choose the cleanest method:
- Best option: clear codes with a scan tool
- You keep control over what changed and when.
- Battery disconnect (less ideal)
- It may reset learned values and can create relearn issues on some vehicles.
- It may not be necessary and can introduce new symptoms temporarily.
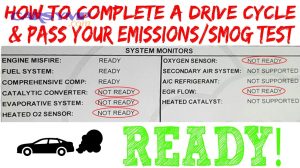
If you’re fixing the car for an inspection, remember that clearing codes can reset readiness monitors, which means you may need a complete drive cycle to get all monitors ready again.
How do you know the new O2 sensor is working correctly?
You know the new sensor is working when the engine goes into closed-loop normally, O2 sensor-related monitors complete, fuel trims stabilize, and the sensor signal behaves consistently with engine conditions—especially after warm-up.
Next, you can confirm with basic scan tool checks (no advanced scope needed):
- No returning codes after several normal drives
- Readiness monitor progress: O2 sensor monitor and catalyst monitor behavior makes sense for your vehicle
- Fuel trim sanity: short-term trim should adjust smoothly; long-term trim shouldn’t drift wildly after repairs
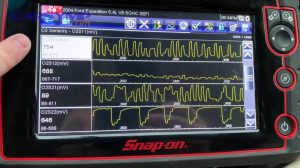
- Sensor response: upstream sensor responds to throttle changes; downstream is steadier on many cars with a healthy catalyst
If you want to go one step deeper, use “Using live data to confirm O2 sensor health” as a final verification method: you’re not just checking for codes, you’re checking if the sensor acts like a sensor should.
Evidence: According to NYVIP3’s OBD-II monitor explanation, the oxygen sensor monitor is designed to help ensure proper closed-loop fuel control around stoichiometric combustion conditions, which is why readiness status is a meaningful post-repair check. (nyvip3.com)
What should you check if the same O2-related code returns after replacement?
If the code returns, check three root causes first—wiring/heater power, exhaust leaks, and mixture-control problems—because these are the most common reasons a new sensor doesn’t fix the underlying fault.
Next, use this structured checklist (fastest to slowest):
- Connector and harness
- Look for pin damage, corrosion, melted insulation, improper routing near exhaust heat.
- Heater circuit power/ground
- Check fuses and grounds if you have heater-related codes.
- Exhaust leaks
- Inspect flanges, gaskets, cracks, and soot trails; remember exhaust leaks that mimic O2 sensor faults are common.
- Incorrect part
- Wrong sensor type (AFR vs O2), wrong connector, wrong bank/sensor position.
- Fuel/air issues
- Vacuum leaks, MAF contamination, fuel pressure issues, injector problems.
- Catalyst-related issues
- If the recurring issue is catalyst efficiency, the sensor might be reporting accurately.
If you’re stuck in a loop, stop replacing sensors and shift to diagnosis—especially when the new sensor produces plausible readings but the engine is genuinely running lean or rich.
Evidence: According to NGK’s oxygen sensor installation guidance, correct installation practices and fitment are central to reliable sensor operation and avoiding repeat issues, which is why repeat codes should trigger wiring/fitment verification rather than another immediate sensor swap. (ngksparkplugs.com)
What are the differences between upstream vs downstream O2 sensors (and narrowband vs wideband), and why do they matter?
Upstream O2 sensors matter most for fuel control, downstream sensors matter most for catalyst monitoring, and wideband/AFR sensors matter most for precision; these differences decide which symptoms you see, how the ECU reacts, and why one sensor can cost more than another.
Next, this section helps you choose correctly when a parts listing, scan tool label, or code description feels confusing.
How does upstream vs downstream sensor replacement change symptoms, labor time, and cost?
Upstream replacement tends to change drivability and fuel trim behavior more noticeably, while downstream replacement tends to affect catalyst and emissions-monitor behavior; labor time and cost depend more on physical access than on upstream/downstream labels.
Next, use this practical comparison:
- Upstream sensors (often Sensor 1)
- More likely to relate to hesitation, MPG change, fuel trim corrections
- Often sees hotter, harsher conditions → can age faster
- Downstream sensors (often Sensor 2)
- More likely to relate to catalyst monitor behavior and efficiency codes
- Typically steadier readings on a healthy catalyst
From a cost standpoint, the biggest difference is often access: an upstream sensor on a transverse V6 might be buried, while a downstream sensor might be easier underneath—or vice versa.
When is a “wideband/AFR sensor” required instead of a standard O2 sensor?
Yes, a wideband/AFR sensor is required when your vehicle’s engine management system is designed for it, and you can confirm this through three signs: your parts catalog specifies AFR/wideband, the connector and wiring count differ from standard sensors, and your scan tool labels it as an air-fuel ratio or wideband sensor.
Next, treat this as a “do not substitute” category:
- Wideband/AFR sensors may look similar but behave differently electrically.
- Incorrect substitution can cause persistent codes and poor running.
- Many wideband sensors are more expensive, which can skew your O2 sensor replacement cost estimate upward even if labor is the same.
If your vehicle uses wideband, follow the manufacturer-recommended procedure closely and avoid contamination on the sensing element.
Should you choose OEM, OE-equivalent, or universal sensors—and what are the fitment risks?
OEM wins for guaranteed connector match and calibration consistency, OE-equivalent is best for value when it matches exact specs, and universal sensors are only optimal when you can correctly splice wiring and accept higher risk of fitment and signal issues.
Next, here’s the real-world risk breakdown:
- OEM
- Best: exact connector, wire length, shielding, expected response profile
- Tradeoff: higher price
- OE-equivalent (direct-fit)
- Best: strong balance of cost and fit when truly direct-fit
- Tradeoff: must verify part number and sensor type
- Universal
- Best: can be cheaper in some cases
- Tradeoff: splicing errors, wrong wiring order, sealing issues, durability risk
For most car owners, “direct-fit” is the safest DIY path because it reduces errors that look like sensor failure later.
What rare issues can make oxygen sensor replacement fail (bung damage, cross-threading, catalyst codes)?
There are 4 rarer issues that can make oxygen sensor replacement fail: damaged bung threads, cross-threading during install, wiring heat damage that reappears after driving, and catalyst-efficiency problems where the sensor is reporting correctly.
Next, here’s what to do if you hit these edge cases:
- Damaged bung threads
- You may need thread chasing, a repair insert, or a weld-in bung—this is where an exhaust shop earns its keep.
- Cross-threading
- Stop immediately; forcing it can ruin the bung and turn a simple job into exhaust work.
- Harness heat damage
- A harness can look “fine” cold and fail hot; re-route and protect wiring.
- Catalyst efficiency codes
- Treat as a system issue; verify leaks and fueling before condemning the converter.
Evidence: According to Walker Products’ O2 sensor training/installation guidance, correct thread starting by hand and tightening to specification are critical to prevent damage and ensure a quality installation—supporting why anti-seize and torque best practices matter in real repairs. (walkerproducts.com)
Evidence (if any)
- According to RepairPal’s estimator, the average cost for an oxygen sensor replacement is $434–$537, with labor $90–$131 and parts $345–$406. (repairpal.com)
- According to an EPA technical report on oxygen sensor durability, emissions can increase greatly when oxygen sensor function degrades, even if the driver does not notice obvious symptoms. (nepis.epa.gov)
- According to a 2020 study indexed by PubMed, simulated engine hardware faults measurably affected emissions and fuel consumption under controlled dynamometer testing, reinforcing the value of confirming root cause instead of replacing parts by guesswork. (pubmed.ncbi.nlm.nih.gov)
- According to Wagner’s oxygen sensor installation tips, careful hand-threading, controlled anti-seize use, and torquing to spec reduce cross-threading and installation errors. (wagnerbrake.com)
- According to NYVIP3’s OBD-II oxygen sensor monitor description, readiness and closed-loop behavior are meaningful confirmation points after repair. (nyvip3.com)
- According to NGK’s oxygen sensor installation guidance, correct installation practices and fitment are central to reliable sensor operation and avoiding repeat issues. (ngksparkplugs.com)