Daniel James Carter
Lead Diagnostic Technician & Technical Content Author
Company / Organization
CarSymp
Experience / Skills
Check Engine Light diagnosis (OBD-II); engine performance & ignition/fuel systems; brake service; steering & suspension; AC/heater diagnostics; cooling system service; basic transmission diagnostics; electrical & battery/charging systems; maintenance schedules
About Daniel James Carter
Daniel James Carter (born July 14, 1988) is an Automotive Diagnostic & Repair Technician and the Lead Diagnostic Technician & Technical Content Author for this auto repair website. His work focuses on translating real shop-floor diagnostics into clear, step-by-step guidance for vehicle owners—especially around check-engine issues, climate control problems, brake safety, and steering/suspension wear.\n\nDaniel’s interest in mechanical systems started early, but his professional path became formal in 2006 when he began a structured apprenticeship in general automotive service. Between 2006 and 2008, he worked alongside senior technicians learning foundational skills—oil services, brake inspections, tire work, basic electrical checks, and service documentation. During this period, he also built the habits that still define his process today: verifying the customer’s concern, road-testing when safe, and confirming repairs with repeatable measurements.\n\nIn 2009, Daniel moved into a full-time automotive service technician role, where he handled a higher volume of maintenance and repair work (brakes, cooling systems, belts, ignition components, and driveline basics). By 2012, he shifted toward diagnostics, focusing on OBD-II fault tracing, fuel trim interpretation, misfire detection, smoke-testing intake leaks, and electrical circuit testing using wiring diagrams and voltage-drop methods.\n\nA major milestone came in 2015 when he began pursuing advanced professional credentials through the National Institute for Automotive Service Excellence (ASE). After completing multiple ASE exams and documenting the required hands-on experience, Daniel earned the ASE Master Automobile Technician designation in 2017. He continued building depth in drivability and emissions-related diagnostics and achieved the ASE L1 Advanced Engine Performance Specialist credential in 2019. He maintains his credentialing through ongoing study and periodic recertification, aligning his knowledge with modern engine management systems, updated scan-tool workflows, and evolving diagnostic standards.\n\nFrom 2018 to 2021, Daniel served as a senior technician in a busy service environment where his day-to-day work centered on complex complaints: intermittent stalling, hard starts, rough idle, overheating, vibration under braking, and AC systems that blow warm or smell musty. He became known for careful diagnosis before parts replacement, using a consistent checklist:\n\n\n Confirm the symptom and capture freeze-frame data.\n Test likely causes (air leaks, sensors, ignition, fuel delivery, charging system) with measurable evidence.\n Repair only after the failure is verified and the fix can be validated.\n Validate with a road test, live data review, and final inspection.\n\n\nIn 2022, Daniel began formalizing his field notes into consumer-friendly write-ups and troubleshooting guides. By 2023, he expanded that work into structured content for this website, combining real repair patterns with clear explanations of why failures happen (for example: how moisture and organic buildup can cause musty AC smell, why worn suspension joints can mimic wheel balance issues, or how vacuum leaks and weak ignition coils can trigger persistent misfires).\n\nToday, Daniel’s role on the website is to ensure every guide reflects practical repair reality—tools a shop actually uses, common misdiagnoses to avoid, and safety-first recommendations. He writes with the same standard he uses in the bay: the diagnosis must make sense, the repair must be verifiable, and the timeline from symptom to fix must be clear for the reader.

Related topics
Latest posts by Daniel James Carter


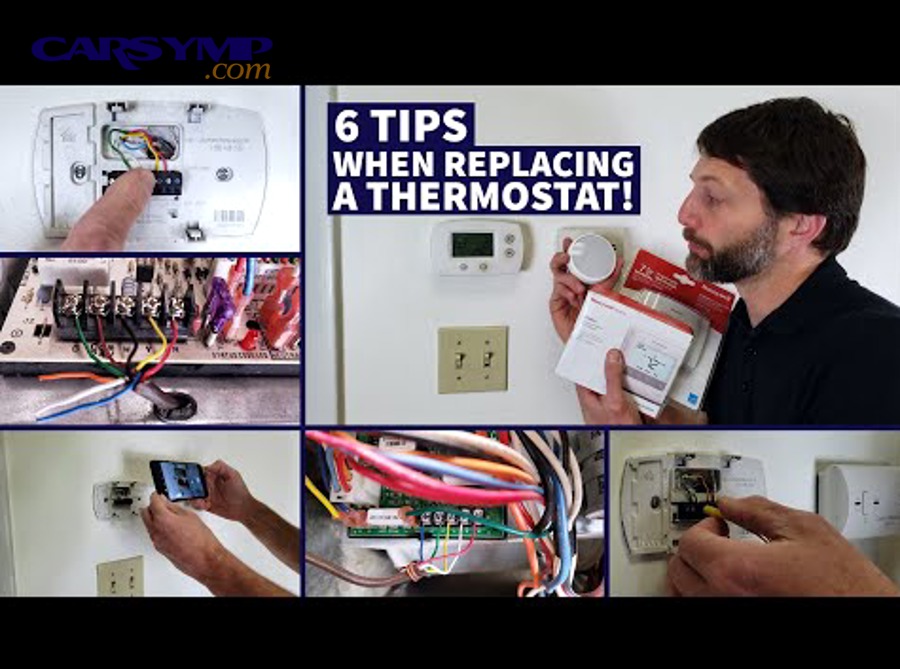
Replace Thermostat vs Sensor: 7 Diagnostic Signs for Homeowners
Homeowners facing temperature regulation problems often struggle to determine whether their thermostat or temperature sensor requires replacement, as both components produce similar symptoms but serve fundamentally different functions within heating and cooling systems. The thermostat acts as the control mechanism that regulates coolant flow and system activation, while the temperature sensor functions purely as a monitoring device that measures and reports temperature data to your vehicle's computer or HVAC control unit.
Daniel James Carter March 3, 2026 at 5:12 AM
5 Simple Tests to Verify Your Thermostat Is Working Correctly
Verifying your thermostat's functionality requires five essential tests: temperature accuracy comparison, power and voltage checks, system response evaluation, wiring continuity testing, and visual inspection, which together confirm whether your device accurately controls your HVAC system. These straightforward diagnostic methods help homeowners identify thermostat malfunctions before they escalate into expensive HVAC repairs or uncomfortable indoor temperatures.
Daniel James Carter March 3, 2026 at 4:56 AM
Complete Guide to Thermostat OBD Codes: Diagnose & Fix P0128, P0125 Issues for Car Owners
Thermostat OBD codes, particularly P0128 and P0125, indicate your engine is not reaching proper operating temperature due to thermostat malfunction, low coolant levels, or faulty temperature sensors. These diagnostic trouble codes trigger when your vehicle's powertrain control module detects the engine coolant temperature remains below the manufacturer's specified range within a predetermined timeframe after startup.
Daniel James Carter March 3, 2026 at 4:40 AM
How a Stuck Thermostat Reduces Fuel Economy: 10-15% MPG Loss Explained for Car Owners
Yes, a stuck thermostat significantly reduces fuel economy by 10-15% because it prevents the engine from reaching optimal operating temperature, forces the ECU to maintain rich fuel mixture compensation, and keeps the engine in open loop mode where fuel efficiency is sacrificed for cold-start enrichment. When your thermostat fails in the open position, coolant flows continuously through the radiator regardless of engine temperature, causing your vehicle to run perpetually cold and consume substantially more fuel than necessary.
Daniel James Carter March 3, 2026 at 4:16 AM
How to Diagnose Temperature Gauge Fluctuations: 7 Common Causes + Solutions for Car Owners
Temperature gauge fluctuations indicate potential cooling system problems ranging from a faulty thermostat to low coolant levels, requiring systematic diagnosis to identify the specific component failure. When your dashboard gauge moves erratically between hot and cold readings, understanding the root cause determines whether you face a simple fix or serious engine damage risk.
Daniel James Carter March 3, 2026 at 3:58 AM
How Thermostat Malfunctions Impact Heater Performance: 8 Critical Changes Homeowners Must Recognize
When your heating system behaves erratically—cycling on and off rapidly, failing to maintain comfortable temperatures, or driving up energy bills without explanation—the root cause often lies in thermostat malfunctions rather than furnace failures. A malfunctioning thermostat disrupts the communication pathway between your home's temperature control center and the heating equipment, creating eight distinct performance changes that homeowners can identify: short cycling, inconsistent temperature readings, continuous running without reaching setpoint, unresponsiveness to adjustments, uneven room heating, increased energy consumption, display problems, and complete system non-response.
Daniel James Carter March 3, 2026 at 3:41 AM
7 Critical Symptoms of a Stuck Closed Thermostat (Car Owners Guide)
A stuck closed thermostat creates seven distinct warning signs that every car owner should recognize: rapid engine overheating, abnormal temperature gauge readings, cold upper radiator hose, pressurized coolant system, weak cabin heater output, coolant overflow, and unusual engine sounds indicating thermal stress. These thermostat stuck symptoms appear because the closed valve blocks coolant circulation between the engine and radiator, trapping heat inside the engine block and causing temperatures to spike dangerously within minutes of starting your vehicle.
Daniel James Carter March 3, 2026 at 3:19 AM
7 Essential Ways to Prevent Thermostat Failures and Extend Lifespan
Thermostat failures disrupt home comfort and lead to costly HVAC repairs, but most malfunctions are preventable through seven essential maintenance practices: replacing batteries regularly, cleaning components thoroughly, ensuring proper placement away from heat sources, maintaining secure electrical connections, calibrating temperature sensors accurately, following scheduled maintenance routines, and addressing early warning signs promptly. These proactive measures address the root causes of thermostat breakdowns—power supply issues, dust accumulation, sensor degradation, wiring problems, and environmental stress—which collectively account for over 80% of premature thermostat failures in residential settings.
Daniel James Carter March 3, 2026 at 2:18 AM
Temperature Gauge Acting Strange After Thermostat Change? 7 Common Causes Explained
If your temperature gauge is acting strange after a thermostat change, it's likely due to air pockets in the cooling system, incorrect thermostat installation, or a faulty new part—though some unusual behavior during the first 15-30 minutes is completely normal as the system stabilizes. The most common culprits include trapped air preventing proper coolant circulation, a thermostat installed upside down blocking coolant flow, or a defective replacement part that won't open at the correct temperature.
Daniel James Carter March 3, 2026 at 2:03 AM
How to Replace Your Thermostat Safely: 12 Essential Steps for DIY Homeowners
Replacing your home thermostat safely is achievable for most DIY homeowners by following proper safety protocols, using the correct tools, and completing twelve essential installation steps that include turning off power at the breaker, labeling wires correctly, and verifying system compatibility. This straightforward project typically takes 30-60 minutes and works with low-voltage wiring, making it significantly safer than standard household electrical work when appropriate precautions are followed.
Daniel James Carter March 3, 2026 at 1:45 AM
How to Bleed Your Cooling System After Replacement: Complete Step-by-Step Guide for DIY Mechanics
Bleeding your cooling system after replacement requires removing all trapped air pockets through a systematic process that involves opening bleeder valves, running the engine to operating temperature, and monitoring coolant flow until no bubbles appear. This essential maintenance procedure prevents engine overheating, restores proper heater function, and ensures optimal cooling system performance after replacing components like radiators, water pumps, or thermostats.
Daniel James Carter March 3, 2026 at 1:26 AM
OEM vs Aftermarket Thermostats: Which Delivers Better Reliability for Your Vehicle?
OEM thermostats typically deliver better long-term reliability than aftermarket options due to superior manufacturing tolerances, precise fit, and higher-quality materials, though premium aftermarket brands can match OEM performance at lower cost. The choice between OEM and aftermarket thermostats hinges on three critical factors: your vehicle's cooling system complexity, your budget constraints, and the specific aftermarket brand you're considering.
Daniel James Carter March 3, 2026 at 1:07 AM
Diagnose and Fix Thermostat Housing Leak Problems: 7 Common Causes & Permanent Solutions for DIY Mechanics
Thermostat housing leaks stem from seven primary causes: degraded gaskets and O-rings, housing cracks from thermal stress, improper installation techniques, contaminated mating surfaces, incorrect torque application, poor-quality aftermarket parts, and underlying cooling system pressure issues. These failures compromise your vehicle's cooling efficiency, leading to overheating, coolant loss, and potential engine damage.
Daniel James Carter March 2, 2026 at 10:32 PM
Overheating vs No-Heat: How to Diagnose Your Car’s Stuck Thermostat (DIY Guide for Home Mechanics)
A stuck car thermostat reveals itself through two opposite symptoms: overheating occurs when the thermostat remains stuck closed and blocks coolant flow to the radiator, while no-heat conditions happen when the thermostat stays stuck open and prevents the engine from reaching proper operating temperature. Diagnosing which failure mode affects your vehicle requires observing specific temperature gauge patterns, testing coolant flow through radiator hoses, and monitoring cabin heater performance during a controlled warm-up period.
Daniel James Carter March 2, 2026 at 8:58 PM
Thermostat Replacement Cost: Complete 2026 Price Guide for Homeowners
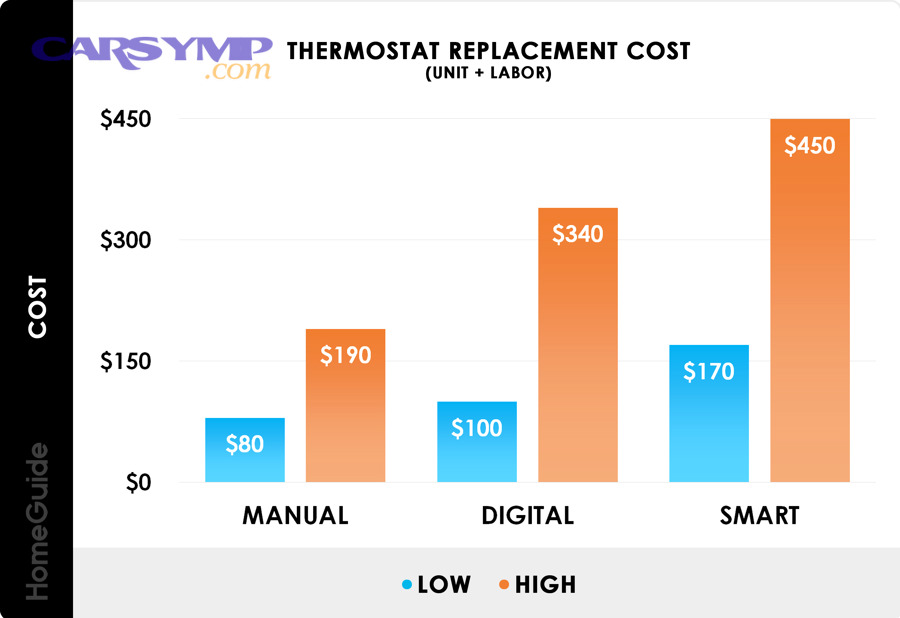
Replacing a thermostat in 2026 costs between $140 and $350 on average, with pricing ranging from as low as $85 for basic manual models to over $900 for premium smart thermostats with professional installation. This total encompasses both the thermostat unit itself—which ranges from $15 to $300 depending on type and features—and professional labor costs of $65 to $200 for standard installations.
Daniel James Carter March 2, 2026 at 6:42 PM
How Long Does Car Thermostat Replacement Take? Complete Labor Time Guide for All Vehicle Types
Car thermostat replacement takes between 30 minutes and 4 hours, with most vehicles requiring 1 to 2 hours of professional labor time depending on accessibility, vehicle make and model, and job complexity. The wide time range reflects significant differences in thermostat location and engine design—simple replacements on vehicles with easy-access thermostats complete in under an hour, while complex jobs requiring removal of multiple components can extend to 3 or 4 hours.
Daniel James Carter March 2, 2026 at 6:20 PM
7 Critical Bad Thermostat Symptoms Every Car Owner Must Recognize
A bad thermostat displays seven critical symptoms: engine overheating, erratic temperature gauge readings, prolonged engine warm-up, cold cabin air from the heater, coolant leaks around the thermostat housing, illuminated check engine light, and decreased fuel economy with poor performance. These symptoms occur because the thermostat fails to regulate coolant flow properly, either by sticking open or closed, preventing your engine from maintaining its optimal operating temperature of 195-220°F.
Daniel James Carter March 2, 2026 at 6:01 PM
7 Proven Ways to Extend Sway Bar Link Life and Avoid Premature Failure
Sway bar links typically last 50,000 to 75,000 miles under normal conditions, but premature failure can occur in as little as 20,000 miles without proper care. Extending sway bar link life requires seven proven strategies: correct installation torque, regular lubrication, mindful driving habits, timely inspections, appropriate upgrades, load management, and proactive replacement before complete failure.
Daniel James Carter March 2, 2026 at 5:22 PM
Maximize Handling Gains: Essential Components to Replace Alongside Your Suspension Upgrade
Replacing shocks or struts alone delivers only 60-70% of potential handling improvements because worn auxiliary components like strut mounts, bushings, and sway bar links mask the benefits of new dampers. To maximize handling gains, you must replace interconnected suspension parts simultaneously—strut mounts, control arm bushings, sway bar links, ball joints, and springs—creating a comprehensive system upgrade that eliminates weak points and restores full suspension performance.
Daniel James Carter March 2, 2026 at 5:02 PM
When to Replace Sway Bar Links in Pairs: Expert Guidelines for Vehicle Owners
Sway bar links should be replaced in pairs when both components show age-related wear (typically after 5-7 years or 50,000-60,000 miles), when visible deterioration exists on both sides, or when cost-effectiveness of combined labor makes simultaneous replacement practical. However, individual replacement remains acceptable for newer vehicles with isolated failures, recent opposite-side replacements, or confirmed single-side damage from impact events.
Daniel James Carter March 2, 2026 at 4:42 PM
8 Proven Methods to Remove Rust from Metal Links and Chains Fast
Rust on metal links and chains develops when iron or steel reacts with moisture and oxygen, creating iron oxide that weakens the metal structure and compromises functionality. The eight most effective methods to remove rust from metal links and chains include vinegar soaking, baking soda paste application, commercial rust removers, electrolysis treatment, wire brushing, rust converter application, citric acid bathing, and WD-40 penetration—each method varies in effectiveness based on rust severity, metal type, and available time.
Daniel James Carter March 2, 2026 at 4:27 PM
Complete Guide: DIY Sway Bar Link Replacement for Home Mechanics (Step-by-Step Tutorial)
Replacing sway bar links yourself is a manageable DIY project that takes 30 minutes to 2 hours per side, requires basic hand tools like wrenches and sockets, and can save you $125 to $400 in labor costs while improving your vehicle's handling and eliminating clunking noises. This comprehensive guide walks home mechanics through the complete sway bar link replacement process, from identifying the right tools and parts to executing proper installation techniques that ensure professional-quality results.
Daniel James Carter March 2, 2026 at 4:07 PM
Sway Bar Link Replacement Cost: Complete Price Breakdown for 2026
Sway bar link replacement typically costs between $75 and $305 per link, with most vehicle owners paying $150 to $500 for a complete axle replacement including both parts and labor. The total expense depends on several critical factors: your vehicle's make and model, whether you're replacing front or rear links, the choice between OEM and aftermarket parts, and regional labor rates that vary from $60 to $220 per hour across different markets.
Daniel James Carter March 2, 2026 at 2:35 PM
How Long Does Sway Bar Link Replacement Take? Labor Time & Cost Guide 2026
Replacing sway bar links typically takes between 30 minutes to 1.5 hours for professional mechanics working on both sides, with labor costs ranging from $75 to $300 depending on your vehicle type and location.
Daniel James Carter March 2, 2026 at 2:23 PM
Sway Bar Bushing vs Link: Key Differences & When to Replace Each Component
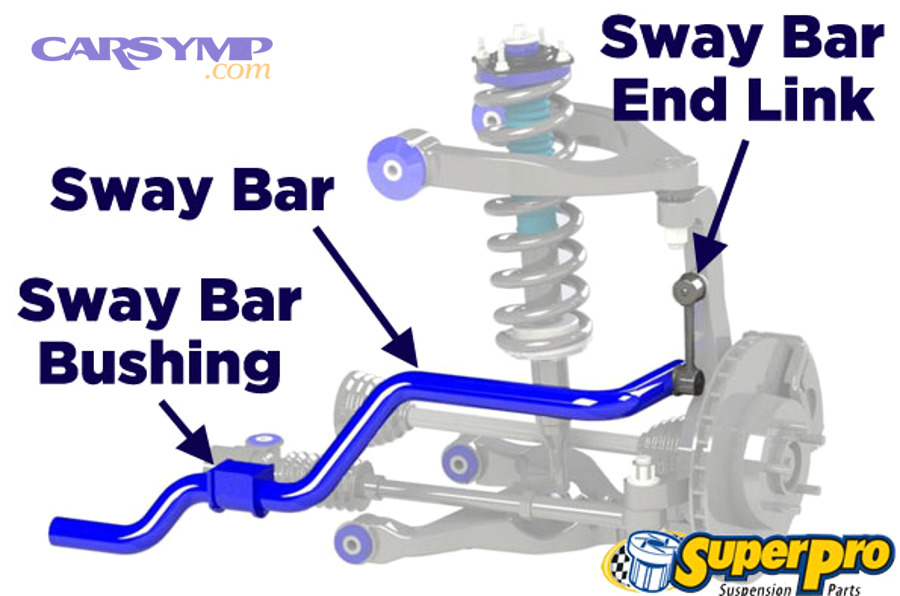
Sway bar bushings and sway bar links serve fundamentally different roles in your vehicle's suspension system, though both are essential for controlling body roll during turns. Bushings are stationary rubber or polyurethane sleeves that mount the sway bar to your vehicle's frame, acting as a pivot point, while links are connecting rods with bushings or ball joints on each end that transfer motion between the sway bar and your suspension components.
Daniel James Carter March 2, 2026 at 2:06 PM
How to Diagnose Clunking Over Bumps: Sway Bar Links vs Bushings Test for DIYers
Clunking noises over bumps typically indicate worn sway bar links or deteriorated bushings, and diagnosing which component has failed requires systematic visual inspection, manual movement testing, and comparative sound analysis. When your vehicle produces metallic rattling or hollow thuds during everyday driving, the sway bar system—specifically the end links that connect the stabilizer bar to the suspension or the rubber bushings that anchor the bar to the frame—has likely degraded beyond functional tolerance.
Daniel James Carter March 2, 2026 at 1:51 PM
7 Warning Signs of Bad Sway Bar Links (And What They Mean for Your Vehicle)
Bad sway bar links reveal themselves through seven distinct warning signs: clunking or knocking noises over bumps, squeaking sounds during turns, excessive body roll in corners, poor handling response, uneven tire wear, visible damage to components, and steering wheel vibrations. These symptoms indicate worn bushings, loose ball joints, or structural damage that compromises your vehicle's stability and safety during normal driving conditions.
Daniel James Carter March 2, 2026 at 1:29 PM
How to Verify Power Steering Bleeding After Repair: 7 Essential Feel Checks for DIY Mechanics
Properly bleeding your power steering system after repairs requires following a systematic verification process that includes seven essential feel checks: fluid condition inspection, reservoir level stability, noise testing, steering effort consistency, centering ability, vibration assessment, and lock-to-lock performance evaluation. These checks confirm complete air removal and prevent premature pump failure, ensuring your steering system operates safely and smoothly after component replacement or fluid service.
Daniel James Carter March 2, 2026 at 12:53 PM
7 Common Causes of Clunking and Loose Steering: Diagnose Worn Components for Car Owners
Clunking noises and loose steering are caused by seven primary worn components: tie rod ends, ball joints, CV joints, steering shaft U-joints, sway bar links, steering rack internal wear, and power steering system failures. These mechanical issues create audible clunking sounds when turning and a vague, unresponsive feeling in the steering wheel due to excessive play in worn joints and connections.
Daniel James Carter March 2, 2026 at 12:34 PM
Is Wheel Alignment Necessary After Rack and Pinion Replacement?
Yes, wheel alignment is absolutely necessary after rack and pinion replacement because the process of removing and installing the steering rack inevitably disrupts the precise toe angle settings of your front wheels, causes tie rod positioning changes, and creates immediate safety and performance issues if left uncorrected. The steering rack serves as the central component connecting your steering wheel to the front wheels, and any work involving its removal—whether for steering rack repair or complete replacement—fundamentally alters the geometric relationship between suspension components that determines wheel alignment.
Daniel James Carter March 2, 2026 at 12:20 PM
Electric vs Hydraulic Steering Rack: 7 Key Differences Every Driver Should Know
The fundamental difference between electric and hydraulic steering racks lies in how they generate steering assistance: electric systems use an electric motor controlled by sensors and an ECU, while hydraulic systems rely on engine-driven pumps and pressurized fluid to reduce steering effort. Both technologies achieve the same goal of making vehicle steering easier, but they employ completely different mechanical and operational approaches that affect everything from maintenance requirements to driving feel.
Daniel James Carter March 2, 2026 at 12:08 PM
Steering Rack Repair Cost Guide: $500-$2,000 Price Breakdown for Car Owners
Steering rack repair costs range from $500 to $2,000 depending on whether you need minor repairs or full replacement, with labor accounting for $350-$600 and parts ranging from $800-$1,500 for complete replacements. Minor seal repairs typically cost $300-$600, while full rack replacement averages $1,400-$2,000 for most vehicles.
Daniel James Carter March 2, 2026 at 11:46 AM
How Long Does Steering Rack Replacement Take? Labor Hours by Vehicle Type (2026 Guide)
Steering rack replacement typically takes between 3 to 8 hours of labor, depending on your vehicle type, steering system design, and the complexity of accessibility to the rack assembly. Most compact sedans require 3-4 hours, mid-size SUVs need 4-6 hours, while luxury European vehicles often demand 6-8+ hours due to subframe removal requirements and electronic calibration needs.
Daniel James Carter March 2, 2026 at 11:32 AM
Repair vs Replace Your Steering Rack: Complete Decision Guide for Car Owners
Deciding between steering rack repair and replacement depends on damage severity, repair costs versus replacement costs, and your vehicle's overall condition, with replacement typically being the better long-term choice for severe internal wear while repair works for minor seal leaks and external component damage. The steering rack serves as your vehicle's primary steering mechanism, converting the rotational motion of your steering wheel into lateral movement that turns your wheels, and when it fails, you face a critical safety decision that affects both your wallet and your vehicle's roadworthiness.
Daniel James Carter March 2, 2026 at 11:13 AM
Steering Rack vs Tie Rod vs Pump: How to Diagnose Which Component Is Failing
Diagnosing steering problems requires identifying whether the steering rack, tie rods, or power steering pump is failing—each component produces distinct symptoms that allow systematic diagnosis through visual inspection, sound analysis, and specific testing procedures. The power steering pump typically causes whining noises and intermittent stiffness, the steering rack creates looseness and fluid leaks from tie rod boots, while tie rods produce clicking sounds and uneven tire wear patterns.
Daniel James Carter March 2, 2026 at 10:52 AM
How to Diagnose Power Steering Rack Leaks: Complete Detection Guide for Vehicle Owners
Diagnosing a power steering rack leak requires systematic visual inspection of seal points, fluid analysis, and differential testing to confirm the rack as the leak source rather than other steering components. Vehicle owners can perform preliminary diagnostics by checking for fluid puddles beneath the vehicle, examining rack boot conditions, and monitoring steering performance changes, though advanced confirmation may require UV dye tracing or professional pressure testing.
Daniel James Carter March 2, 2026 at 10:30 AM
7 Critical Steering Rack Failure Symptoms Every Driver Must Recognize
Your steering wheel feels loose, you hear grinding noises when turning, and there's a puddle of reddish fluid under your car—these are critical steering rack failure symptoms that demand immediate attention. A failing steering rack compromises your vehicle's steering precision, creates dangerous driving conditions, and can lead to complete loss of steering control if ignored.
Daniel James Carter March 2, 2026 at 10:15 AM
Protect Yourself: 7 Ways Patients Can Avoid Paying for Medical Misdiagnosis Bills
Patients can avoid paying for medical misdiagnosis bills through seven strategic approaches: contesting bills directly with providers, filing medical malpractice claims, leveraging federal bill dispute rights, using insurance appeals, obtaining second opinions as evidence, hiring medical billing advocates, and exercising credit protection rights during disputes. These methods work best when patients understand the distinction between paying for services rendered versus compensating for harm caused by diagnostic negligence.
Daniel James Carter March 2, 2026 at 9:40 AM
Understanding Common Estimate Line Items: Complete Breakdown for Homeowners & Contractors
Estimate line items are individual cost entries that break down project expenses into specific, measurable components including materials, labor, permits, preparation work, and disposal fees. These detailed breakdowns provide transparency in pricing, enable accurate project comparisons, and help identify missing costs before work begins.
Daniel James Carter March 2, 2026 at 9:19 AM
Does Your Warranty Cover Starter Motor Replacement? Factory vs. Extended Plans Explained
Yes, starter motor replacement is typically covered under factory warranty when the failure results from manufacturing defects or material issues, but coverage depends on whether your vehicle is still within the warranty period and the specific type of warranty you have. Most manufacturer warranties classify starters under either powertrain or basic coverage, with typical durations ranging from 3 years/36,000 miles for basic warranties to 5 years/60,000 miles or more for powertrain warranties, though starters may fall under electrical system coverage rather than powertrain at some manufacturers.
Daniel James Carter March 2, 2026 at 9:02 AM
DIY Starter Replacement Cost Breakdown: Complete Guide for Car Owners (2024)
DIY starter replacement costs typically range from $100 to $500 for parts and tools combined, compared to $300 to $900 for professional service, offering potential savings of 50-70% depending on your vehicle type and existing tool inventory. The total expense breaks down into three main categories: the starter motor itself ($50-$450), essential tools ($50-$200 if purchasing new), and miscellaneous supplies like cleaning materials and fluids ($10-$30).
Daniel James Carter March 2, 2026 at 8:48 AM
Dealer vs Independent Starter Replacement: Complete Cost Comparison for Car Owners
Dealership starter replacement typically costs $600-$1,100, while independent shops charge $300-$600 for the same service, representing potential savings of 20-50% or $200-$500 for most vehicle owners. This significant price difference stems from variations in labor rates, parts sourcing strategies, and overhead costs between the two service provider types.
Daniel James Carter March 2, 2026 at 7:51 AM
Compare OEM vs Aftermarket vs Reman Starter Pricing: Cost Guide for Car Owners
Starter replacement costs vary dramatically depending on whether you choose OEM, aftermarket, or remanufactured options, with price differences ranging from $70 for budget aftermarket units to over $1,200 for new OEM starters. This pricing gap directly impacts your wallet, but understanding what drives these cost variations helps you make smarter purchasing decisions that balance upfront expenses against long-term reliability and potential reinstallation costs.
Daniel James Carter March 2, 2026 at 7:33 AM
How to Calculate Labor Time and Access Difficulty Factors for Construction Estimators
Calculating labor time and access difficulty factors requires construction estimators to apply productivity multipliers ranging from 1.05x to 2.
Daniel James Carter March 2, 2026 at 7:18 AM
Complete Starter Replacement Cost Guide: Average Prices for Car Owners (Parts + Labor Breakdown)
The average starter replacement cost ranges from $400 to $800 for most vehicles, including both parts ($150-$400) and labor ($150-$400). Economy cars typically fall on the lower end at $300-$500, while luxury vehicles and trucks can reach $1,000 or more due to premium parts and increased labor complexity.
Daniel James Carter March 2, 2026 at 6:58 AM
7 Essential Ways to Prevent Premature Starter Motor Failure for Vehicle Owners
Premature starter motor failure affects thousands of vehicles annually, yet most failures are preventable through proper maintenance and informed driving habits. Vehicle owners can prevent early starter motor deterioration by implementing seven essential practices: maintaining battery health, using proper starting techniques, inspecting electrical connections regularly, scheduling professional evaluations, protecting against environmental damage, addressing engine issues promptly, and selecting quality replacement components.
Daniel James Carter March 2, 2026 at 6:30 AM
Complete Post-Installation Start Test Checklist: Essential Verification Steps for System Administrators and Engineers
Post-installation start test checklists provide system administrators and engineers with structured verification procedures to confirm functionality, validate configurations, and ensure security compliance after deployment completion. These comprehensive validation frameworks reduce system failures by up to 75% when executed systematically, transforming installation processes from risky deployments into controlled, predictable operations.
Daniel James Carter March 2, 2026 at 6:14 AM
7 Critical Safety Tips Every DIYer Must Follow When Replacing a Car Starter
Replacing a car starter yourself requires strict adherence to seven critical safety protocols: proper battery disconnection, secure vehicle support, appropriate protective equipment, electrical hazard prevention, physical injury avoidance, burn protection, and safe post-installation testing. These precautions protect DIY mechanics from electrical shock, crushing injuries, thermal burns, and equipment damage that commonly occur during starter replacement procedures.
Daniel James Carter March 2, 2026 at 5:54 AM
How to Inspect Starter Wiring and Ground Connections: Complete Testing Guide for Mechanics
Inspecting starter wiring and ground connections requires systematic visual examination of battery terminals, ground straps, and mounting surfaces, followed by multimeter testing to measure voltage drop (≤0.50V acceptable) and resistance (≤5 ohms) across the complete ground circuit from battery negative terminal to starter housing.
Daniel James Carter March 2, 2026 at 5:38 AM