Daniel James Carter
Lead Diagnostic Technician & Technical Content Author
Company / Organization
CarSymp
Experience / Skills
Check Engine Light diagnosis (OBD-II); engine performance & ignition/fuel systems; brake service; steering & suspension; AC/heater diagnostics; cooling system service; basic transmission diagnostics; electrical & battery/charging systems; maintenance schedules
About Daniel James Carter
Daniel James Carter (born July 14, 1988) is an Automotive Diagnostic & Repair Technician and the Lead Diagnostic Technician & Technical Content Author for this auto repair website. His work focuses on translating real shop-floor diagnostics into clear, step-by-step guidance for vehicle owners—especially around check-engine issues, climate control problems, brake safety, and steering/suspension wear.\n\nDaniel’s interest in mechanical systems started early, but his professional path became formal in 2006 when he began a structured apprenticeship in general automotive service. Between 2006 and 2008, he worked alongside senior technicians learning foundational skills—oil services, brake inspections, tire work, basic electrical checks, and service documentation. During this period, he also built the habits that still define his process today: verifying the customer’s concern, road-testing when safe, and confirming repairs with repeatable measurements.\n\nIn 2009, Daniel moved into a full-time automotive service technician role, where he handled a higher volume of maintenance and repair work (brakes, cooling systems, belts, ignition components, and driveline basics). By 2012, he shifted toward diagnostics, focusing on OBD-II fault tracing, fuel trim interpretation, misfire detection, smoke-testing intake leaks, and electrical circuit testing using wiring diagrams and voltage-drop methods.\n\nA major milestone came in 2015 when he began pursuing advanced professional credentials through the National Institute for Automotive Service Excellence (ASE). After completing multiple ASE exams and documenting the required hands-on experience, Daniel earned the ASE Master Automobile Technician designation in 2017. He continued building depth in drivability and emissions-related diagnostics and achieved the ASE L1 Advanced Engine Performance Specialist credential in 2019. He maintains his credentialing through ongoing study and periodic recertification, aligning his knowledge with modern engine management systems, updated scan-tool workflows, and evolving diagnostic standards.\n\nFrom 2018 to 2021, Daniel served as a senior technician in a busy service environment where his day-to-day work centered on complex complaints: intermittent stalling, hard starts, rough idle, overheating, vibration under braking, and AC systems that blow warm or smell musty. He became known for careful diagnosis before parts replacement, using a consistent checklist:\n\n\n Confirm the symptom and capture freeze-frame data.\n Test likely causes (air leaks, sensors, ignition, fuel delivery, charging system) with measurable evidence.\n Repair only after the failure is verified and the fix can be validated.\n Validate with a road test, live data review, and final inspection.\n\n\nIn 2022, Daniel began formalizing his field notes into consumer-friendly write-ups and troubleshooting guides. By 2023, he expanded that work into structured content for this website, combining real repair patterns with clear explanations of why failures happen (for example: how moisture and organic buildup can cause musty AC smell, why worn suspension joints can mimic wheel balance issues, or how vacuum leaks and weak ignition coils can trigger persistent misfires).\n\nToday, Daniel’s role on the website is to ensure every guide reflects practical repair reality—tools a shop actually uses, common misdiagnoses to avoid, and safety-first recommendations. He writes with the same standard he uses in the bay: the diagnosis must make sense, the repair must be verifiable, and the timeline from symptom to fix must be clear for the reader.

Related topics
Latest posts by Daniel James Carter


Estimate Typical Car Repair Costs by Underlying Cause (Root Cause): Cost Ranges for Drivers
Most drivers don’t need a perfect number to plan a repair—they need a realistic range tied to the real reason the car is acting up. This guide shows you how to estimate typical car repair costs by underlying cause (root cause) , so you can budget without guessing and avoid paying for the wrong fix.
Daniel James Carter February 10, 2026 at 12:58 PM
Stop Safely: Step-by-Step Safety (and Don’ts) When Your Car Overheats on the Road — For Drivers
When your car overheats on the road, the safest move is to reduce stress on the engine, pull over as soon as it’s safe, and let the system cool before you inspect anything. This single decision prevents two bad outcomes at once: traffic danger and expensive engine damage.
Daniel James Carter February 10, 2026 at 12:46 PM
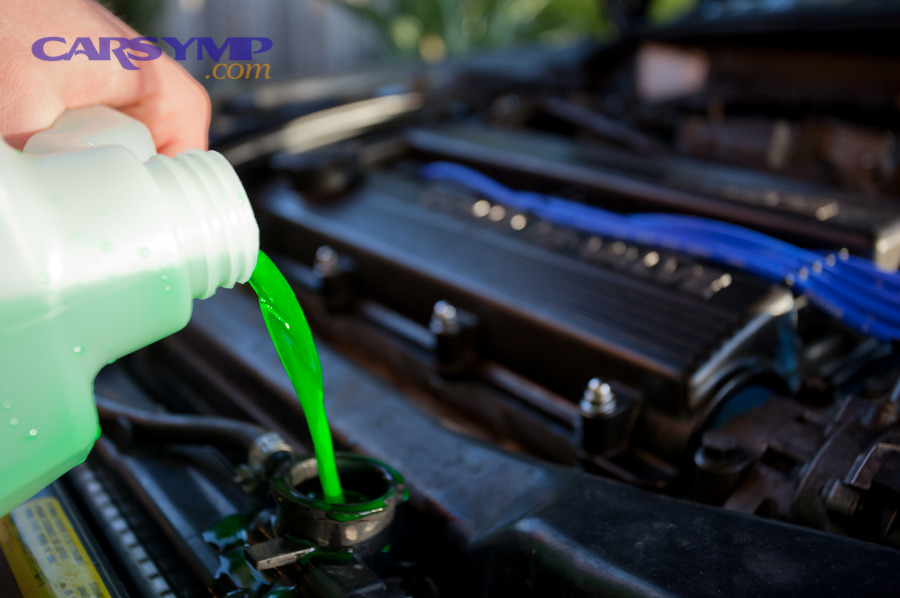
Fix Overheating by Setting the Correct Coolant-to-Water (Antifreeze) Mix Ratio — 50/50 vs 60/40 for Car Owners
If your temperature gauge climbs, the fastest “foundation check” you can make is whether your coolant mixture ratio is correct—because a wrong ratio can reduce heat transfer, lower your boiling safety margin under load, and trigger real overheating. Next, most car owners don’t need a custom formula: 50/50 coolant-to-water is the baseline that balances cooling performance with freeze/boil and corrosion protection for everyday driving.
Daniel James Carter February 10, 2026 at 12:34 PM
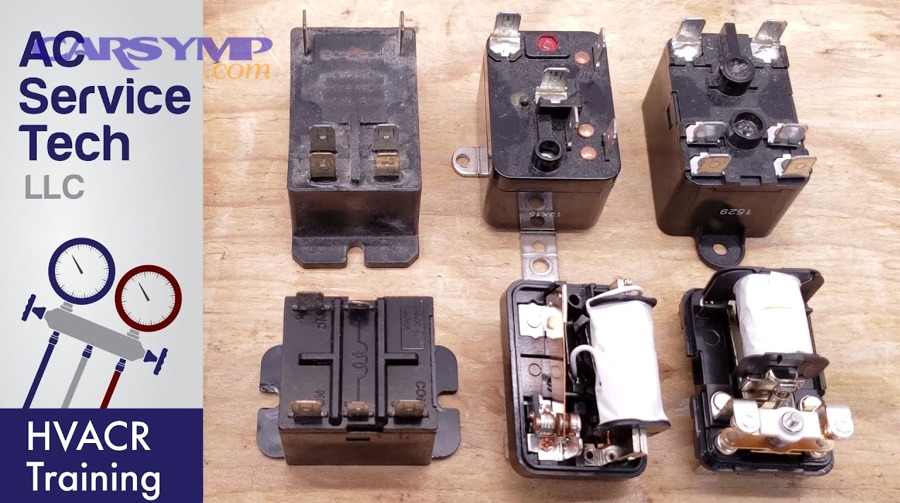
Diagnose & Troubleshoot Radiator (Cooling) Fan Relay and Fan Operation Issues for DIY Car Owners
When a radiator (cooling) fan won’t run—or runs at the wrong time—the fastest fix is not “replace the fan.” It’s to diagnose the fan operation circuit : the relay, its power feed (fuses), the fan motor load, and the control signal that commands the relay.
Daniel James Carter February 10, 2026 at 12:21 PM
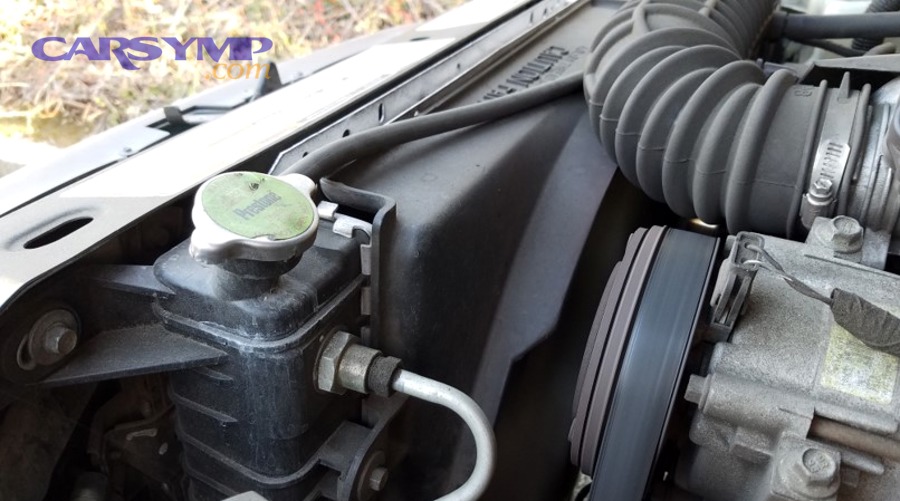
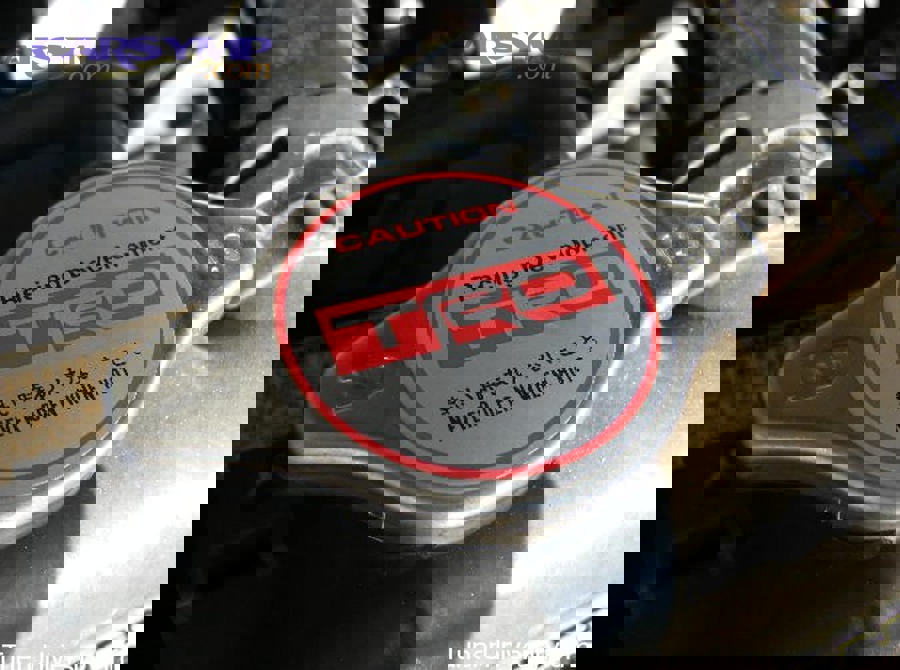
Explain How a Cooling-System Pressure Cap Raises Coolant’s Boiling Point — Radiator Cap Guide for Car Owners
A radiator cap (also called a cooling-system pressure cap) raises coolant’s boiling point by sealing the cooling system and allowing it to build controlled pressure, which delays boiling and helps prevent steam pockets and boil-over during normal operating temperatures. That “extra boiling margin” is the real reason the cap matters.
Daniel James Carter February 10, 2026 at 12:09 PM
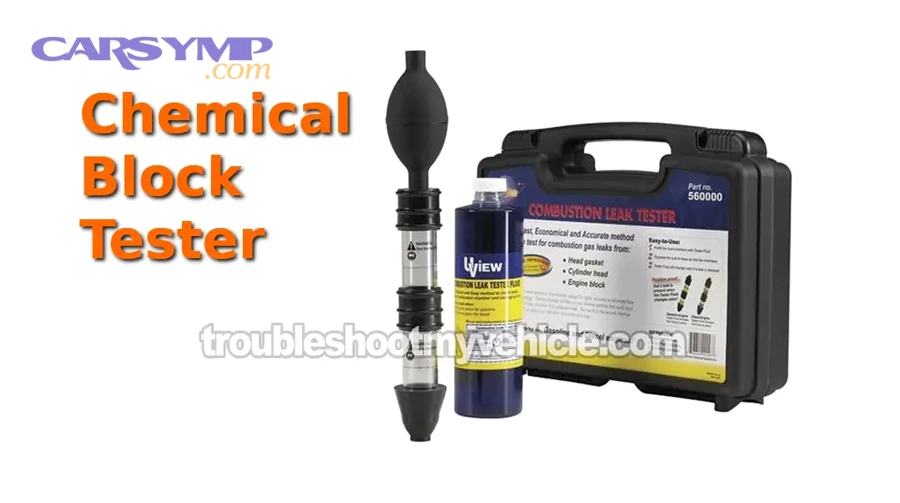
Spot Head Gasket Failure Signs During Overheating (Blown Head Gasket Symptoms) — A Troubleshooting Guide for Car Owners
If your engine is overheating and you’re worried about a blown head gasket, the safest approach is to look for specific symptom clusters —not just the temperature gauge—because overheating can come from many causes while head gasket failure leaves a distinct trail. Next, you’ll learn the most common head gasket failure signs during overheating (coolant behavior, oil condition, exhaust clues, and drivability changes) and what each one usually means for the engine.
Daniel James Carter February 10, 2026 at 11:57 AM
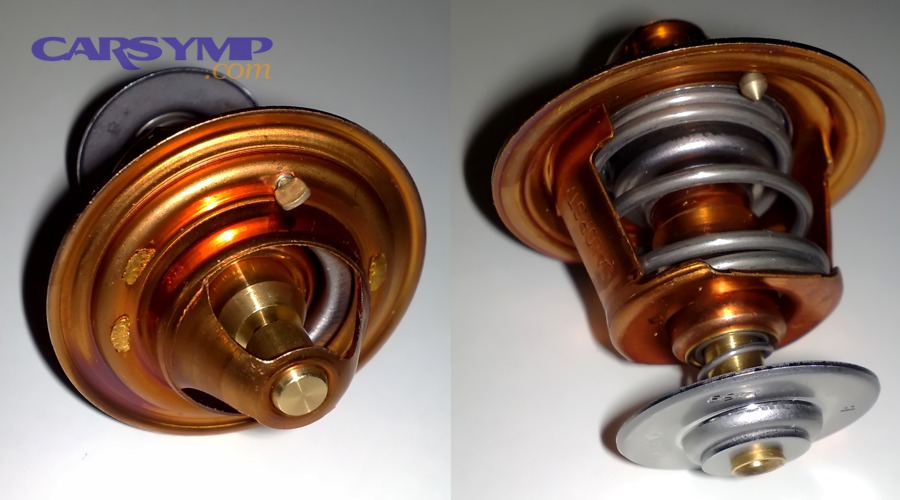
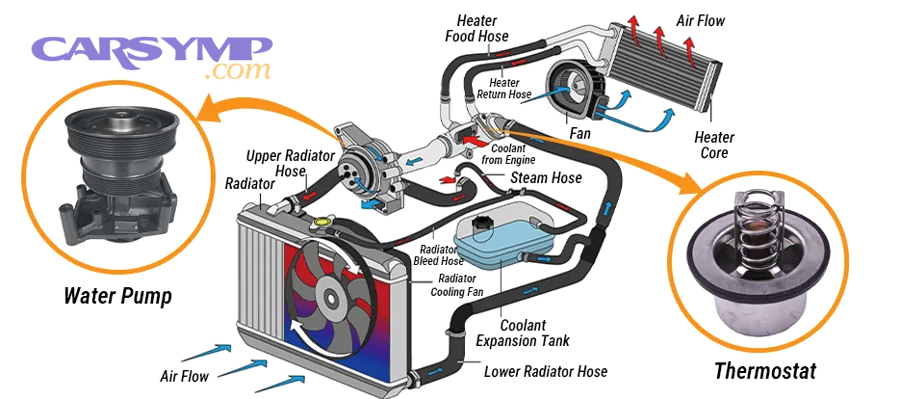
Diagnose Engine Overheating: Thermostat vs Radiator vs Water Pump (Cooling-System Parts) for Car Owners
If you’re trying to figure out whether the thermostat, radiator, or water pump is causing your engine to run hot, the fastest path is a structured overheating diagnosis : match the overheating pattern to the most likely part, then confirm with a few simple checks instead of guessing and replacing parts. Next, you’ll learn what each cooling-system part actually does and how that role creates distinct “clues” (like temperature swings, idle-only overheating, or persistent heat at highway speed) that point you toward one component over the others.
Daniel James Carter February 10, 2026 at 11:45 AM
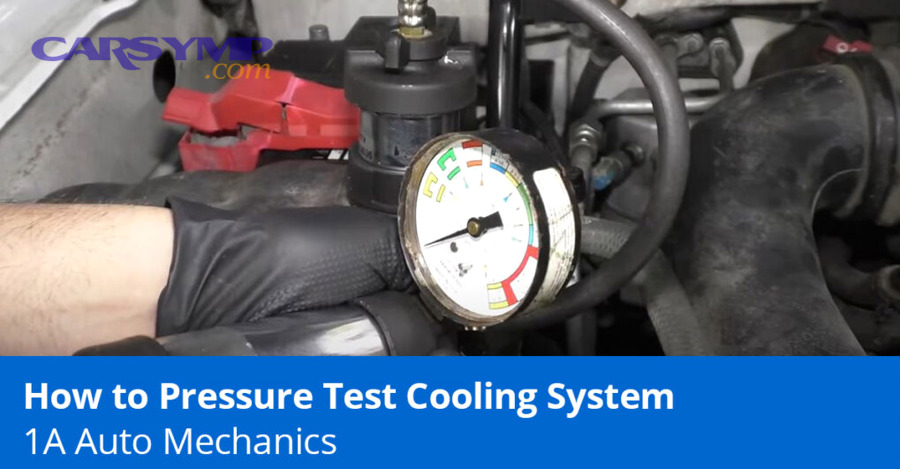
Explain & Perform a Cooling System Pressure Test (Coolant Leak Test) + Radiator Cap Check — for DIY Car Owners
A cooling system pressure test is the fastest way to confirm whether your engine is losing coolant and where it’s escaping , because it pressurizes the system (with the engine cold) so leaks reveal themselves as drips, seepage, or a measurable pressure drop. Next, the same test becomes far more useful when you also learn how to interpret the gauge —because “pressure dropped” is not the same as “found the leak,” and different drop patterns point you toward different parts.
Daniel James Carter February 10, 2026 at 11:32 AM
Run a Step-by-Step Overheating Diagnostic Checklist for Car Owners: Cooling-System Faults vs Quick Fixes
Engine overheating is most often caused by a cooling-system problem (coolant loss, weak airflow through the radiator, stuck thermostat, failing water pump, or an electrical fan issue), and the fastest way to stop guessing is to follow a step-by-step checklist that rules out each root cause in order. If you want a practical overheating diagnosis that doesn’t skip safety, you’ll start with “protect the engine” actions, then verify the temperature reading, then check coolant level/leaks/pressure, and finally test airflow and circulation components one by one.
Daniel James Carter February 10, 2026 at 11:19 AM
Prevent Idle Overheating with Cooling-System Maintenance: Coolant, Radiator Fan & Thermostat Checklist for Car Owners
Preventing an engine from running hot at stoplights is mostly about disciplined cooling-system maintenance: keeping coolant healthy and full, ensuring the radiator can shed heat, and verifying the fan and thermostat do their jobs at low speed. When you follow a structured checklist, you reduce the most common triggers that make temperature creep upward when the car isn’t moving much.
Daniel James Carter February 10, 2026 at 10:54 AM
Decide if It’s Safe to Keep Driving When Your Car Overheats at Idle: Stop vs Tow Guidance for Drivers
If your temperature gauge climbs while you’re sitting at a light, the safest default is not to keep driving —because overheating can escalate quickly from a warning to costly engine damage. Your best move is to decide fast : stop immediately, cool the engine safely, and tow when the signs point to a real cooling failure.
Daniel James Carter February 10, 2026 at 10:29 AM
Diagnose & Fix Overheating at Idle with A/C On — Cooling Fan vs Radiator/Condenser Causes (Car Owners Guide)
If your engine temperature climbs mainly when you’re stopped and the A/C is running, the most common reason is that your cooling system can’t reject heat fast enough at low airflow—so you need to diagnose the airflow and fan-control side first, then confirm coolant level and flow before replacing parts. Next, this guide walks you through a quick, prioritized troubleshooting path so you can pinpoint whether the problem is a cooling fan that isn’t switching on (or isn’t reaching high speed), restricted airflow through the condenser/radiator stack, low coolant, or reduced coolant circulation.
Daniel James Carter February 10, 2026 at 10:17 AM
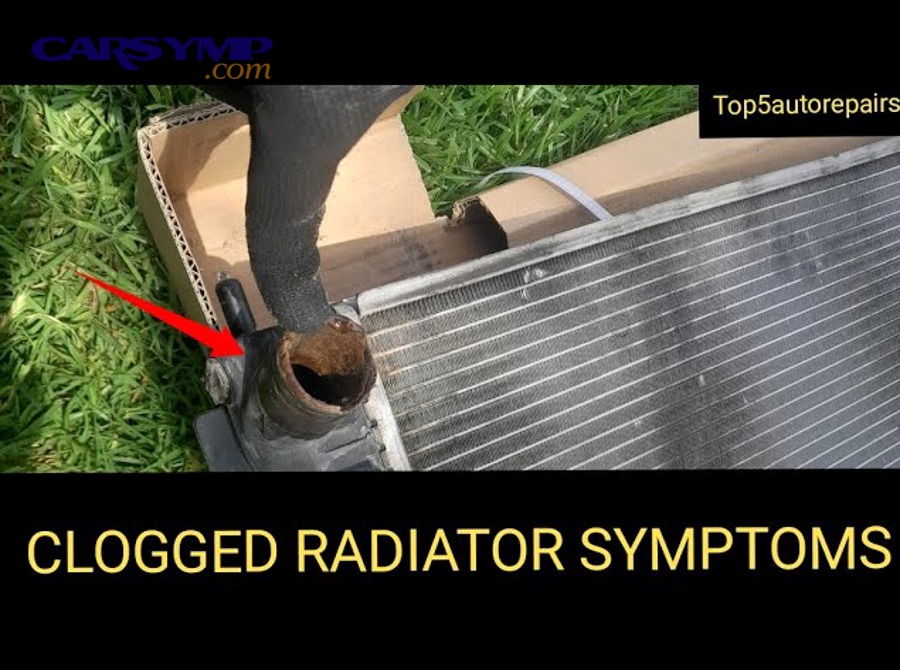
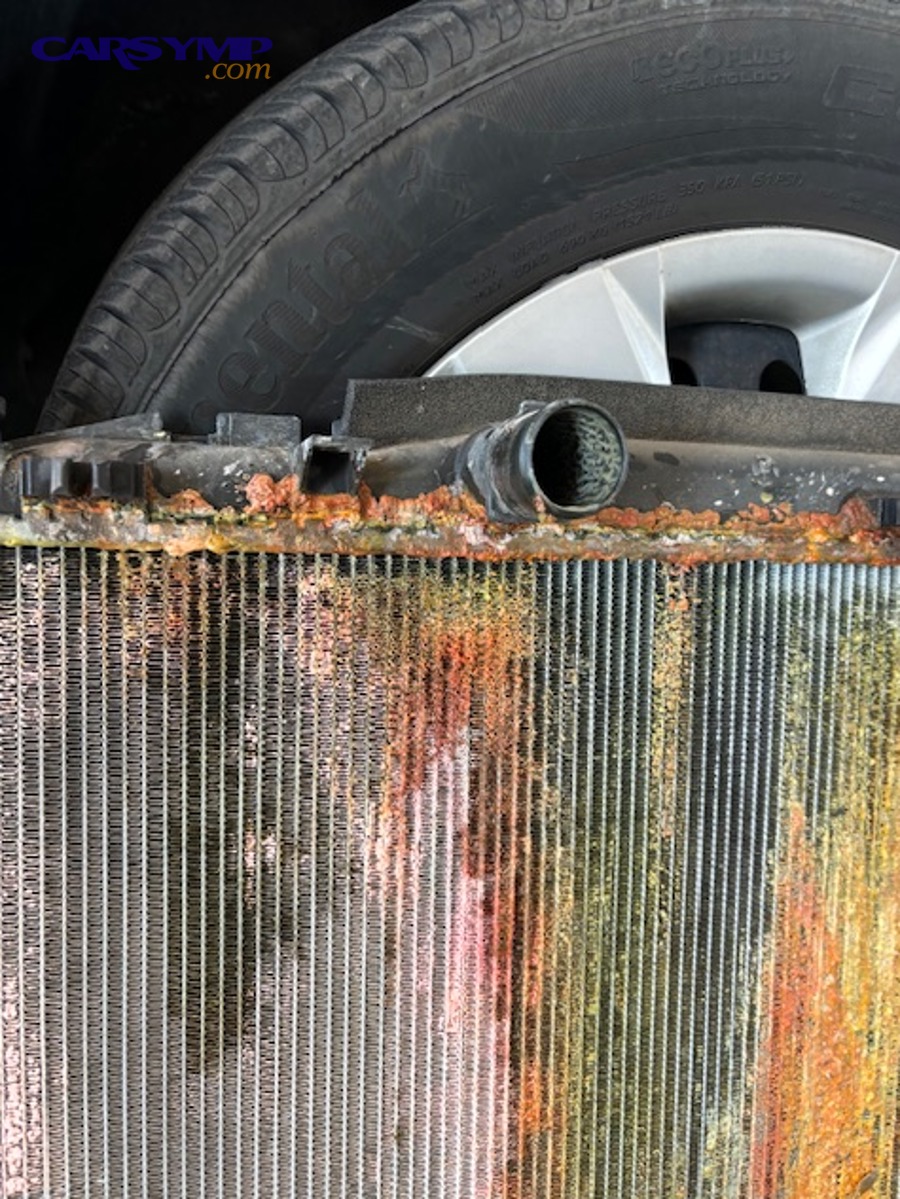
Identify Low-Speed Overheating Symptoms of a Clogged (Blocked) Radiator — A Guide for Car Owners
If your temperature gauge climbs when you’re crawling in traffic or sitting at a stoplight, a clogged (blocked) radiator is one of the most common “low-speed-only” culprits because it can’t shed heat effectively when airflow is limited. Next, you’ll learn how to separate clogged radiator symptoms from other problems that mimic the same pattern—especially overheating at idle caused by airflow or circulation issues—so you don’t replace the wrong part.
Daniel James Carter February 10, 2026 at 10:04 AM
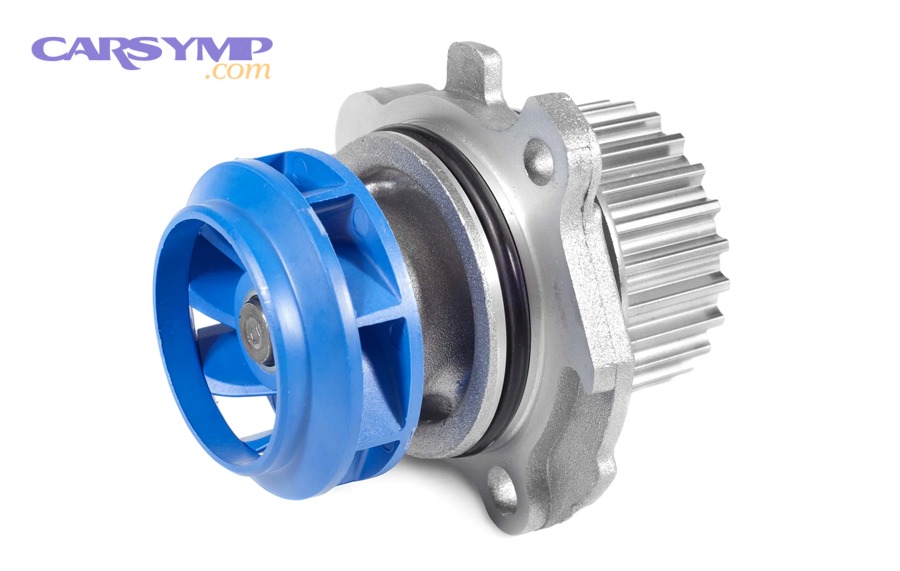
Identify Weak Coolant-Flow Symptoms of a Failing Water Pump (Coolant Pump) for Car Owners
Weak coolant flow usually means your engine’s water pump (coolant pump) can’t circulate coolant fast or consistently enough to carry heat away—so you see temperature spikes, poor heater output, or repeat overheating even when the coolant level looks “okay.” Understanding the specific weak-flow symptoms matters because water-pump problems often start as intermittent circulation issues before they become full overheating events.
Daniel James Carter February 10, 2026 at 9:54 AM
How to Test Thermostat & Verify Coolant Flow (Radiator Hose Circulation Check) — DIY Guide for Car Owners
STEP 1 — Title & outline analysis (for intent alignment) - Main keyword (focus): thermostat test + coolant flow (circulation) checks - Predicate (main action): test / verify - Relations Lexical used: Meronymy (radiator hose = a part used to confirm circulation) + Synonymy (test/check/verify signal the same diagnostic action) - Search intent type (from outline): Primarily How-to + Definition , supported by Boolean , Grouping , and Comparison intents - Primary intent (from Title): Test thermostat operation and verify real coolant circulation using a radiator hose check - Secondary intent 1 (from first heading): Understand what “thermostat testing” and “coolant flow verification” actually prove - Secondary intent 2 (from second heading): Recognize stuck-open vs stuck-closed patterns and safety stop signs - Secondary intent 3 (from third heading): Perform practical circulation checks and interpret outcomes If you want to test your thermostat and confirm coolant is truly circulating, the most reliable DIY approach is to combine a controlled warm-up with a radiator-hose circulation check and a few temperature observations that reveal exactly when (and if) the thermostat opens. If the temperature gauge behavior confuses you, you can still diagnose confidently by matching symptoms to thermostat patterns—especially the “stuck closed” rapid overheat vs the “stuck open” slow warm-up—so you don’t replace parts blindly.
Daniel James Carter February 10, 2026 at 9:42 AM
Fix Low Coolant & Trapped Air Pockets at Idle: Causes, Bleeding Steps, and Leak Checks for Car Owners
Low coolant and trapped air pockets at idle usually mean your cooling system is either losing coolant , not being filled/bleeded correctly , or building gas in the system , and the fix depends on which one is true. This guide walks you through a clear, owner-friendly path to stop the coolant level from dropping, remove trapped air, and prevent overheating at idle .
Daniel James Carter February 10, 2026 at 9:30 AM
Diagnose a Radiator Cooling Fan That Won’t Turn On: Step-by-Step Checks for Car Owners
If your radiator cooling fan won’t turn on, you can diagnose it reliably by following a simple sequence—confirm the symptom, check power protection (fuses/relays), verify the fan motor, and then work backward through wiring and temperature-control inputs until one test clearly fails. Then, you’ll want to understand what “fan not coming on” actually means on your specific vehicle, because normal fan behavior depends on temperature thresholds, A/C operation, and whether you have a single fan, dual fans, or a fan control module.
Daniel James Carter February 10, 2026 at 9:19 AM
Diagnose Overheating at Idle: Step-by-Step Causes Checklist (Idle vs Driving) for Car Owners
If your car is overheating at idle , the fastest way to stop guessing is to follow a checklist that starts with what’s most common and easiest to verify—coolant level, leaks, fan operation, thermostat behavior, radiator condition, and coolant flow—so you can pinpoint the cause before it becomes engine damage. Next, the “ idle vs driving ” pattern matters because it often acts like a built-in clue: when the engine runs hot in traffic but cools at speed, airflow and fan control move to the top of the suspect list, while true coolant-loss or flow failures tend to show up in more conditions.
Daniel James Carter February 10, 2026 at 9:06 AM
Diagnose Oil Leaks Mistaken for an Oil Pan Gasket Leak: Valve Cover, Rear Main Seal & Drain Plug Checks (Car Owners)
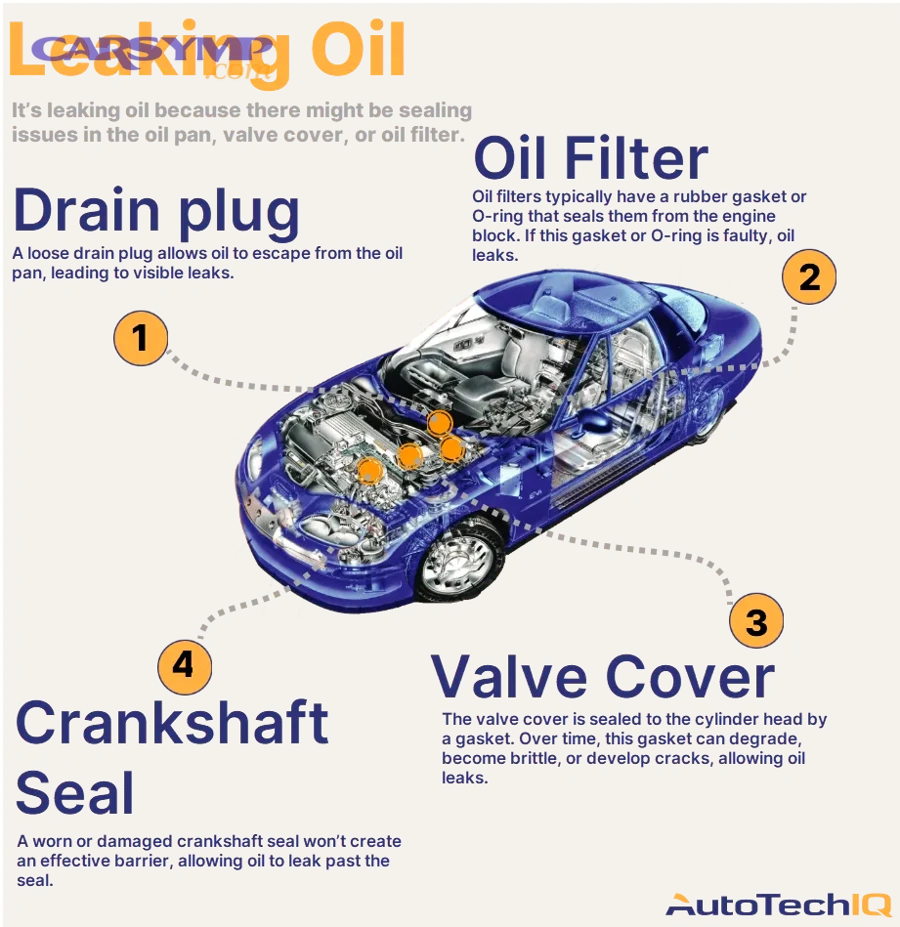
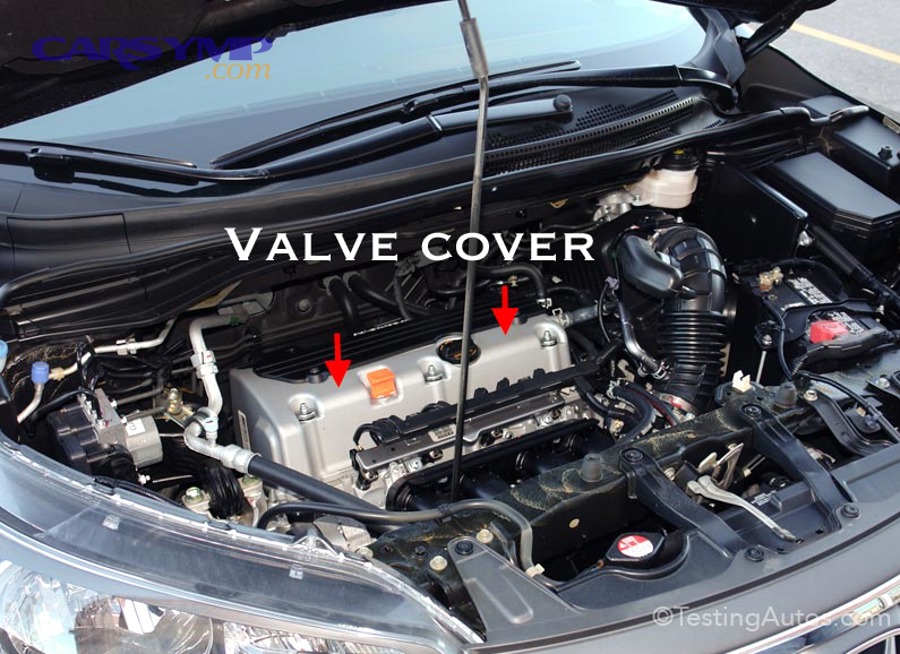
If you see oil collecting along the oil pan rail or dripping from the bottom of the engine, the safest assumption is not “the oil pan gasket is leaking,” but “oil is ending up at the pan.” In many cars, leaks from higher up (valve cover, timing cover, oil filter housing, drain plug) run downward and spread, making oil leaks mistaken for an oil pan gasket leak a common—and expensive—misdiagnosis.
Daniel James Carter February 10, 2026 at 8:40 AM
Avoid DIY Risks: When to Stop and Call a Pro for High-Risk Home Repairs (Electrical, Plumbing & Structural) — Homeowners
Most DIY home repairs are safe only when the risk stays low—meaning the worst-case outcome is minor, visible, and easy to reverse. You should stop and call a professional when a repair can cause shock, fire, flooding, hidden structural failure, or code/insurance problems that outlast the weekend project.
Daniel James Carter February 10, 2026 at 8:28 AM
Verify No Leaks After Repair: Step-by-Step Leak Check Checklist for Car Owners & DIY Mechanics
A repair is only “done” when you can verify no leaks after repair under the same heat, pressure, and driving conditions that caused the leak in the first place—meaning the area stays dry, fluid levels stay stable, and no fresh tracks appear after a short road test and recheck. Next, you’ll get a repeatable leak check checklist you can run every time—before startup, during warm-up, and after a drive—so you don’t miss the common “I thought it was fixed” leak points that show up only after a heat cycle.
Daniel James Carter February 10, 2026 at 8:16 AM
How to Clean Sealing Surfaces Properly for Gasket Installation: Step-by-Step Prep Guide for DIY Car Owners (Clean vs “Just Scrape”)
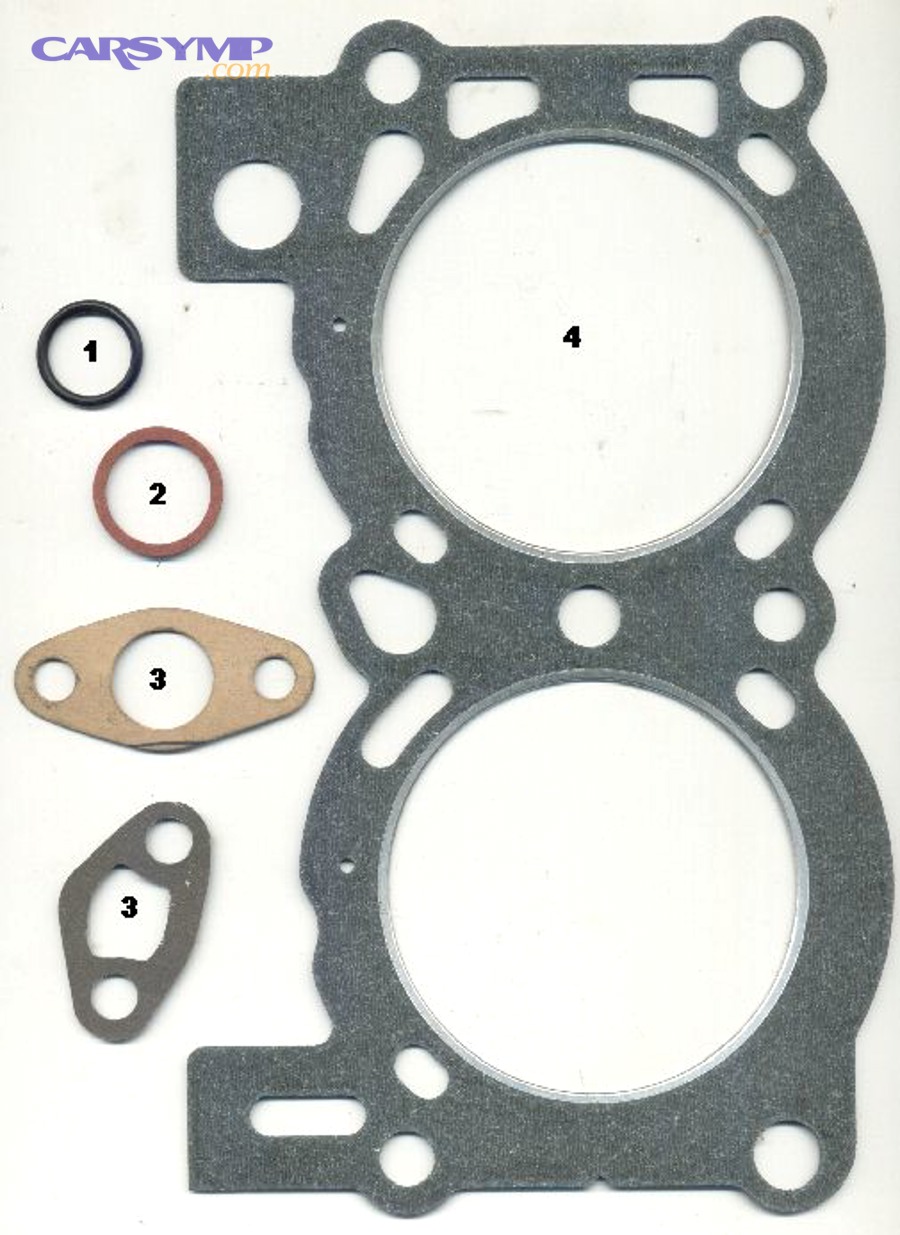
Cleaning sealing surfaces properly means you remove old gasket material, RTV, and contaminants without scratching, gouging, or rounding the mating surfaces—so the new gasket can clamp evenly and seal on the first try. Next, you’ll need the right prep tools (not just any abrasive) because the “wrong-fast” method can leave hidden damage or debris that causes repeat leaks—especially on aluminum parts and modern MLS-style sealing surfaces.
Daniel James Carter February 10, 2026 at 8:04 AM
Fix Stripped (Damaged) Drain Plug Threads: Best Oil Pan Thread Repair Options for DIY Car Owners (Time-Sert vs Helicoil vs Oversize Plug)
A stripped (damaged) drain plug thread is fixable in many cases, and the “best” repair is the one that restores clamping force and sealing without cutting crooked threads or leaving metal debris behind. This guide shows you how to identify the real failure (threads vs washer/seat), choose a repair path, and end up with a drain plug that tightens correctly and stops leaking.
Daniel James Carter February 10, 2026 at 7:52 AM
Calculate Oil Pan Gasket Replacement Price Range (Parts + Labor Breakdown) for Car Owners
If you want a realistic oil pan gasket replacement price range, you can estimate it by combining (1) labor hours and shop rate, (2) parts and fluids, and (3) taxes and shop fees—because labor access, not the gasket itself, usually drives the total. ( repairpal.
Daniel James Carter February 10, 2026 at 7:40 AM
Explain Oil Pan (Oil Sump) Removal Challenges by Vehicle for DIY Mechanics: Crossmember, Subframe & Mount Clearance
Oil pan removal is difficult on some vehicles because the pan can’t “drop straight down” once you remove the bolts—structural parts like the crossmember or subframe, plus mounts and steering components, can physically trap it in place. Then, the job becomes a clearance puzzle: create space without damaging the sealing surfaces or stressing the drivetrain.
Daniel James Carter February 10, 2026 at 7:27 AM
Compare RTV vs Pre-Cut Gasket Types: Key Differences for DIY Car Owners and Mechanics
RTV (room-temperature vulcanizing) sealant and pre-cut gaskets both exist to stop fluid leaks—but they seal in fundamentally different ways. RTV forms a custom, formed-in-place gasket after curing, while a pre-cut gasket is a manufactured spacer/seal designed to compress to a specific thickness and shape.
Daniel James Carter February 10, 2026 at 7:14 AM
Estimate Oil Pan Gasket Replacement Labor Hours (Flat-Rate Time vs DIY Time) for Car Owners
STEP 1 — Title & outline analysis (for semantic SEO alignment) - Main keyword (keyword focus): oil pan gasket replacement labor time - Predicate (main action): estimate - Relations lexical used: Synonym (labor hours = flat-rate time = book time) - Search intent types present in the outline: - Definition (what labor time/book time means; what “replacement” means) - Grouping (typical hour ranges; time drivers; quote checklist) - Boolean (is book time the same as downtime; is DIY realistic; do factors “automatically” add hours) - Comparison (flat-rate vs clock time; shop time vs DIY time; book time vs quoted hours) Oil pan gasket replacement labor time is usually predictable within a range once you know your vehicle layout and access, because most of the labor hours come from removal and reinstallation steps rather than the gasket itself. Next, you’ll see why the same oil pan gasket replacement can be a quick reseal on one car and a multi-hour job on another, especially when clearance, subframes, or driveline parts block the pan.
Daniel James Carter February 10, 2026 at 7:03 AM
Prevent Future Under-Car Oil Leaks: A Maintenance Checklist to Stop Engine Oil Seepage for Car Owners (Oil Pan, Valve Cover & Drain Plug)
Most recurring under-car oil leaks stop when you treat them like a system problem—not a single drip problem: use the correct oil and fill level, install sealing parts correctly, and run a repeatable inspection routine that catches seepage before it becomes a puddle. Next, you’ll learn how to tell whether you’re seeing harmless residue or an active leak, because “under the car” can be a false clue when oil travels along covers, braces, and airflow paths.
Daniel James Carter February 10, 2026 at 6:26 AM
Decide: Tighten or Replace? Proper Gasket Leak Fixes vs DIY Bolt Snugging for DIY Car Owners
If you’re staring at an oil drip and wondering whether to grab a wrench or plan a gasket replacement, the right answer is usually a decision—not a guess: tighten only when the leak is caused by lost clamp load, and replace when the seal has failed or the mating surfaces can’t seal. Next, you’ll learn exactly how to tighten or retorque correctly—using the right sequence, the right tool, and the right “stop now” signals—so DIY bolt snugging doesn’t warp a cover, crush a gasket, or strip threads.
Daniel James Carter February 10, 2026 at 6:14 AM
Estimate Car Leak Repair Costs by Leak Source: Valve Cover vs Oil Pan vs Rear Main Seal (Price Guide for Car Owners)
Most drivers can estimate an oil leak repair bill accurately once they identify the leak source, because labor access—not the price of a gasket—sets the final number. This guide shows practical, leak-source cost ranges and explains why “valve cover vs oil pan vs rear main seal” lands in very different price tiers.
Daniel James Carter February 10, 2026 at 6:01 AM
Decide If You Can Drive—or Must Stop & Tow—With an Engine Oil Leak Under Your Car (Safety Guide for Drivers)
If you notice an oil leak under your car, you can drive only in a narrow set of “green-light” conditions —the leak is slow, the oil level is safely within range, and there are zero red flags like an oil pressure warning, smoke, or a rapidly growing puddle. If any red flag appears, stop driving and tow because the risk shifts from “inconvenient” to “engine-damaging” fast.
Daniel James Carter February 10, 2026 at 5:48 AM
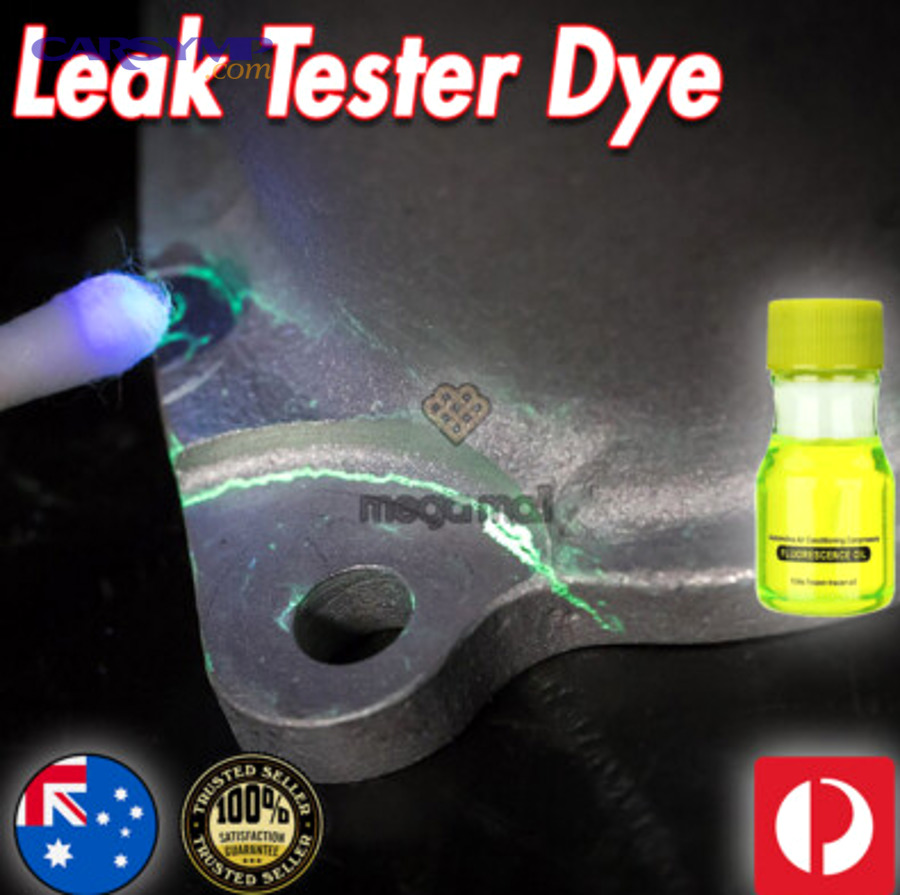
Use a Fluorescent (UV) Dye Test to Trace Engine Oil Leaks: Step-by-Step Guide for DIY Car Owners
A fluorescent (UV) dye test is one of the most reliable DIY ways to trace an engine oil leak because it turns “mystery seepage” into a visible trail you can follow back to the true source. You add a small amount of dye to the engine oil, run the engine or drive briefly, then scan with a UV light to see where the dyed oil emerges.
Daniel James Carter February 10, 2026 at 5:35 AM
Diagnose Rear Main Seal Leak vs Transmission Fluid at the Bell Housing (Oil vs ATF) for Car Owners
STEP 1 — Title & outline analysis 1.1 Title analysis Main keyword (focus): Rear main seal leak vs transmission fluid Predicate (main action): Diagnose / Differentiate Relations Lexical used: Comparison (vs) + Hyponym (engine oil vs ATF as subtypes of “fluid leak”) 1.
Daniel James Carter February 10, 2026 at 5:23 AM
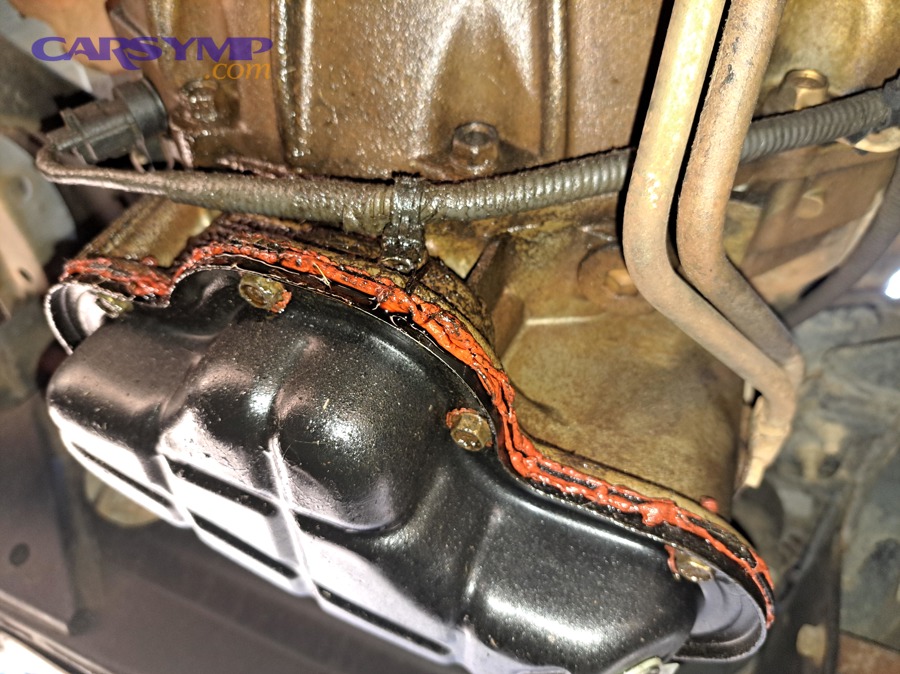
Identify Oil Sump (Oil Pan) Gasket Leak Signs: Key Symptoms vs Other Oil Leaks for Car Owners
Oil pan (oil sump) gasket leak signs are usually identifiable if you follow one rule: trace the leak to the highest wet point on the engine, not the lowest drip on the floor. This article walks you through the exact symptoms that point to the oil pan gasket seam, plus simple checks to confirm it.
Daniel James Carter February 10, 2026 at 5:08 AM
Diagnose Oil Filter & Drain Plug Leaks: Troubleshooting the Gasket/Washer Causes for DIY Car Owners
A fresh puddle or oil leak under car right after maintenance is usually traceable—and you can diagnose it quickly by focusing on the two highest-probability leak points: the oil filter seal and the oil drain plug sealing washer . This guide shows how to confirm the true source (not a “false leak”) and identify the most common gasket/washer failures.
Daniel James Carter February 10, 2026 at 4:55 AM
Identify Common Leak Points by Under-Car Location (Front-to-Rear Map) for Drivers
If you want to identify a leak fast, the most reliable first clue is where the wet spot forms under the car —front, middle, or rear—because each zone sits beneath different systems and typical failure points. This guide gives you a front-to-rear under-car location map so you can narrow likely sources in minutes, even before you pop the hood.
Daniel James Carter February 10, 2026 at 4:43 AM
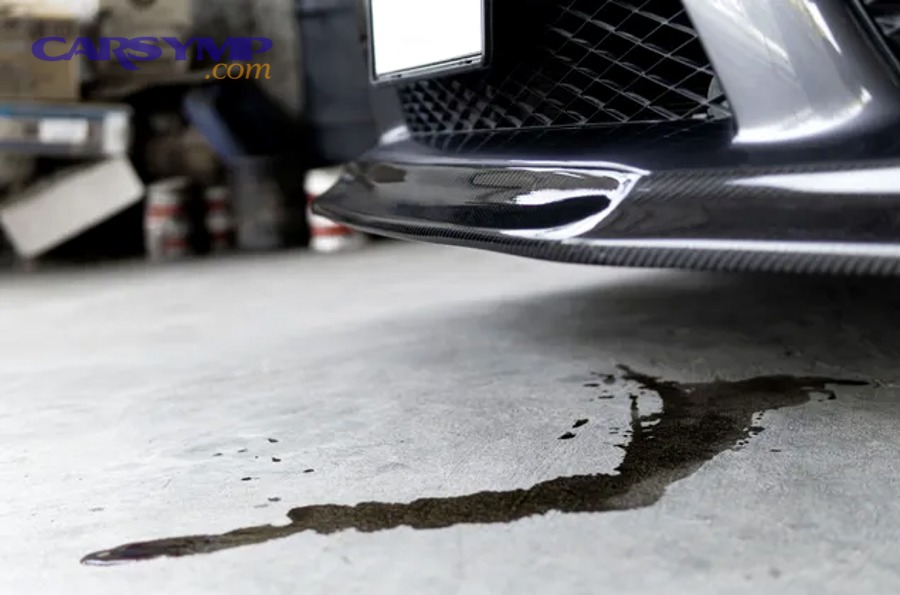
Identify Motor Oil (Engine Oil) Leak Puddles by Color & Smell: A Quick Car-Fluid Guide for Drivers (Oil vs Coolant/ATF)
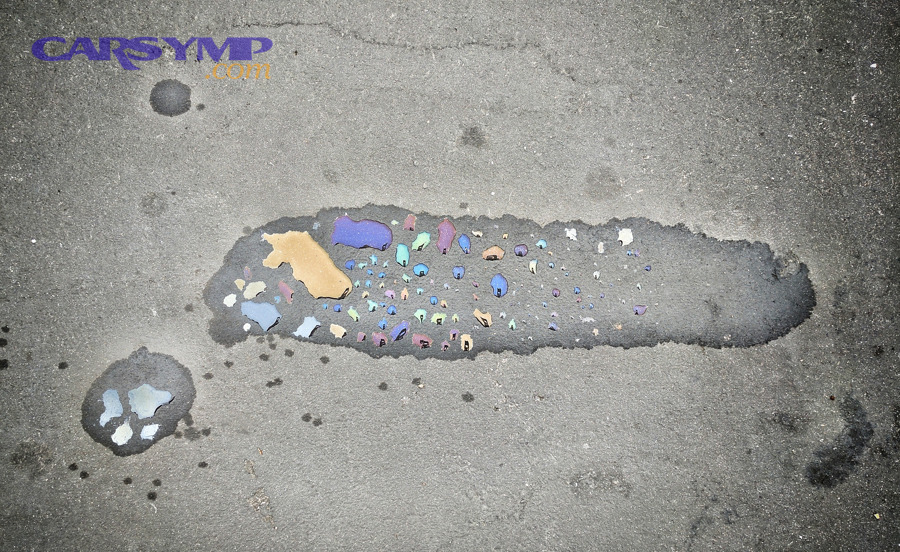
A puddle under your parked car is most likely engine oil when it looks amber-to-black, feels slick and thick, and carries a petroleum or “burnt oil” odor—so your fastest path to an answer is to combine color + smell + texture instead of guessing from color alone. Next, you can avoid the most common misdiagnosis by comparing engine oil to the usual “lookalikes” (ATF/transmission fluid, coolant, brake fluid, and power steering fluid) using a simple checklist: odor signature, feel (watery vs oily), and where the puddle lands .
Daniel James Carter February 10, 2026 at 4:28 AM
Decide When to Use High-Mileage Oil vs Additives for Older Cars (75,000+ Miles): Signs, Benefits & Risks
If you’re wondering when to use high-mileage oil or additives , the most reliable answer is: switch to high-mileage oil when your car has higher mileage and you’re seeing early wear/aging signals (minor seepage, rising oil use, or new noise), and reserve additives for specific, narrow problems after you’ve confirmed the basics (correct oil spec, no major leaks, no urgent mechanical faults) . Many experts use 75,000+ miles as a practical starting point, but condition matters as much as the odometer.
Daniel James Carter February 10, 2026 at 4:00 AM
Track Engine Oil Consumption Accurately: Dipstick Reading + Mileage Log Method for Everyday Drivers
You can track engine oil consumption accurately by standardizing how you read the dipstick, when you read it, and how you log mileage and top-offs—so your numbers reflect real oil use rather than random measurement noise. Next, you’ll learn what “accurate” tracking actually means in practice and how to create repeatable readings that hold up over time (and even in a shop conversation).
Daniel James Carter February 10, 2026 at 3:29 AM
Diagnose Oil Consumption After Turbo Issues: Turbocharger vs PCV vs Ring-Wear Checklist for Drivers
Oil consumption after turbo issues usually comes from oil being pushed or pulled into the intake/exhaust path , not “oil disappearing by magic.” The fastest way to diagnose it is to treat the turbo system as a pathway (oil feed/drain + seals + pressure control) and then prove whether the oil is coming from outside leaks or internal consumption .
Daniel James Carter February 10, 2026 at 3:11 AM
Diagnose Blue (Bluish-Gray) Exhaust Smoke Patterns: What They Indicate for Car Owners & DIY Mechanics
Blue (bluish-gray) exhaust smoke patterns usually mean your engine is burning oil, and the timing of the smoke (startup, acceleration, deceleration, idle) is the fastest clue to what’s letting oil into the combustion process. Next, you’ll learn how to read each pattern like a symptom map—so you can move from “I saw blue smoke” to “this is the short list of likely causes” without guessing or replacing parts blindly.
Daniel James Carter February 10, 2026 at 2:57 AM
Learn & Compare Compression vs Leak-Down Tests: Step-by-Step Cylinder Leak (Leakdown) Basics for DIY Mechanics
A compression test and a leak-down test are the two fastest ways to check cylinder sealing —and cylinder sealing is the foundation of power, smooth idle, and reliable starts. In this guide, you’ll learn what each test measures, how to run both correctly, and how to read the numbers so you can make a confident “healthy vs not healthy” call.
Daniel James Carter February 10, 2026 at 2:43 AM
Diagnose Engine Oil Loss: External Leak vs Internal Oil Burning Checklist for DIY Drivers
Oil loss becomes solvable the moment you treat it like a two-path diagnosis : either oil is leaving the engine externally (a leak) , or it’s being used up internally (oil burning/consumption) —and this checklist helps you sort the evidence fast, without guessing. Most drivers get stuck because symptoms overlap, so the next step is learning what external leak clues look like (wet trails, drips, “oil blown backward”) and what internal burning clues look like (blue smoke patterns, oil smell, rapid dipstick drop), so you can narrow the cause with confidence.
Daniel James Carter February 10, 2026 at 2:26 AM
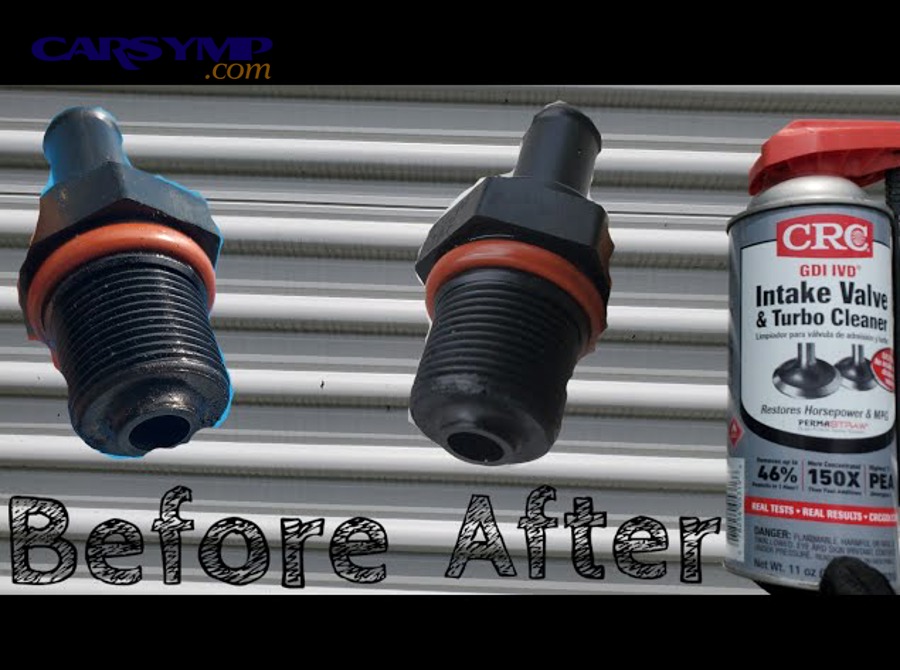
Diagnose & Fix Oil Consumption From a Bad PCV System (Crankcase Ventilation) + PCV Valve — Step-by-Step for DIY Car Owners
Oil consumption from a bad PCV system is real—and in many cases it’s one of the fastest, cheapest engine “oil loss” problems you can confirm or rule out at home. The practical goal is simple: prove whether the PCV path is pulling oil mist into the intake (or building crankcase pressure that pushes oil out), then correct the cause before you assume worn rings or valve seals.
Daniel James Carter February 10, 2026 at 2:10 AM
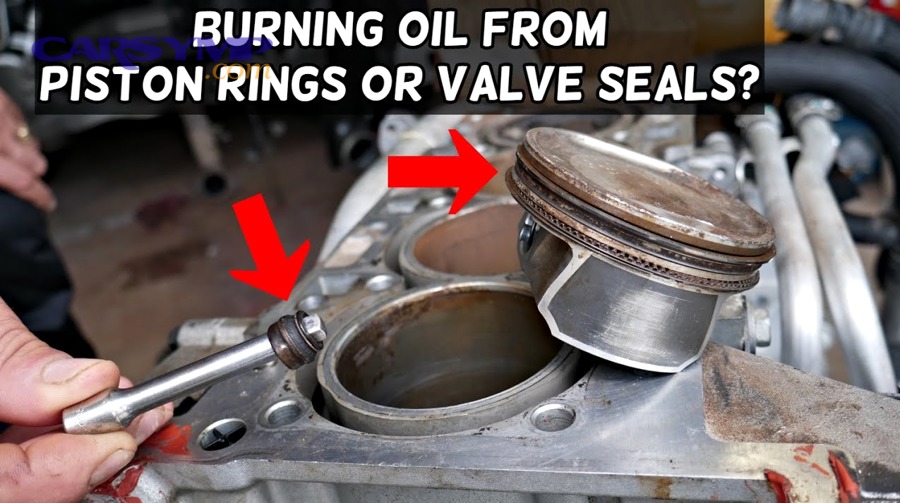
Diagnose Oil Burning Causes: Piston Rings vs Valve Stem Seals (Symptoms, Smoke Patterns & Tests) for DIY Car Owners
If your engine is burning oil, you can usually narrow the cause to piston rings or valve stem seals by combining smoke timing with one or two confirming tests—so you stop guessing and start diagnosing. Next, the fastest clue is when the blue/gray smoke appears: after sitting , on decel , on hard acceleration , or at steady cruise , because each condition changes vacuum, pressure, and oil control in different ways.
Daniel James Carter February 10, 2026 at 1:55 AM
Determine Normal vs Excessive Engine Oil Consumption: What Oil Use Rate Is Acceptable for Drivers (Symptoms + Next Steps)
Oil consumption is normal when your engine uses a small, predictable amount of oil between checks, but it becomes excessive when the oil level drops fast enough to require frequent top-offs, creates symptoms (like smoke), or points to a leak or internal engine wear. Many drivers struggle because the “acceptable” oil use rate isn’t one universal number—it changes with engine design, mileage, and driving conditions—so you need a simple way to measure your oil use rate and compare it against realistic thresholds for your situation.
Daniel James Carter February 10, 2026 at 1:38 AM
Find Out When High-Mileage (Older-Engine) Oil Helps: Switch Guidance for 75,000+ Mile Drivers
If your vehicle is past roughly 75,000 miles, high-mileage oil can help—when the engine is showing age-related behavior like minor seepage, rising oil consumption, or noisy cold starts , and when you still match the correct viscosity and specification for your engine. High-mileage oil is not “magic oil,” but it is a purposeful formulation : it typically leans on a tuned additive package (often including seal conditioners and stronger deposit control) to support older engines that are more likely to have hardened seals, deposits, or wear-related clearances.
Daniel James Carter February 10, 2026 at 1:05 AM
Inspect & Prevent Post-Service Leaks (Seepage): Oil Filter + Drain Plug Checklist for DIY Drivers
Most post-service leaks are preventable, and you can confirm a clean, dry result by checking the two highest-risk points— the oil filter seal and the drain plug seal —using a simple, repeatable checklist right after service and again after a short drive. Next, if you do see fresh oil, you’ll need a quick “trace-to-the-highest-wet-point” method so you can tell whether the source is the filter area, the drain plug/washer, or oil that was spilled during the oil change and is now dripping later.
Daniel James Carter February 10, 2026 at 12:52 AM
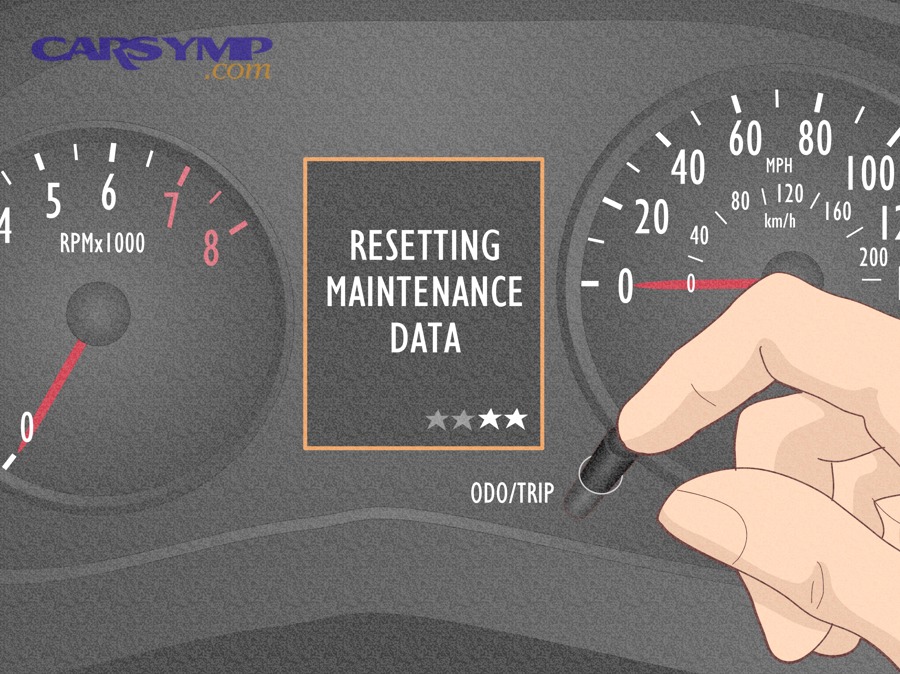
Reset the Oil Life/Service Reminder: Step-by-Step Oil Change Light Reset for DIY Car Owners
Resetting the oil life/service reminder is a simple, repeatable process: put the vehicle in the correct key/power mode, open the oil life or maintenance screen (or use the correct button/pedal sequence), confirm “Reset,” and verify the indicator clears or the oil life returns to 100%. Next, because vehicles don’t all use the same interface, you’ll also need a “pattern-based” approach—menu reset, button-hold reset, or pedal-sequence reset—so you can match the method to what your dashboard actually shows.
Daniel James Carter February 9, 2026 at 5:59 PM